Bring Your Own Devices 4 Learning #BYOD4L
This week I’m taking part in this online course. Here are some useful links:
byod4l wordpress
@byod4l
Google+ community BYOD4L Learning COmmunity
Friday Creating
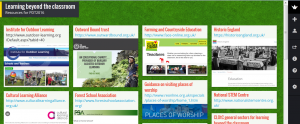
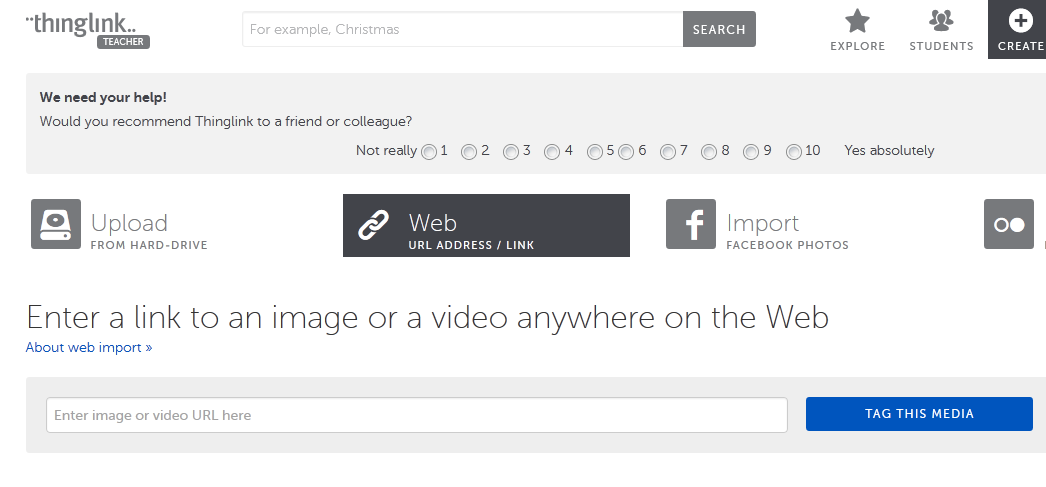
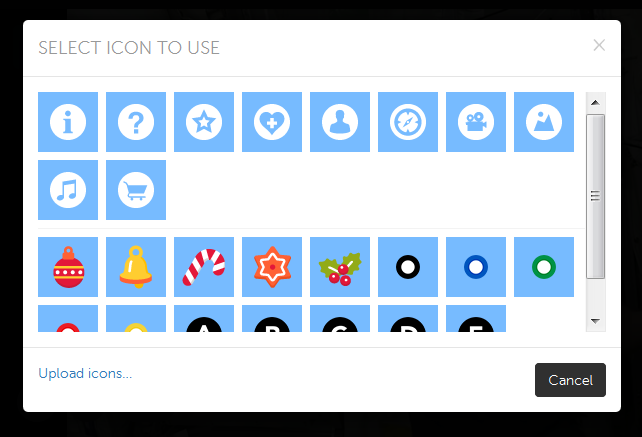
Task 1 Reflecting I’ve shared a ThingLink that I made in early Septeber to help the students who were starting on the FDLT course. You can see it here – Welcome
The purpose was to be able to share some key links to resources using just one link in a visually attractive form.
Task 2 Poster The teacher scenario – I feel the same about getting to know students as they arrive. We are sent a photos of each student in class groups which is helpful but the idea of it being a video or annotated image is even better. I wonder if we could build that into induction in the future. This September I set up a Padlet for each new group and asked students to introduce themselves. Here’s one to look at: Introductions Padlet
As I think about this now I realise that we could make more of this so that it could be a reflective experience for students and an informative one for tutors. It would be important not to take away from the spontaneity and willingness to have a go that happened in this example. It allowed students to make contact before they began the session they independently set up a Facebook group before they met at the first session.
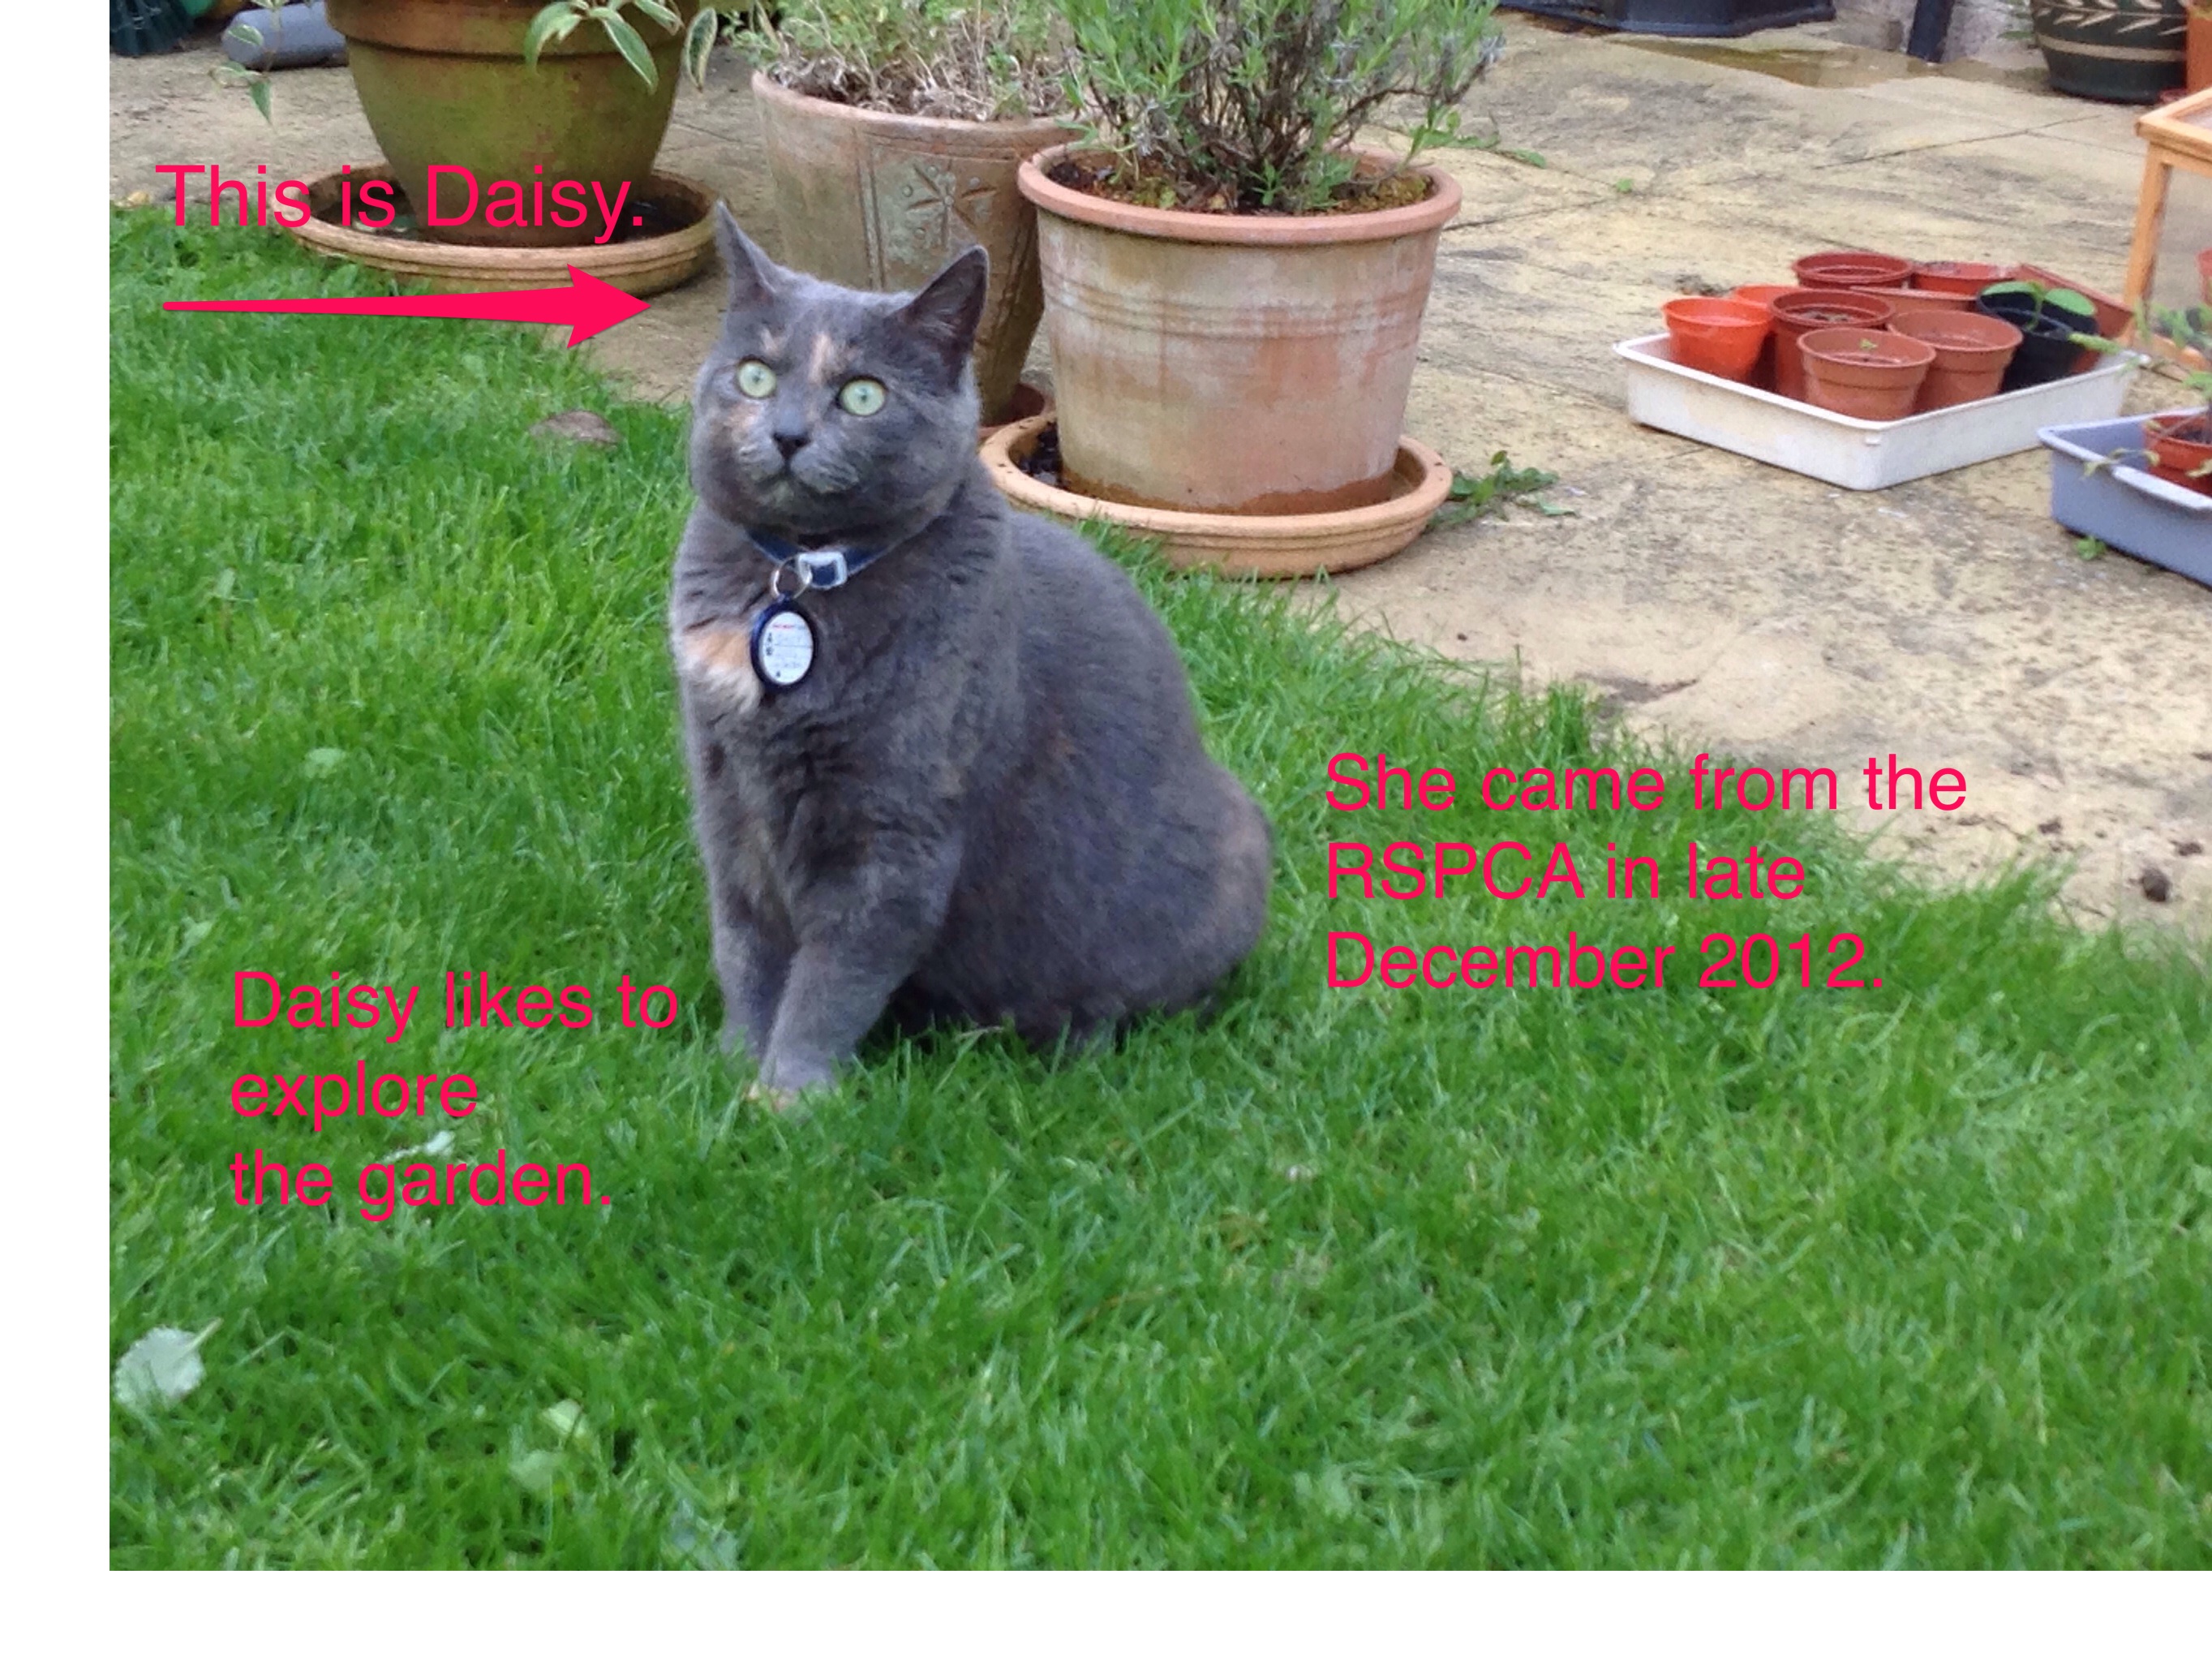
I’ve made a poster for task 3 by accident!
Task 3 Making
 The beginning of a poster created using the Phoster app (right).
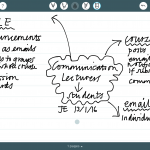
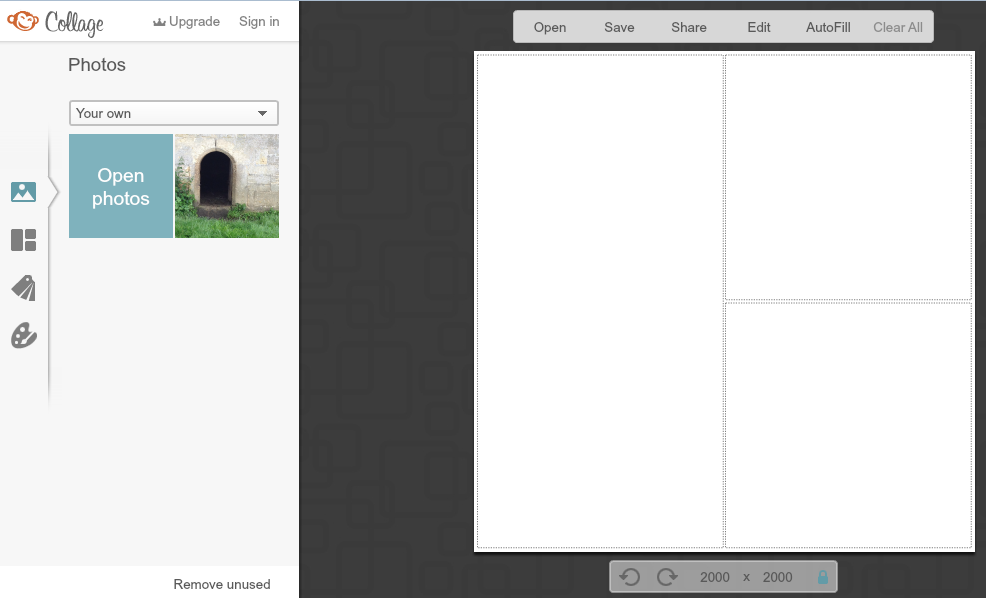
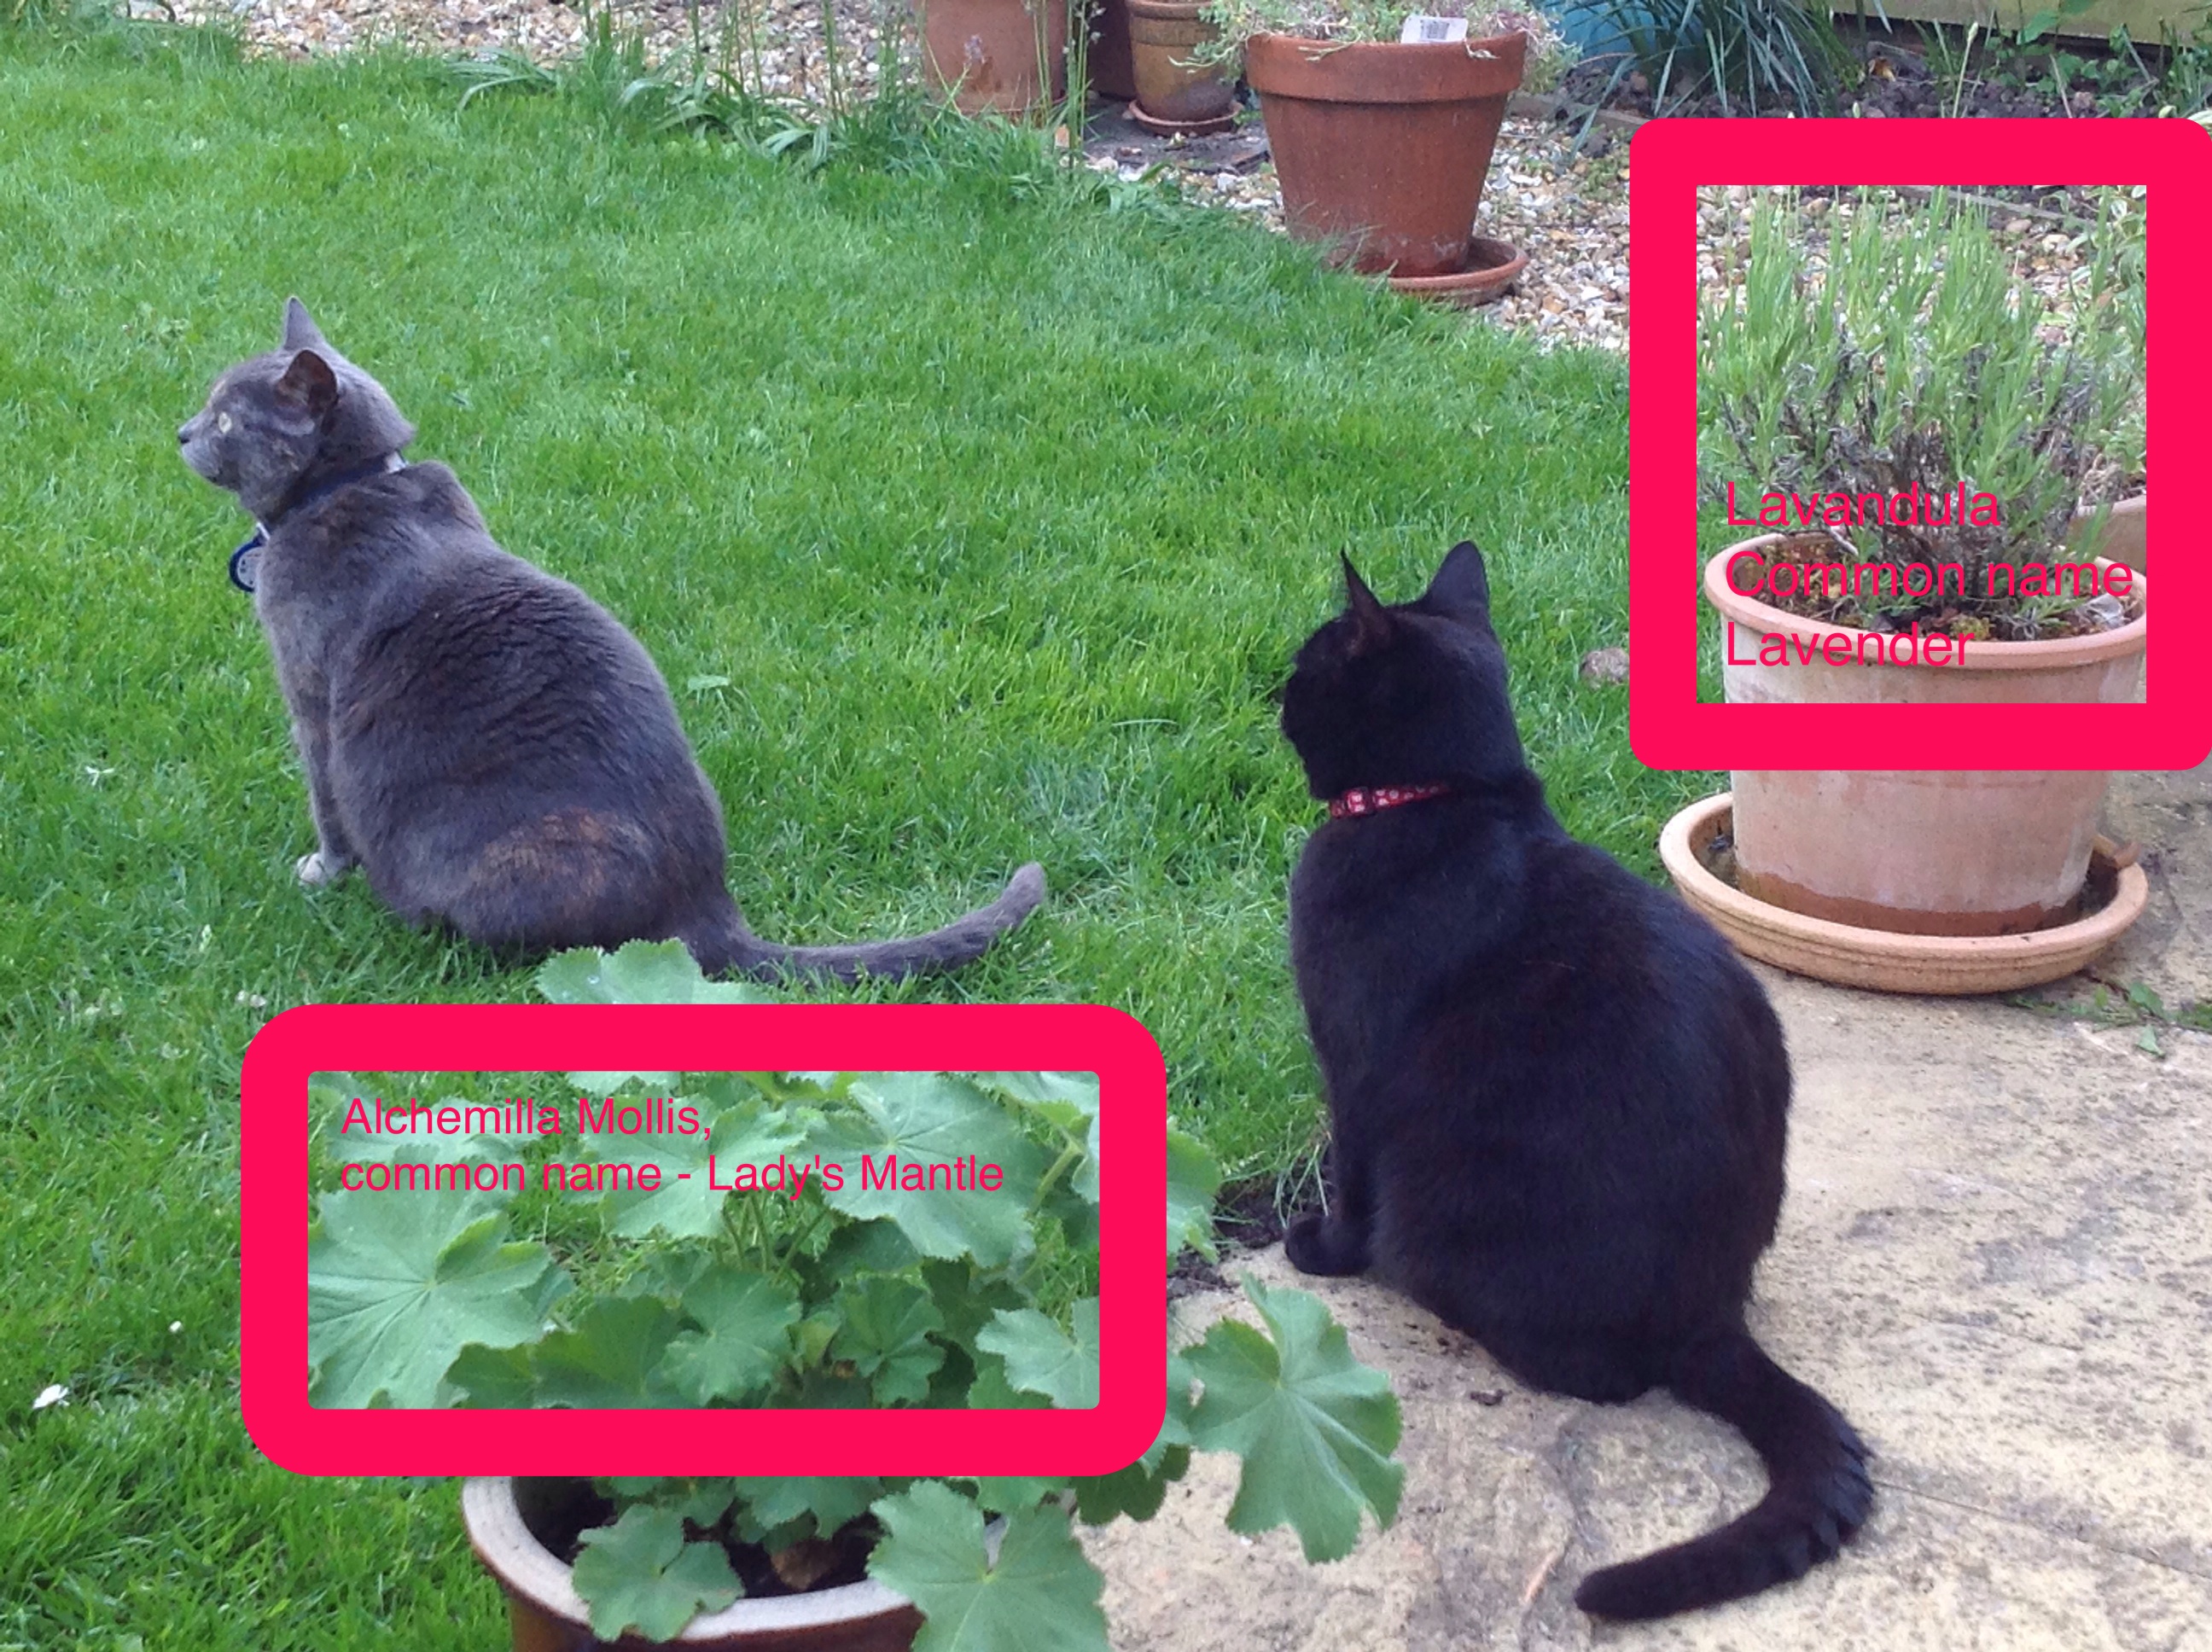
Below is another beginning using this large letter C in the app Moldiv (collage part of the app).
I was thinking about either adding links to one of these in ThingLink or annotating it in the app Skitch.
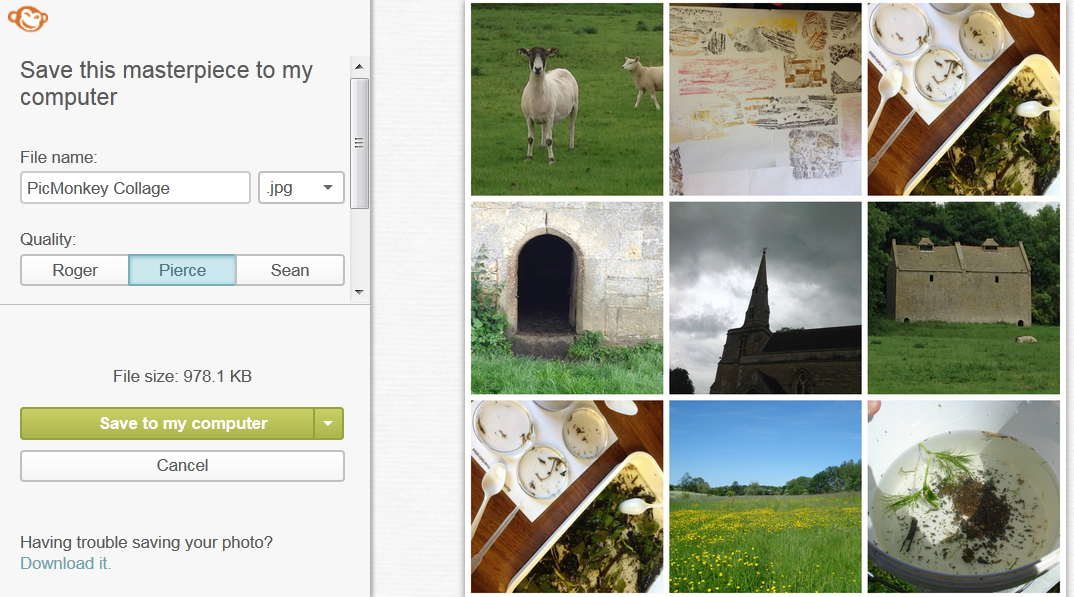
Processed with MOLDIV
Update!
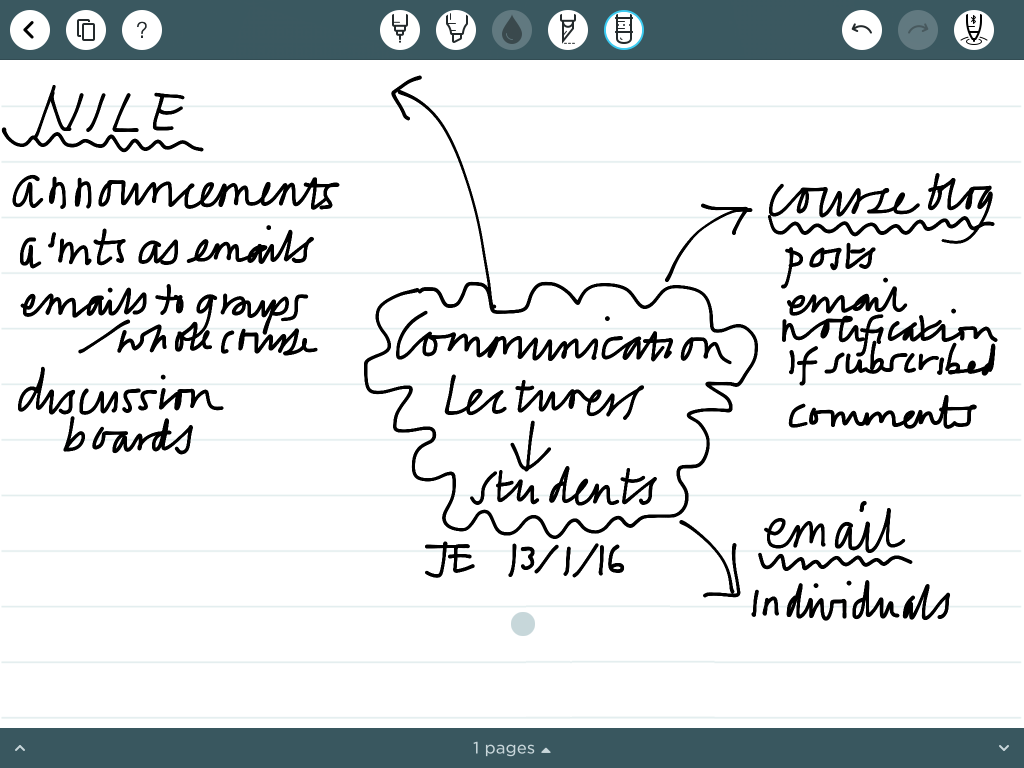
I came across the post that asked to represent the entire experience and that led me to making this:
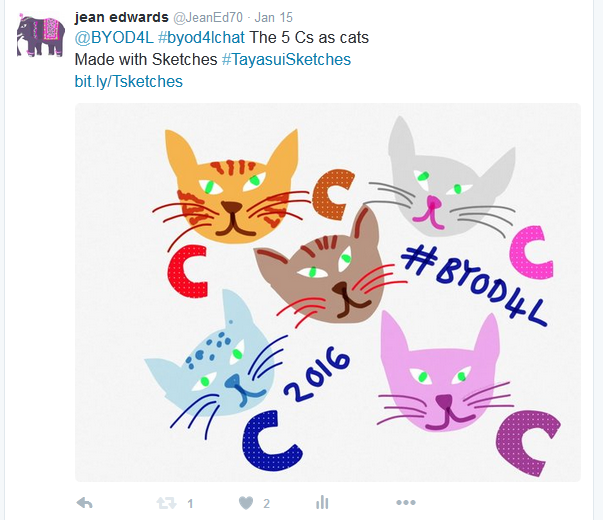
During the #BYOD4Lchat I made this using Sketches: