In the student scenario the student talked about joining a degree course as a mature student and seeking to manage the demands of university study, a job and family life and considered the challenge of how to use technology to stay in touch with his course and fellow students. This is exactly the situation the students I teach are in. They are Teaching Assistants (TAs) in schools, coming to university for one day a week so its vital for them to be able to stay in touch with us and each other when they are not at university.
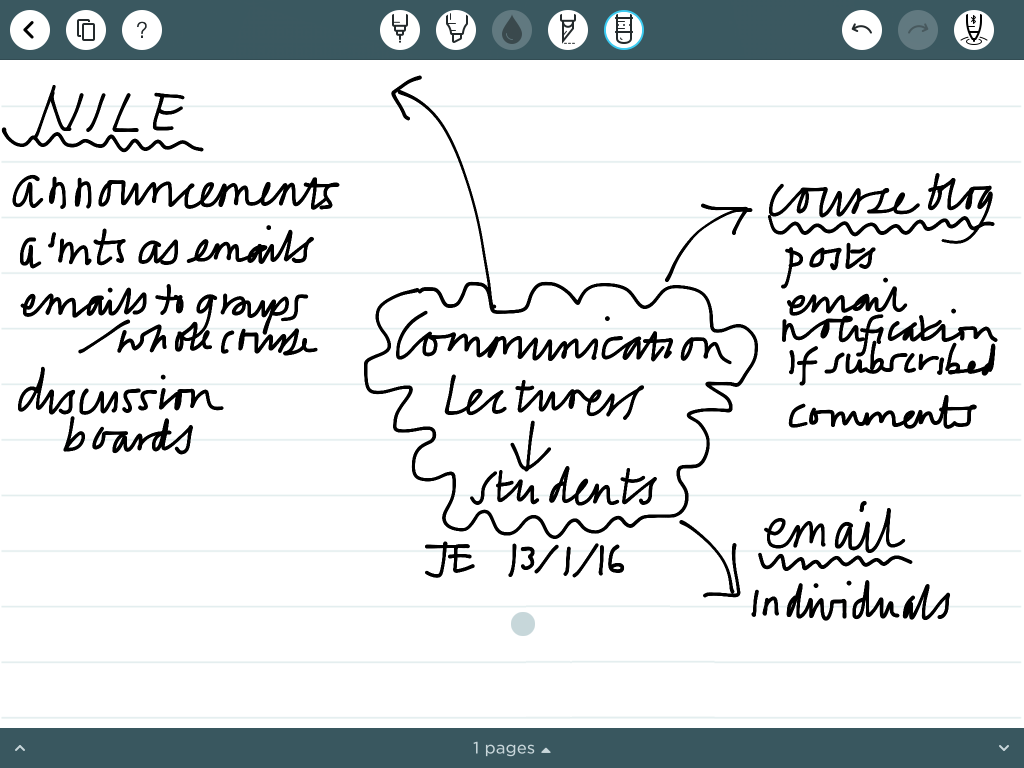
For us as lecturers we have a several channels of communication:
Blackboard NILE – announcements, which we often choose to have sent as emails to students. We hope we can guarantee that everyone gest this information.
Course Blog – to share interesting items and resources that is additional to core content. Students are encouraged to subscribe to this so that they will get an email alert when a new post appears. A link to this is also tweeted.
Email – to individuals, usually responsive to student questions and concerns.
NILE discussion boards – Sometimes we create a NILE discussion board for students to use to ask questions and share ideas, especially about assignments. This allows tutor answers to be shared by all students and might mean that we don’t have to answer the same question via email to many individuals.
Task 1 Visualising – A representation of myself as a communicator: I created this ThingLink introducing My Digital Self in the summer.
Task 2 Making – I’ve represented a summary of my formal channels of communication as lecturer with students using Penultimate:
Task 3 Reflection – We allow students to decide and manage communication within groups for themselves and this often evolves. Perhaps it is dependent on someone in the group deciding to take the initiative using a channel they favour. One group has a Facebook group and another use Whats app. As tutors we do not get involved with this but are aware of some of answers to questions, for example, being shared in this way. My only concern is that the chosen channel does not exclude some students in the group eg if a group used Facebook but one or two members are adamantly against Facebook and so are exclude from the conversation and support.
My reflection on future actions – I wonder if we need to be more proactive about this during Induction into year 1 so that students choose one from several channels after discussion of their features and the students’ own devices, skills and attitudes to them. I think I will contact each existing group and ask what they use and their evaluation of it to see if we can learn something from this ready for the students who join us in September 2016.
Aurasma is an augmented reality app that allows you too a picture, sound or video to a picture or object.
It is available as an app for IOS and Android mobile devices and tablets. The website is here.
In order to use it you need to create an account or use other existing accounts to log in (google+ etc).
The app works in a similar way to a QR code reader. When you hold your device over an ‘aura’ this triggers an image or video on your device. The app can be used to create your own auras for fun or learning. Unlike a QR code the symbol, object or picture itself triggers the aura, which can be an interesting and useful feature of using it. In order to access it the aura must be public and the user must sign into aurasma and follow the maker of the auras or the channel they are on.
This video clip is a clear guide to how to create an aura:
I’ve just made these paw prints and added an aura of the creature that makes each one. I’d be asking children to look at talk about the prints, using their existing knowledge to sort them, possibly identify them and make guesses. they can then use a phone or tablet with the aurasma app to check which animal made the track. On the back I have added a QR code that takes the user to further information about each creature so they can research them further. Discussing this with students it was suggested that pictures of the animals or the names could be available for matching before checking using the app.
Other uses in education might be:
adding to photos of children’s activities and linking to videos of them performing these activities eg photo of the school choir, video of the choir singing;
adding to pictures to provide extra written or spoken information;
adding a speech to a picture of a story character eg picture of the big bad wolf, video of his saying ‘I’ll huff and I’ll puff and I’ll blow your house down!’
adding a description or explanation of a piece of art or technology made by a child.
If you are using aurasma or a similar app add your ideas and links below.
Paper, scissors and glue – camera, apps and dropbox: exploring the relationship between making art in the physical and digital world.
Over the last few weeks I have been teaching a session to Year 1 Foundation Degree Learning and Teaching (FDLT) students based around using digital technology along with more traditional art materials (collage). As I have taught the session to the three groups a number of interesting questions and points have arisen.
The session was introduced by asking students to use collage materials (coloured card and newspapers / magazines), scissors and glue to create a skyline of buildings. The only restrictions were that students all had square backgrounds to work onto and should include at least two very tall buildings. I chose to provide them with squares because the three apps we would be using each use square images and I have found from experience of using one of the apps that having variations of height can be especially visually dramatic.
This phase of the session was a time when students worked on their own collage image but collaborated by talking with each other about what they had chosen to do and why, sharing ideas and approaches and asking for help from the group (has anyone got any pictures of flowers?). Students also talked about whether they usually support pupils with art and their feelings about making their own art. Unfortunately some students were still experiencing negative feelings left over from harsh or insensitive comments made about their own art in lessons when they were at school. It was interesting to observe the varied approaches – if I had been doing this with children I would have kept the glue out of reach until they had chosen and arranged and rearranged their paper into an arrangement that was pleasing.
As students finished their collages we discussed the potential of this activity for supporting learning in art. Students used a list of visual elements to consider how the choice of materials and challenges could be adjusted through the introduction of more focus and different choice of materials to promote exploration of specific aspects of art – colour, tone, pattern, texture, shape, space, form and line. The development of fine motor skills through the physical use of tools (scissors) and application of glue as well as developing ideas from imagination, observation or the work of artists were considered too. Making choices, arranging and placing were also aspects that could be developed, as well cutting out holes to allow for a see through and layering effect.
The next step was to take a photo of the collage using the camera on the ipad. Setting the camera to square could be useful here, or editing the photo using the cropping tool. The photo would now form the basis of the rest of the session.
Students were next introduced to the app ‘RollWorld’. This is a ‘tiny planet’ that allows an image to manipulated spatially. Students were encouraged to use the crossed arrows to see what the app could do and then go on to use the six sliders to exercise more control, saving any interesting images to the camera roll. Some amazing images were produced ranging from reducing the collage to something completely abstract and making a change in the space that created a distorted, sometimes surreal perspective.
The next app students explored was ‘Fragment’. This is an app that allows the image to be manipulated in pieces and layers, with built in colour changes. Using the crossed arrows and saving images to camera roll were relevant to this app as in the previous one. Again, the image could be pushed to change completely or be changed slightly in layout or colour.
It was interesting to note that whilst the students worked with the apps they were often more focused individually on their ipads leading to less collaborative talk. There was more talk about technical aspects (how to do things) with students who were more experienced and confident with ipads supporting those less familiar. Some students suggested that this individual ‘private’ experience would be valued by children, allowing them to work in a situation where they did not feel judged or compared.
Having now made many images students were asked to to choose their collage, a Rollworld image and a Fragment image as a record of their exploration and load them into another app – Visual Poet. They could give this sequence a title, an author and annotate each image then take a screenshot to save it to camera roll. On reflection this could be replaced by creating three slides with spoken comments or by making a picture collage using Moldiv as the Visual Poet app is rather restrictive in size of image and placement of text, as well as being difficult to share.
Finally students were asked to log into the FDLT dropbox and upload their images so that they were all saved and available to them after the session. As I taught the sessions I found that the collecting, saving and sharing of images must be built in to the session. The students needed also to be asked to log out of the FDLT dropbox so that other random material does not appear as the ipads are used around the School of Education. The photos from the session need to be deleted from the camera roll so that the ipads don’t get clogged up with lots of old images.
After the sequence of activities were completed we discussed some key questions about the role of digital technology in learning.
Classroom organisation:
The varied levels of experience with ipads throughout the groups can be a challenge or the peer support that emerged can be seen as a positive outcome especially where children could be deliberately paired to develop this.
The availability to the user of all apps on the ipads can lead to other related apps being introduced and explored, enriching the learning or random game playing that detracts from the focus on learning – this must be a greater challenge with children in the classroom.
Sharing the images created on an ipad – creating a sequence of slides to be shown on screen best preserves the vibrancy of the images where printing them out is costly and leads to a loss of their glowing brilliance.
Technical housekeeping:
Before each session I made sure each ipad had no photos stored in the camera roll and signed out of any dropboxes. After producing images (in one session nearly 200 images were made) all need to saved all to dropbox, drop box logged out of, and delete all photos from camera roll. If this is not built in to the session it is very time consuming for one person to do after each session. One or two of the ipads would not share the photos and this was disappointing for the students whose work was trapped.
Physical:
The possible detrimental effects of using apps with vivid and changing colours on students (experienced with a minority of students in one of the three groups).
The physical challenges of swiping and touching with right pressure for some students leading to frustration.
The advantage of being able to explore some aspects of art in a ‘clean’ situation for pupils who dislike or are distressed the messy aspects and feel of art materials.
Curriculum and learning:
The concern that making art digitally could replace using physical materials which can be expensive, messy and time consuming to use – leading children to miss out on the sensory experiences inherent in the subject. This was balanced by students who suggested that for children who dislike the ‘feel’ of art materials the opportunity to explore colour and effects on the ipad would allow them access to this experience.
The opportunity to use ipad apps to allow children to create and manipulate images could help overcome children’s reluctance to make art if they are reluctant to draw or paint. The use of apps allowed for accidental effects that could be chosen and developed and some students felt that there were no preconceived ideas of what was ‘good’ and so felt less pressure. The use of the do / undo allowed for easy discarding of images. The idea that many, many images could be created and then chosen from allowed freedom to have a go and create.
Using physical and digital manipulation together can lead to some outcomes that could not be achieved by working in one way. These apps in particular lead to an exploration of space, colour and pattern as well as a step into abstraction that can be hard for younger children to learn in other ways.
A next step would be to use the images to make further physical art by recollaging or drawing from.
Attitudes:
Some students were enthralled and enthusiastic, enjoying the experience themselves and immediately seeing the potential for using with their pupils in lessons or out of school clubs.
Others were less keen and some were actively worried about this replacing art, a subject already under threat in many schools.
Oadby images
MK images
When planning and teaching I need to consider:
Basic skills: use of dropbox, connecting to internet, connecting and disconnecting an email account.
Basic skills of using an ipad: taking a photo, cropping a photo, finding an app by gently pulling down the screen and typing the first few letters, finding the camera roll, taking a screenshot, swiping.
Skills specific to the apps: remembering to save interesting images to camera roll, using the crossed arrows to explore at random, using the specific tools in each app to control effects and deliberately create something.
Should a session like this be based on technology provided by the university / school so that all can have the same device and apps or should it be ‘bring your own device’ (BYOD) and equivalent apps used on different types of devices?
I came across the app ‘Post it Plus’ by accident. I often use post its as a teaching tool with groups of students, asking them to write ideas on post its and then move them around into themes or rank order. Since I had my ipad I have sometimes photographed these – but the Post It Plus app is a more flexible and versatile way of doing this.
When you open the app it allows you to take a photograph of a group of post its. To do this you hold down the capture icon. Green lines appear around the post its that have been captured and if there are any that do not have a green line, you can touch these and the green line will appear around them so that all the post its are present. You then touch ‘create board’ and the image is saved. I usually take groups of post its and end up with maybe four or five boards to record an activity.
After this you can move the boards on top of each other to make them all into one, you can name each group and the bigger group, add additional post its and write onto them and the board.
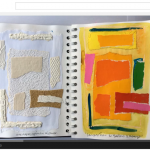
You can also share and export the boards in a number of ways eg by email as a PDF, as a photo, via social media etc. I was able to send the PDF record of our discussions to a group of students after the session so that they could use the discussion ideas after the session. I could have annotated questions and comments onto it to challenge them further – maybe next time! I’ve added one to see what it looks like, above)
It is a very flexible presentation tool allowing you to:
import and insert documents, pictures and video
draw and annotate
move and animate
zoom and pan
record and play
export and share
There are some useful video tutorials available at the link above and some help pages within the app.
So far I have used Explain Everything in three different ways.
I have made a presentation that consists of a sequence of slides that I have added spoken commentary to. This was to introduce an assignment to students and remind them of where the supporting resources are. It was useful to be able to record the commentary with each slide and it was very easy to stop and rerecord small sections without having to record the whole thing in one go.
I have also narrated a short guide for students showing them how to get from the opening page of a NILE module to their discussion board and then how to access and use the discussion board. It was so useful to be able to click on the sequence links and show students where to click and what to expect live in the website.
It can be seen here:
Finally I have used it construct two page by page views of collaborative sketchbooks that I have been working on this year. I was able to add the sequence of photos, add annotations and export the presentation to YouTube, Dropbox, imovie and ibooks and email it to myself. I would like to have added music but couldn’t quite work out how to do this.
One of these can be seen here:
I think this app has got a huge amount of potential for use with and by students and I am looking forward to exploring it further.
When the app opens you can choose to use the last photo you were editing, a photo from your photo album, or ‘inspiration’ eg one of the preloaded images.
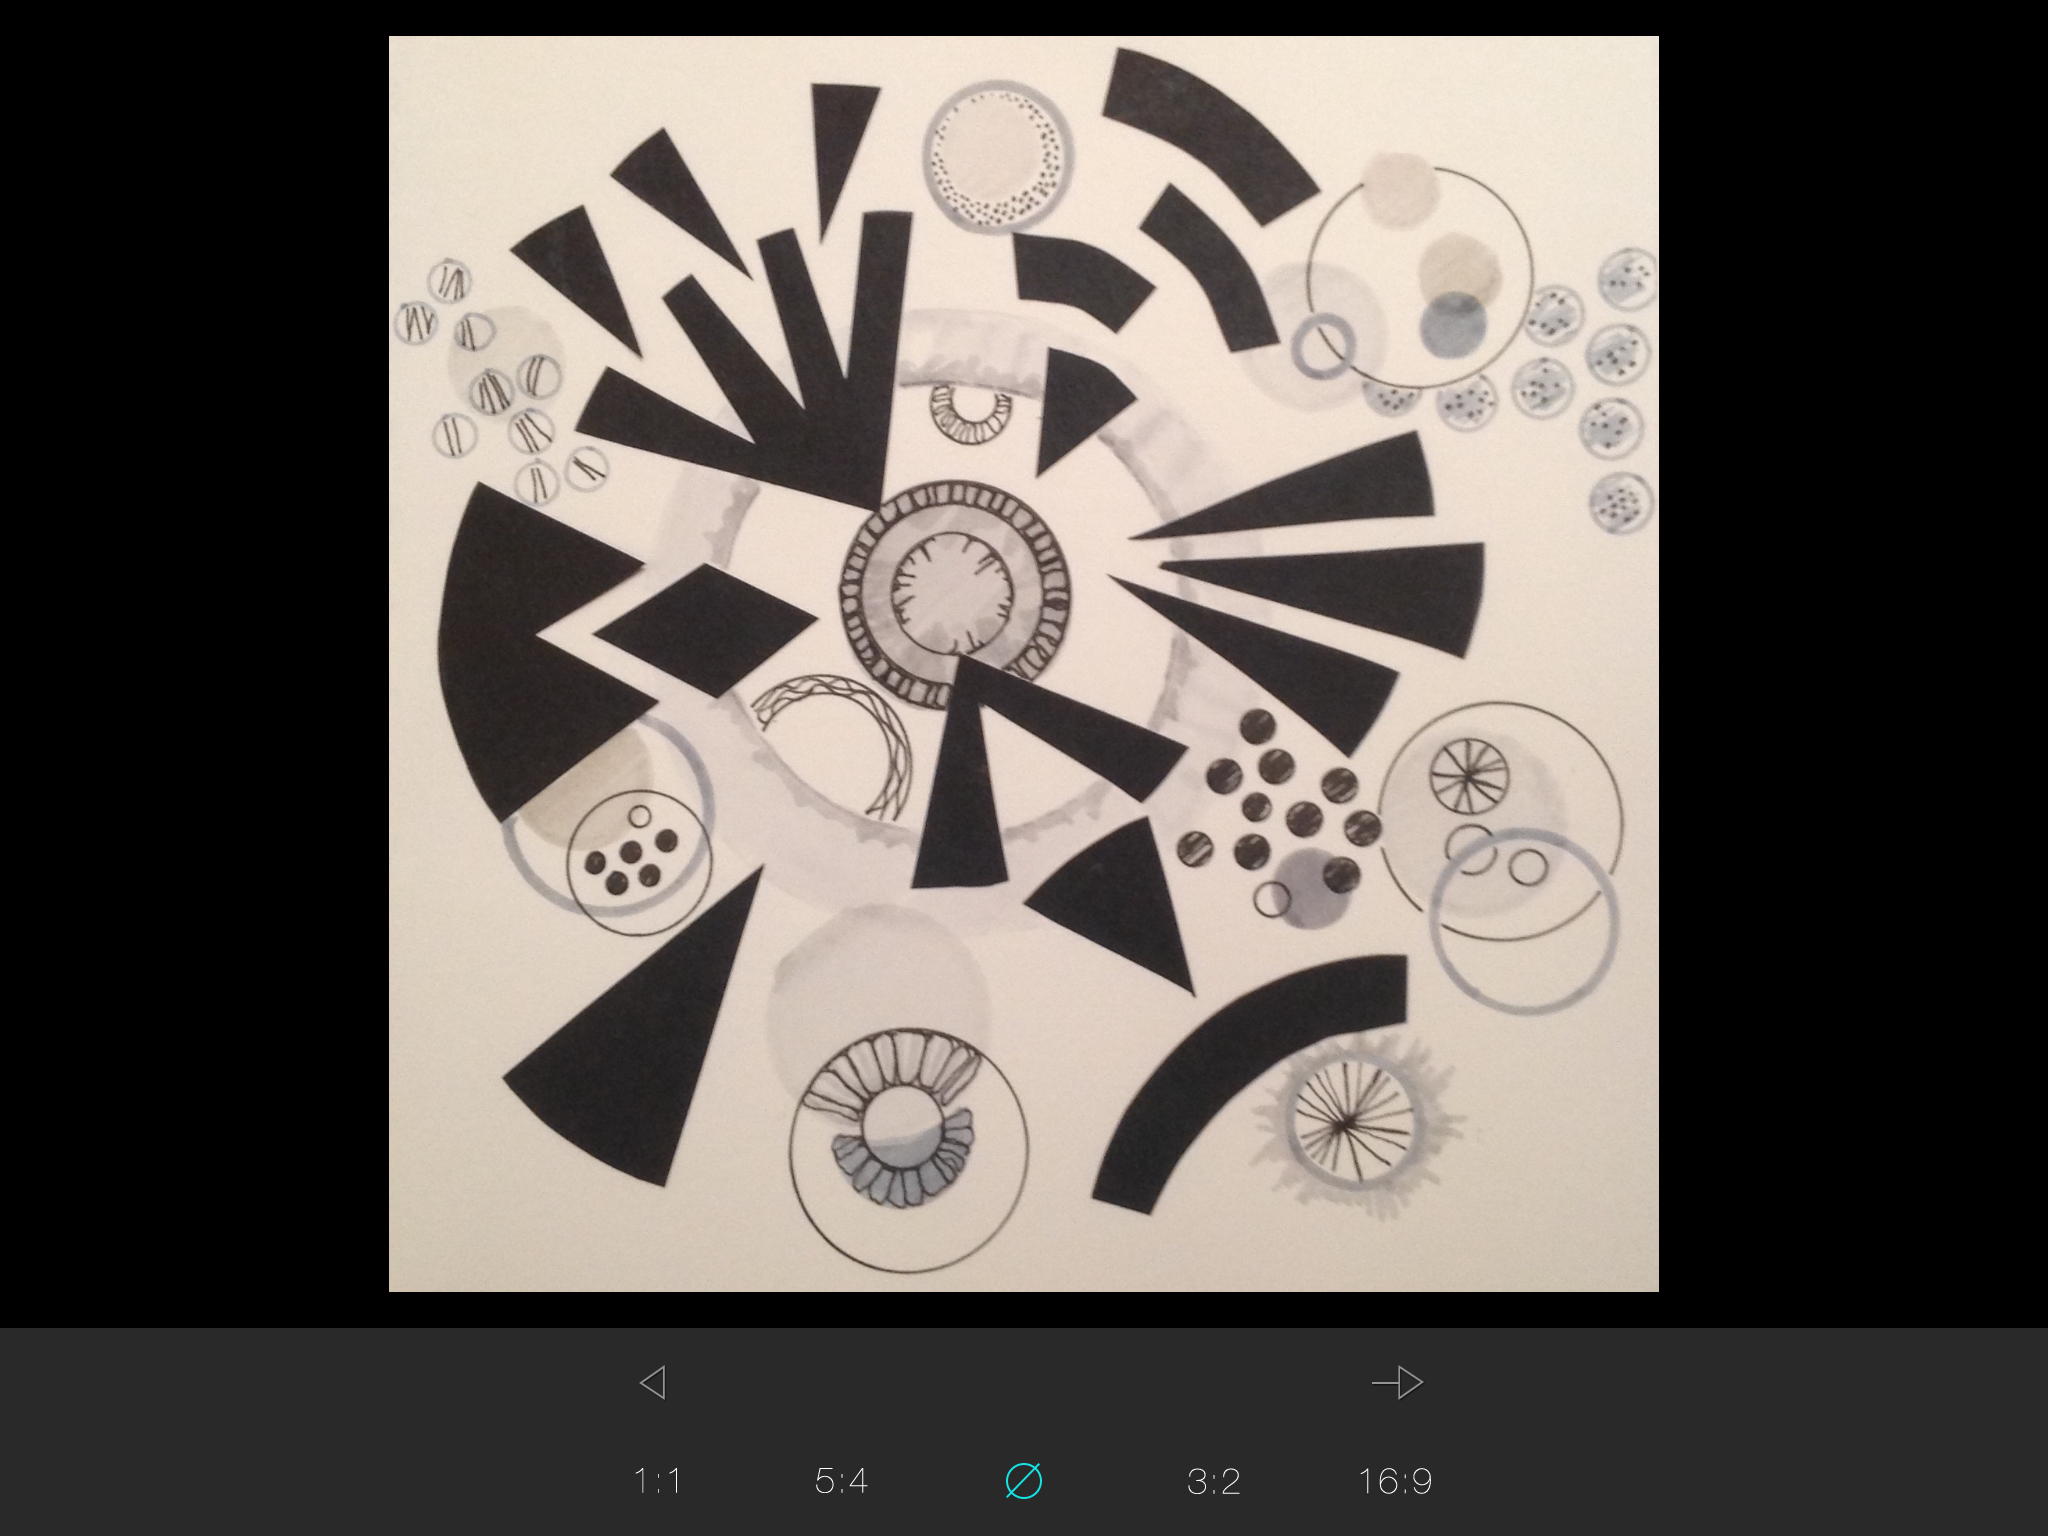
choosing the photo and size
If you choose one of your own photos you can then choose a size and proportion. You can back to photos using the arrow to the left and forward to the app using the arrow on the right.
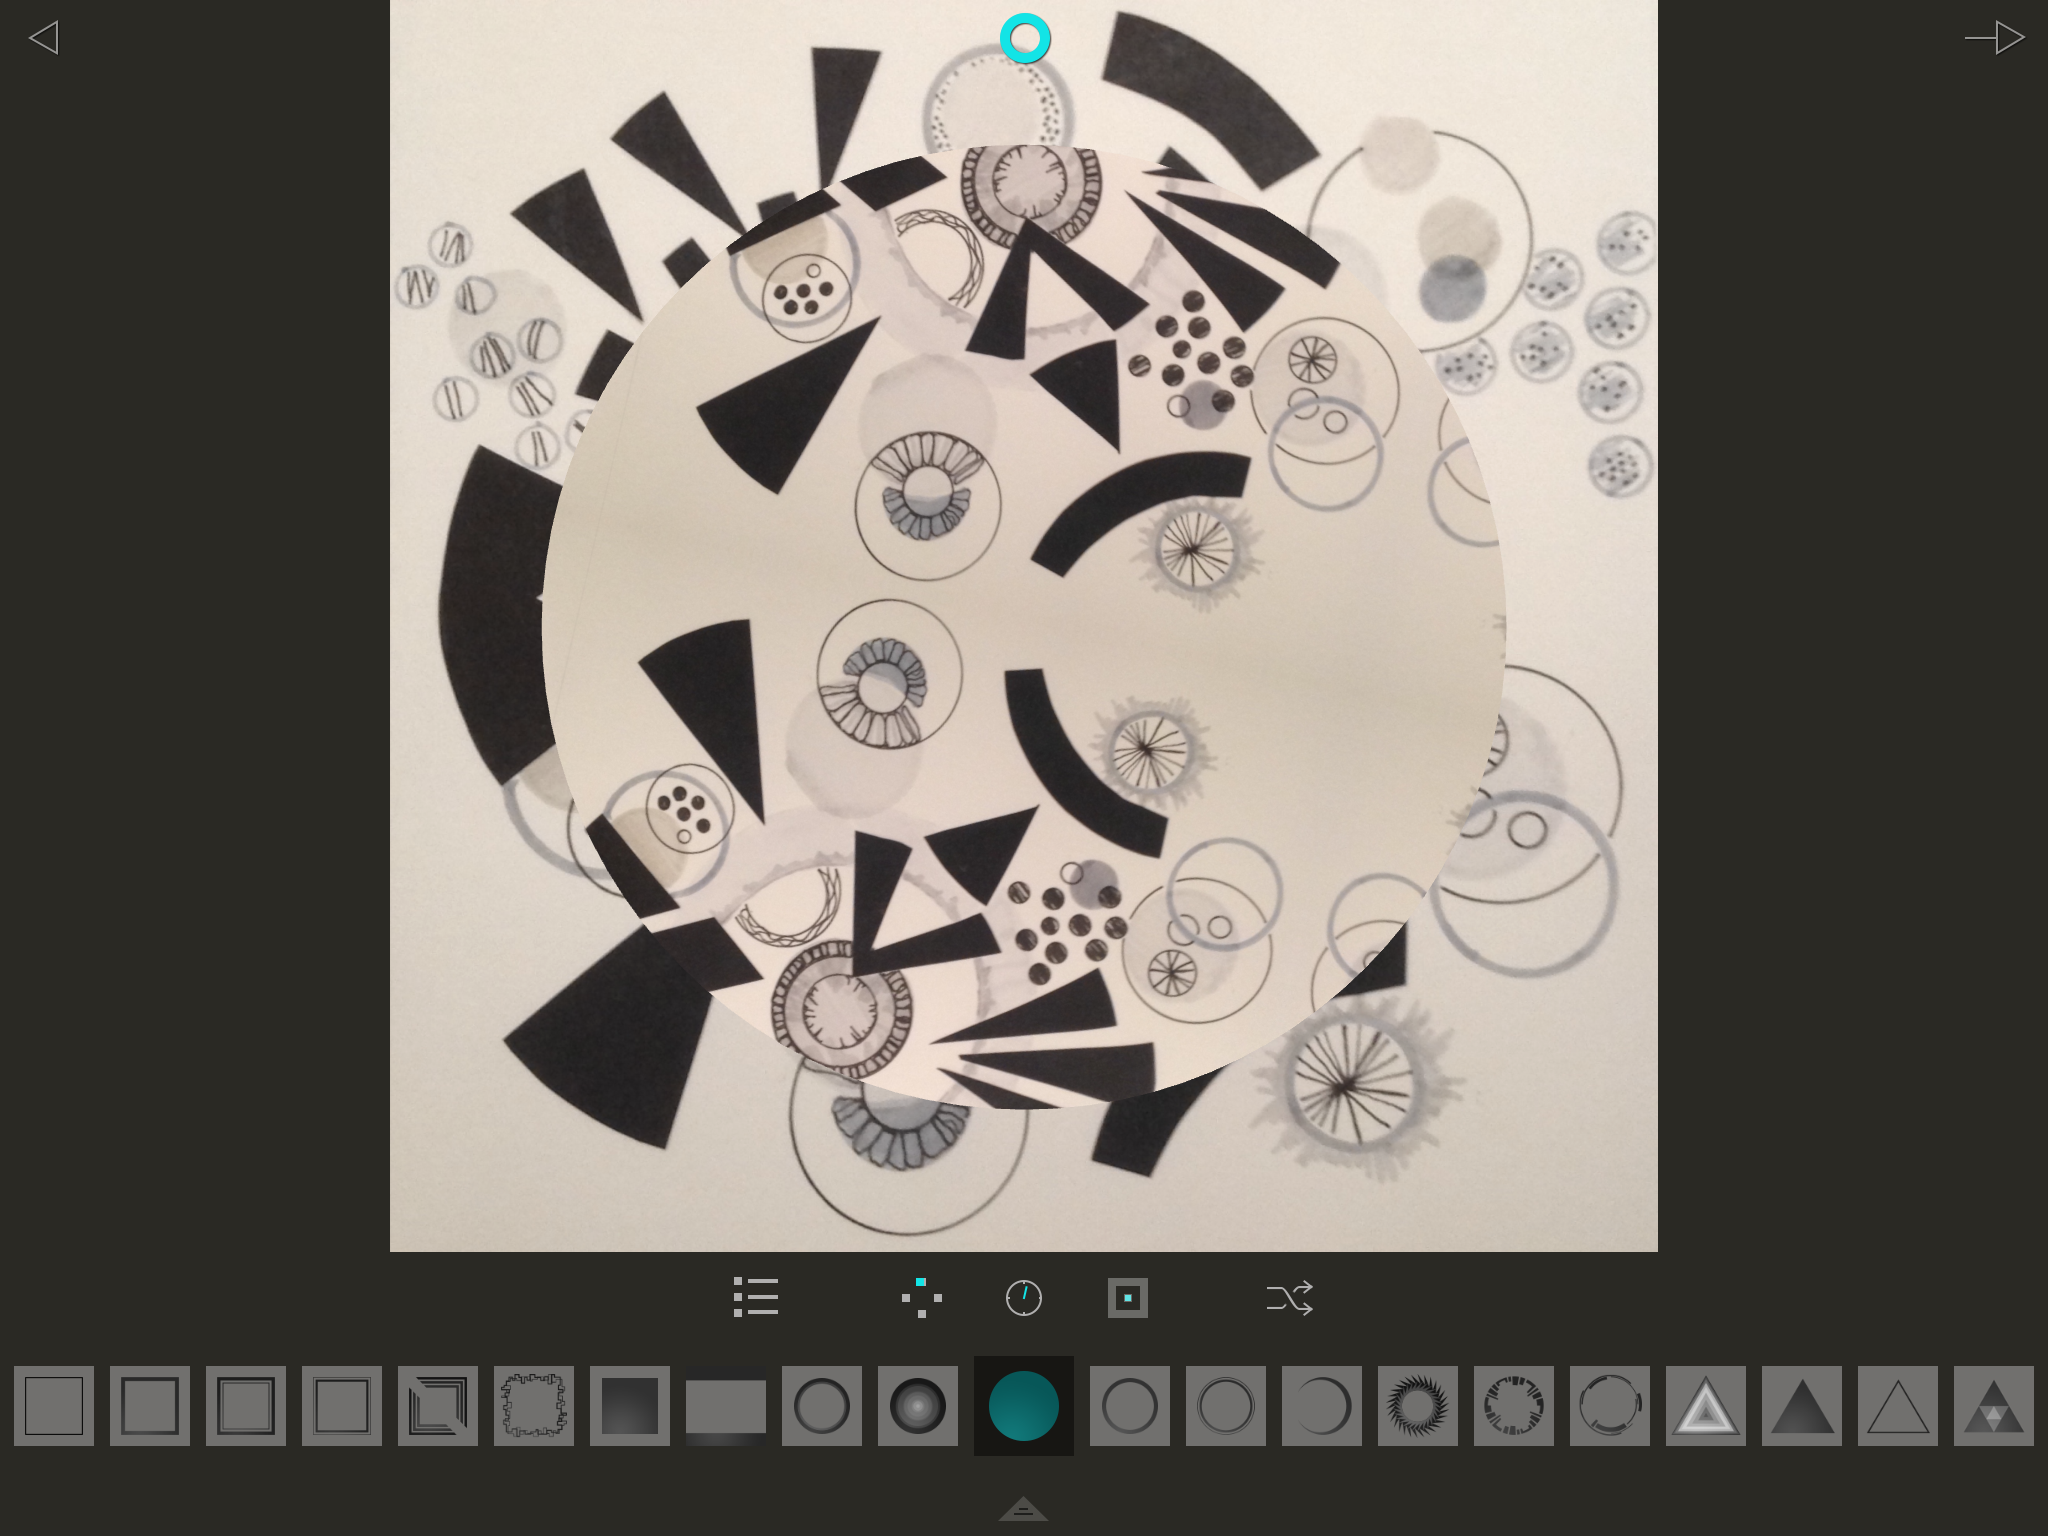
manipulating the image
On the next screen you can choose to manipulate the photo using the effects randomly (arrows on right) or touch each shape in the line below to choose specific ones. Move the image around on the screen to change the size and orientation within the chosen shape.
changing colours
You can touch the small inverted triangle at the bottom to move to the next screen. On this next screen you can change colour and within that the brightness and contrast as well as blurring, inverting and desaturating.
a refragmented image
Touching the arrow at the top right allows you to save the image, refragment it and share it. It can be useful to save it at different stages as you work because it is sometimes impossible to back and recreate the same image again.
Ideas:
manipulating photos
make some art, photograph it, fragment it, make more art from it
use to make backgrounds for presentations
print out and use as collage, draw onto
Other associated apps – Tangent
If you have tried out the Fragment app please add your examples and ideas in the comments below.
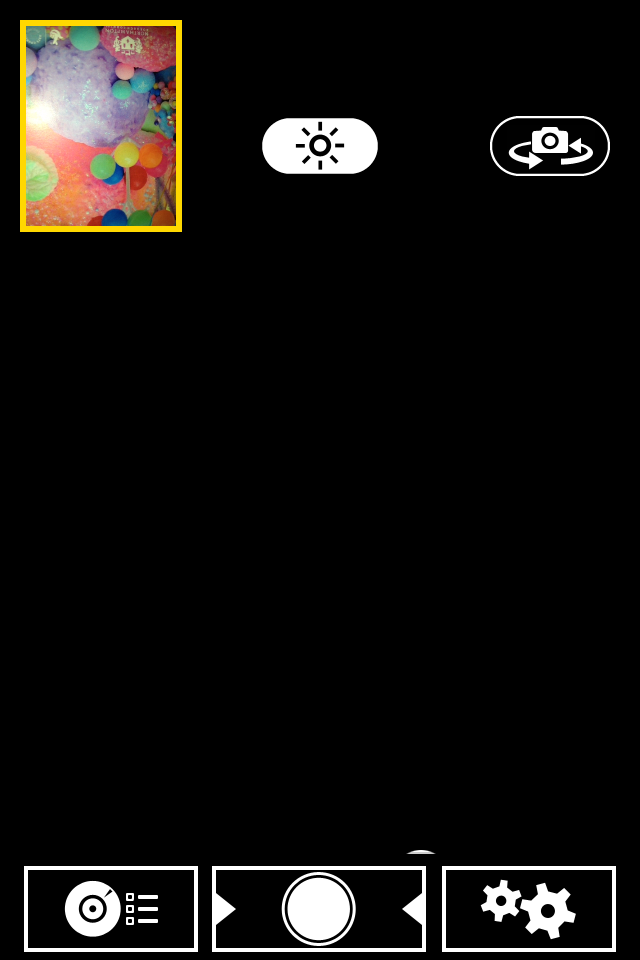
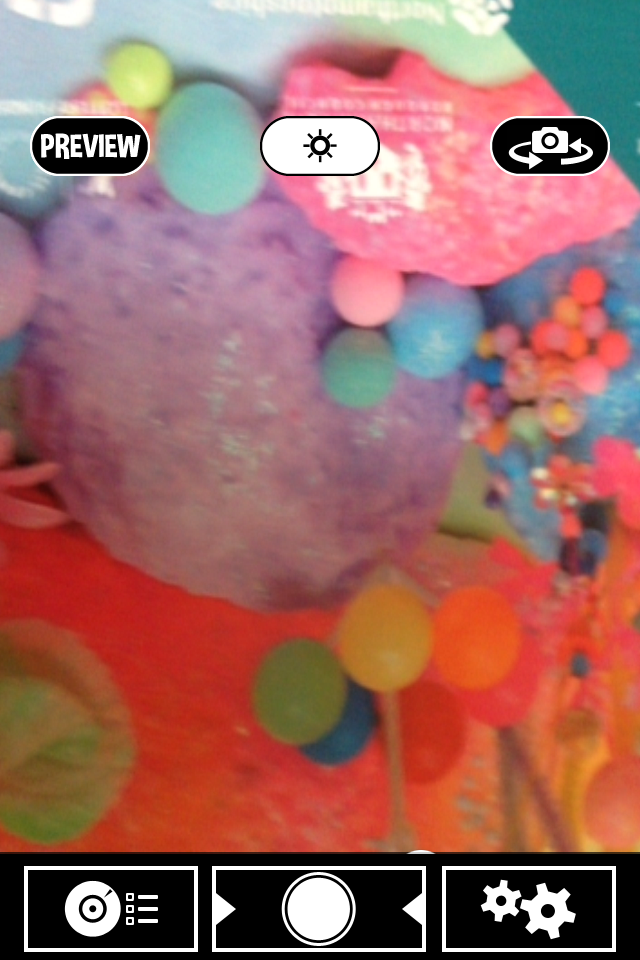
Preview – If you have the preview screen showing you can see the light trials build up. If you are writing or trying to capture something planned this is essential. Tap the word ‘preview’ to get it or remove it.
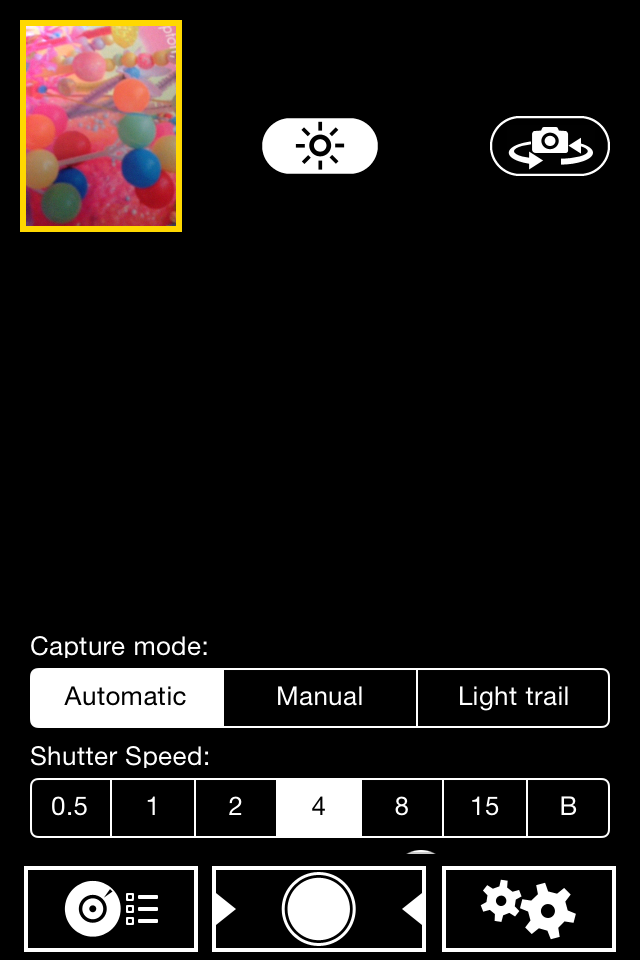
Camera settings (icon on left)
Capture mode – set to light trails
Shutter speed – the larger the number the longer the shutter stays open (eg 15 seconds). If the shutter speed is set to B the shutter is controlled manually so you can decide when it shuts. This useful if you are photographing a preplanned light trail (eg writing your name).
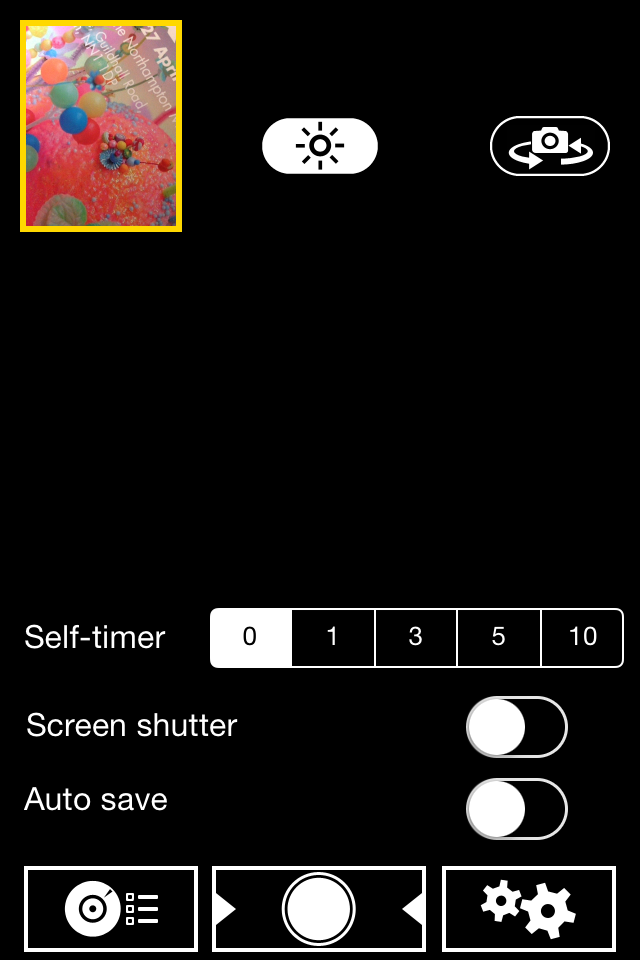
Camera settings (icon on right)
Self timer – 0 (unless you want to use this – if trying this out alone it can be useful)
Screen shutter – button to left
Auto save – on or off
Other useful tips:
The record button is the circle in the centre and it goes red when photographing.
When the photograph has been taken if you touch the arrow to the right you are given the option of saving the photo to camera roll.