Design your digital self

This summer I took part in the ThingLink Teacher Challenge. The activity in week 1 was based around introducing ourselves and our connections in the digital world. This is a useful activity to consider when meeting a new class or group or as a task to set before pupils or students begin working together.

It consisted of two stages: firstly, designing a digital avatar and secondly, uploading this to ThingLink and adding tags.

Designing a digital avatar.

There are number of tools that can be used to design a digital avatar and you can see links to a few on the ThingLink below.

I used a web tool called ‘doppel me’ to create mine. It allows the user to make choices about the appearance of their avatar. If you join and sign in you can add more detail. e:
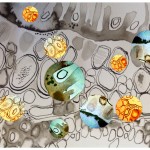
avatarThis is mine.

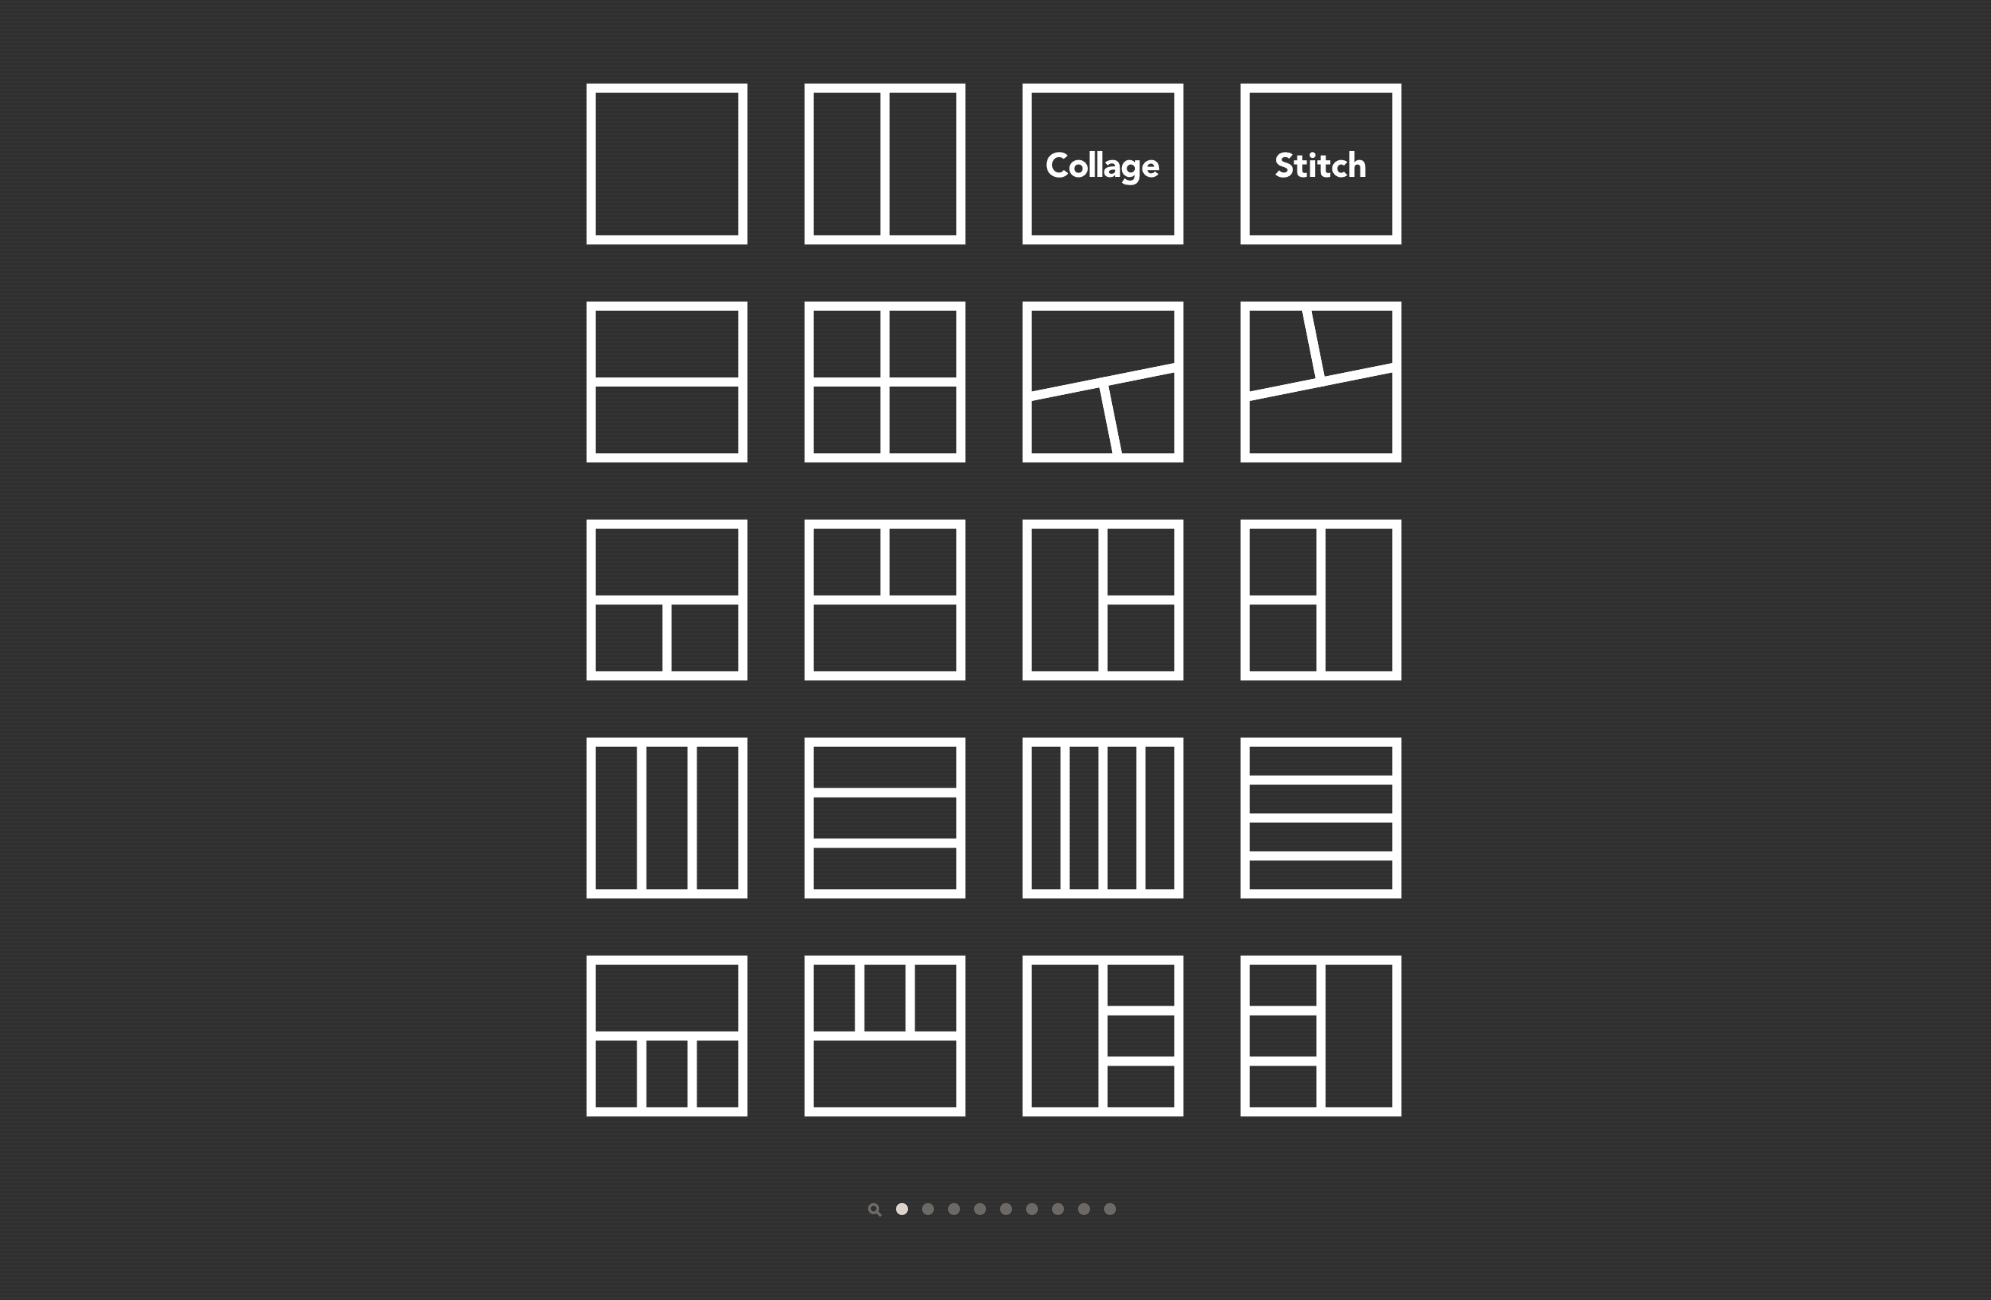
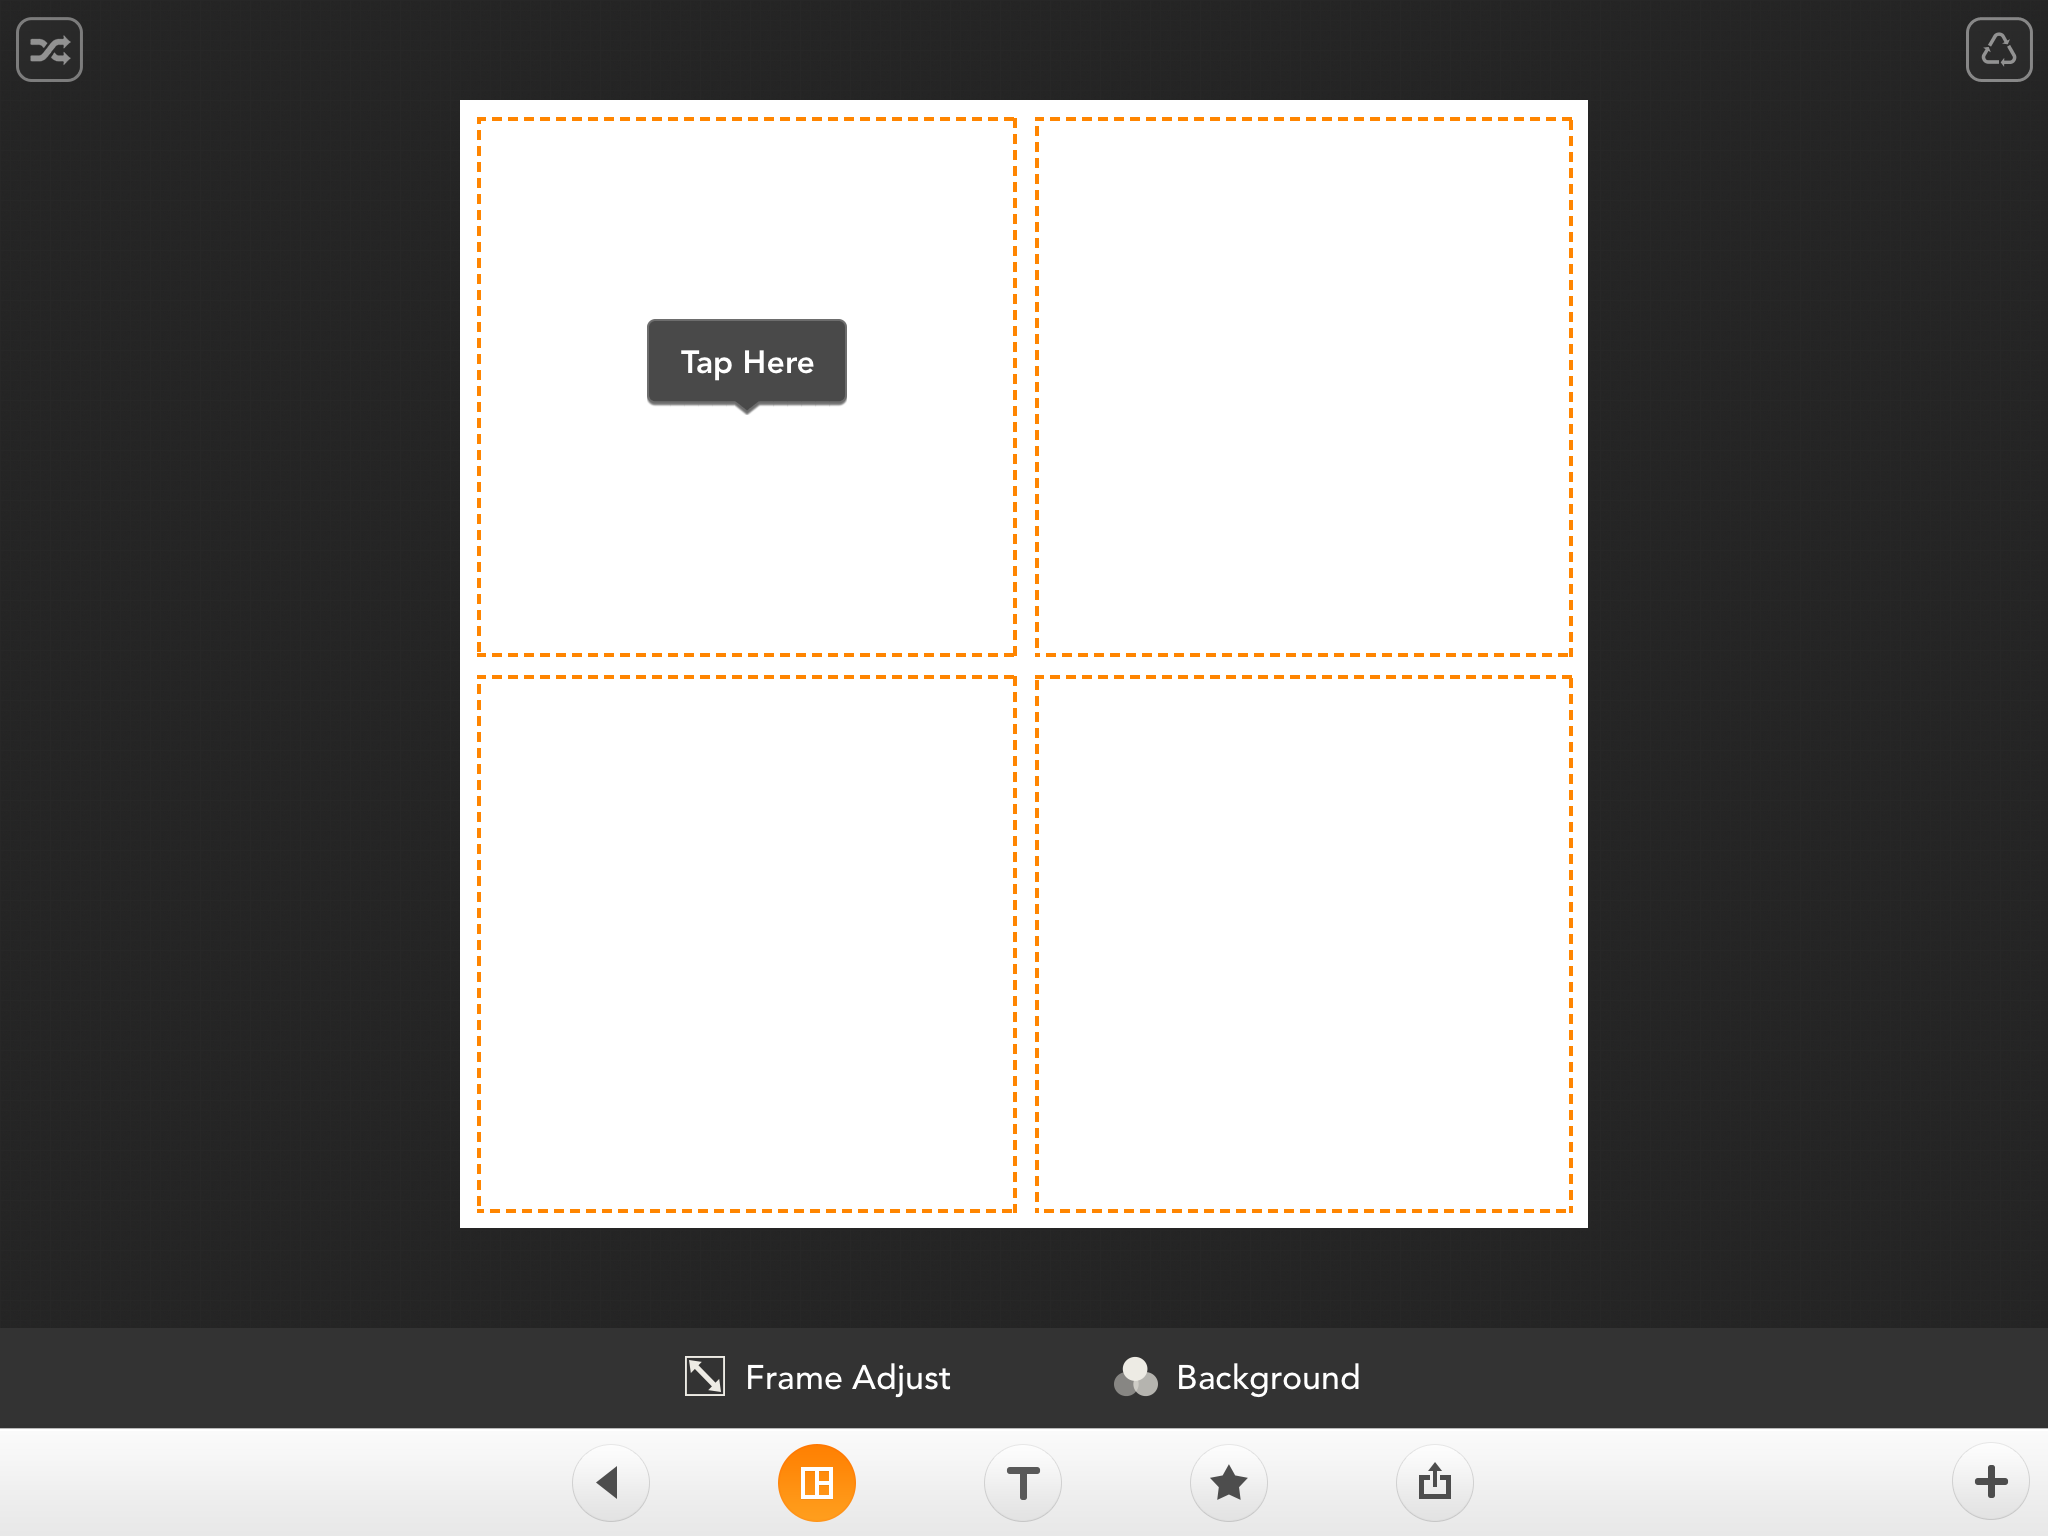
There are other ways of creating the image of yourself for this activity such as those suggested in the ThingLink above, using a photo or using a collage of photos of yourself.

After choosing or creating an avatar of yourself you can go on to the next stage.

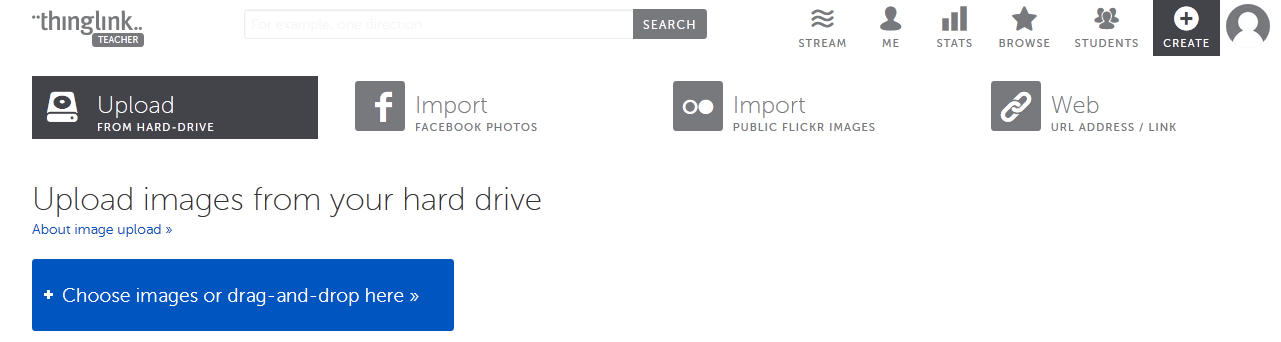
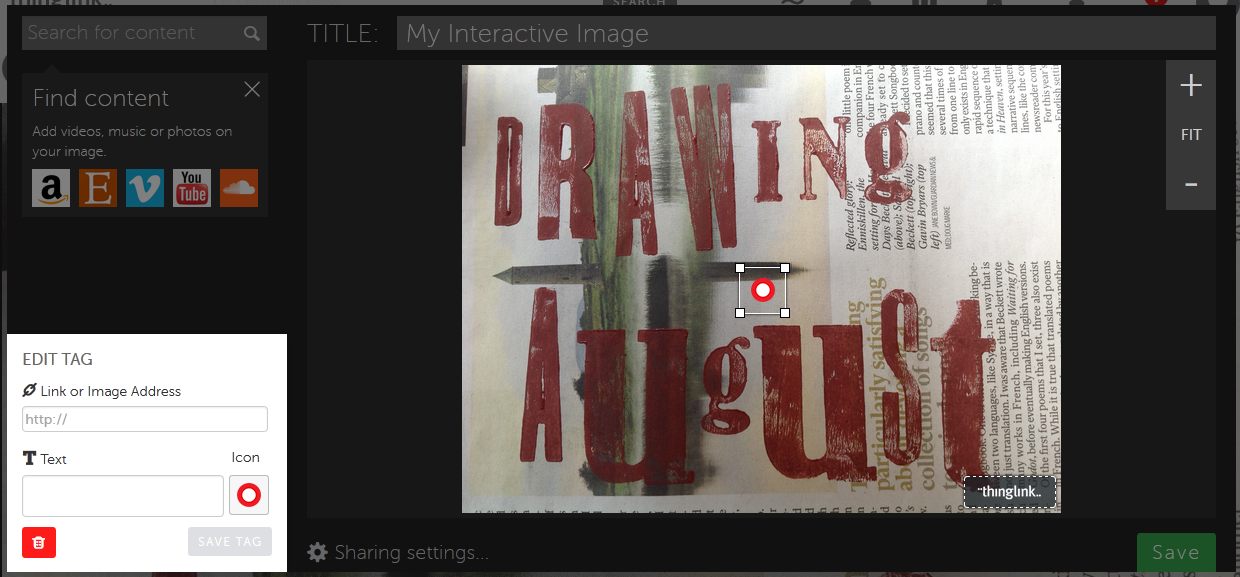
Making your ThingLink

There are some instructions on how to make a ThingLink in this blog post. For this ThingLink the focus is you as a digital user and creator. I made a list of the various ways I appear and interact digitally on social media and other tools. This is a very good opportunity to consider issues related to internet safety and information it is appropriate to make public online. Here is my  digital self ThingLink. Feel free to explore it!

How do you use digital tools to make introductions?


Post it Plus

pipI came across the app ‘Post it Plus’ by accident. I often use post its as a teaching tool with groups of students, asking them to write ideas on post its and then move them around into themes or rank order. Since I had my ipad I have sometimes photographed these – but the Post It Plus app is a more flexible and versatile way of doing this.

When you open the app it allows you to take a photograph of a group of post its. To do this you hold down  the capture icon. Green lines appear around the post its that have been captured and if there are any that do not have a green line, you can touch these and the green line will appear around them so that all the post its are present. You then touch ‘create board’ and the image is saved. I usually take groups of post its and end up with maybe four or five boards to record an activity.

IMG_0333

After this you can move the boards on top of each other to make them all into one, you can name each group and the bigger group, add additional post its and write onto them and the board.

You can also share and export the boards in a number of ways eg by email as a PDF, as a photo, via social media etc. I was able to send the PDF record of our discussions to a group of students after the session so that they could use the discussion ideas after the session. I could have annotated questions and  comments onto it to challenge them further – maybe next time! I’ve added one to see what it looks like, above)

You can read more about the app here.

Explain Everything

Explain Everything

Explain Everything is an app (IOS, Android and Windows)

Cost – £2.29 in the Apple appstore.

You can read about it at this link Explain Everything

It is a very flexible presentation tool allowing you to:

  • import and insert documents, pictures and video
  • draw and annotate
  • move and animate
  • zoom and pan
  • record and play
  • export and share

There are some useful video tutorials available at the link above and some help pages within the app.

So far I have used Explain Everything in three different ways.

I have made a presentation that consists of a sequence of slides that I have added spoken commentary to. This was to introduce an assignment to students and remind them of where the supporting resources are. It was useful to be able to record the commentary with each slide and it was very easy to stop and rerecord small sections without having to record the whole thing in one go.

It can be seen here:

I have also narrated a short guide for students showing them how to get from the opening page of a NILE module to their discussion board and then how to access and use the discussion board. It was so useful to be able to click on the sequence links and show students where to click and what to expect live in the website.

It can be seen here:

Finally I have used it construct two page by page views of collaborative sketchbooks that I have been working on this year. I was able to add the sequence of photos, add annotations and export the presentation to YouTube, Dropbox, imovie and ibooks and email it to myself. I would like to have added music but couldn’t quite work out how to do this.

One of these can be seen here:

I think this app has got a huge amount of potential for use with and by students and I am looking forward to exploring it further.

Padlet

Link –  Padlet

Padlet allows you to set up a space or ‘wall’ that you and others can add text, pictures and links to immediately. You can see these pop up on the screen and you can share or download the contents of the Padlet wall.

Website – free to use

Helppadlet help

Account – set up using your email address, with Facebook or with your google account

padlet lableHow to create a wall

Click the ‘create new padlet’ label or the + on padlet instthe right hand list.

This will create your new padlet wall.

You can then give your wall a title and description using the daisy wheel symbol at the bottom of the list on the right.

When you click on this symbol you have other options too.

You can add an image and a background (wallpaper) to the wall and choose whether the layout will be free form, a stream or a grid.

padlet instrYou can copy the wall if you want to use the same wall with different groups of people.

You can make the wall private, password protected or public depending on your requirements.

share                                           When you click on the arrow symbol this gives you various options to share the padlet wall so that others can add to it.

As you can see you can email the link or share it using social media.


Why use a Padlet wall?

You can use this tool to ask pupils or students in a class or people in an audience to contribute comments, ideas, recommendations in the form of text, pictures and links. It can be useful to collect views after an event or experience. When the wall is complete you can download it as a PDF.

At this link you can see a Padlet wall used as a record of an event – TMNorthants 2014

At this link you can see how teachers have added questions ans challenges to a maths starter:

Minion Alphabet Maths

At this link you can see at Padlet wall created in the Literacy Shed with children’s book recommendations:

Picture Book recommendations

and here is a Padlet that the FDLT Y2 MK group contributed to in a session:

FDLT Y2 MK

Your ideas:

If you use Padlet walls please share links and ideas in the comments section.


ThingLink

ThingLink

website here and app – free (also ThingLink Teacher)

Account – register using your email address

ThingLink is a way of creating and sharing interactive images. You can create an account and log in or log in with Facebook.

How to make a ThingLink.

1. Collect or take some images and then upload them on the ThingLink website or app.

TL1These might be around a theme that you are teaching; say something about you or be based around an event you are organising or have taken part in. It could be one image, or you could use Pic Collage or Moldiv to make an image with several pictures.

2. When you have made the image you can then attach tags.

TL3These can be placed anywhere on the image – somewhere specific or at random depending on your aim for the use of the ThingLink. The tag pattern and colour can be changed by clicking on the tag shape in the box on the left.

Copy and past a link into the bar at the top of the box on the left. Add some text. You might do both of these or just add text. You can attach as many tags as you wish.

3. Save your ThingLink.

TL6You can then share it with other people using the link you are given and using social media such as Twitter and Facebook.

This example is just a quick one to show how a ThingLink can be made – #DrawingAugust

What can I do with ThingLink?

I made a ThingLink to share links about the First World War with some groups of students so that they could research aspects of it using links I had had chosen. With children this could be a way of focusing them on some links you know will be useful to their classroom learning or homework. You can explore this example below.

1914-18

I also made a ThingLink using photos of some field visits made with students. This ThingLink incorporated within in it links to research about outdoor learning that tutors wanted to share with the groups. With children this approach could be used to set challenges or investigations after a visit or event, or share supporting information with parents.

Outdoor Learning

This ThingLink contains links related to handwriting. This is another example of using it to share a range of sources of information – it could be useful to help staff prepare for a training session or explain issues to parents / governors.

HandwritingTL7


I came across ThingLinks on Sway Grantham’s blog. She uses a ThingLink to introduce herself – you can see it here

I think there could be some scope for using ThingLink to attach questions, prompts and suggestions for children. Adding a range of comprehension questions to a page from a book perhaps. If you have any useful or interesting ideas please add them using the comments section.


Bitly

Cost – free

Bitly allows you to create a short link and assign a name to it. You can use it online here. It is also available as an app on the iphone and ipad.

bitly


Account – sign up wiht your email address or sign in using your Facebook or twitter accounts

Using bitly.

When you come across a very long link copy it and open bitly. Paste the long link into the ‘shorten’ box at the top of the bitly page.

shorten


A short link is created that is much easier to use and share.

An example is that this long link https://www.gov.uk/government/publications/schools-pupils-and-their-characteristics-january-2014 can be shortened to this short link http://bit.ly/1uc46RY

In addition a long link can be both shortened and renamed when you are logged into to your bitly account.

An example is this long link https://www.gov.uk/government/policies/improving-behaviour-and-attendance-in-schools can be shortened and renamed to this http://bit.ly/behandatt

Using a bitly account

sign in

You can sign into bitly using existing accounts such as Facebook or Twitter or you can create a separate bitly account. When you are signed in you can customise the names of your shortlinks as above.

You can also collect and group your shortlinks into bitly bundles – these are some of mine:

bundles

Here is a link to one of my bundles – Education blogs

This tool makes the collection, organisation and sharing of groups of links easy. it is especially useful in the module PDT 3003 Debates to prevent long links widening the discussion board screen.

If you have made an interesting bitly bundle please share it as a comment below.


Moldiv

Moldiv

cost – free

2014-05-26 16.55.35Moldiv is an app that allows you to:

1. present photos in different groupings ‘collage’ 

2. cut bits from images and put them onto other images ‘stitch’

Collage

To group and show photos in various formats and layouts browse through to see which layout you want – there are eighty free frames to choose from.

2014-05-26 17.04.14Touch the one you want to use. It will open larger and allow you to tap to choose photos from your gallery or take photos. The box where your photo will go is indicated by an orange fill. This might be important if your photos or images need to be a specific position or order.

When all your boxes are filled touch the tick on the right.


This allows you to see your photos and use:

2014-05-26 17.14.261. frame adjust – this allows you to adjust the size and part of the photos and move the frame lines around, as well as adjust the width of the frame lines and borders and round the corners.

2014-05-26 17.14.082. background – this allows you adjust the colour of the frame using block colours, patterns and grid paper.

In addition to this the T allows you to add text, the star allows you to add stamps and the scissors take you to the ‘stitch’ part of the app – more about this later.

Collage is useful for teachers and TAs when grouping together linked photos such as the record of a visit, event or outcomes of a lesson in one block. It can also be used to show the development of one learner’s work in one image or the outcomes of many students’ work in one image.

Learners can choose and group their own photos or images they have collected to represent a word, a feeling, an experience or some learning.

Stitch

2014-05-26 17.32.04To use the ‘stitch’ part of the app touch ‘stitch’ on the opening screen. This allows you to choose a photo from your camera roll by touching it – this will be your background,  you can cut from other photos and place them onto it.

2014-05-26 17.33.18Touch the tick on the right to begin to stitch. Touch the star to open and then touch the scissors – this will open your camera roll again so you can choose a photos from which to cut. Precut shapes can be chosen and resized.


2014-05-26 17.33.59Touch the tick to cut and then move and resize what you have cut on your background image. Alternatively touch the scissors to cut a shape of your own. Touch the plus button to copy another of the highlighted cut out.

This part of the app can be useful for constructing collections of images for learners to use. It can also be used for making collage art on the screen and choosing and cutting parts from an image and enlarging them to work on further.  It can be useful to think about the background and the elements that you will want to place onto it before beginning.Once saved any images can be further manipulated by using in other apps, such as by opening in Brushes and drawing onto or opening in distressedfx or SnapSeed to add effects.

At any point the photo frame can be downloaded to the camera roll, opened in other apps, shared through Twitter, Facebook, Tumblr and Flickr.

Skitch

Skitch

Cost – free

Skitch is an iphone / ipad / Android app that allows you to annotate photos or images with text, arrows and highlights. It is also available to use on a computer (Windows or Mac).

There is some useful guidance about how to use the features available at this link – Skitch guidance

and a video tutorial here – Skitch video tutorial

2014-05-25 22.48.37Skitch can be used as a way of adding words, captions and sentences to images found or taken by the learner.

English

Write descriptive sentences about can be seen in the image.

Annotate an image with questions.

Annotate an image with descriptive words to later use in writing about setting, character etc (a way of developing a word bank).

Label a diagram or photo using boxes or arrows.

2014-05-25 22.59.02Other subjects

Use labelling to teach, learn, extend subject specific vocabulary.

Use as a visual word bank.

Use as a way of noting thoughts or description on a visit – immediate reaction.


Visual Poet

Visual Poet

Cost – free

Visual Poet is an app that allows you to take or choose a series of three photos and label each of them with some text as a caption.

Opening screen

2014-05-26 15.56.31Create – touch ‘create’ to get to the screen where you can add or take three photos.

Do this by touching the photo where it says ‘tap to edit’.


This opens a page where you can choose a photo from your photo library, from Tumblr, from Flickr or from Google. 2014-05-25 23.40.38

When you have chosen a photo you use the red box to place the image and choose the photo by double tapping. On this screen you can also add a title, credits for the images and comments or notes. To add text tap in the top box and this opens a text box for you to type into.

2014-05-25 23.40.38-12014-05-25 23.40.40To go back to the main page scroll across like turning the page of a book.

Polish – touch ‘polish’ to to edit the title, credits and comments.

Publish – touch ‘publish’ to email the poem to yourself or someone else.

Scrap – touch scrap to start again.

Browse – allows you see all your Visual Poems.

Settings – allows you to log into Tumblr.

Daisy-1 This app can be used in variety of learning activities allowing learners to use both images and text to record their thoughts, responses, descriptions or questions.

English:

Give learners three words and ask them to find three images to match, and put each word into a sentence relating to the image.

Use three images and three sentences to tell a short story.

Use three images and three descriptive sentences to describe a story character.

Ask learners to use narrative, poetic, reporting, instructive, explanatory or conversational language in their text. (lots of other language possibilities)

Ask learners to choose three photos they have taken on a visit or at an event and annotate them with what they have learned.

Give learners lines of poetry, similes or metaphors and ask them to find images to illustrate them.

Ask learners to choose a key part of a story from the beginning, the middle and the end for their sequence.

Ask learners to suggest three different endings for a story in their sequence.


Light Trails

Light Trails Camera Pro

Cost – free

Preview – If you have the preview screen showing you can see the light trials build up. If you are writing or trying to capture something planned this is essential. Tap the word ‘preview’ to get it or remove it.

2014-03-25 08.29.512014-03-25 08.29.21


Camera settings (icon on left)

2014-03-25 08.39.03Capture mode – set to light trails

Shutter speed – the larger the number the longer the shutter stays open (eg 15 seconds). If the shutter speed is set to B the shutter is controlled manually so you can decide when it shuts. This useful if you are photographing a preplanned light trail (eg writing your name).


Camera settings (icon on right)

2014-03-25 08.42.06

Self timer – 0 (unless you want to use this – if trying this out alone it can be useful)

Screen shutter – button to left

Auto save – on or off


Other useful tips:

The record button is the circle in the centre and it goes red when photographing.

When the photograph has been taken if you touch the arrow to the right you are given the option of saving the photo to camera roll.

Freeze – half way between off and on.

Contrast – button half way along.

jean