Teacher scenario – the question posed in this scenario is of great interest to me. I am in the early stages of supporting some colleague to plan a session with an international focus. I too have been thinking about strategies to make this happen and I’ve come across something shared with me by a student (@TheTechyTA) called Mystery Skype. You can read about his experience of it here – Mystery Skype in school.
I’ve been wondering if I can use this with the students. If anyone has any contacts abroad who work in education at school level, especially as teaching assistants I’d love to hear about them.
Task 1 reflecting As part of a work project (Teaching with Tablets MOOC) my colleagues and I are using Slack as we work on designing each week of the online course. We can access this from phones, Ipads and computers so it is very accessible for the whole group. Its the first time I’ve used it so its early days in terms of evaluating it. I know Slack has come up in the #BYOD4Lchats as well but I haven’t found my way to it yet!
Task 2 making – I’ve tweeted to see if anyone has any contacts with teaching assistants in international schools in relation to the session I’m seeking to organise with my colleagues (see above). I’ve included a colleague in the tweet to enlist her support in looking for people as she is one of the tutors who will be leading this session.
Task 3 development I realise the possibility of doing this online experience alongside other colleagues in the same university as this task in particular would be so helpful and productive. I hope next time BYOD4L runs to enlist a group of colleagues to take part, maybe from within the division that I work in as I think it could be a powerful way of developing our use of devices, something that will be essential in the next few years as the nature of out university and our jobs change.
Pic Monkey is a free online photo editor available at this link.
You can use it to group and place photos together to make a collage of images. In order to use Pic Monkey you need to have collected the photos you want to use saved in ‘my pictures’ on your computer.
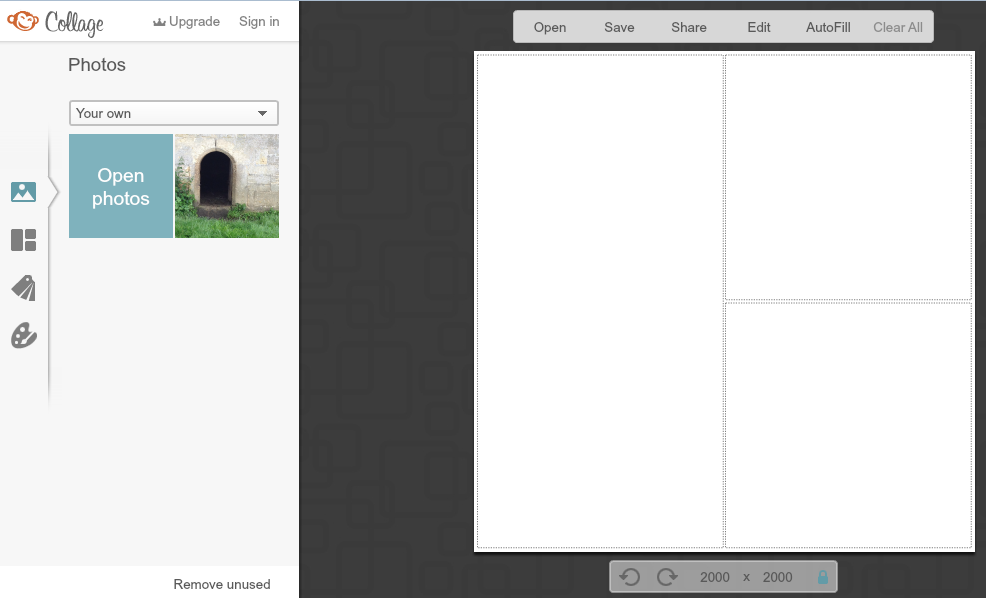
1. Adding the pictures to Pic Monkey.
Click on the ‘collage’ button at the top and this will initially open to allow you to choose a photo by clicking on it. The photo will appear in the list on the left. Click on ‘open photos’ to add more photos from ‘my pictures’ on your computer. Continue until you have collected all the photos you want to use in the collage.
2. Making the collage
Click on the collage icon in the list on the left (second down) and explore the different layouts of collage. The ones at the top are freely available and the ones lower down are only available of you pay for a subscription. When you click on the one you want it will appear in the square on the right.
3. Adding the photos to the collage
When you have chosen the collage layout click on the photo icon in the list on the left (at the top of the list). Click on and drag each photo to where you want it to be in the collage.
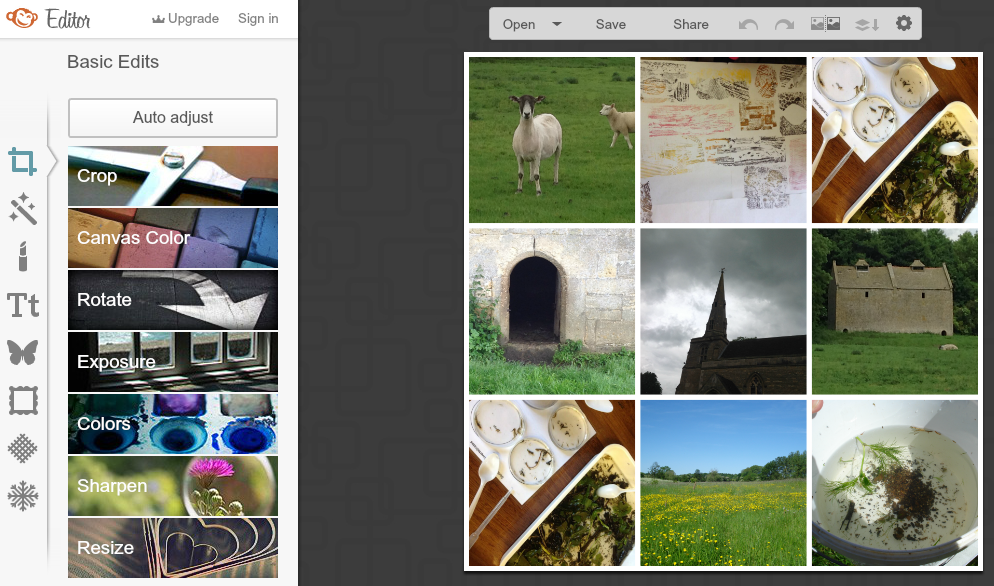
4. Finishing off your collage
After you have arranged your pictures in the collage you can edit the collage by changing the frame colour and edges, adding text and make other additions. To do this click on ‘edit’ in the list at the top of the picture and then use the icons in the list on the left.
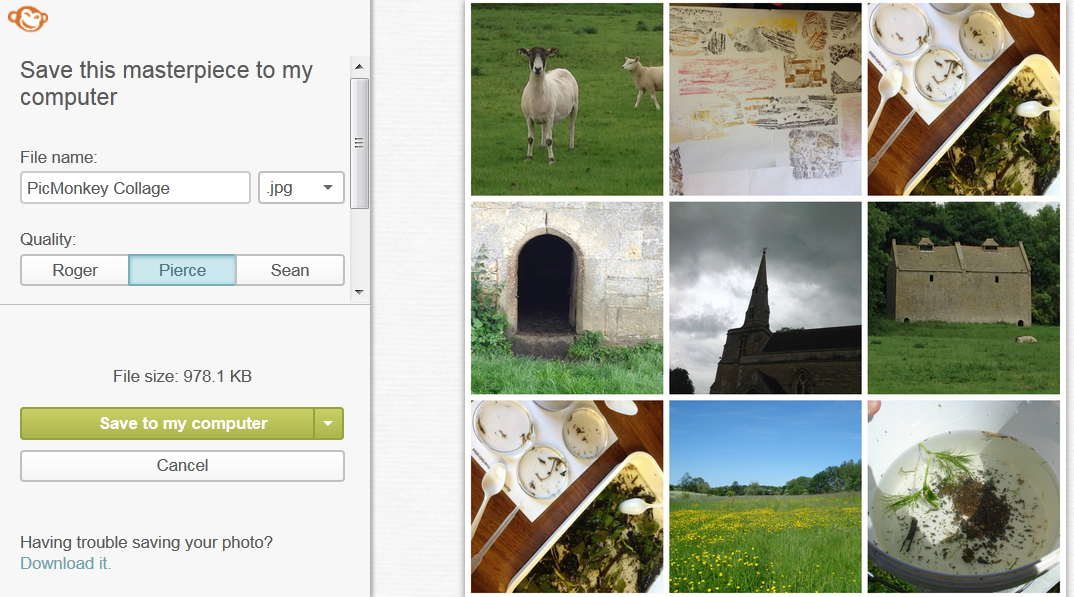
5. Saving the collage
When the collage is complete you can save it to your computer. Click on ‘save’ and you will be given the open to save.
When you have made the collage you can use it to import into ThingLink and add tags to.
This summer I took part in the ThingLink Teacher Challenge. The activity in week 1 was based around introducing ourselves and our connections in the digital world. This is a useful activity to consider when meeting a new class or group or as a task to set before pupils or students begin working together.
It consisted of two stages: firstly, designing a digital avatar and secondly, uploading this to ThingLink and adding tags.
Designing a digital avatar.
There are number of tools that can be used to design a digital avatar and you can see links to a few on the ThingLink below.
I used a web tool called ‘doppel me’ to create mine. It allows the user to make choices about the appearance of their avatar. If you join and sign in you can add more detail. e:
This is mine.
There are other ways of creating the image of yourself for this activity such as those suggested in the ThingLink above, using a photo or using a collage of photos of yourself.
After choosing or creating an avatar of yourself you can go on to the next stage.
Making your ThingLink
There are some instructions on how to make a ThingLink in this blog post. For this ThingLink the focus is you as a digital user and creator. I made a list of the various ways I appear and interact digitally on social media and other tools. This is a very good opportunity to consider issues related to internet safety and information it is appropriate to make public online. Here is my digital self ThingLink. Feel free to explore it!
How do you use digital tools to make introductions?
Aurasma is an augmented reality app that allows you too a picture, sound or video to a picture or object.
It is available as an app for IOS and Android mobile devices and tablets. The website is here.
In order to use it you need to create an account or use other existing accounts to log in (google+ etc).
The app works in a similar way to a QR code reader. When you hold your device over an ‘aura’ this triggers an image or video on your device. The app can be used to create your own auras for fun or learning. Unlike a QR code the symbol, object or picture itself triggers the aura, which can be an interesting and useful feature of using it. In order to access it the aura must be public and the user must sign into aurasma and follow the maker of the auras or the channel they are on.
This video clip is a clear guide to how to create an aura:
I’ve just made these paw prints and added an aura of the creature that makes each one. I’d be asking children to look at talk about the prints, using their existing knowledge to sort them, possibly identify them and make guesses. they can then use a phone or tablet with the aurasma app to check which animal made the track. On the back I have added a QR code that takes the user to further information about each creature so they can research them further. Discussing this with students it was suggested that pictures of the animals or the names could be available for matching before checking using the app.
Other uses in education might be:
adding to photos of children’s activities and linking to videos of them performing these activities eg photo of the school choir, video of the choir singing;
adding to pictures to provide extra written or spoken information;
adding a speech to a picture of a story character eg picture of the big bad wolf, video of his saying ‘I’ll huff and I’ll puff and I’ll blow your house down!’
adding a description or explanation of a piece of art or technology made by a child.
If you are using aurasma or a similar app add your ideas and links below.
Paper, scissors and glue – camera, apps and dropbox: exploring the relationship between making art in the physical and digital world.
Over the last few weeks I have been teaching a session to Year 1 Foundation Degree Learning and Teaching (FDLT) students based around using digital technology along with more traditional art materials (collage). As I have taught the session to the three groups a number of interesting questions and points have arisen.
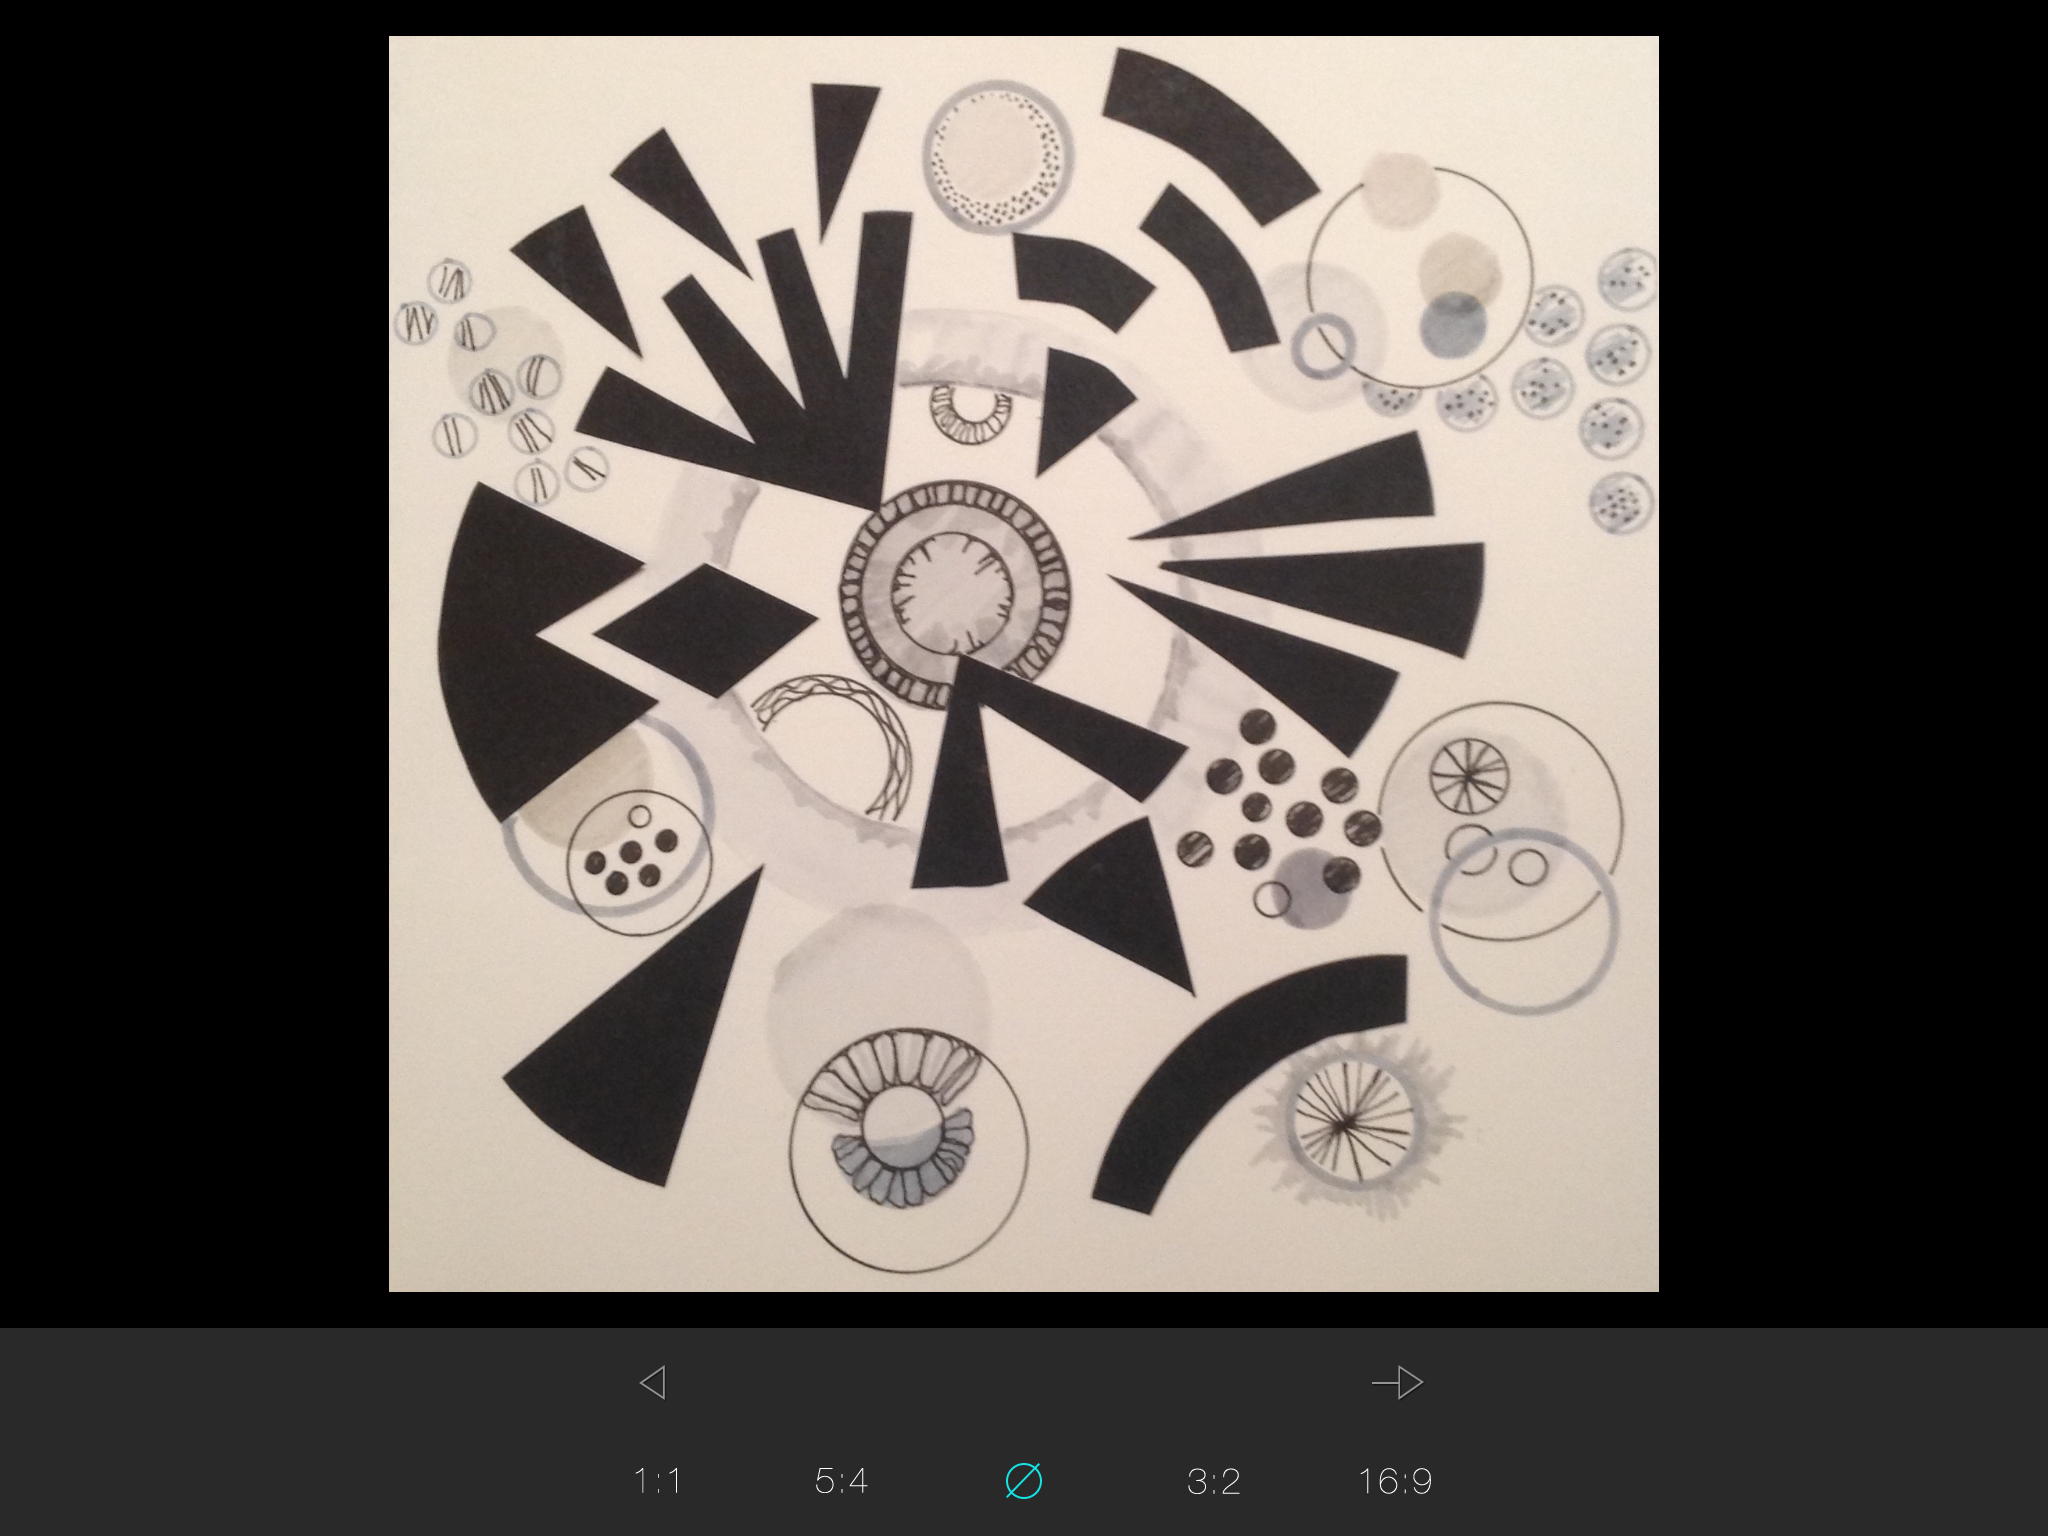
The session was introduced by asking students to use collage materials (coloured card and newspapers / magazines), scissors and glue to create a skyline of buildings. The only restrictions were that students all had square backgrounds to work onto and should include at least two very tall buildings. I chose to provide them with squares because the three apps we would be using each use square images and I have found from experience of using one of the apps that having variations of height can be especially visually dramatic.
This phase of the session was a time when students worked on their own collage image but collaborated by talking with each other about what they had chosen to do and why, sharing ideas and approaches and asking for help from the group (has anyone got any pictures of flowers?). Students also talked about whether they usually support pupils with art and their feelings about making their own art. Unfortunately some students were still experiencing negative feelings left over from harsh or insensitive comments made about their own art in lessons when they were at school. It was interesting to observe the varied approaches – if I had been doing this with children I would have kept the glue out of reach until they had chosen and arranged and rearranged their paper into an arrangement that was pleasing.
As students finished their collages we discussed the potential of this activity for supporting learning in art. Students used a list of visual elements to consider how the choice of materials and challenges could be adjusted through the introduction of more focus and different choice of materials to promote exploration of specific aspects of art – colour, tone, pattern, texture, shape, space, form and line. The development of fine motor skills through the physical use of tools (scissors) and application of glue as well as developing ideas from imagination, observation or the work of artists were considered too. Making choices, arranging and placing were also aspects that could be developed, as well cutting out holes to allow for a see through and layering effect.
The next step was to take a photo of the collage using the camera on the ipad. Setting the camera to square could be useful here, or editing the photo using the cropping tool. The photo would now form the basis of the rest of the session.
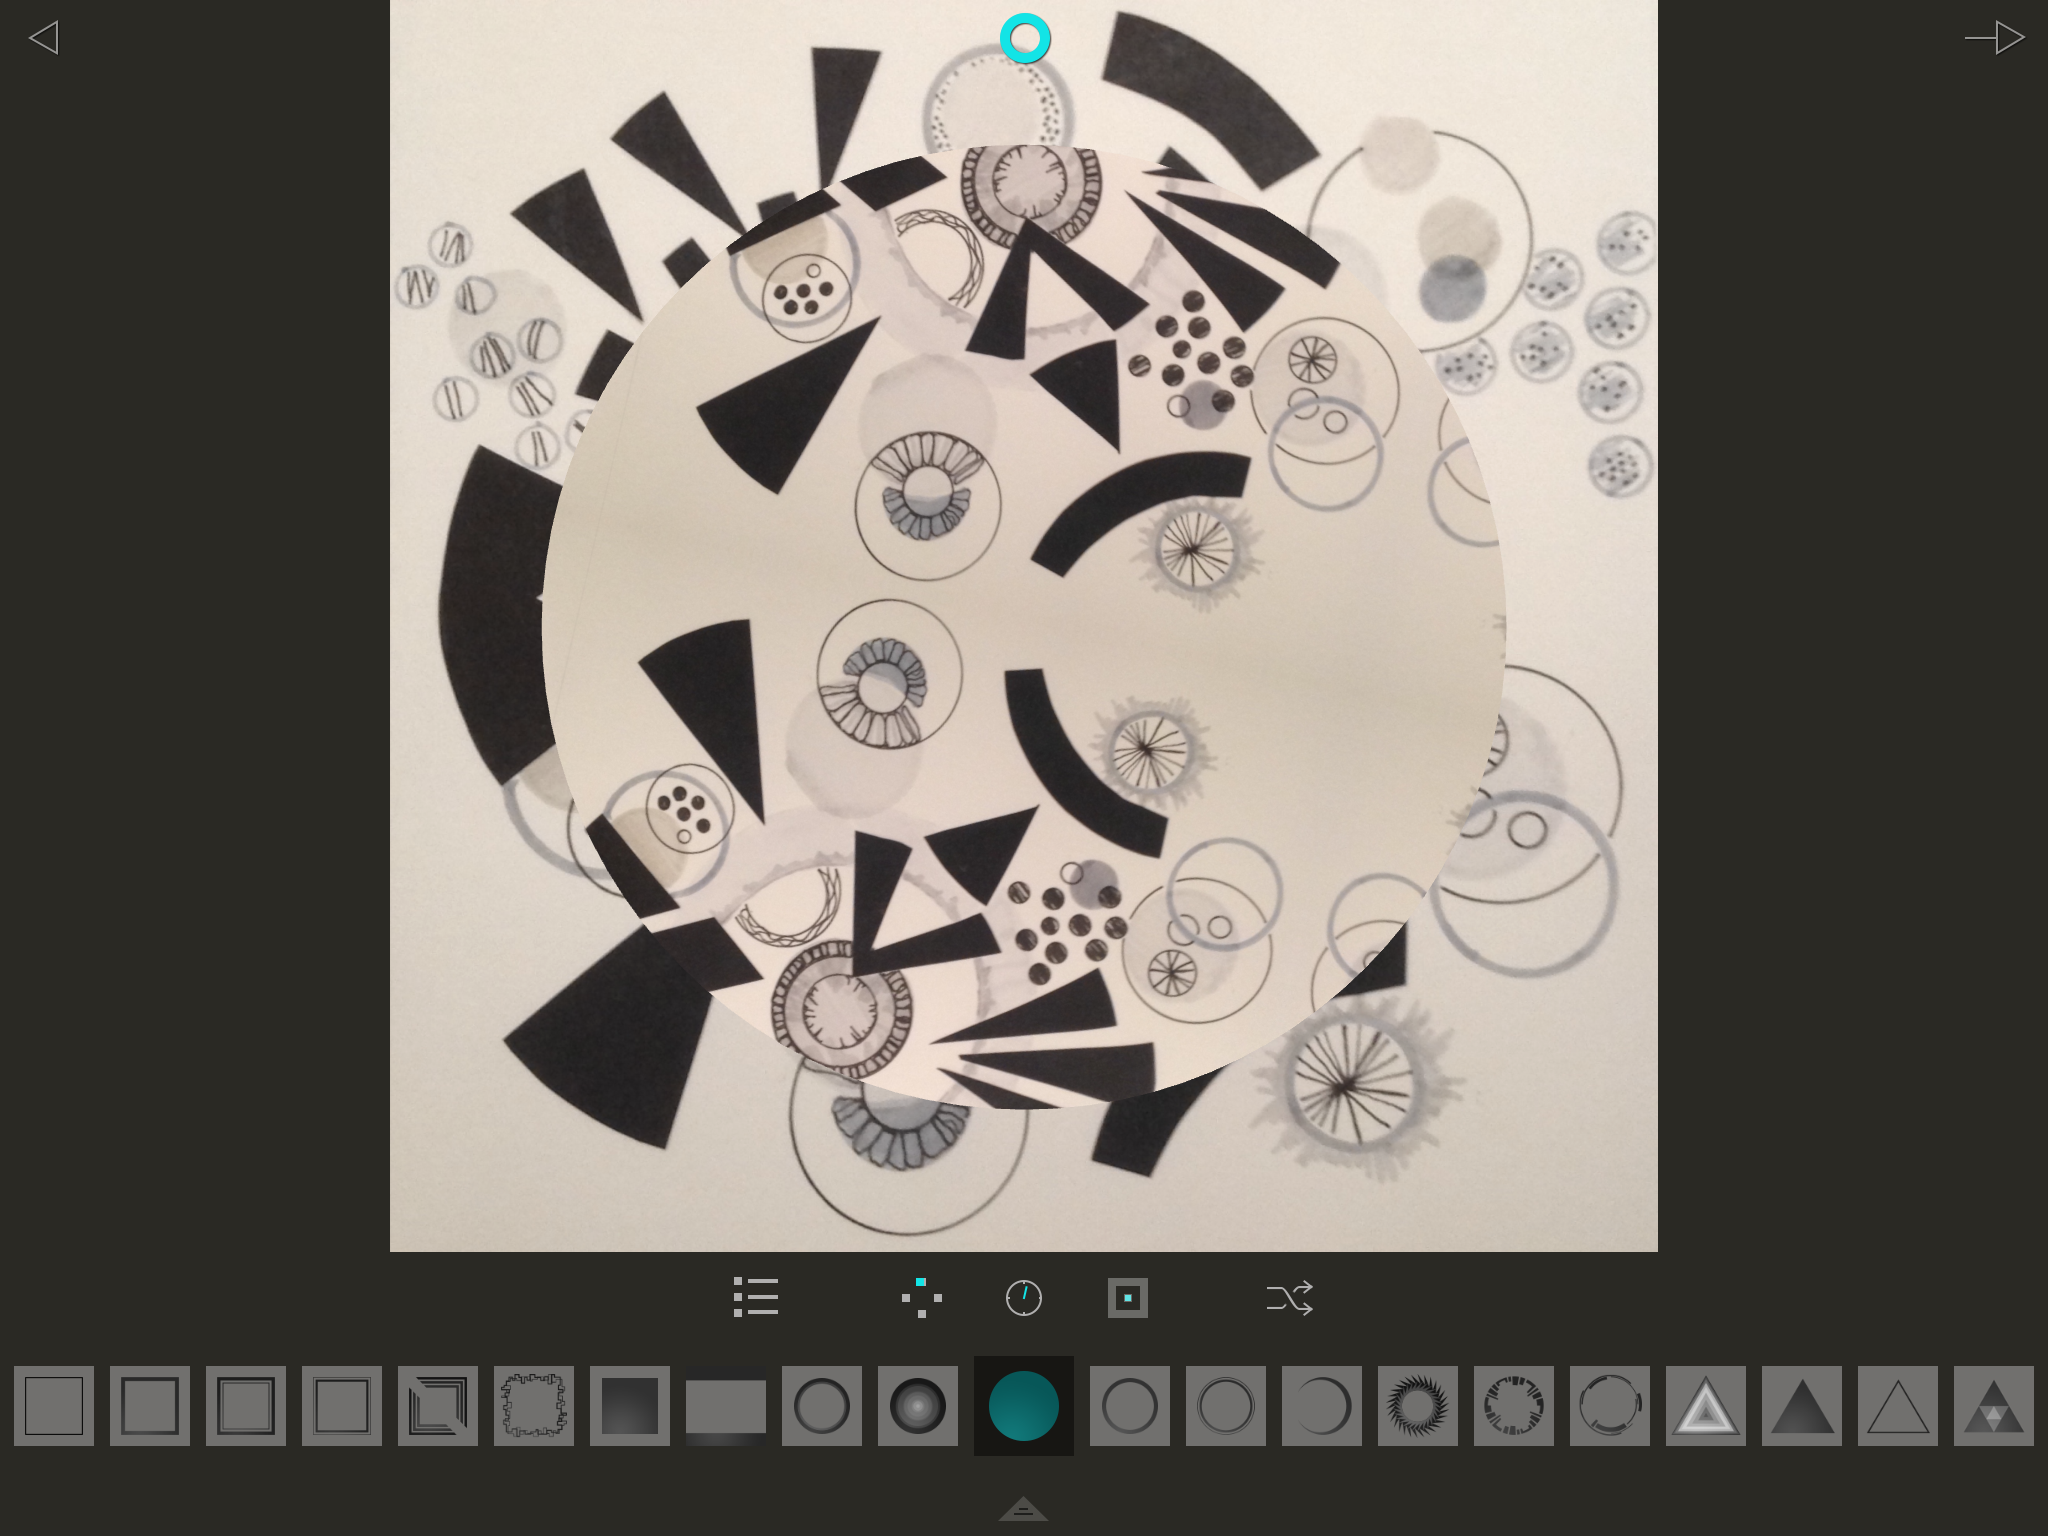
Students were next introduced to the app ‘RollWorld’. This is a ‘tiny planet’ that allows an image to manipulated spatially. Students were encouraged to use the crossed arrows to see what the app could do and then go on to use the six sliders to exercise more control, saving any interesting images to the camera roll. Some amazing images were produced ranging from reducing the collage to something completely abstract and making a change in the space that created a distorted, sometimes surreal perspective.
The next app students explored was ‘Fragment’. This is an app that allows the image to be manipulated in pieces and layers, with built in colour changes. Using the crossed arrows and saving images to camera roll were relevant to this app as in the previous one. Again, the image could be pushed to change completely or be changed slightly in layout or colour.
It was interesting to note that whilst the students worked with the apps they were often more focused individually on their ipads leading to less collaborative talk. There was more talk about technical aspects (how to do things) with students who were more experienced and confident with ipads supporting those less familiar. Some students suggested that this individual ‘private’ experience would be valued by children, allowing them to work in a situation where they did not feel judged or compared.
Having now made many images students were asked to to choose their collage, a Rollworld image and a Fragment image as a record of their exploration and load them into another app – Visual Poet. They could give this sequence a title, an author and annotate each image then take a screenshot to save it to camera roll. On reflection this could be replaced by creating three slides with spoken comments or by making a picture collage using Moldiv as the Visual Poet app is rather restrictive in size of image and placement of text, as well as being difficult to share.
Finally students were asked to log into the FDLT dropbox and upload their images so that they were all saved and available to them after the session. As I taught the sessions I found that the collecting, saving and sharing of images must be built in to the session. The students needed also to be asked to log out of the FDLT dropbox so that other random material does not appear as the ipads are used around the School of Education. The photos from the session need to be deleted from the camera roll so that the ipads don’t get clogged up with lots of old images.
After the sequence of activities were completed we discussed some key questions about the role of digital technology in learning.
Classroom organisation:
The varied levels of experience with ipads throughout the groups can be a challenge or the peer support that emerged can be seen as a positive outcome especially where children could be deliberately paired to develop this.
The availability to the user of all apps on the ipads can lead to other related apps being introduced and explored, enriching the learning or random game playing that detracts from the focus on learning – this must be a greater challenge with children in the classroom.
Sharing the images created on an ipad – creating a sequence of slides to be shown on screen best preserves the vibrancy of the images where printing them out is costly and leads to a loss of their glowing brilliance.
Technical housekeeping:
Before each session I made sure each ipad had no photos stored in the camera roll and signed out of any dropboxes. After producing images (in one session nearly 200 images were made) all need to saved all to dropbox, drop box logged out of, and delete all photos from camera roll. If this is not built in to the session it is very time consuming for one person to do after each session. One or two of the ipads would not share the photos and this was disappointing for the students whose work was trapped.
Physical:
The possible detrimental effects of using apps with vivid and changing colours on students (experienced with a minority of students in one of the three groups).
The physical challenges of swiping and touching with right pressure for some students leading to frustration.
The advantage of being able to explore some aspects of art in a ‘clean’ situation for pupils who dislike or are distressed the messy aspects and feel of art materials.
Curriculum and learning:
The concern that making art digitally could replace using physical materials which can be expensive, messy and time consuming to use – leading children to miss out on the sensory experiences inherent in the subject. This was balanced by students who suggested that for children who dislike the ‘feel’ of art materials the opportunity to explore colour and effects on the ipad would allow them access to this experience.
The opportunity to use ipad apps to allow children to create and manipulate images could help overcome children’s reluctance to make art if they are reluctant to draw or paint. The use of apps allowed for accidental effects that could be chosen and developed and some students felt that there were no preconceived ideas of what was ‘good’ and so felt less pressure. The use of the do / undo allowed for easy discarding of images. The idea that many, many images could be created and then chosen from allowed freedom to have a go and create.
Using physical and digital manipulation together can lead to some outcomes that could not be achieved by working in one way. These apps in particular lead to an exploration of space, colour and pattern as well as a step into abstraction that can be hard for younger children to learn in other ways.
A next step would be to use the images to make further physical art by recollaging or drawing from.
Attitudes:
Some students were enthralled and enthusiastic, enjoying the experience themselves and immediately seeing the potential for using with their pupils in lessons or out of school clubs.
Others were less keen and some were actively worried about this replacing art, a subject already under threat in many schools.
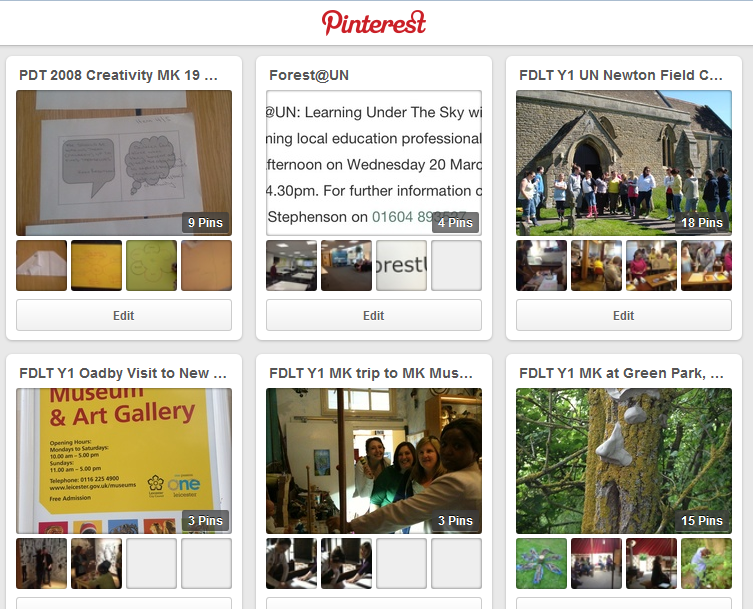
Oadby images
MK images
When planning and teaching I need to consider:
Basic skills: use of dropbox, connecting to internet, connecting and disconnecting an email account.
Basic skills of using an ipad: taking a photo, cropping a photo, finding an app by gently pulling down the screen and typing the first few letters, finding the camera roll, taking a screenshot, swiping.
Skills specific to the apps: remembering to save interesting images to camera roll, using the crossed arrows to explore at random, using the specific tools in each app to control effects and deliberately create something.
Should a session like this be based on technology provided by the university / school so that all can have the same device and apps or should it be ‘bring your own device’ (BYOD) and equivalent apps used on different types of devices?
RollWorld is an iphone / ipad app that allows you to create ‘Tiny planet’ or stereographic images from photos and videos.
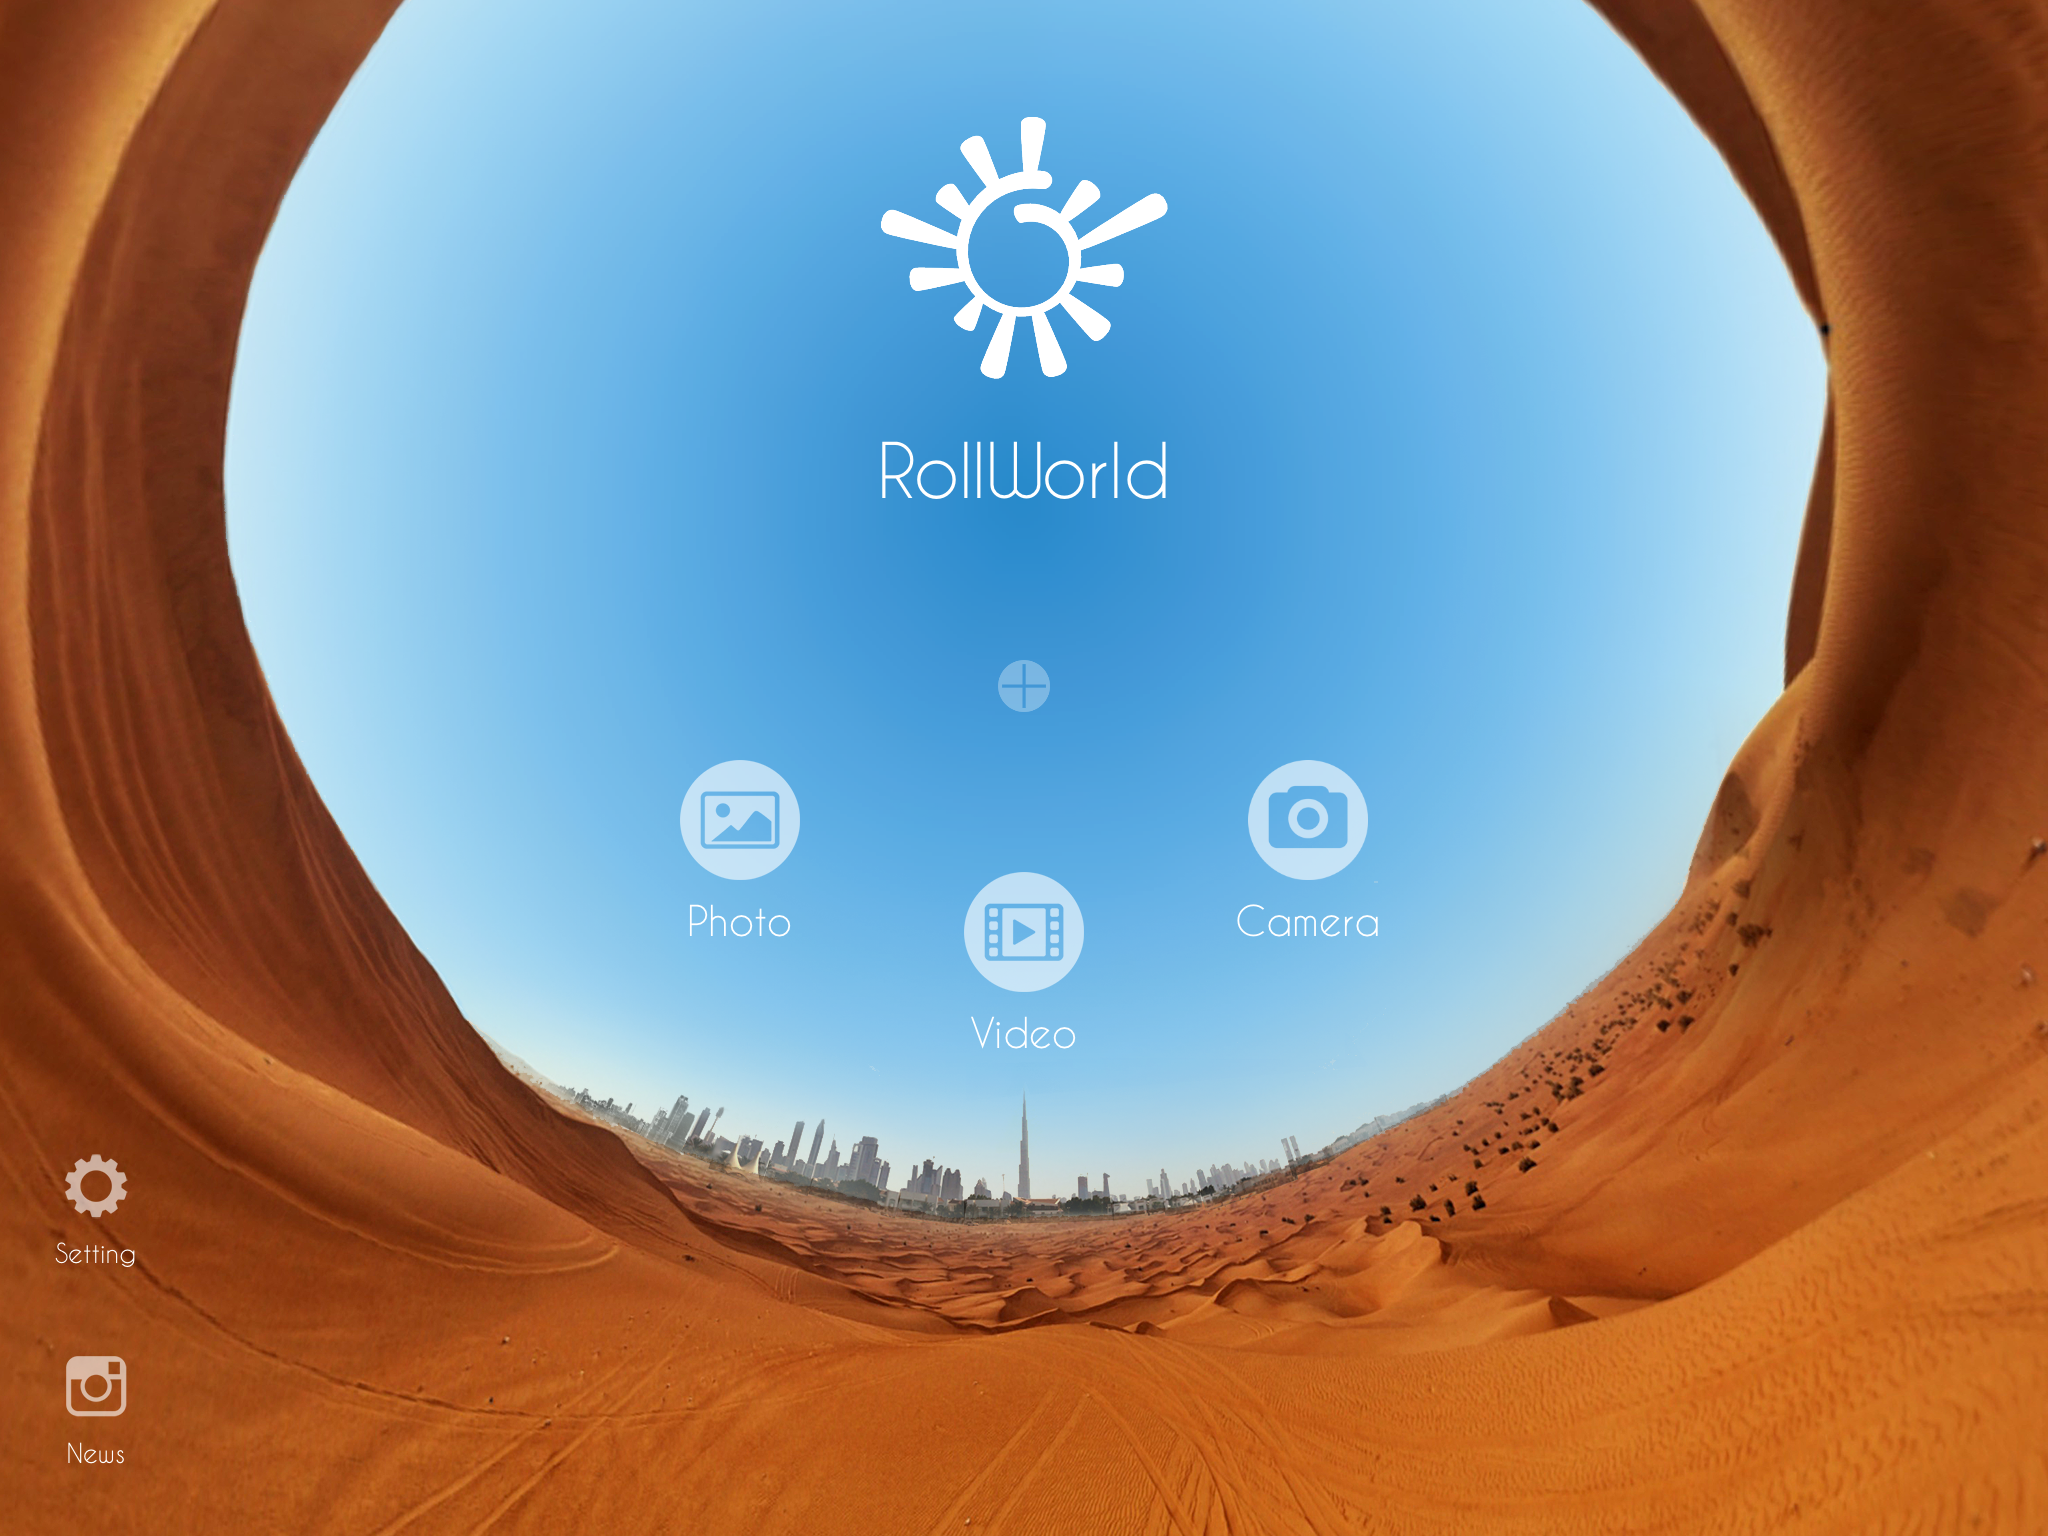
When the app opens you can choose whether to use an existing photo or video from your camera roll or to take a photo.
When you choose a photo it opens like this – with the sliders to the right on the default settings.
When you click on the i at the bottom of the slider menu you can see an explanation the effect that each slider has. You can also use crossed arrows to get a series of random effects – this is a good way to explore the effects the first time you use the app.
When you click on the arrow in the top right you choose an image to share or save. You can crop the image, save it to photos, email it or share it through social media.
This is an outline of the basics. There is lots more that this app can do – if you have any interesting results add them to the comments below.
I came across the app ‘Post it Plus’ by accident. I often use post its as a teaching tool with groups of students, asking them to write ideas on post its and then move them around into themes or rank order. Since I had my ipad I have sometimes photographed these – but the Post It Plus app is a more flexible and versatile way of doing this.
When you open the app it allows you to take a photograph of a group of post its. To do this you hold down the capture icon. Green lines appear around the post its that have been captured and if there are any that do not have a green line, you can touch these and the green line will appear around them so that all the post its are present. You then touch ‘create board’ and the image is saved. I usually take groups of post its and end up with maybe four or five boards to record an activity.
After this you can move the boards on top of each other to make them all into one, you can name each group and the bigger group, add additional post its and write onto them and the board.
You can also share and export the boards in a number of ways eg by email as a PDF, as a photo, via social media etc. I was able to send the PDF record of our discussions to a group of students after the session so that they could use the discussion ideas after the session. I could have annotated questions and comments onto it to challenge them further – maybe next time! I’ve added one to see what it looks like, above)
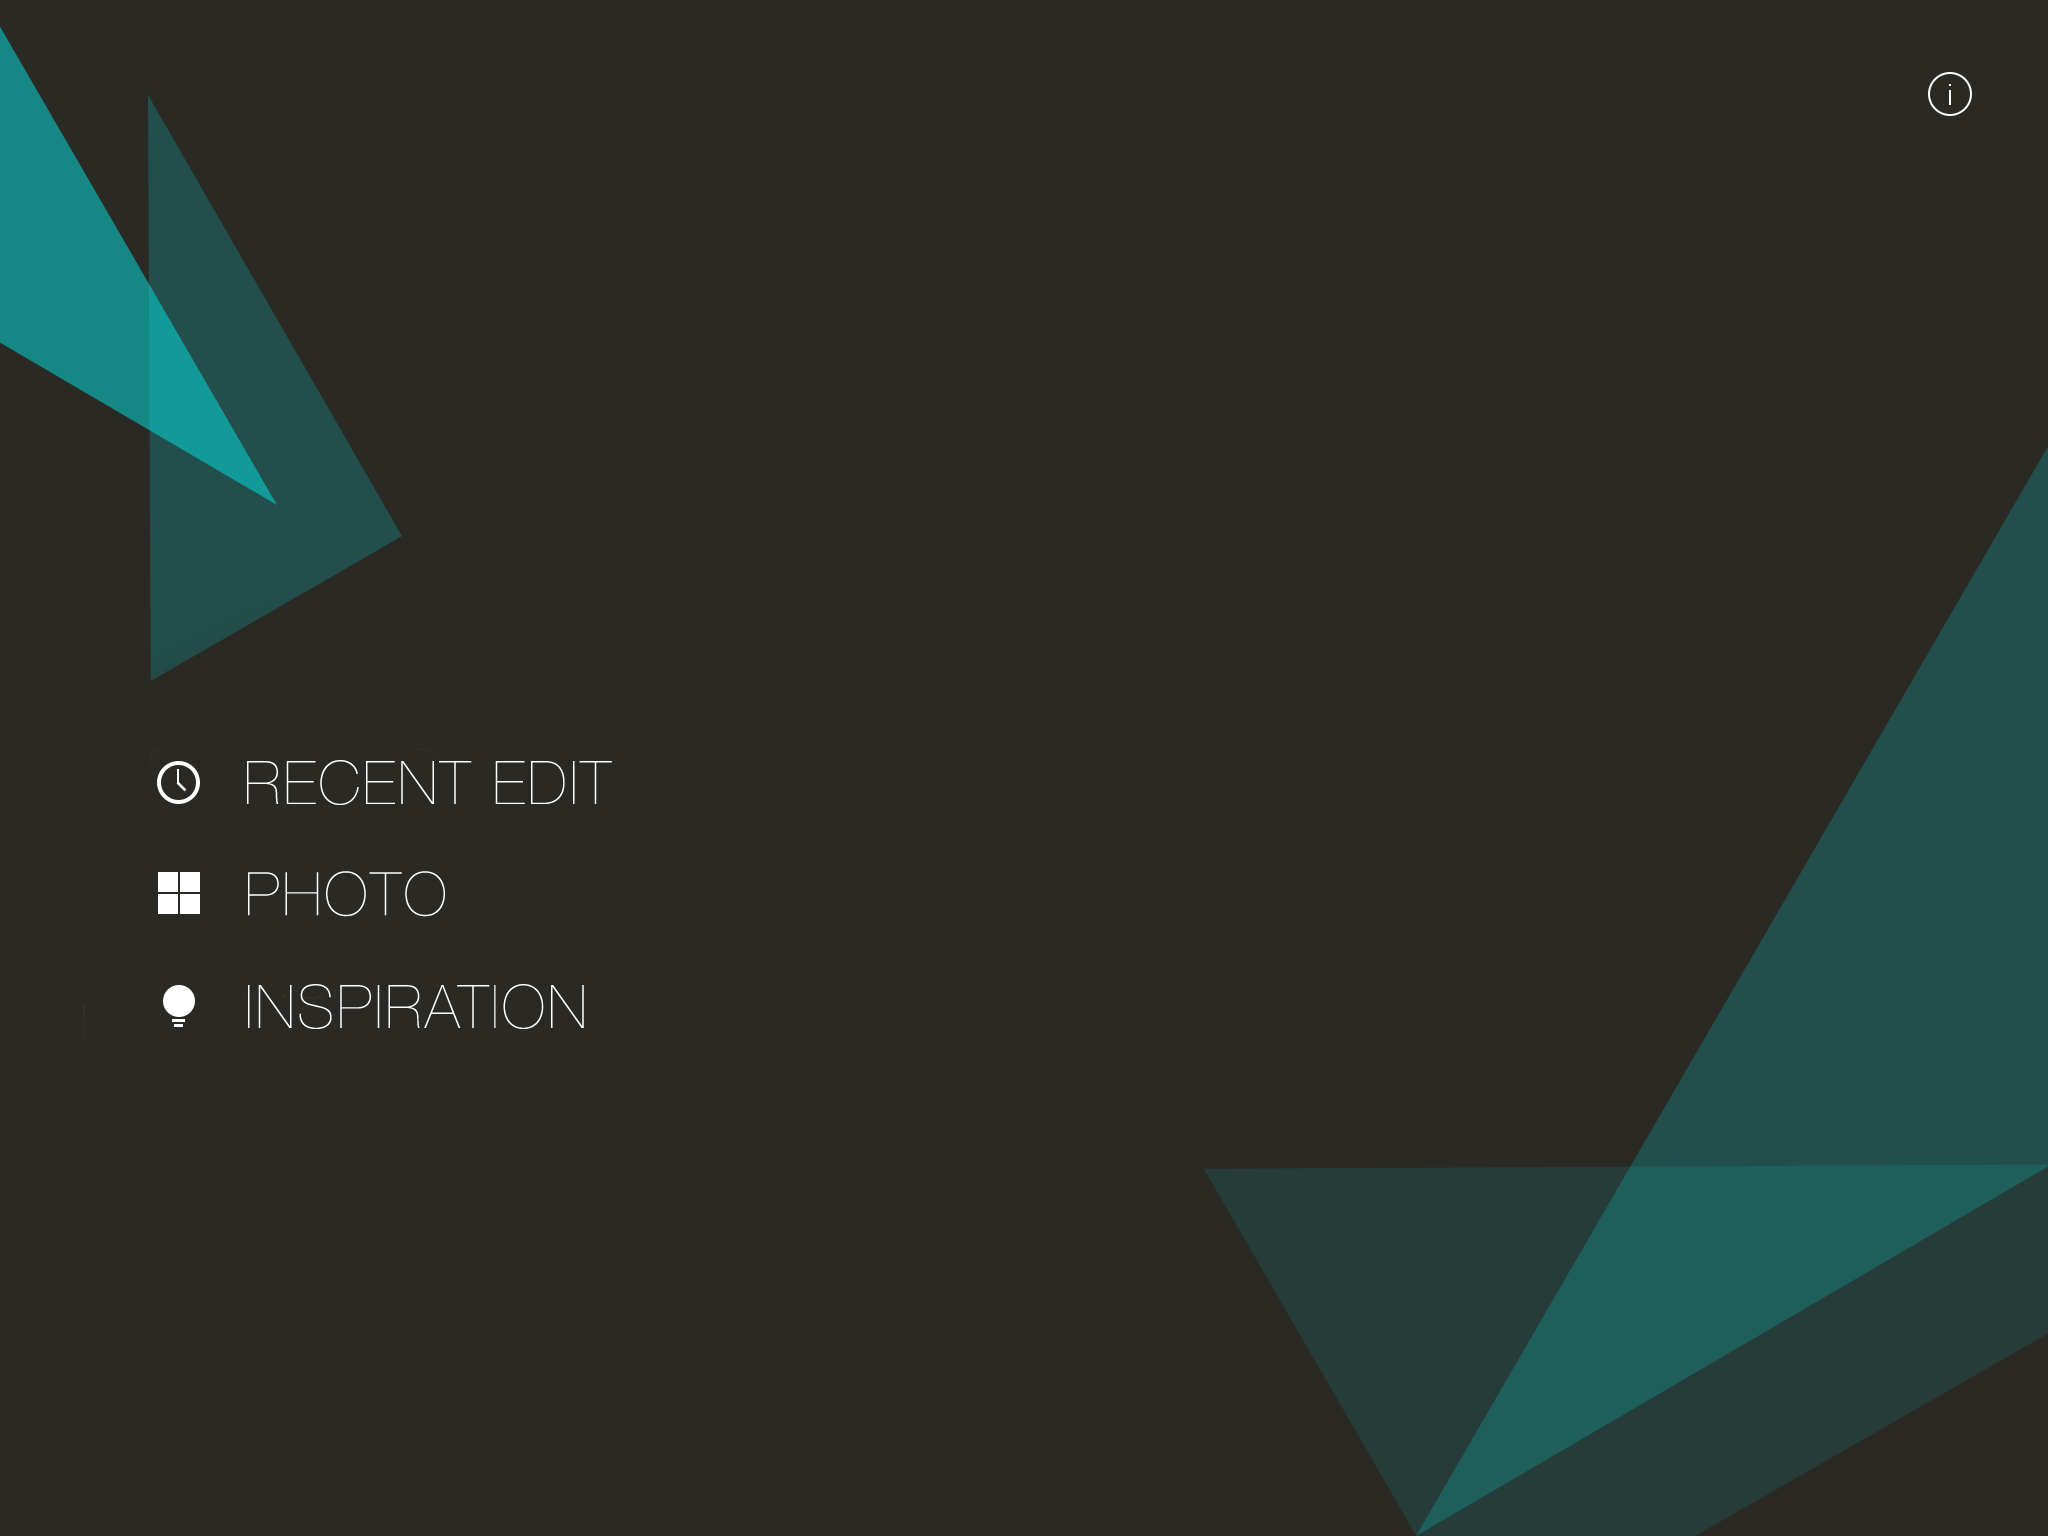
When the app opens you can choose to use the last photo you were editing, a photo from your photo album, or ‘inspiration’ eg one of the preloaded images.
choosing the photo and size
If you choose one of your own photos you can then choose a size and proportion. You can back to photos using the arrow to the left and forward to the app using the arrow on the right.
manipulating the image
On the next screen you can choose to manipulate the photo using the effects randomly (arrows on right) or touch each shape in the line below to choose specific ones. Move the image around on the screen to change the size and orientation within the chosen shape.
changing colours
You can touch the small inverted triangle at the bottom to move to the next screen. On this next screen you can change colour and within that the brightness and contrast as well as blurring, inverting and desaturating.
a refragmented image
Touching the arrow at the top right allows you to save the image, refragment it and share it. It can be useful to save it at different stages as you work because it is sometimes impossible to back and recreate the same image again.
Ideas:
manipulating photos
make some art, photograph it, fragment it, make more art from it
use to make backgrounds for presentations
print out and use as collage, draw onto
Other associated apps – Tangent
If you have tried out the Fragment app please add your examples and ideas in the comments below.
Padlet allows you to set up a space or ‘wall’ that you and others can add text, pictures and links to immediately. You can see these pop up on the screen and you can share or download the contents of the Padlet wall.
Account – set up using your email address, with Facebook or with your google account
How to create a wall
Click the ‘create new padlet’ label or the + on the right hand list.
This will create your new padlet wall.
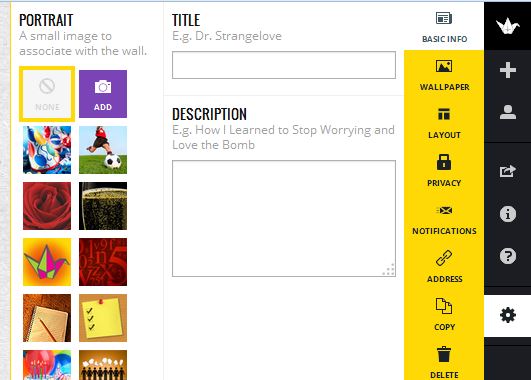
You can then give your wall a title and description using the daisy wheel symbol at the bottom of the list on the right.
When you click on this symbol you have other options too.
You can add an image and a background (wallpaper) to the wall and choose whether the layout will be free form, a stream or a grid.
You can copy the wall if you want to use the same wall with different groups of people.
You can make the wall private, password protected or public depending on your requirements.
When you click on the arrow symbol this gives you various options to share the padlet wall so that others can add to it.
As you can see you can email the link or share it using social media.
Why use a Padlet wall?
You can use this tool to ask pupils or students in a class or people in an audience to contribute comments, ideas, recommendations in the form of text, pictures and links. It can be useful to collect views after an event or experience. When the wall is complete you can download it as a PDF.
At this link you can see a Padlet wall used as a record of an event – TMNorthants 2014
At this link you can see how teachers have added questions ans challenges to a maths starter:
Account – with your email address or sign in using Facebook.
Pins
Pinterest describes pins as visual bookmarks – images that you collect and save or ‘pin’ to boards. You can browse and search the pins of other Pinterest users and pin them to your boards. Images might be your own photos and those taken by others, images collected from the internet and other sources. When you choose a pin and add it you have to name or label it and it is important to note the source of the image so that you can acknowledge the person who originally made it, unless you made or took it yourself.
Boards
You can collect your pins onto boards that you create, title and share, keep secret or use as a group. Have a look at the help pages above to explore how to create secret and shared boards.
Boards are the way you group your pins around themes related to an idea, interest, event or subject. You can follow the boards of other users that interest you.
Following
You can choose to follow other Pinterest users who pin on themes of interest to you and other users can follow you. You can also follow specific boards made by other users.
Pinterest for learning and teaching
Pinterest can support learning and teaching in a variety of ways both in the classroom and as part of your preparation for support or teaching.
In the classroom
You can collect images around a theme to support learning in a subject or lesson. When starting a unit of work on portraits in art or history you might collect some examples that you want to use in your teaching. You can label these with questions, information or suggestions.
You can pin photos of learning outcomes from a group of pupils or students and these can be shared with the pupils or students and their parents or other interested people – other teaching assistants and teachers.
To support your own role
Pinterest is a great tool for research. There are many teaching resources and ideas already pinned there that can give you ideas or spark off your own ideas for supporting learning. You can search using keywords and phrases to find these and then either follow the boards or users you find or collect the pins you choose onto a board of your own.

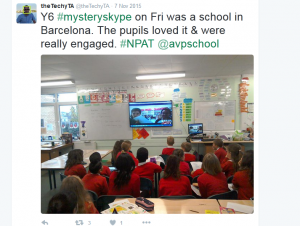 Teacher scenario – the question posed in this scenario is of great interest to me. I am in the early stages of supporting some colleague to plan a session with an international focus. I too have been thinking about strategies to make this happen and I’ve come across something shared with me by a student (@TheTechyTA) called Mystery Skype. You can read about his experience of it here – Mystery Skype in school.


 There are some instructions on how to make a ThingLink in this blog post. For this ThingLink the focus is you as a digital user and creator. I made a list of the various ways I appear and interact digitally on social media and other tools. This is a very good opportunity to consider issues related to internet safety and information it is appropriate to make public online. Here is my digital self ThingLink. Feel free to explore it!