
Pic Monkey is a free online photo editor available at this link.

You can use it to group and place photos together to make a collage of images. In order to use Pic Monkey you need to have collected the photos you want to use saved in ‘my pictures’ on your computer.
 1. Adding the pictures to Pic Monkey.
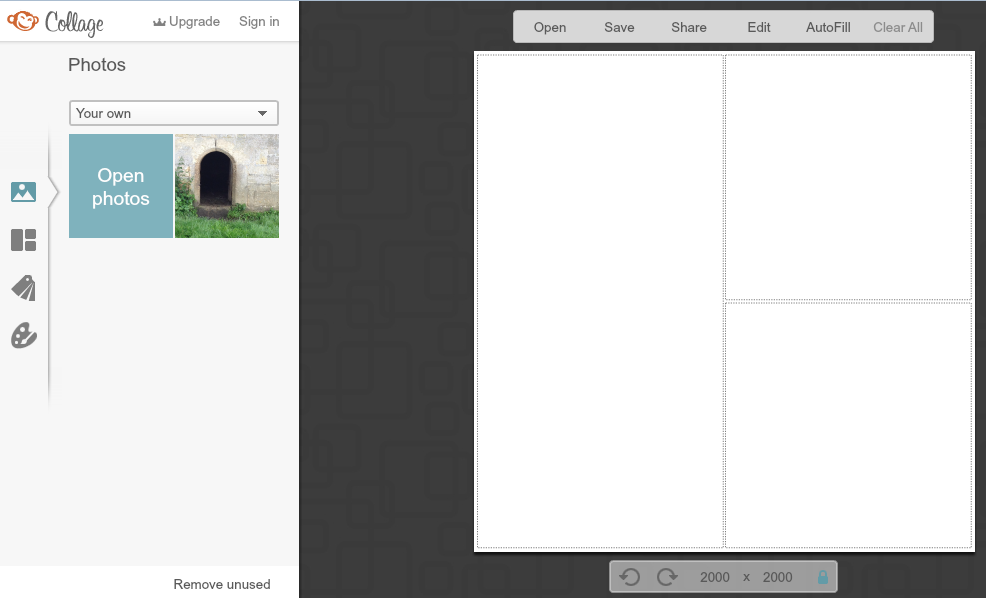
Click on the ‘collage’ button at the top and this will initially open to allow you to choose a photo by clicking on it. The photo will appear in the list on the left. Click on ‘open photos’ to add more photos from ‘my pictures’ on your computer. Continue until you have collected all the photos you want to use in the collage.
 2. Making the collage
Click on the collage icon in the list on the left (second down) and explore the different layouts of collage. The ones at the top are freely available and the ones lower down are only available of you pay for a subscription. When you click on the one you want it will appear in the square on the right.
 3. Adding the photos to the collage
When you have chosen the collage layout click on the photo icon in the list on the left (at the top of the list). Click on and drag each photo to where you want it to be in the collage.
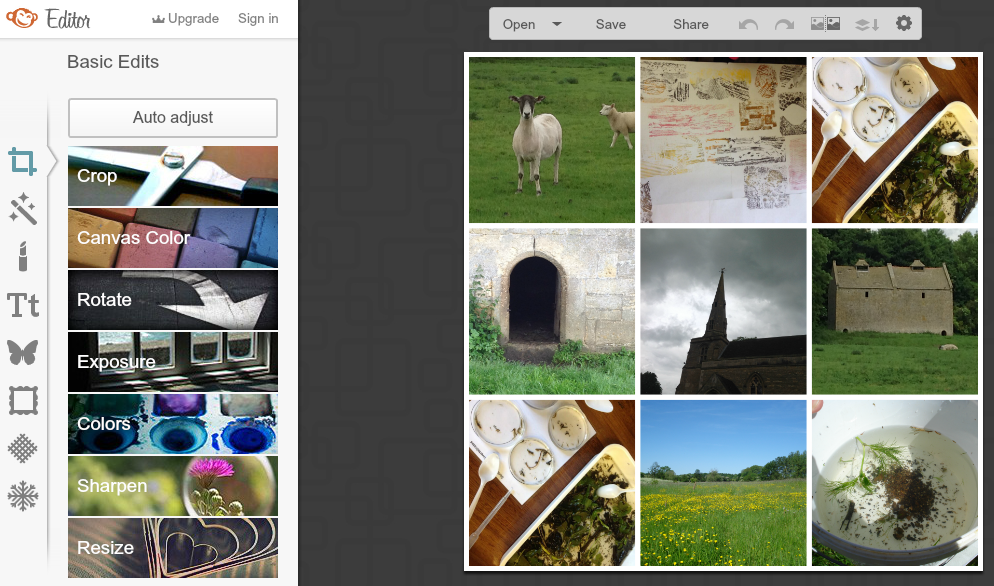 4. Finishing off your collage
After you have arranged your pictures in the collage you can edit the collage by changing the frame colour and edges, adding text and make other additions. To do this click on ‘edit’ in the list at the top of the picture and then use the icons in the list on the left.
5. Saving the collage
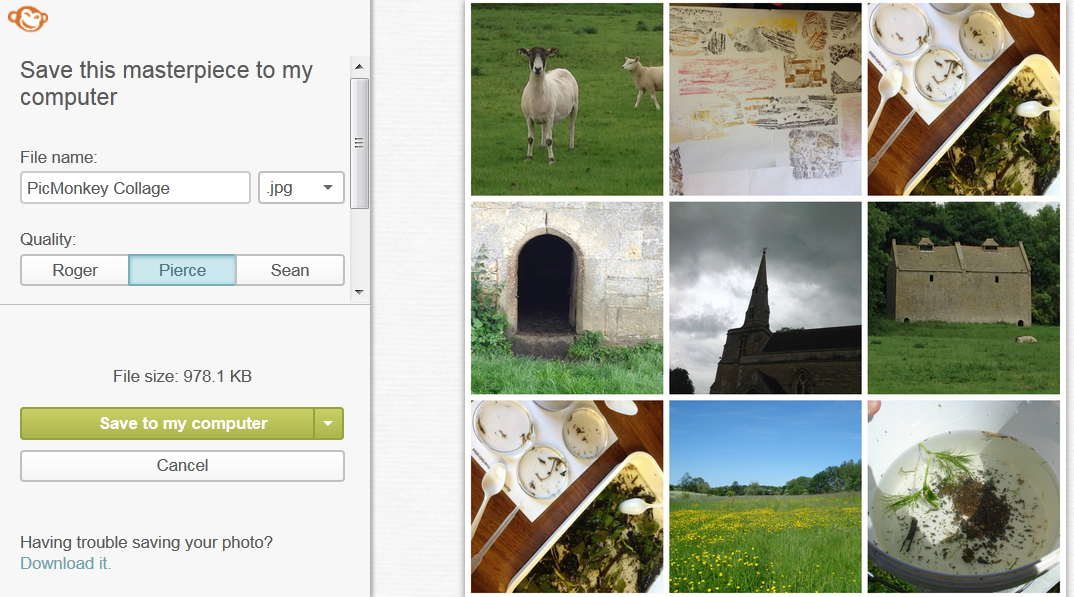 When the collage is complete you can save it to your computer. Click on ‘save’ and you will be given the open to save.
When you have made the collage you can use it to import into ThingLink and add tags to.