Adding images to your e-portfolio

There are a number of ways of adding images to your e-portfolio.     

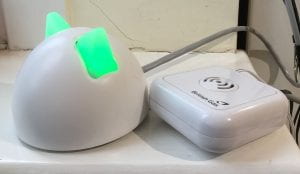
Cat flap control and thermostat

You can add each image separately. To do this choose ‘Add Media’ above. Choose to upload from wherever the images are (on your computer, online,etc). Choose the alignment and size in the choices on the right. You can add a caption here too.


You can make a photo collage using a mobile device or laptop such as PicCollage. This is a free app available on all devices including your student laptop.

When adding it to your eportfolio add it as a single image as above.


You can add the photos altogether as a group with captions. To do this go to ‘Add Media’, choose ‘Create Gallery’ from the choices on the left and then tick the images you want to add. You can choose how they will be displayed by looking at the choices on the right.


You can present a series of photos as a slide show that you embed in the blog. To do this make the slide sequence on Google Slides. Publish the slides to the web. Choose ‘Embed’ and set the slide choices then copy the embed code. Choose ‘Add Media’ and then choose ‘Insert Embed Code’ in the list on the leftand paste it into the box.

Chatterpix app

Chatterpix app

This is a simple free app that allows a mouth and speech to be added to a photograph. The photograph can chosen from those already on the camera roll or taken in the app. 

  1. Take or choose the photo.
  2. Use your finger to add the ‘mouth’ to the photo.
  3. Use the microphone button to record up to 30 seconds of speech – a clock ticks down to show how much time is left.
  4. Text, frames or stickers can be added next.
  5. The talking photo is saved in the app (in gallery) or you can email it, save to camera roll or add to YouTube.

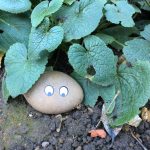
Here’s an example I made of four things in the garden talking about their secret life:

There is a version of the app called ChatterKids. In this version of the app there is no opportunity to share, making it safer for use by children. The talking picture can be saved onto the camera roll.

Post it Plus

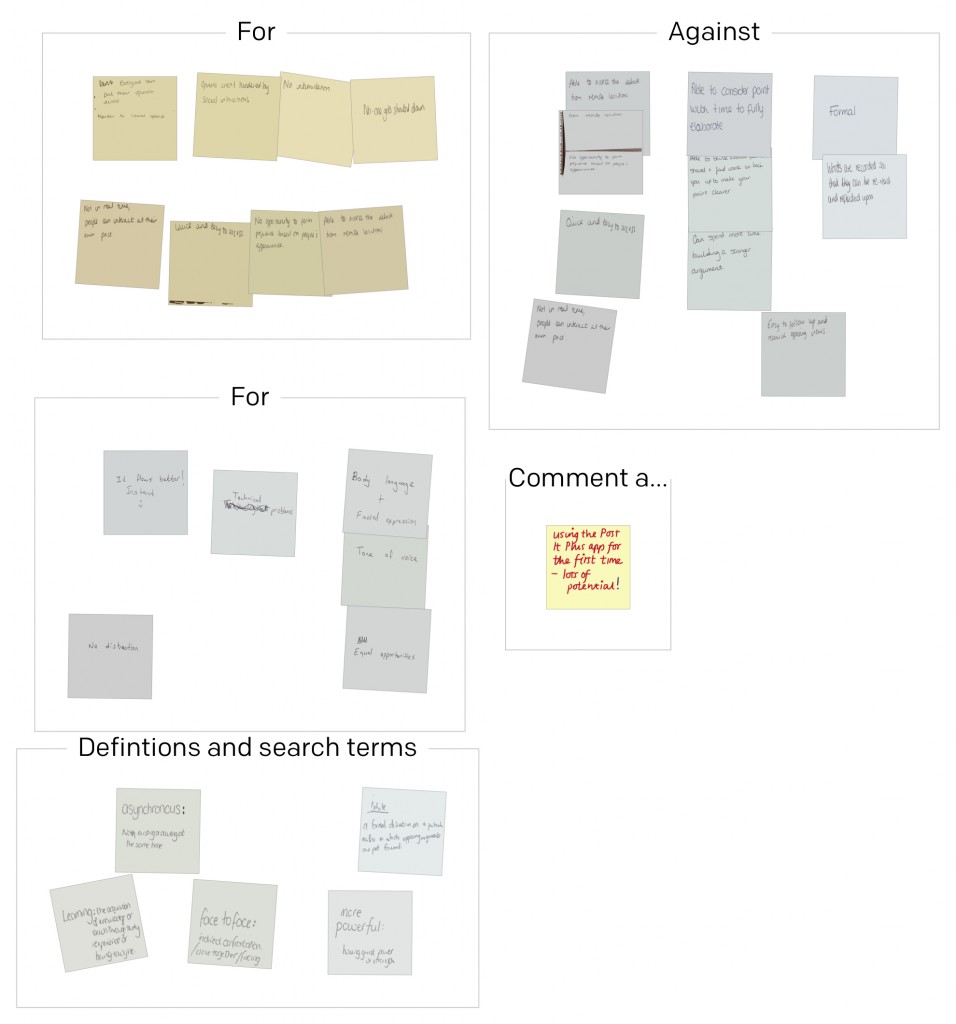
pipI came across the app ‘Post it Plus’ by accident. I often use post its as a teaching tool with groups of students, asking them to write ideas on post its and then move them around into themes or rank order. Since I had my ipad I have sometimes photographed these – but the Post It Plus app is a more flexible and versatile way of doing this.

When you open the app it allows you to take a photograph of a group of post its. To do this you hold down  the capture icon. Green lines appear around the post its that have been captured and if there are any that do not have a green line, you can touch these and the green line will appear around them so that all the post its are present. You then touch ‘create board’ and the image is saved. I usually take groups of post its and end up with maybe four or five boards to record an activity.

IMG_0333

After this you can move the boards on top of each other to make them all into one, you can name each group and the bigger group, add additional post its and write onto them and the board.

You can also share and export the boards in a number of ways eg by email as a PDF, as a photo, via social media etc. I was able to send the PDF record of our discussions to a group of students after the session so that they could use the discussion ideas after the session. I could have annotated questions and  comments onto it to challenge them further – maybe next time! I’ve added one to see what it looks like, above)

You can read more about the app here.

Fragment

Fragment

an IOS / Android app

cost £1.49

There is brief film that gives an overview of what can be done with the app at this link Fragment Prismatic Photo effects

How to use it:

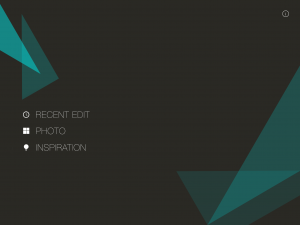
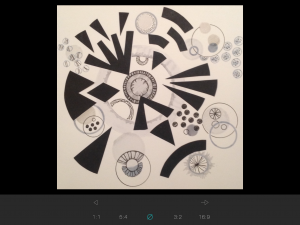
the opening screen

the opening screen

When the app opens you can choose to use the last photo you were editing, a photo from your photo album, or ‘inspiration’ eg one of the preloaded images.


choosing the photo and size

choosing the photo and size


If you choose one of your own photos you can then choose a size and proportion. You can back to photos using the arrow to the left and forward to the app using the arrow on the right.


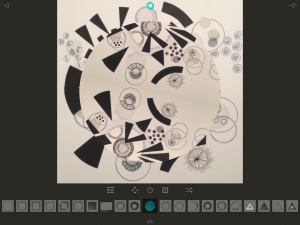
manipulating the image

manipulating the image


On the next screen you can choose to manipulate the photo using the effects randomly (arrows on right) or touch each shape in the line below to choose specific ones. Move the image around on the screen to change the size and orientation within the chosen shape.


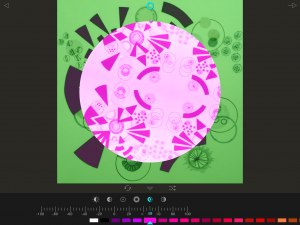
changing colours

changing colours

You can touch the small inverted triangle at the bottom to move to the next screen. On this next screen you can change colour and within that the brightness and contrast as well as blurring, inverting and desaturating.


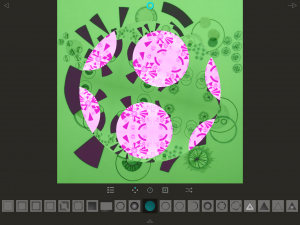
a refragmented image

a refragmented image


Touching the arrow at the top right allows you to save the image, refragment it and share it. It can be useful to save it at different stages as you work because it is sometimes impossible to back and recreate the same image again.


Ideas:

  • manipulating photos
  • make some art, photograph it, fragment it, make more art from it
  • use to make backgrounds for presentations
  • print out and use as collage, draw onto

Other associated apps – Tangent

If you have tried out the Fragment app please add your examples and ideas in the comments below.