ThingLink
website here and app – free (also ThingLink Teacher)
Account – register using your email address
ThingLink is a way of creating and sharing interactive images. You can create an account and log in or log in with Facebook.
How to make a ThingLink.
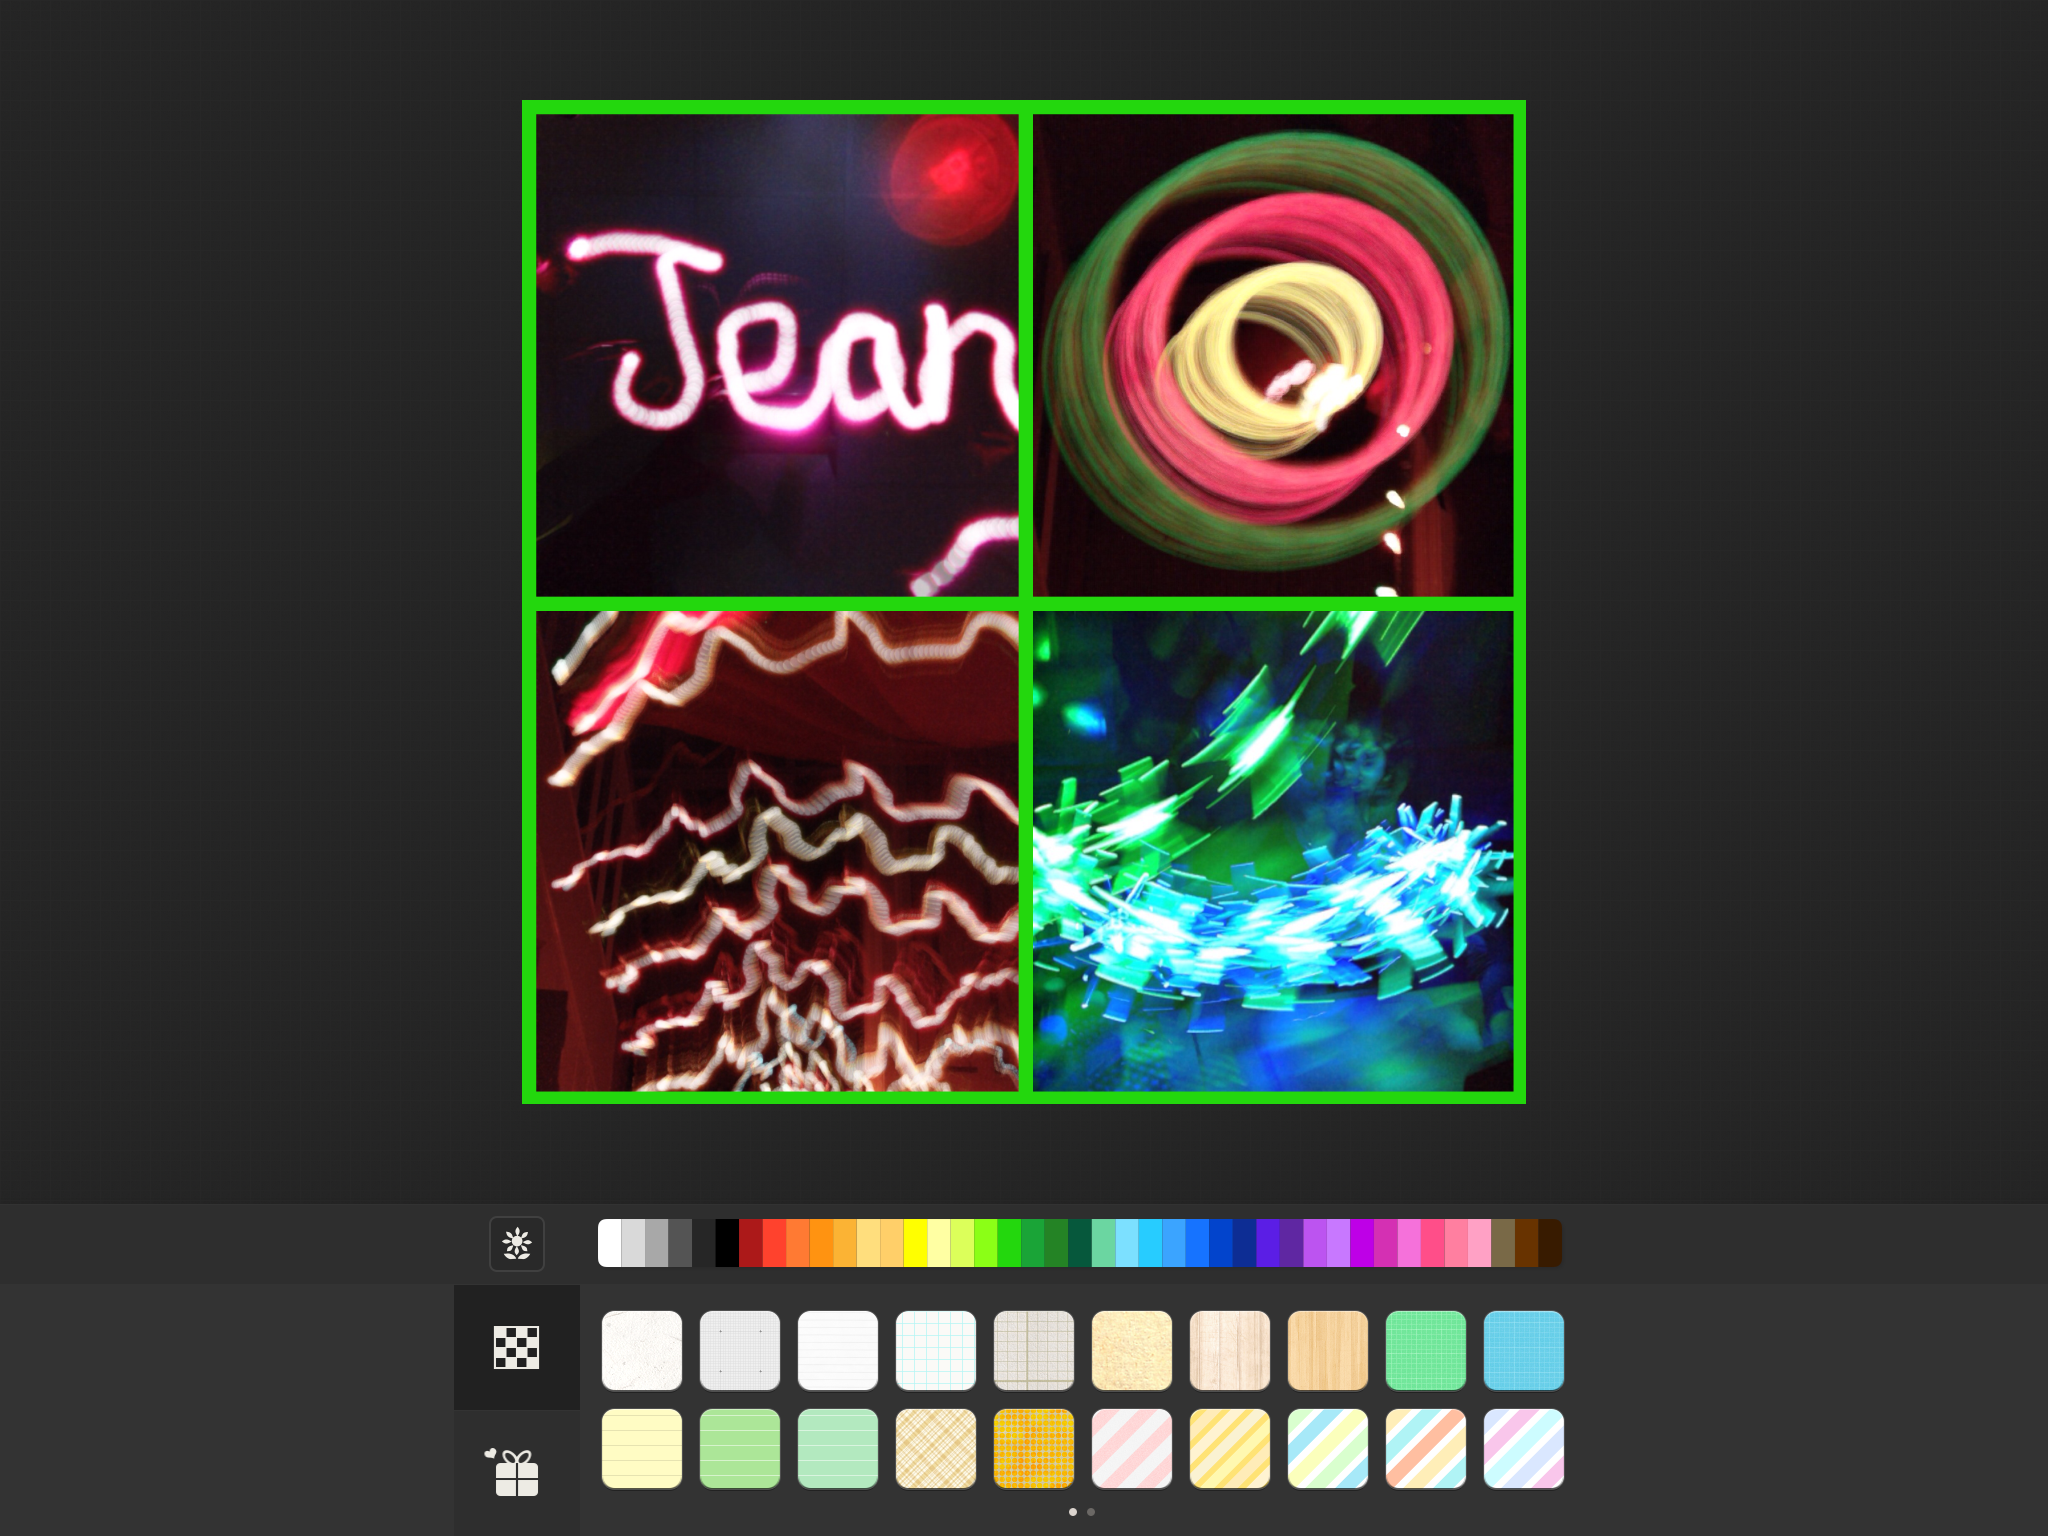
1. Collect or take some images and then upload them on the ThingLink website or app.
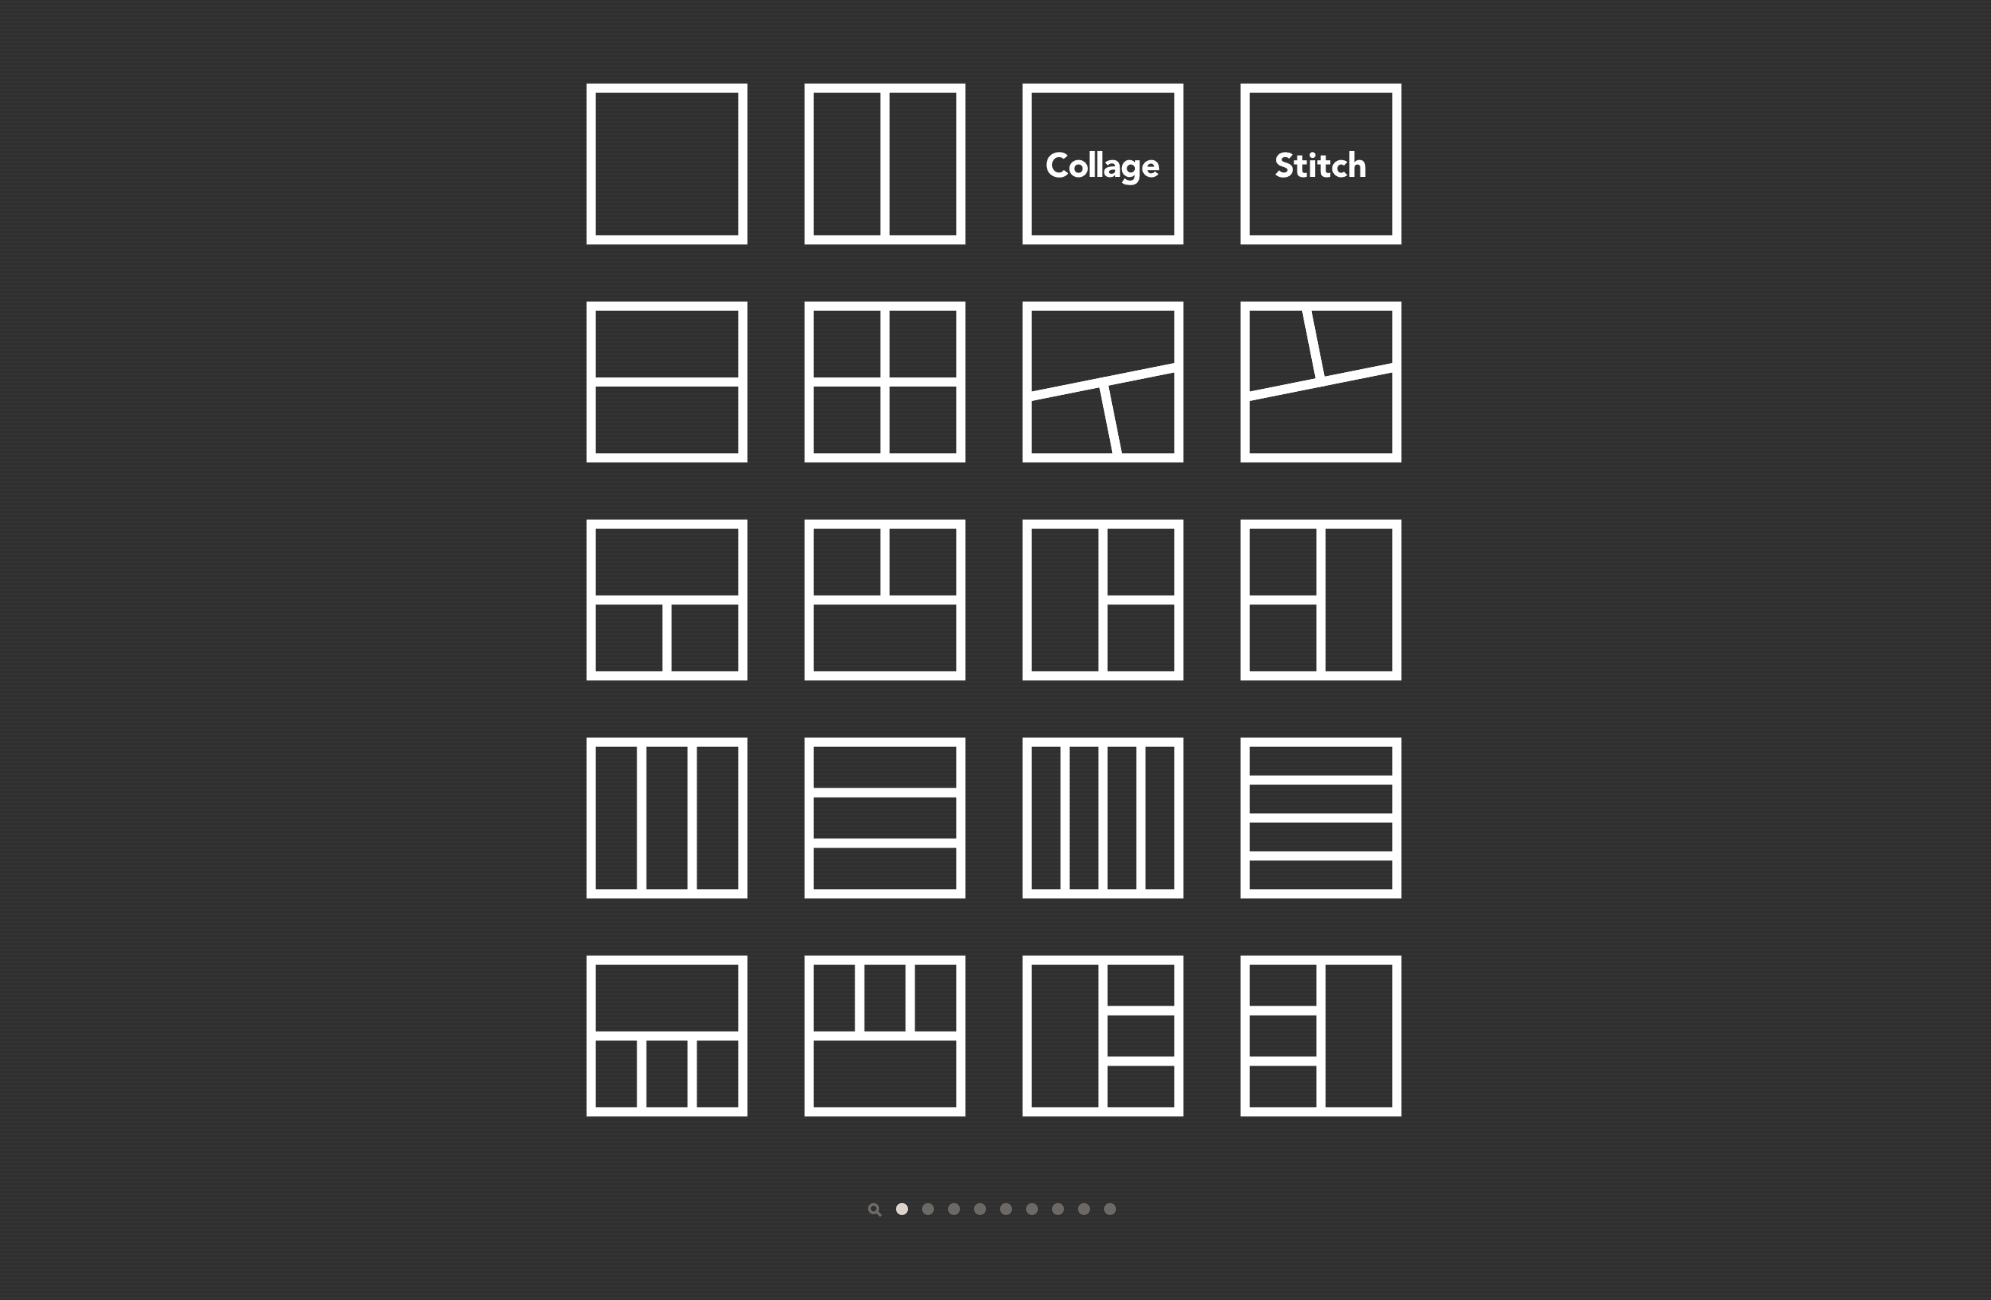
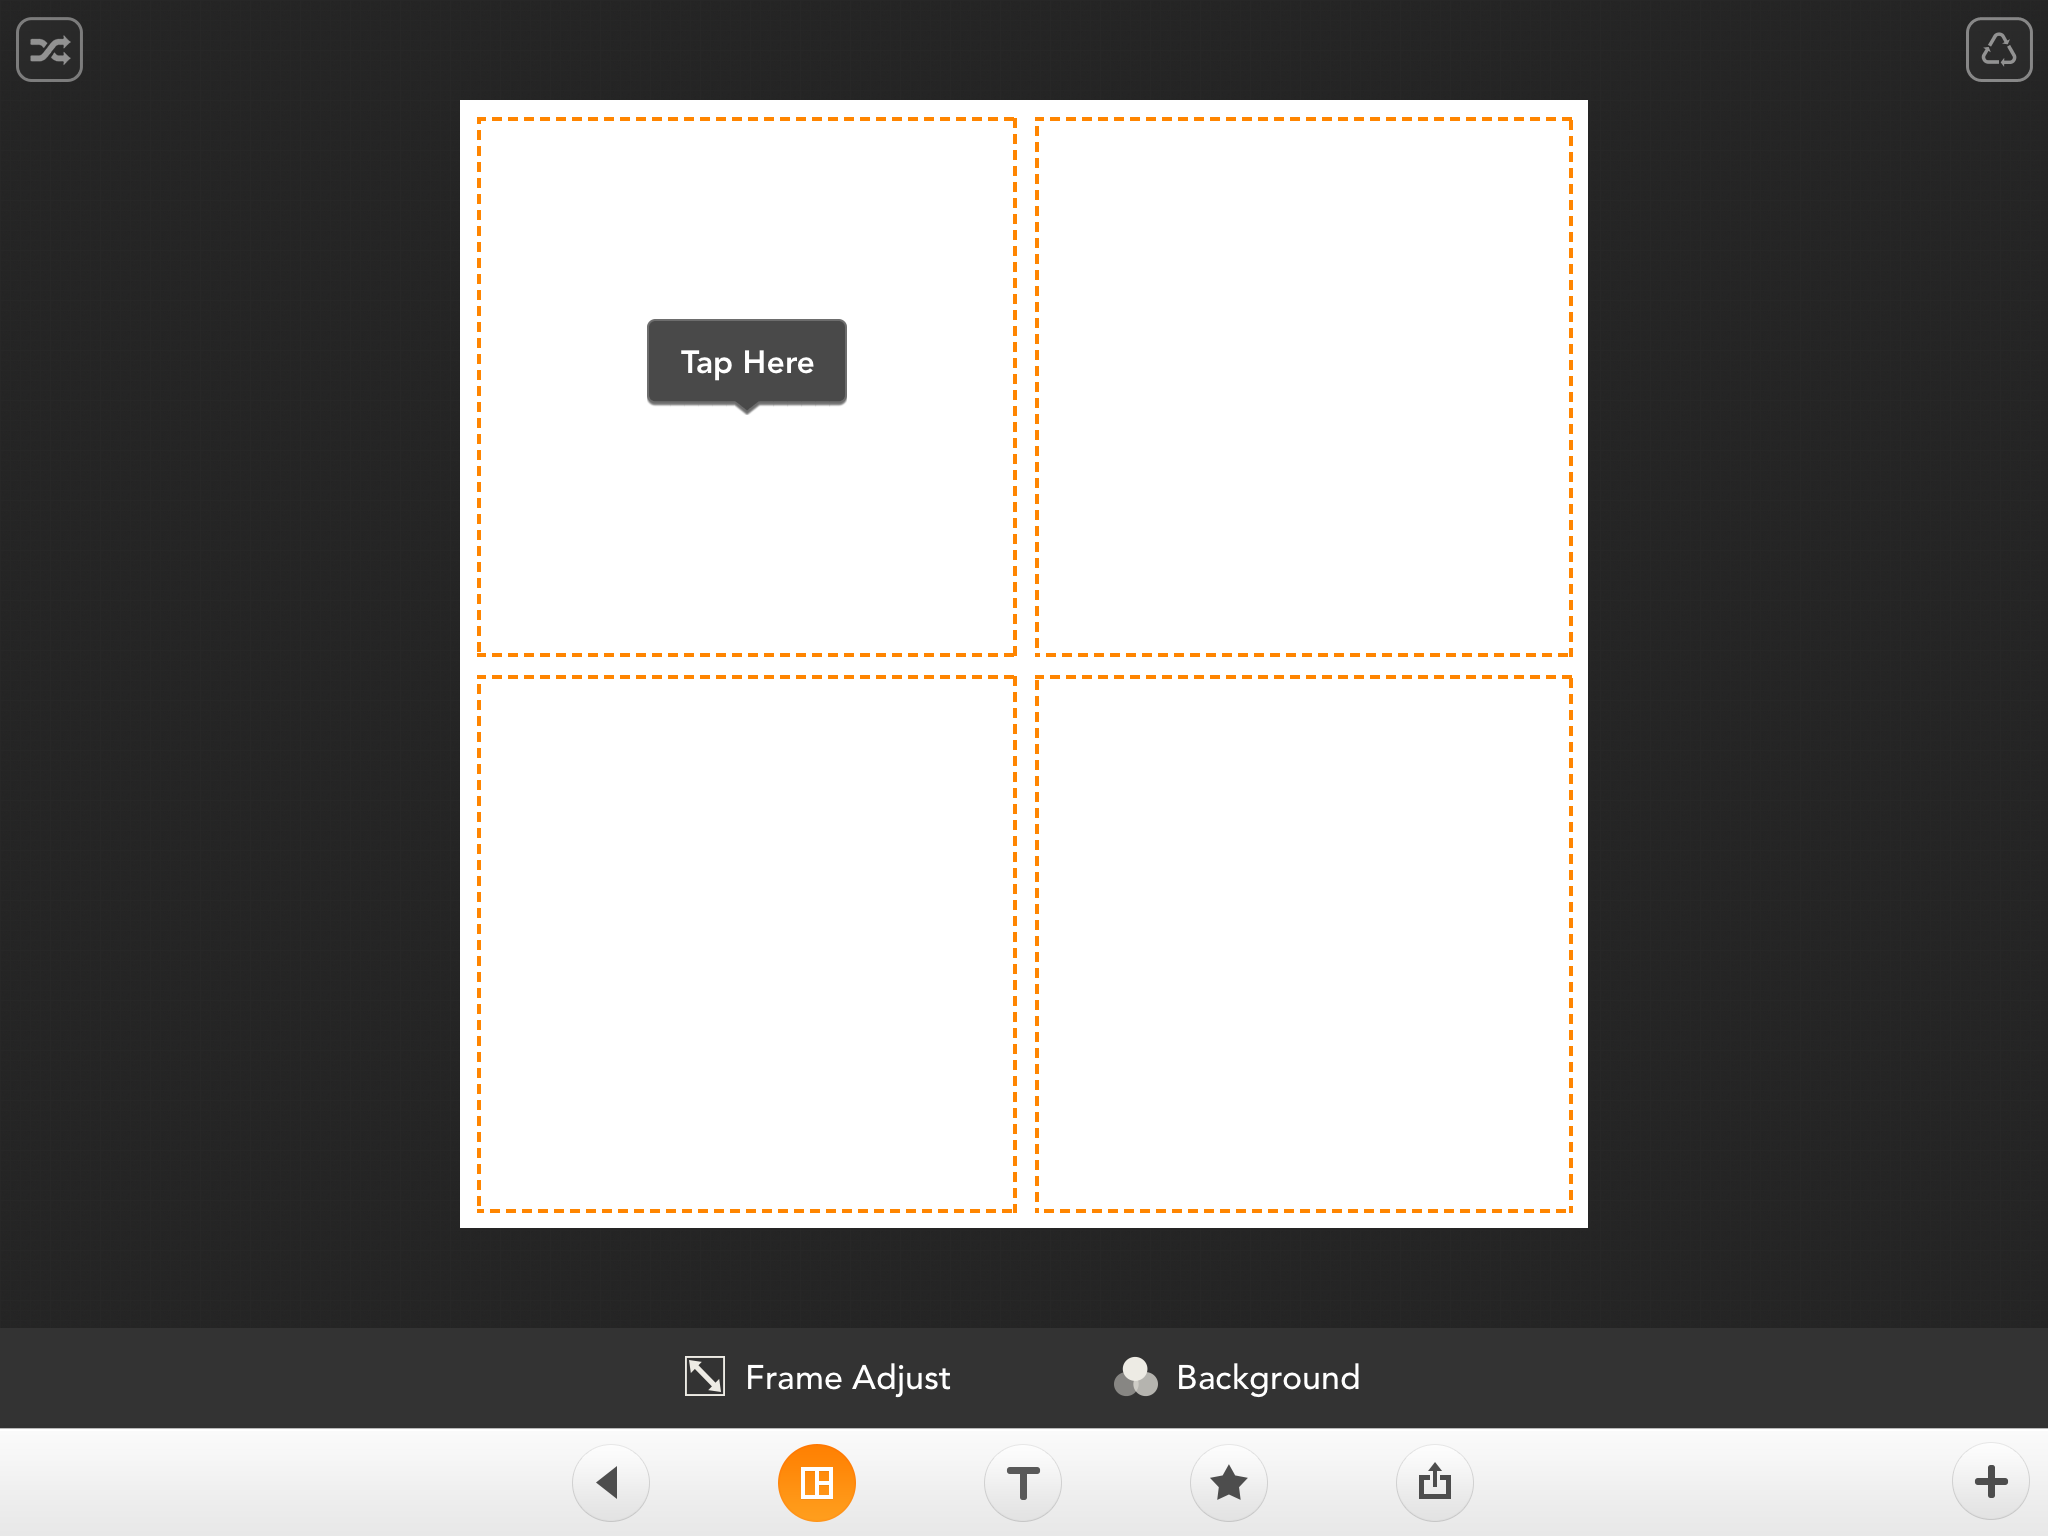
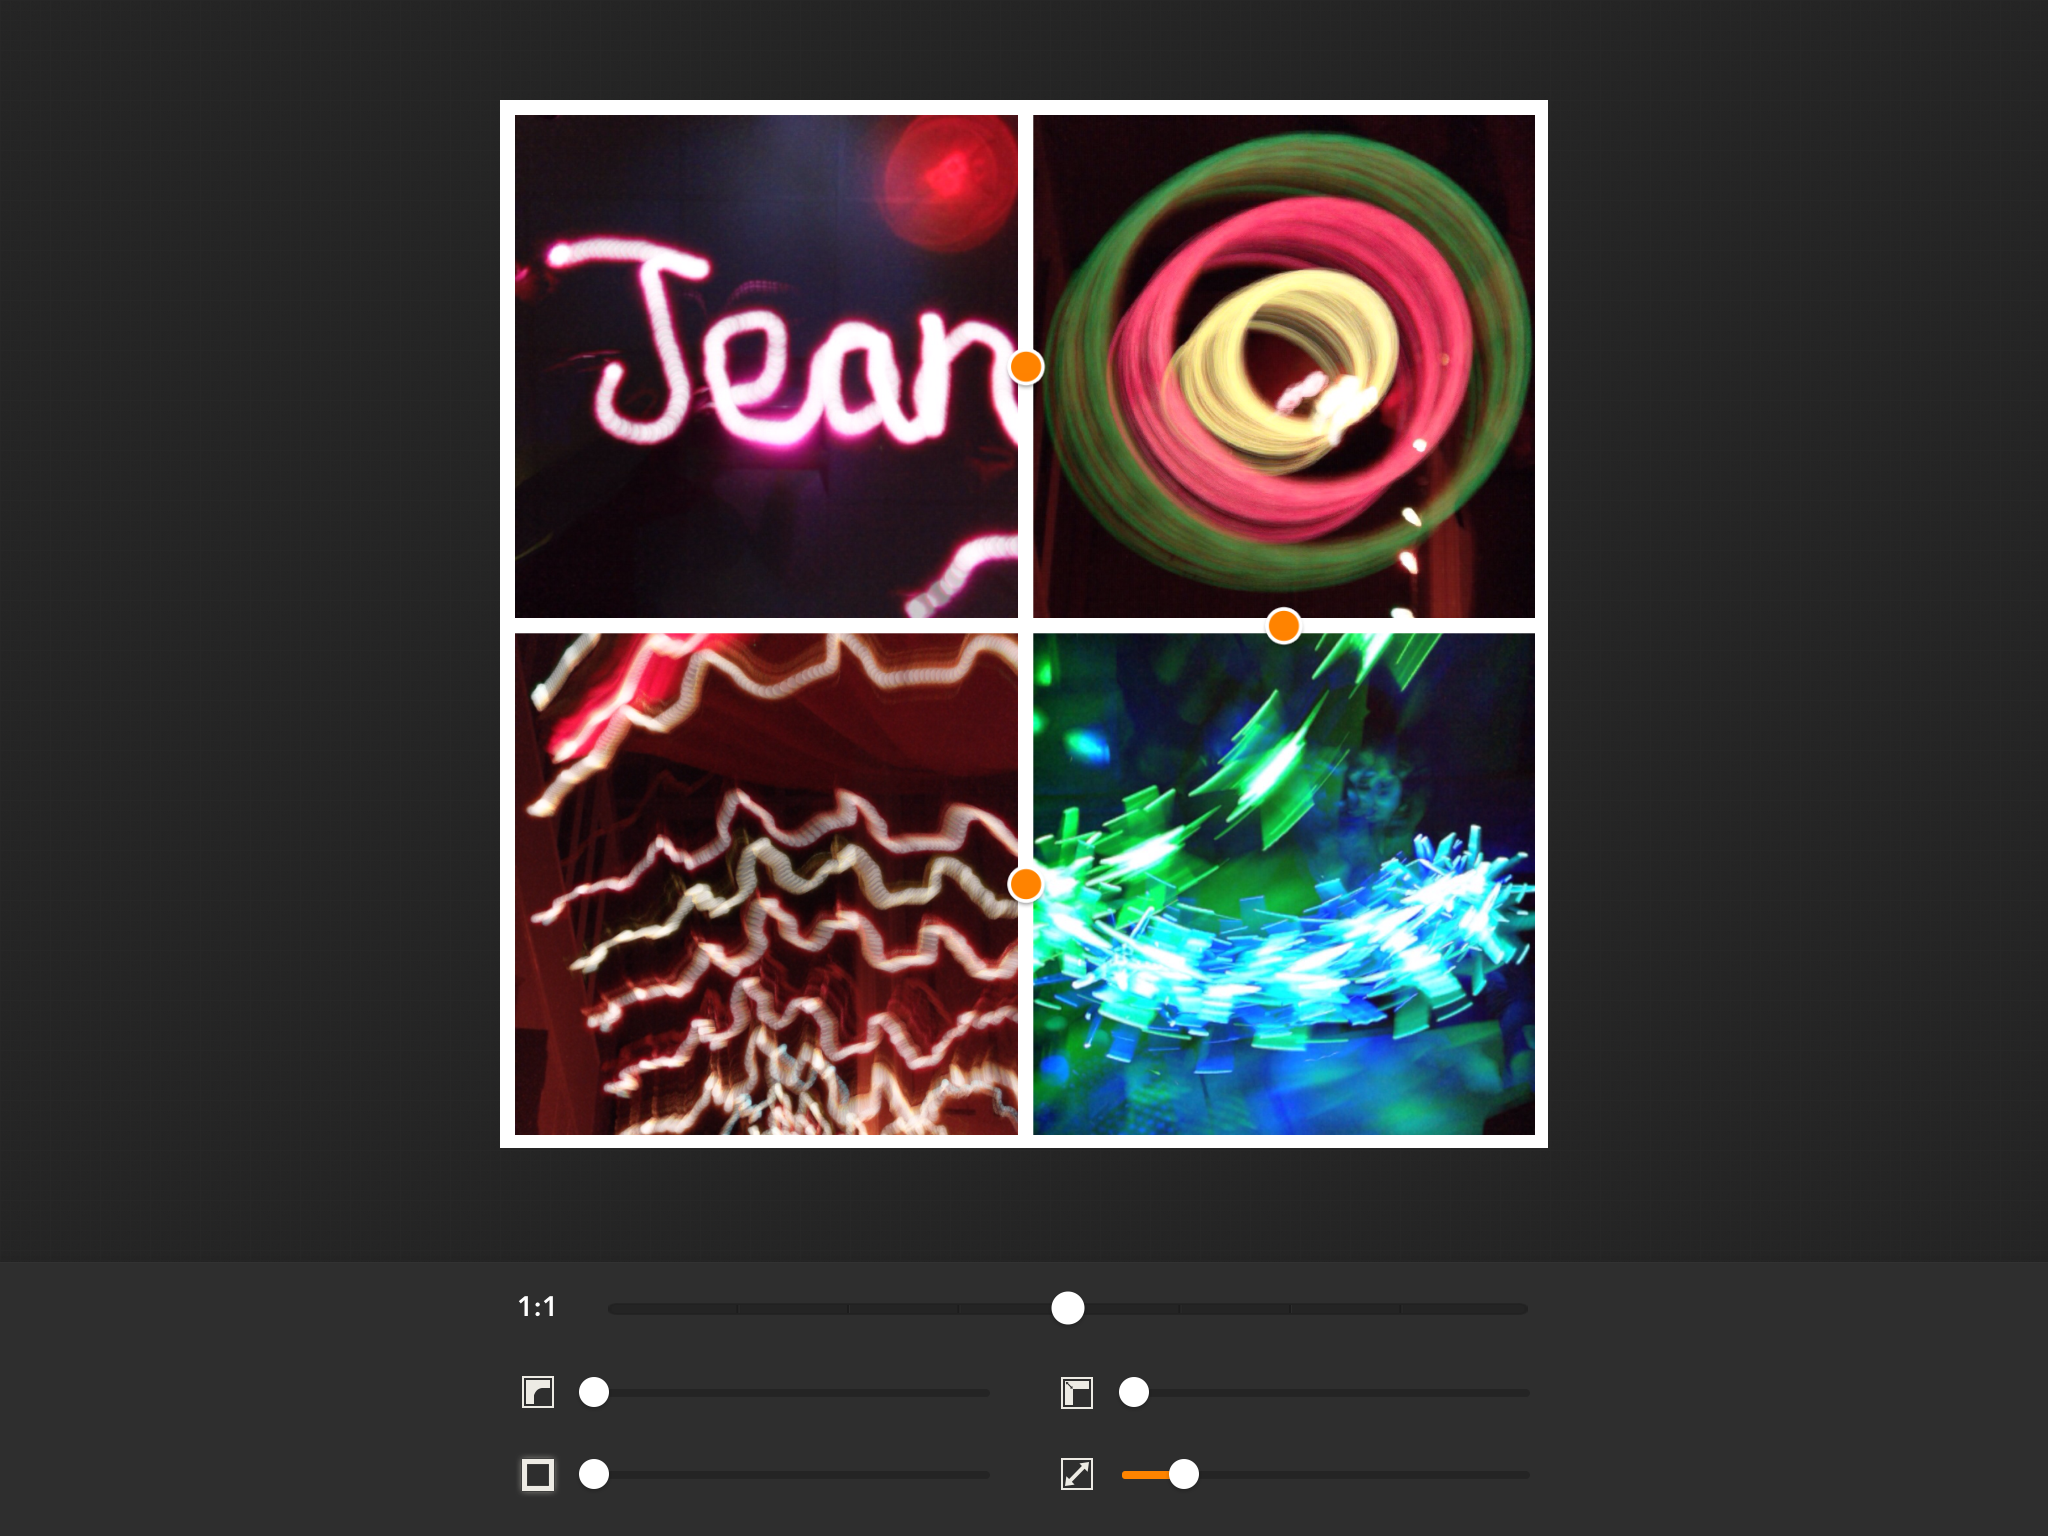
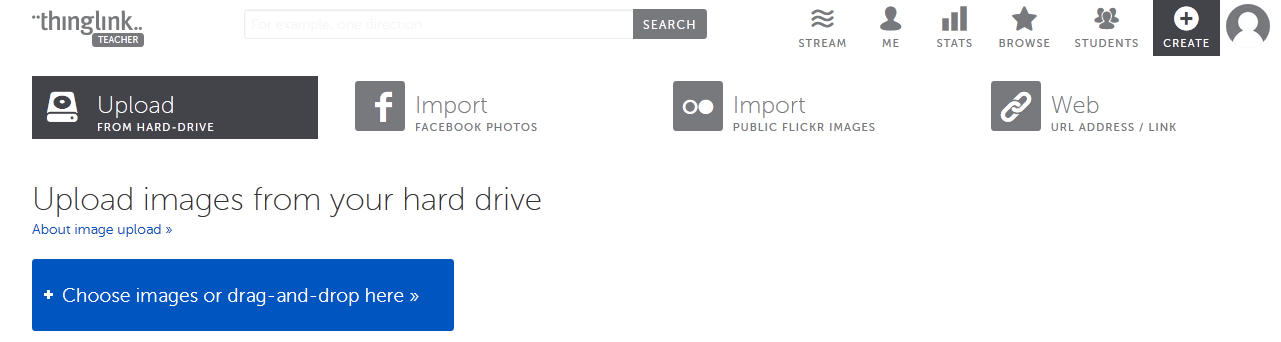 These might be around a theme that you are teaching; say something about you or be based around an event you are organising or have taken part in. It could be one image, or you could use Pic Collage or Moldiv to make an image with several pictures.
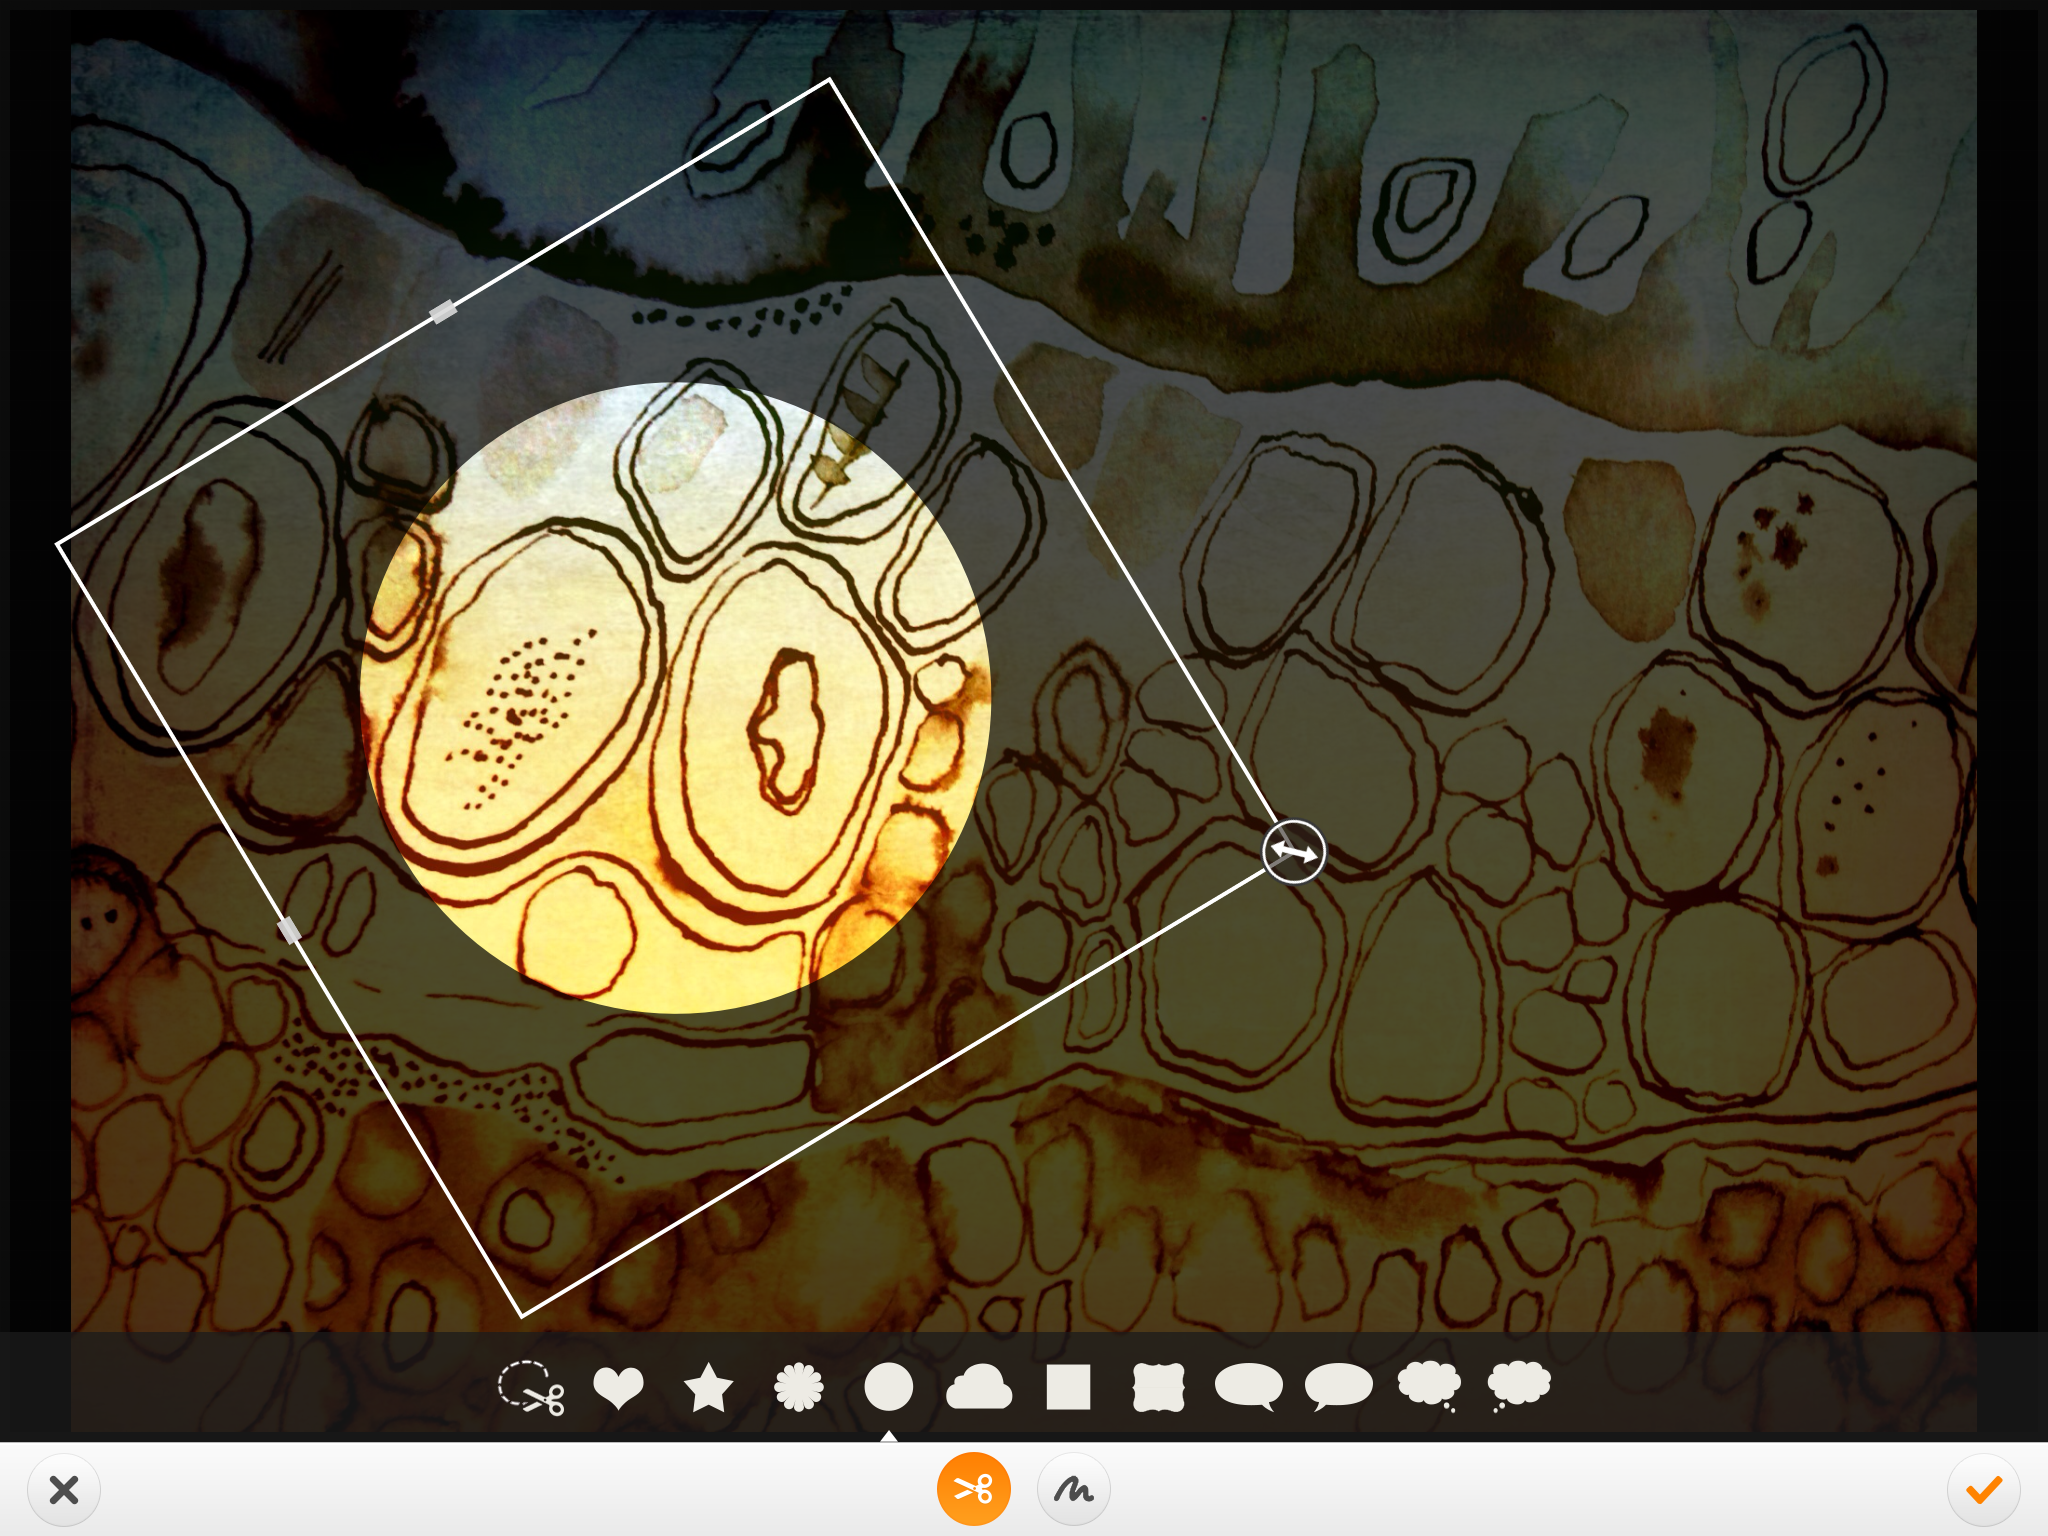
2. When you have made the image you can then attach tags.
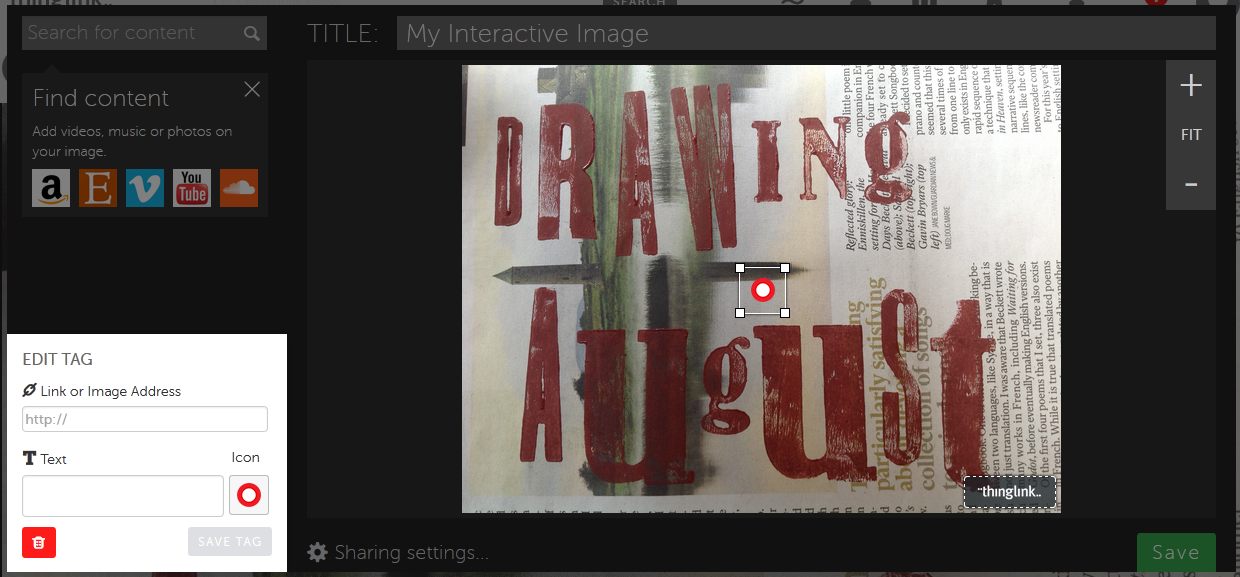 These can be placed anywhere on the image – somewhere specific or at random depending on your aim for the use of the ThingLink. The tag pattern and colour can be changed by clicking on the tag shape in the box on the left.
Copy and past a link into the bar at the top of the box on the left. Add some text. You might do both of these or just add text. You can attach as many tags as you wish.
3. Save your ThingLink.
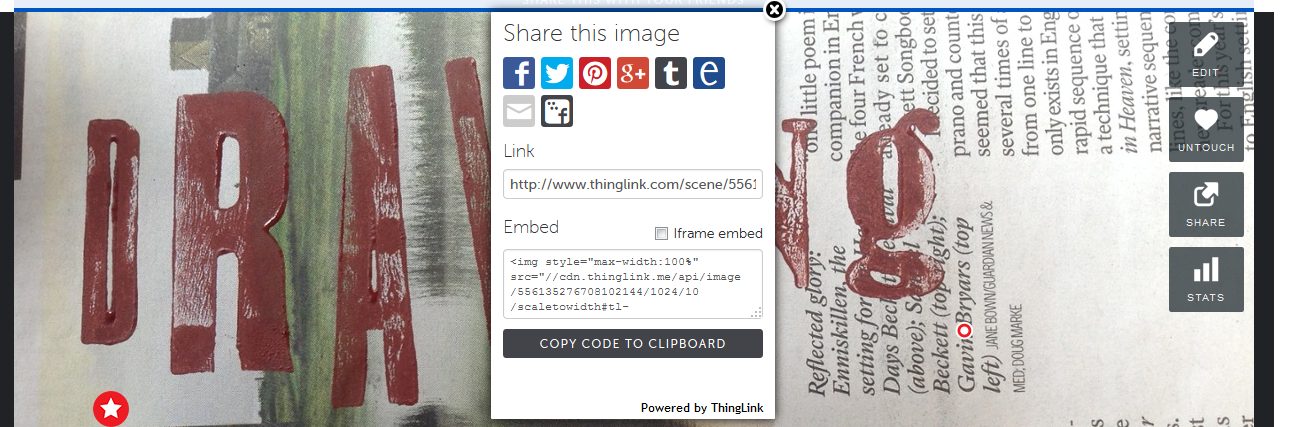 You can then share it with other people using the link you are given and using social media such as Twitter and Facebook.
This example is just a quick one to show how a ThingLink can be made – #DrawingAugust
What can I do with ThingLink?
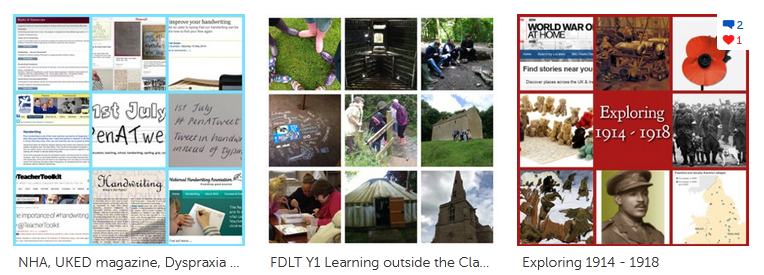
I made a ThingLink to share links about the First World War with some groups of students so that they could research aspects of it using links I had had chosen. With children this could be a way of focusing them on some links you know will be useful to their classroom learning or homework. You can explore this example below.
I also made a ThingLink using photos of some field visits made with students. This ThingLink incorporated within in it links to research about outdoor learning that tutors wanted to share with the groups. With children this approach could be used to set challenges or investigations after a visit or event, or share supporting information with parents.
This ThingLink contains links related to handwriting. This is another example of using it to share a range of sources of information – it could be useful to help staff prepare for a training session or explain issues to parents / governors.
I came across ThingLinks on Sway Grantham’s blog. She uses a ThingLink to introduce herself – you can see it here
I think there could be some scope for using ThingLink to attach questions, prompts and suggestions for children. Adding a range of comprehension questions to a page from a book perhaps. If you have any useful or interesting ideas please add them using the comments section.