There are a number of ways of adding images to your e-portfolio.
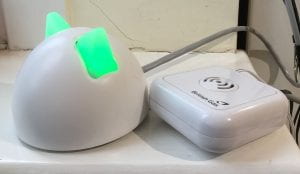
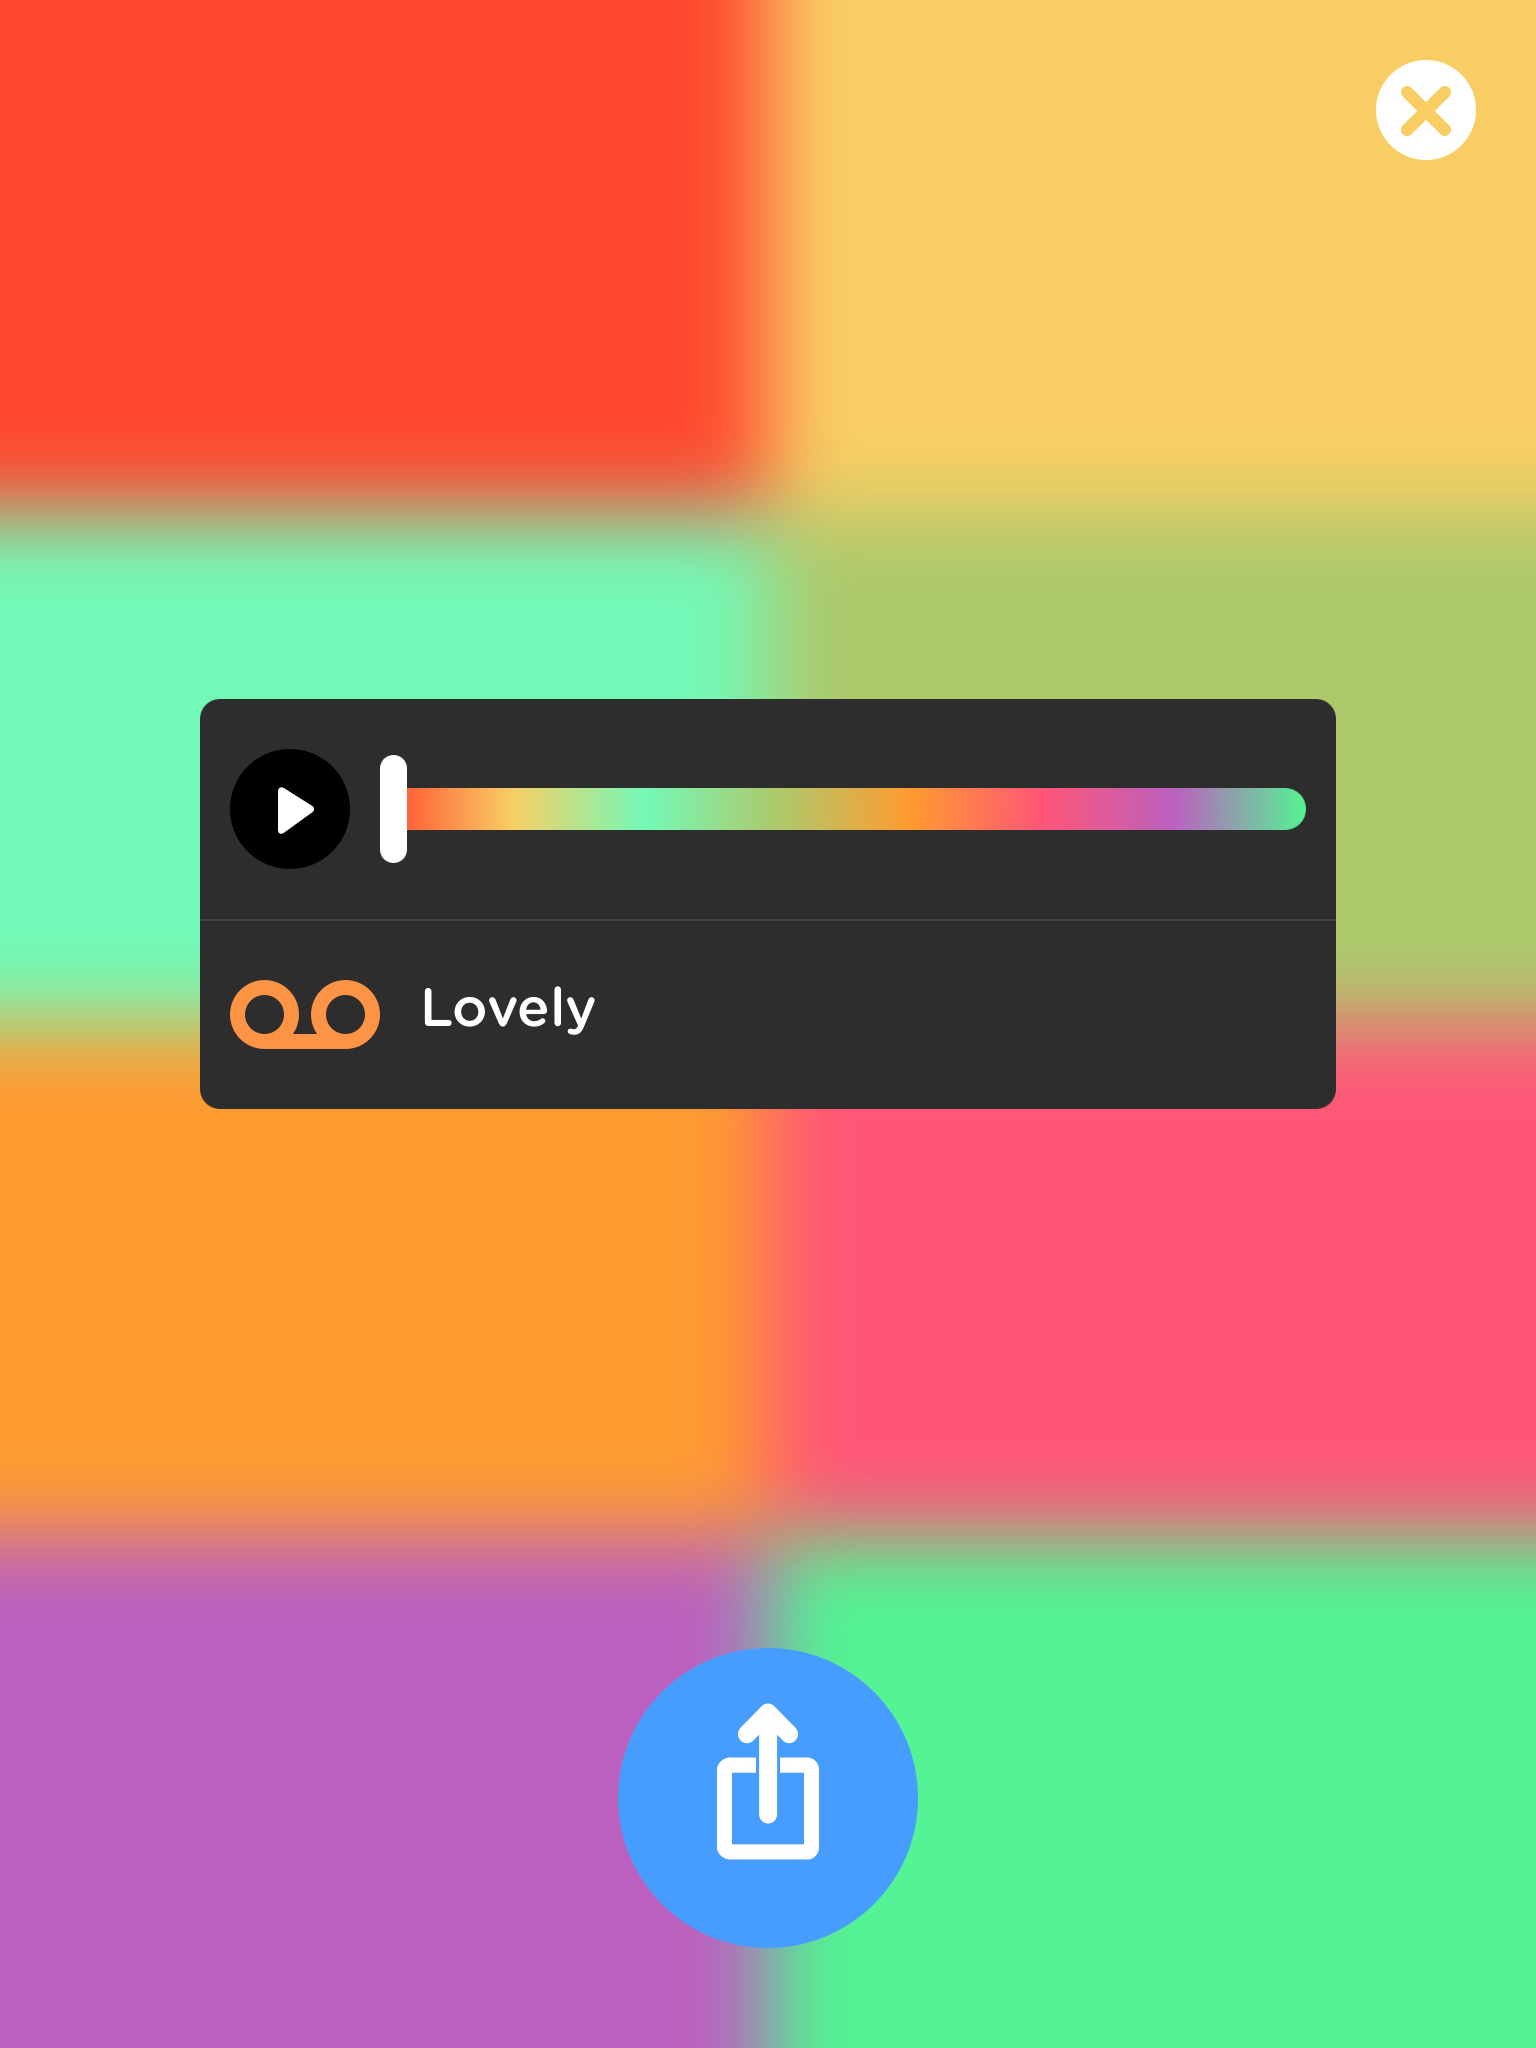
Cat flap control and thermostat
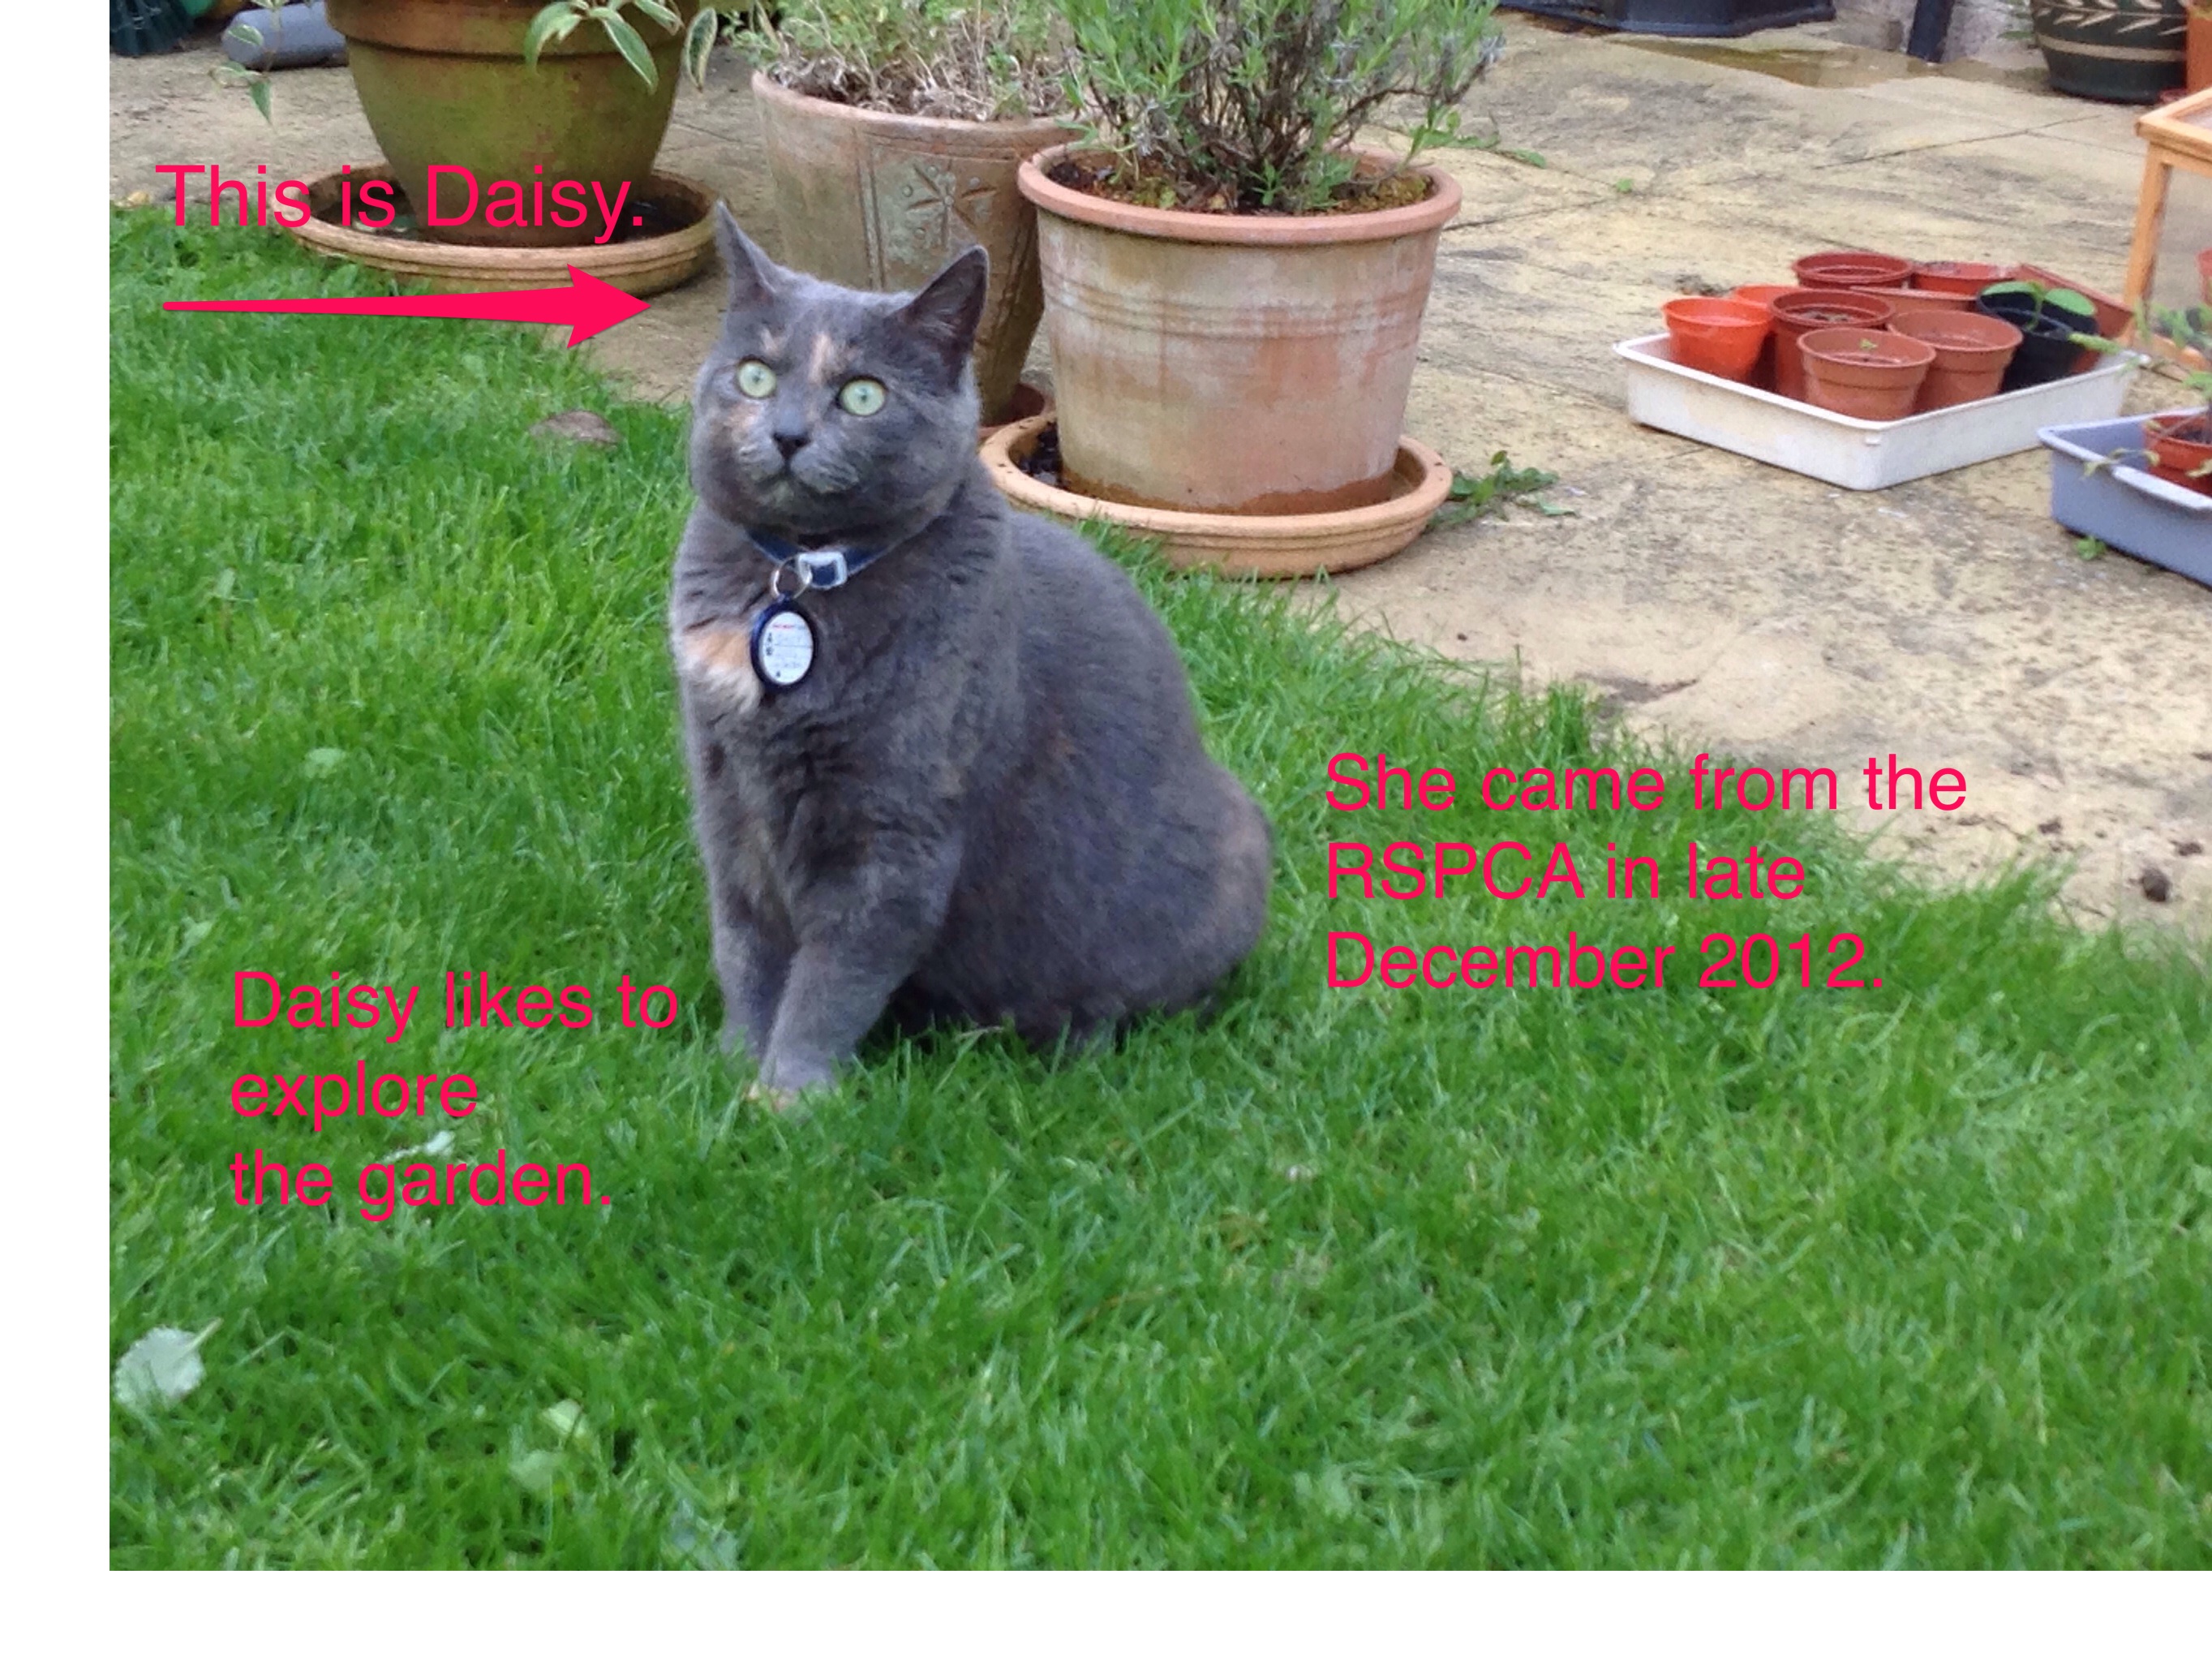
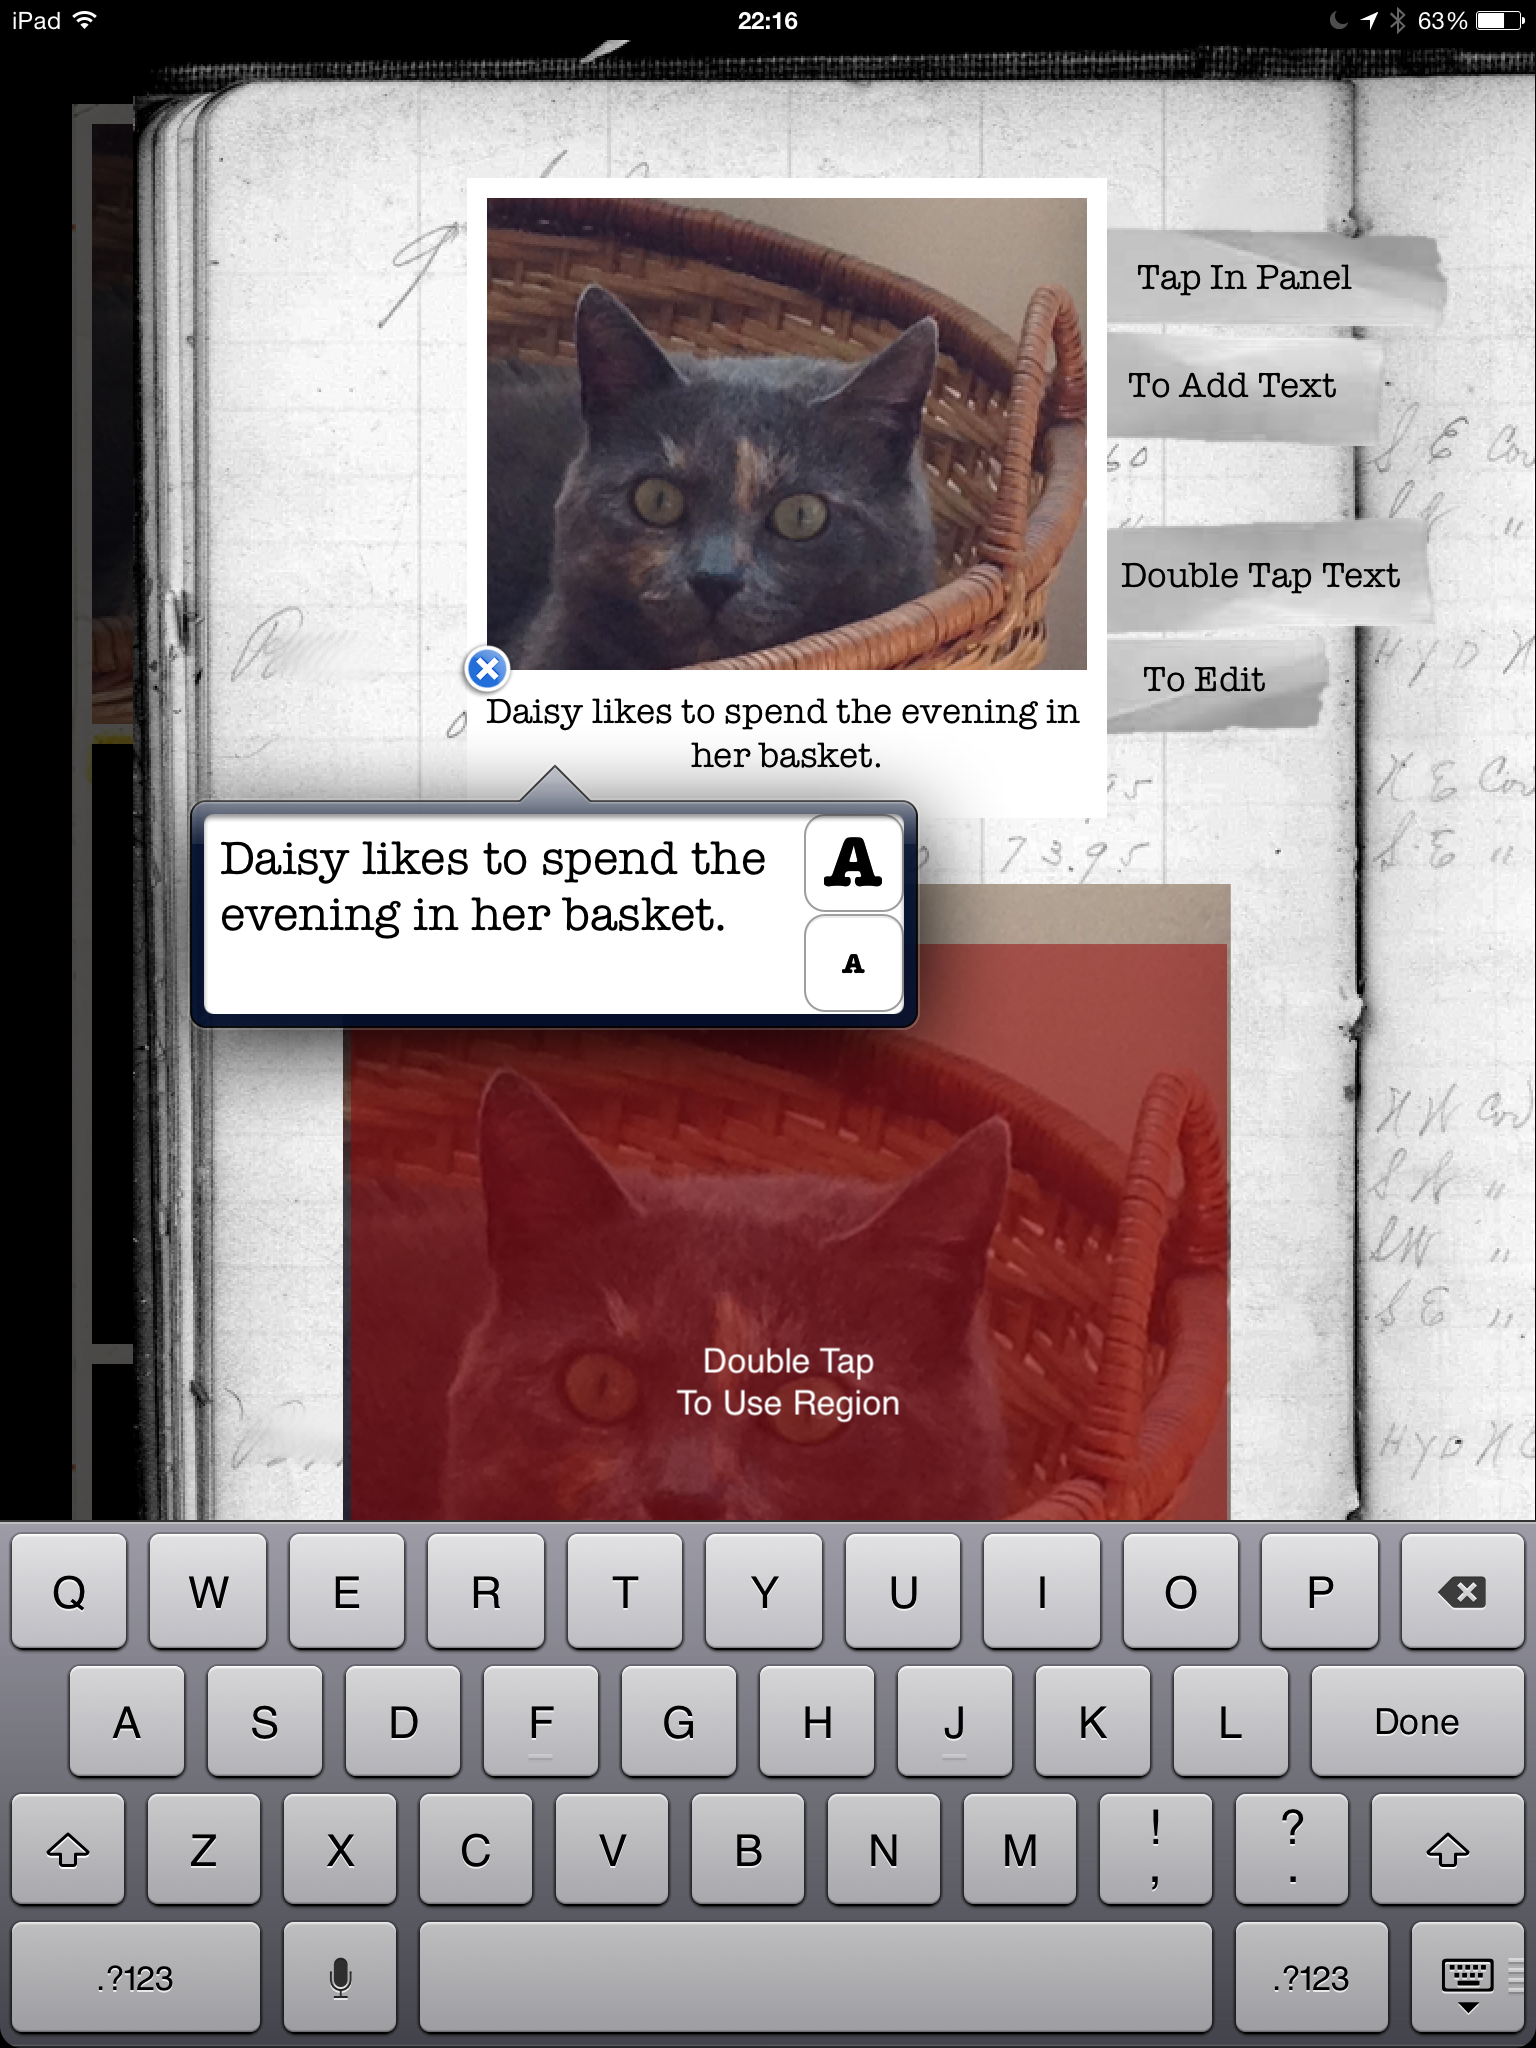
You can add each image separately. To do this choose ‘Add Media’ above. Choose to upload from wherever the images are (on your computer, online,etc). Choose the alignment and size in the choices on the right. You can add a caption here too.

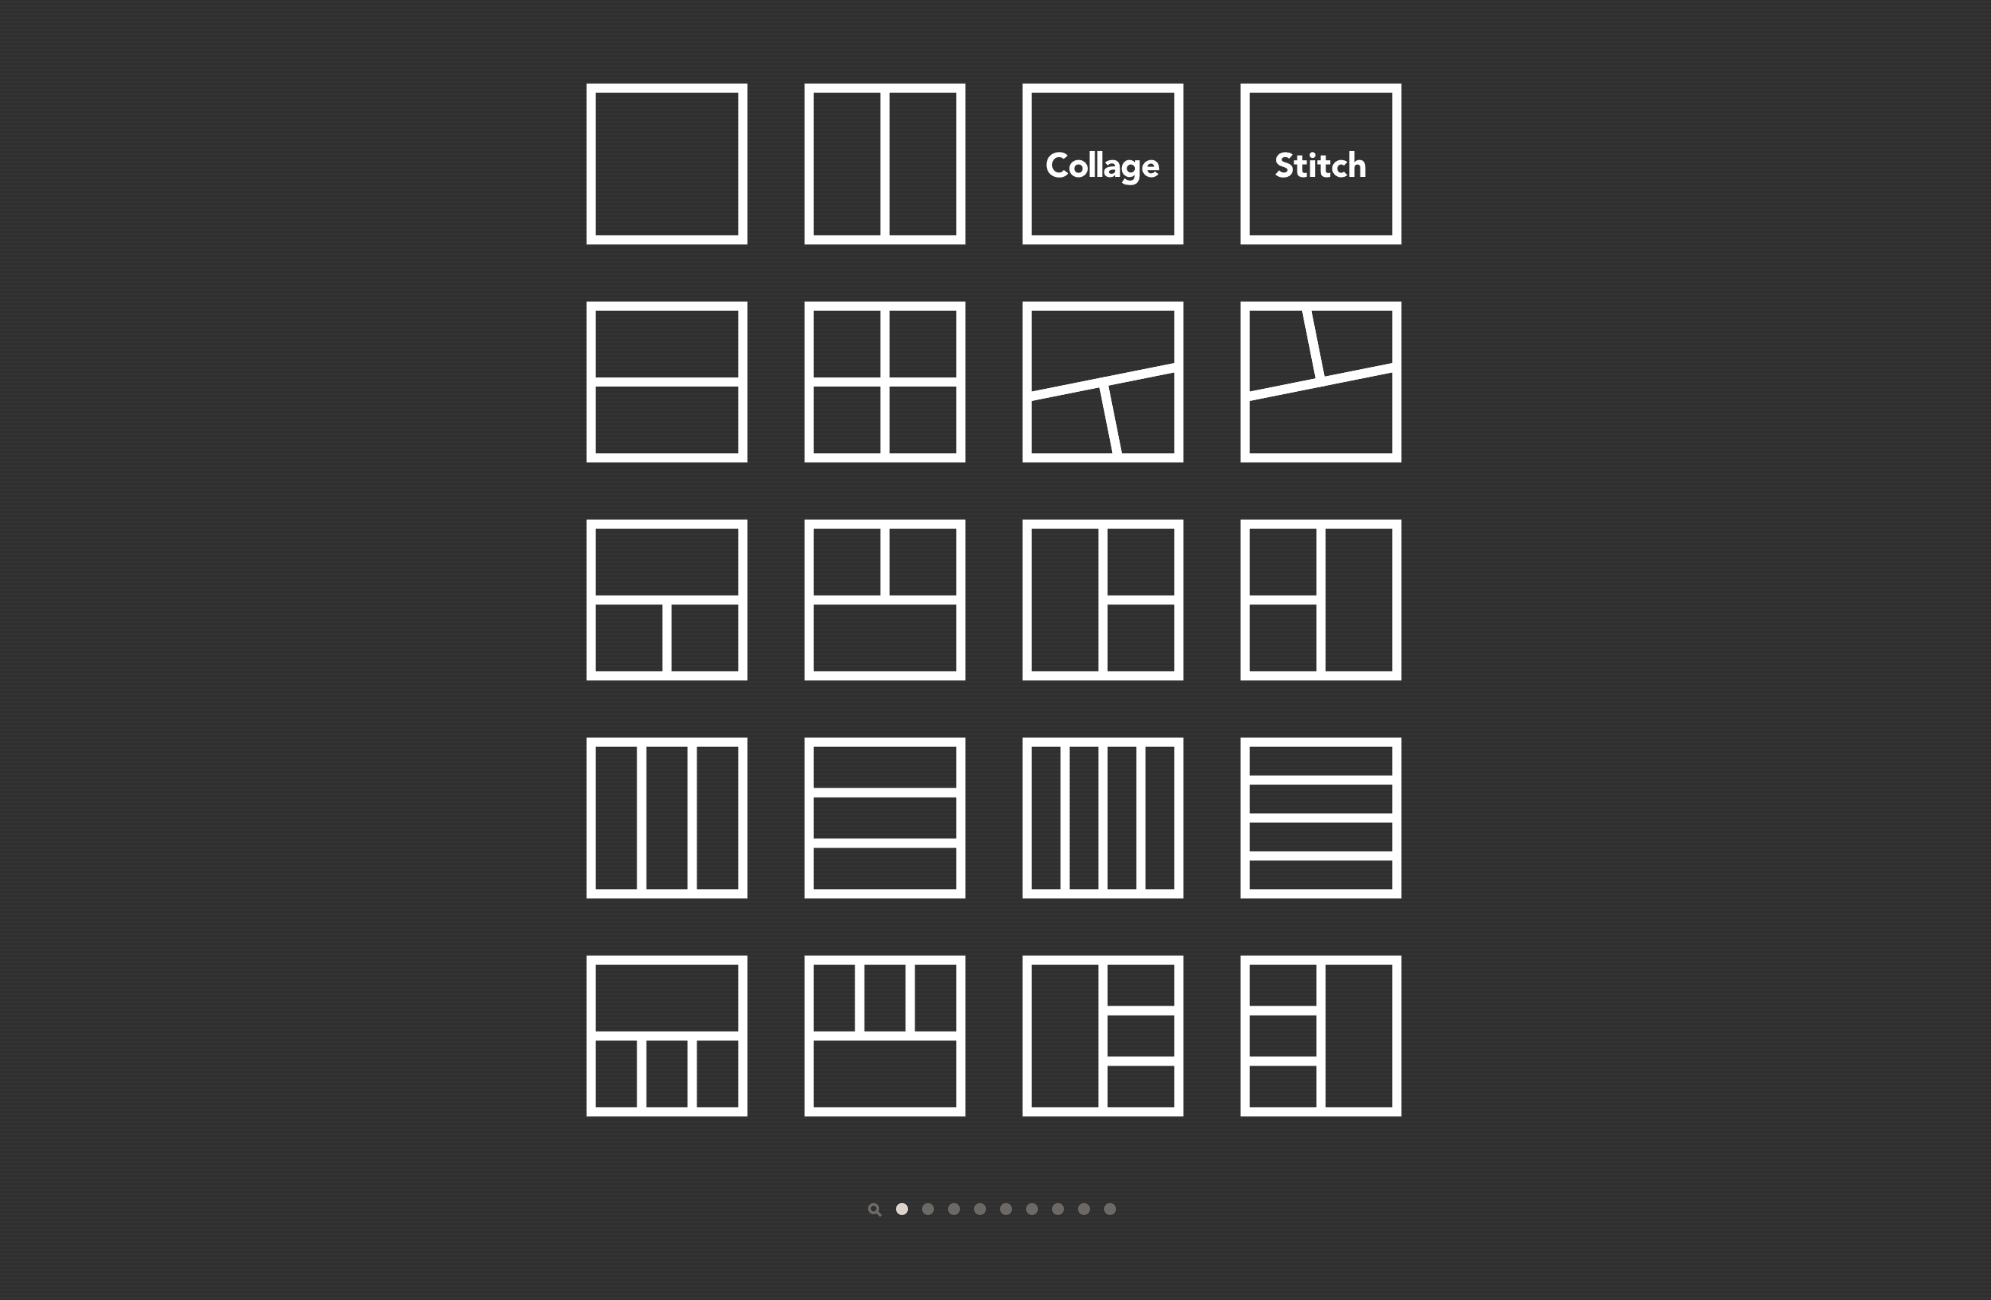
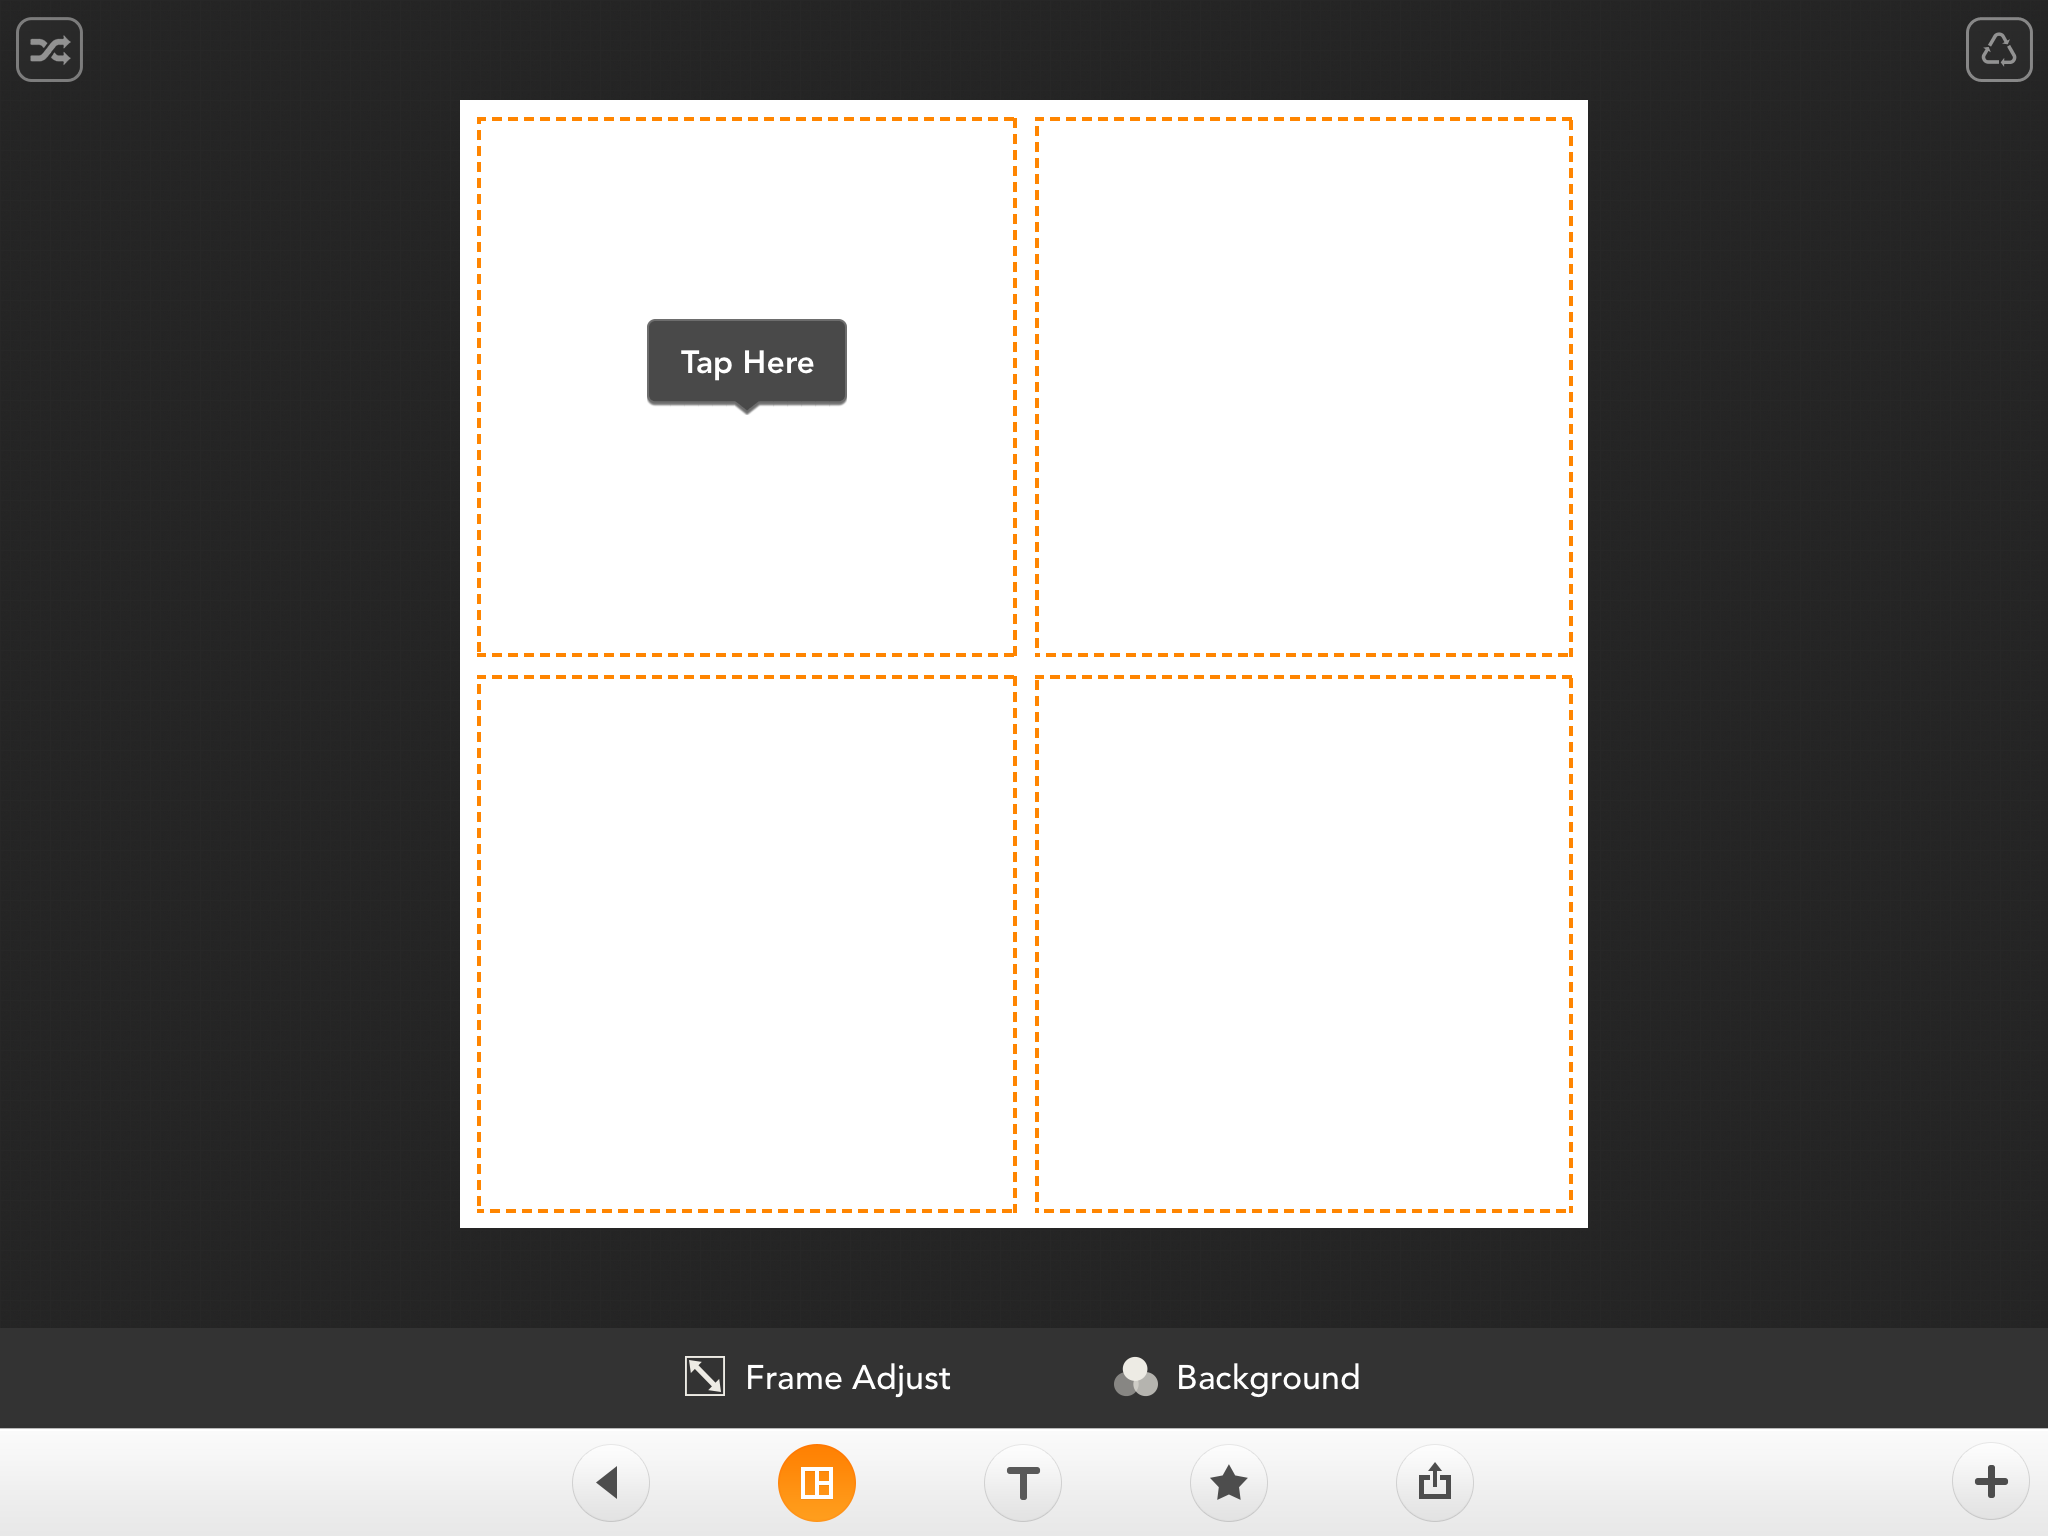
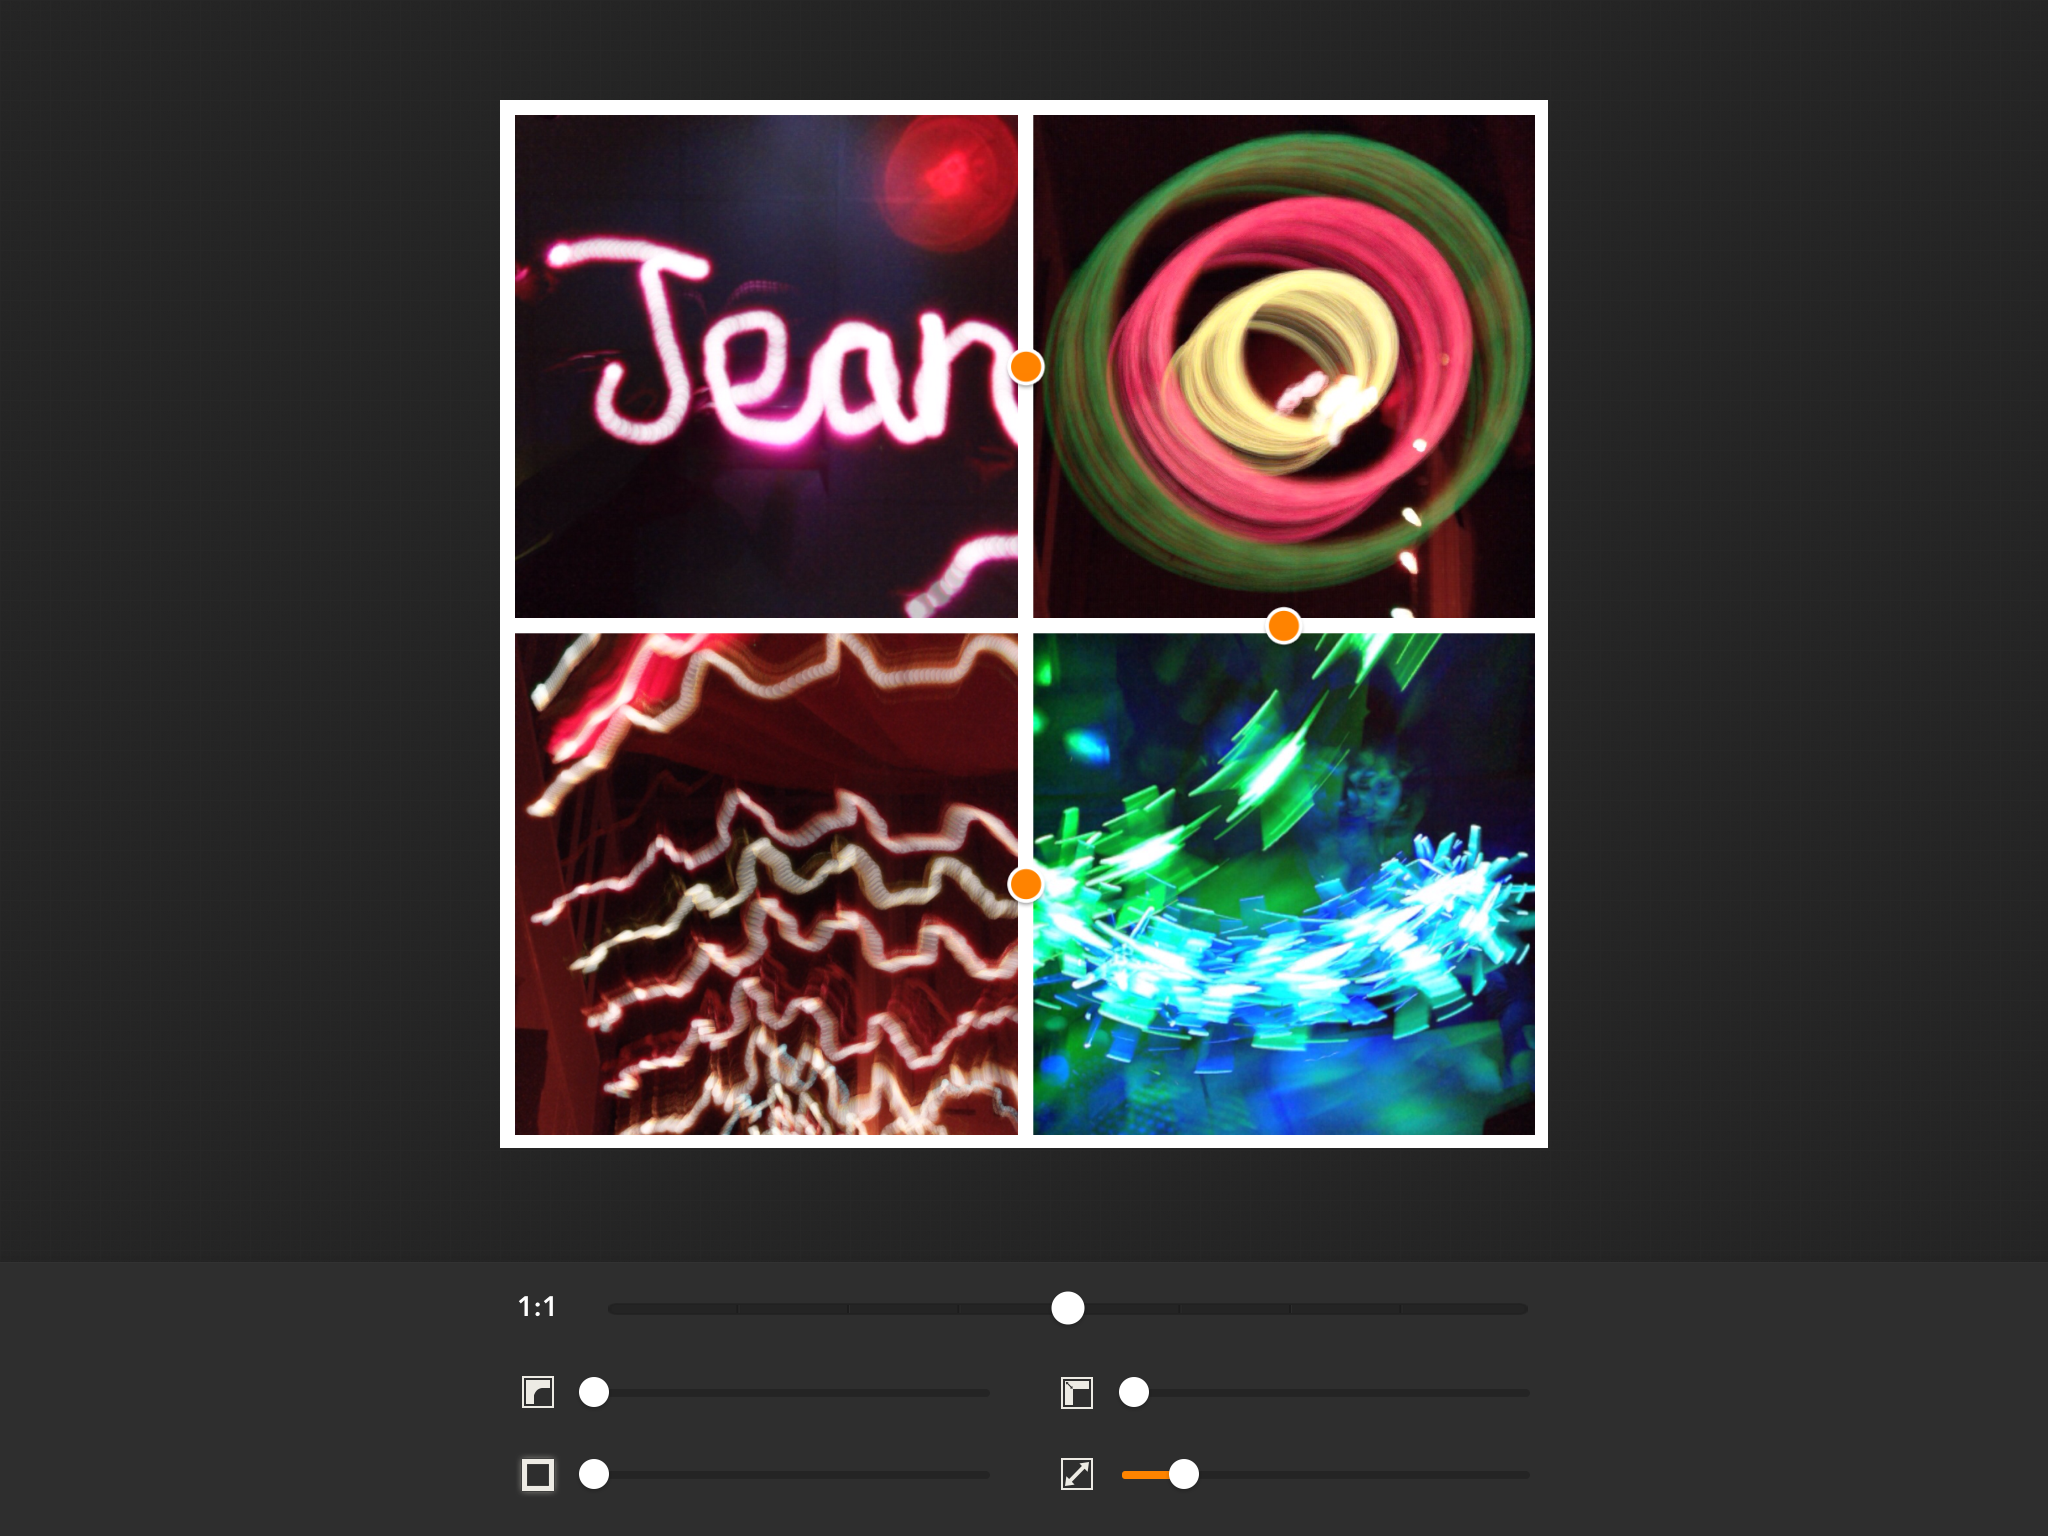
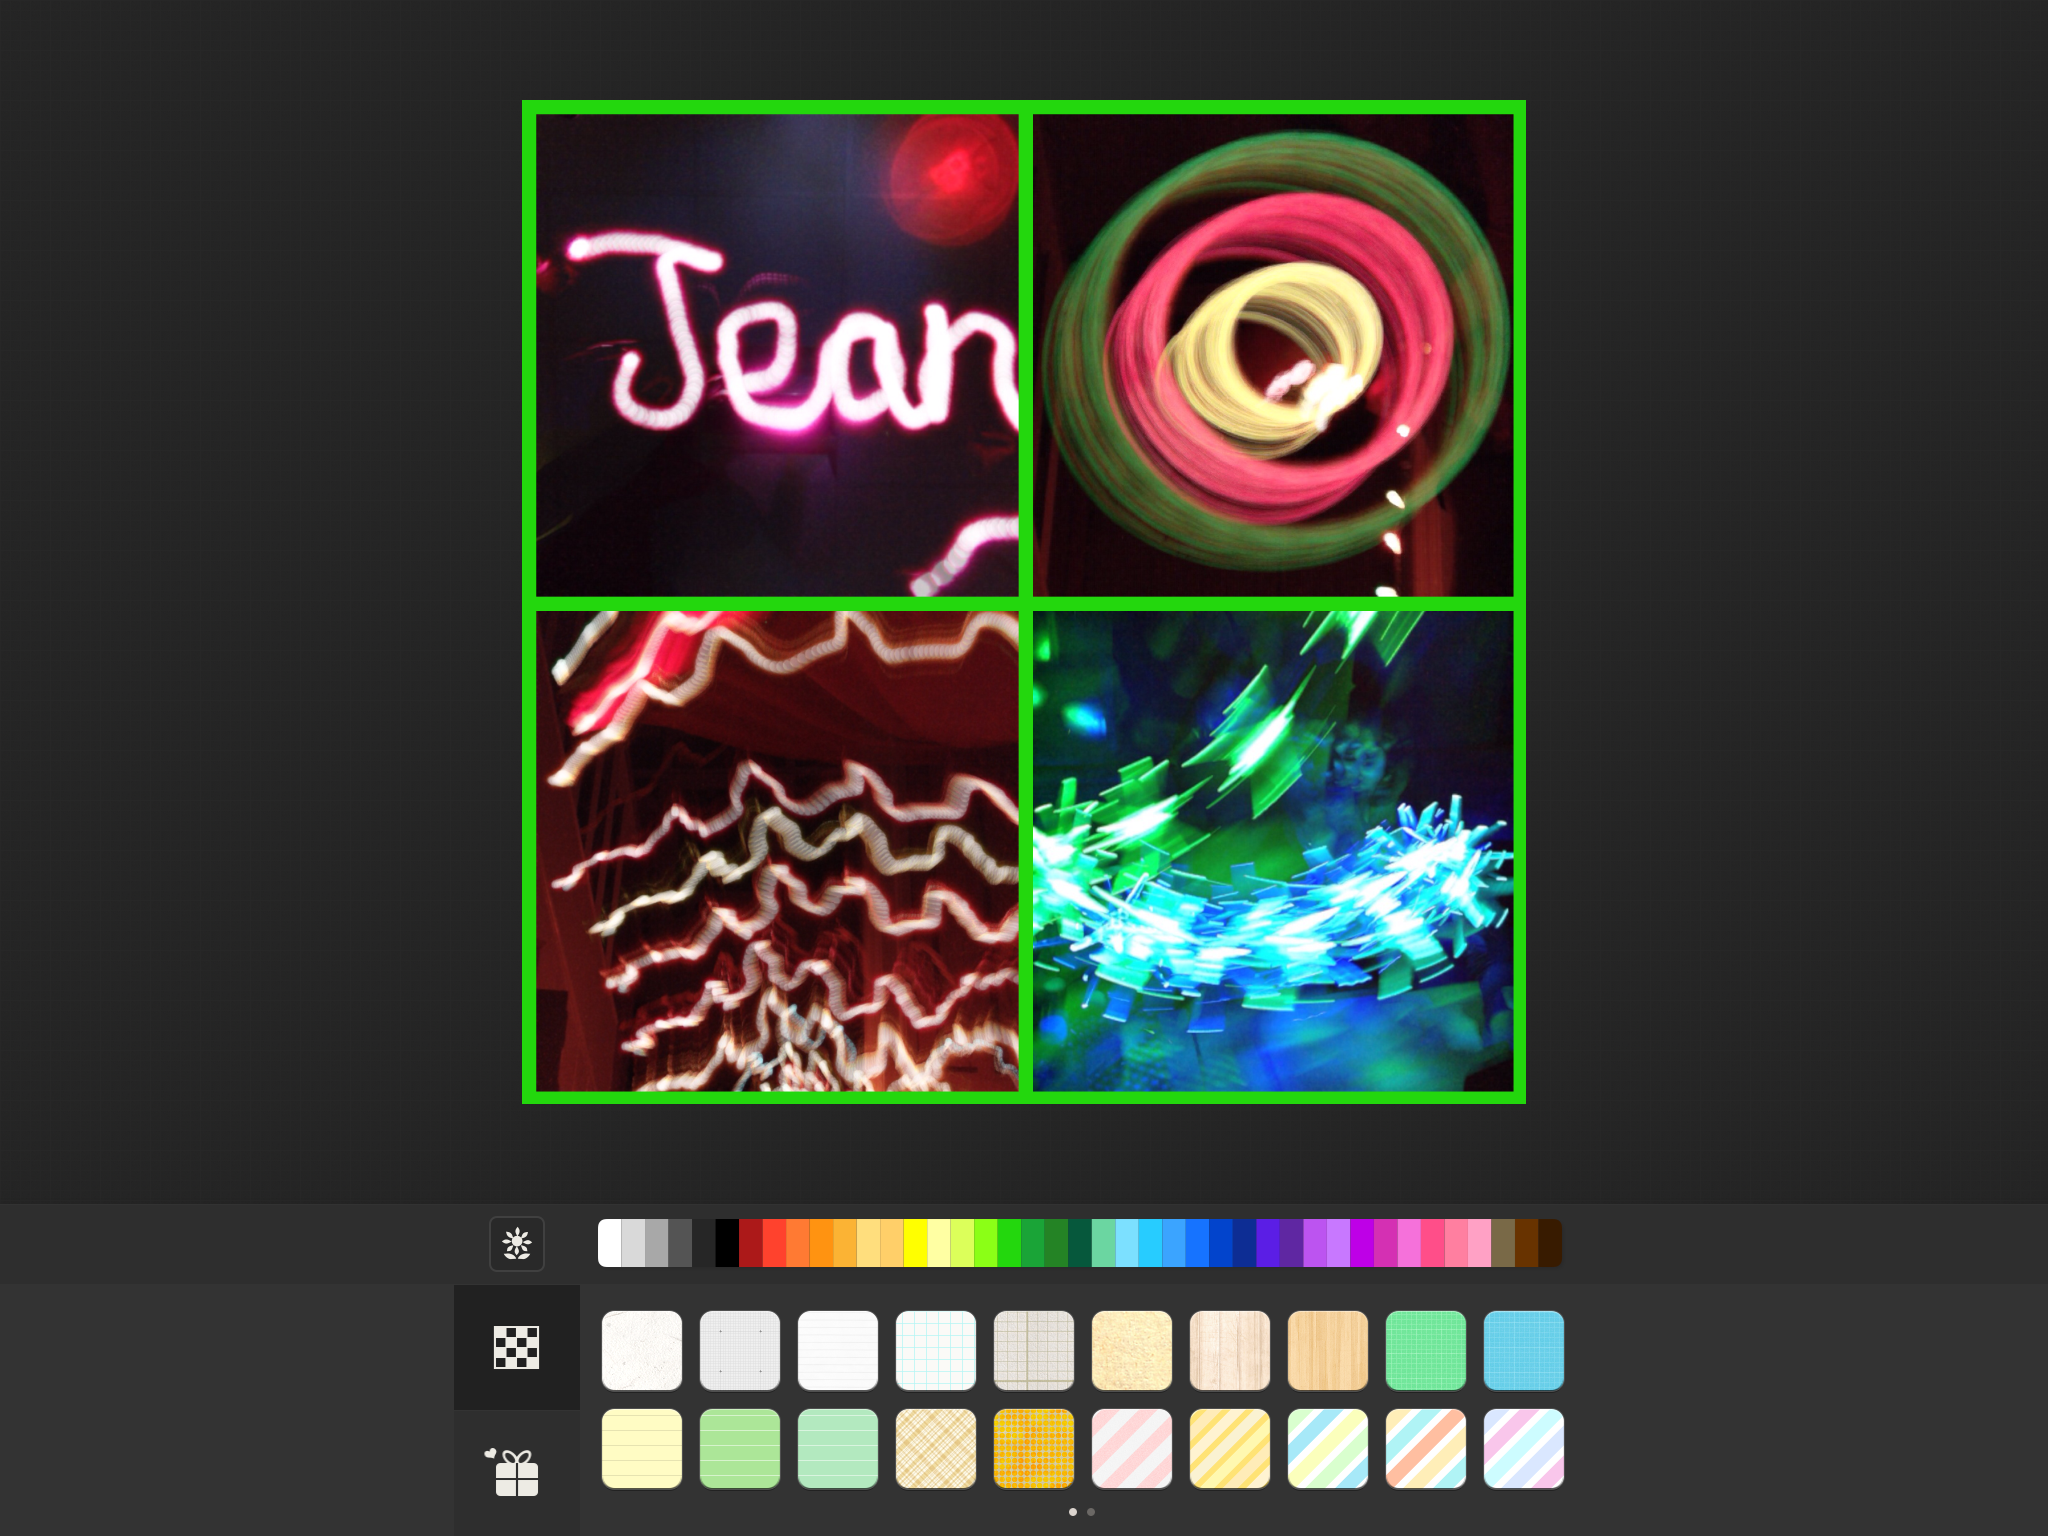
You can make a photo collage using a mobile device or laptop such as PicCollage. This is a free app available on all devices including your student laptop.
When adding it to your eportfolio add it as a single image as above.
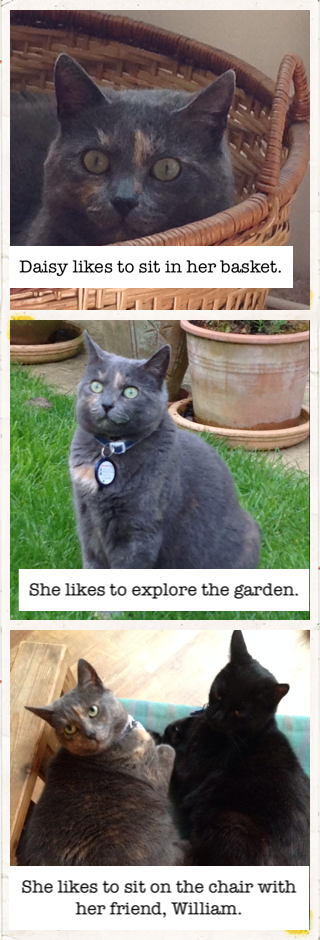
You can add the photos altogether as a group with captions. To do this go to ‘Add Media’, choose ‘Create Gallery’ from the choices on the left and then tick the images you want to add. You can choose how they will be displayed by looking at the choices on the right.
-

- cat flap and thermostat controls
-

- clock radio alarm
-

- charger and headphones
-

- Wii
-

- Sky and DVD
-

- cassette and CD player
-
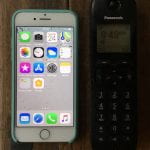
- mobile phone, landline
-

- digital radio
-

- thermostat
-
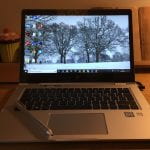
- laptop
You can present a series of photos as a slide show that you embed in the blog. To do this make the slide sequence on Google Slides. Publish the slides to the web. Choose ‘Embed’ and set the slide choices then copy the embed code. Choose ‘Add Media’ and then choose ‘Insert Embed Code’ in the list on the leftand paste it into the box.