Explain Everything

Explain Everything

Explain Everything is an app (IOS, Android and Windows)

Cost – £2.29 in the Apple appstore.

You can read about it at this link Explain Everything

It is a very flexible presentation tool allowing you to:

  • import and insert documents, pictures and video
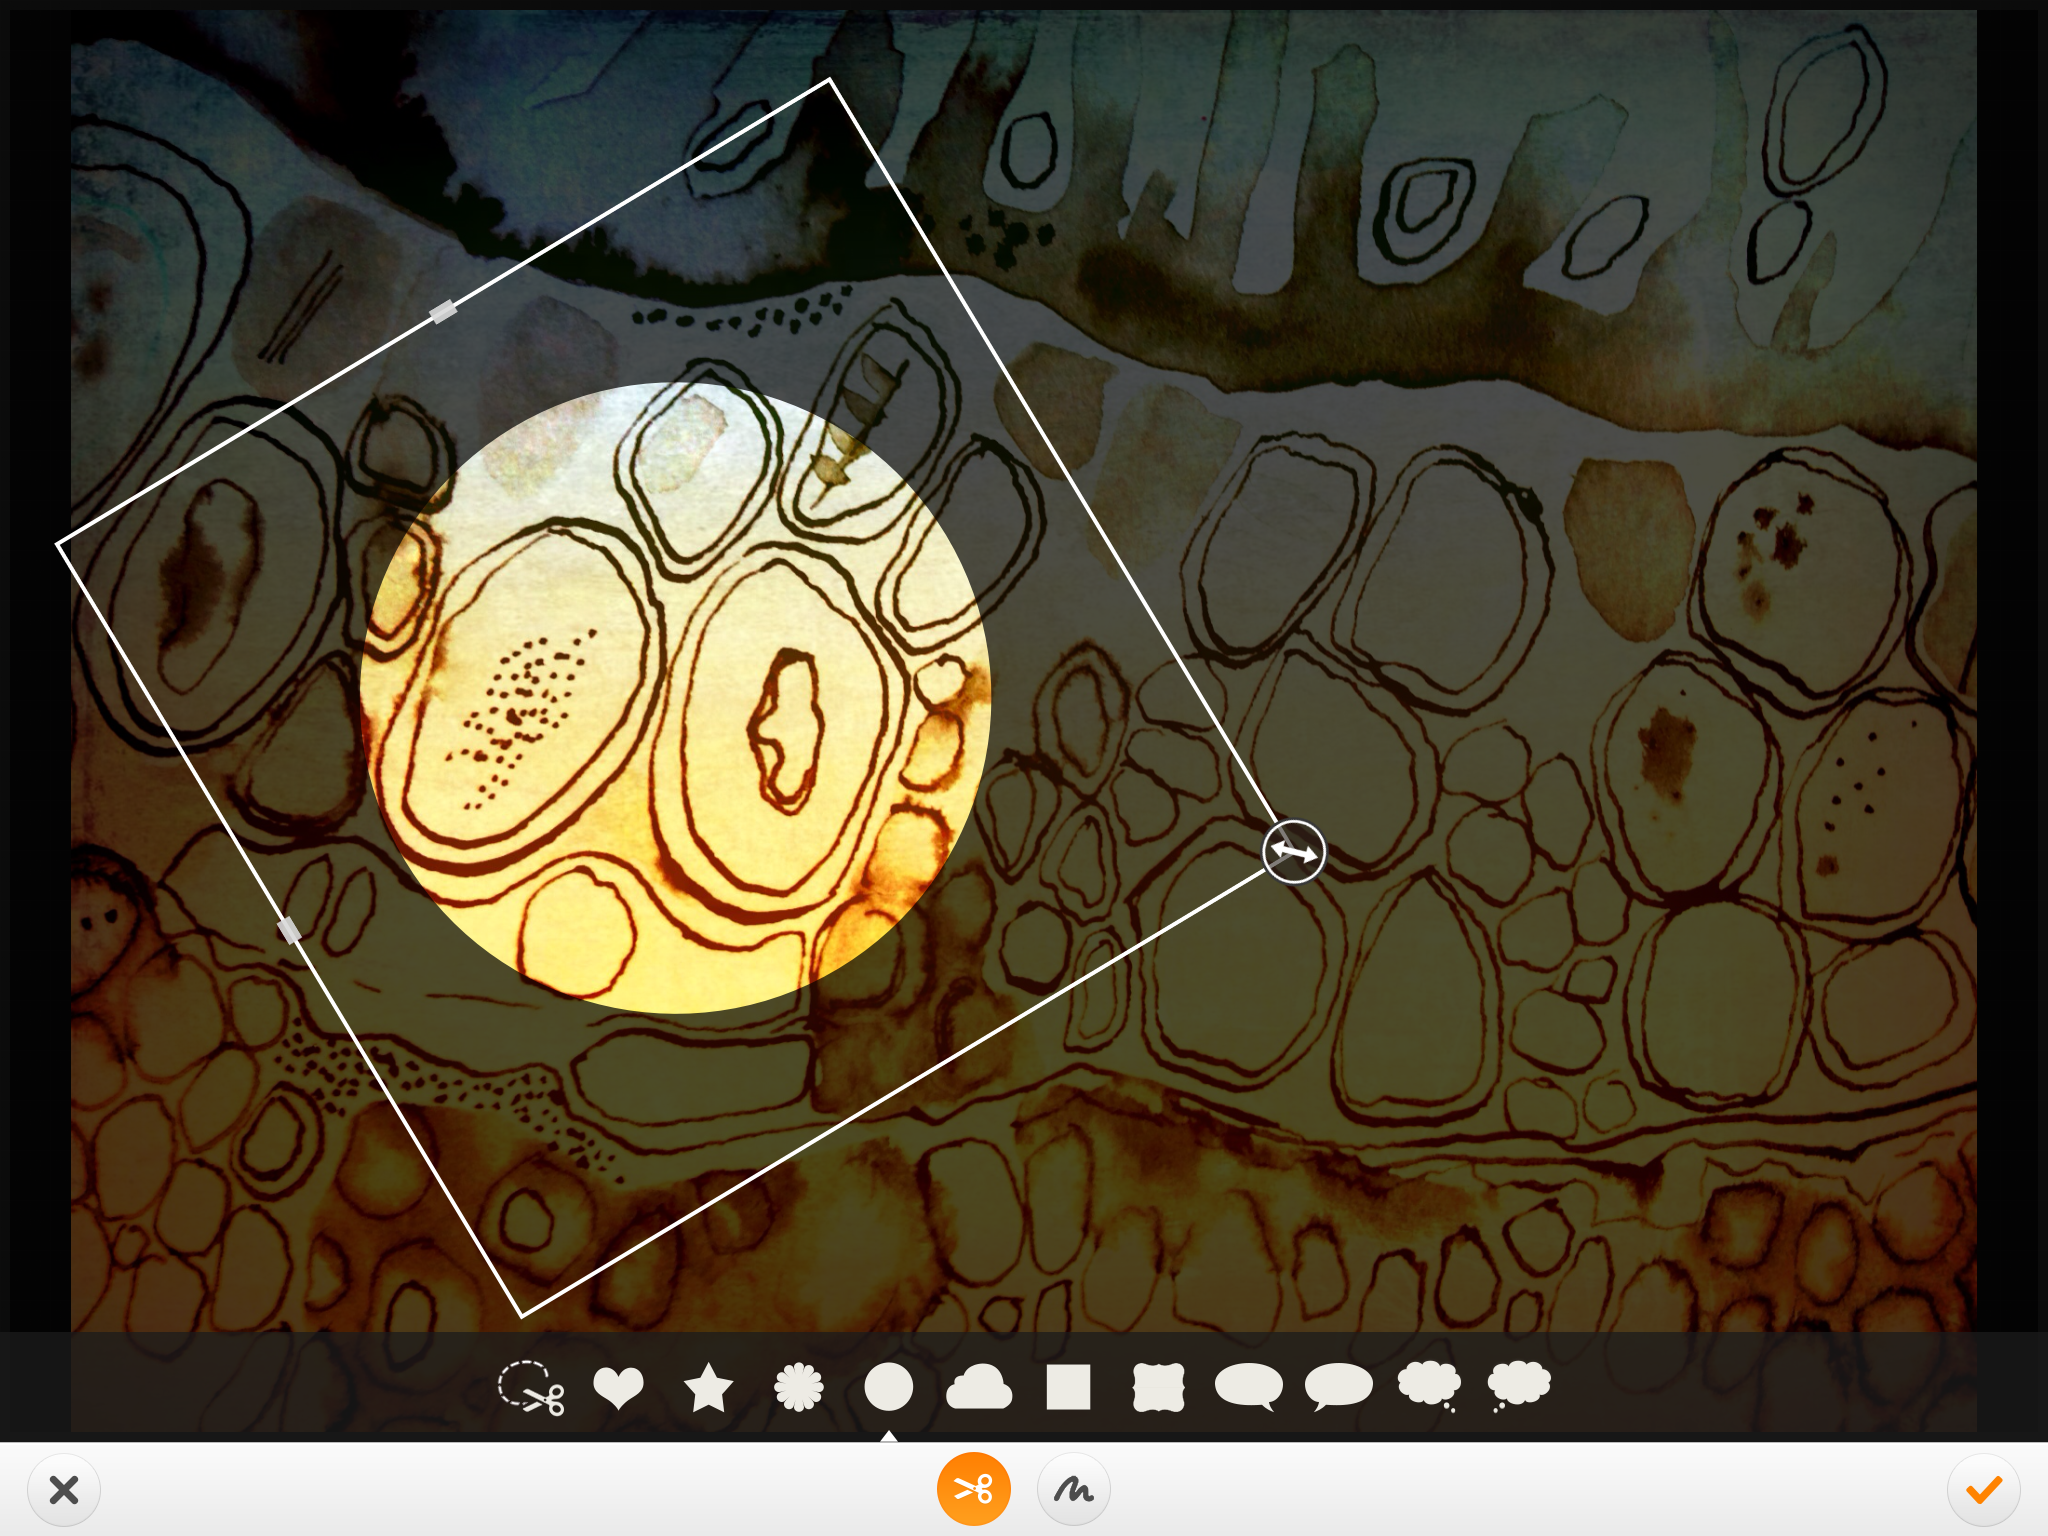
  • draw and annotate
  • move and animate
  • zoom and pan
  • record and play
  • export and share

There are some useful video tutorials available at the link above and some help pages within the app.

So far I have used Explain Everything in three different ways.

I have made a presentation that consists of a sequence of slides that I have added spoken commentary to. This was to introduce an assignment to students and remind them of where the supporting resources are. It was useful to be able to record the commentary with each slide and it was very easy to stop and rerecord small sections without having to record the whole thing in one go.

It can be seen here:

http://youtu.be/01rkBYdUHNQ

I have also narrated a short guide for students showing them how to get from the opening page of a NILE module to their discussion board and then how to access and use the discussion board. It was so useful to be able to click on the sequence links and show students where to click and what to expect live in the website.

It can be seen here:

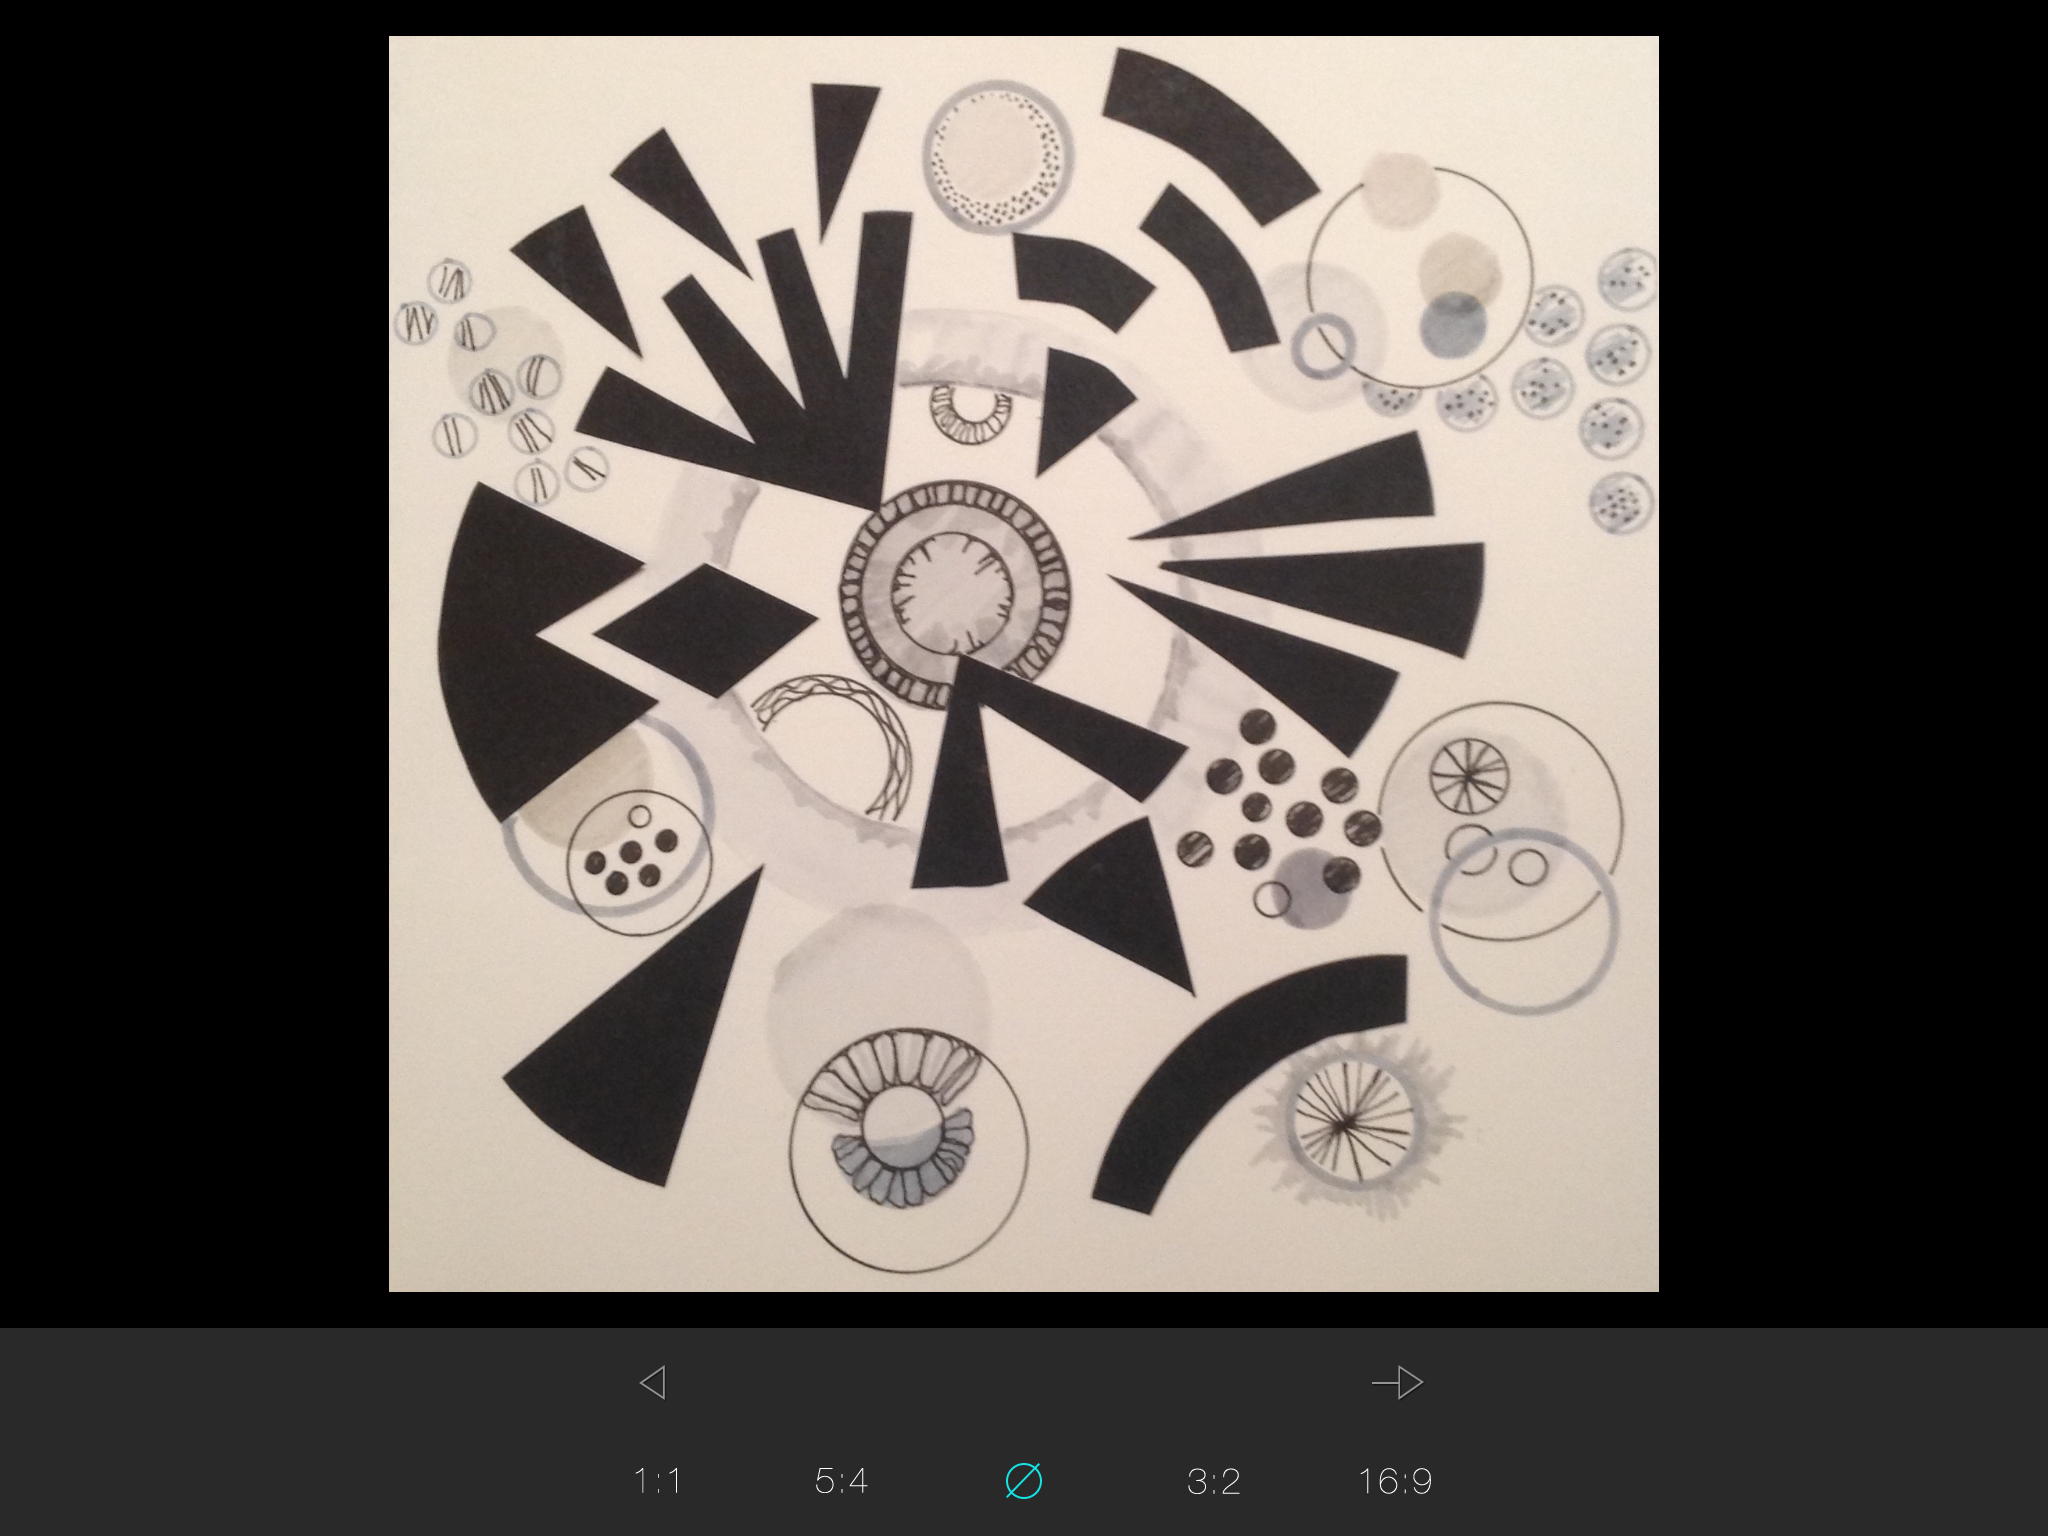
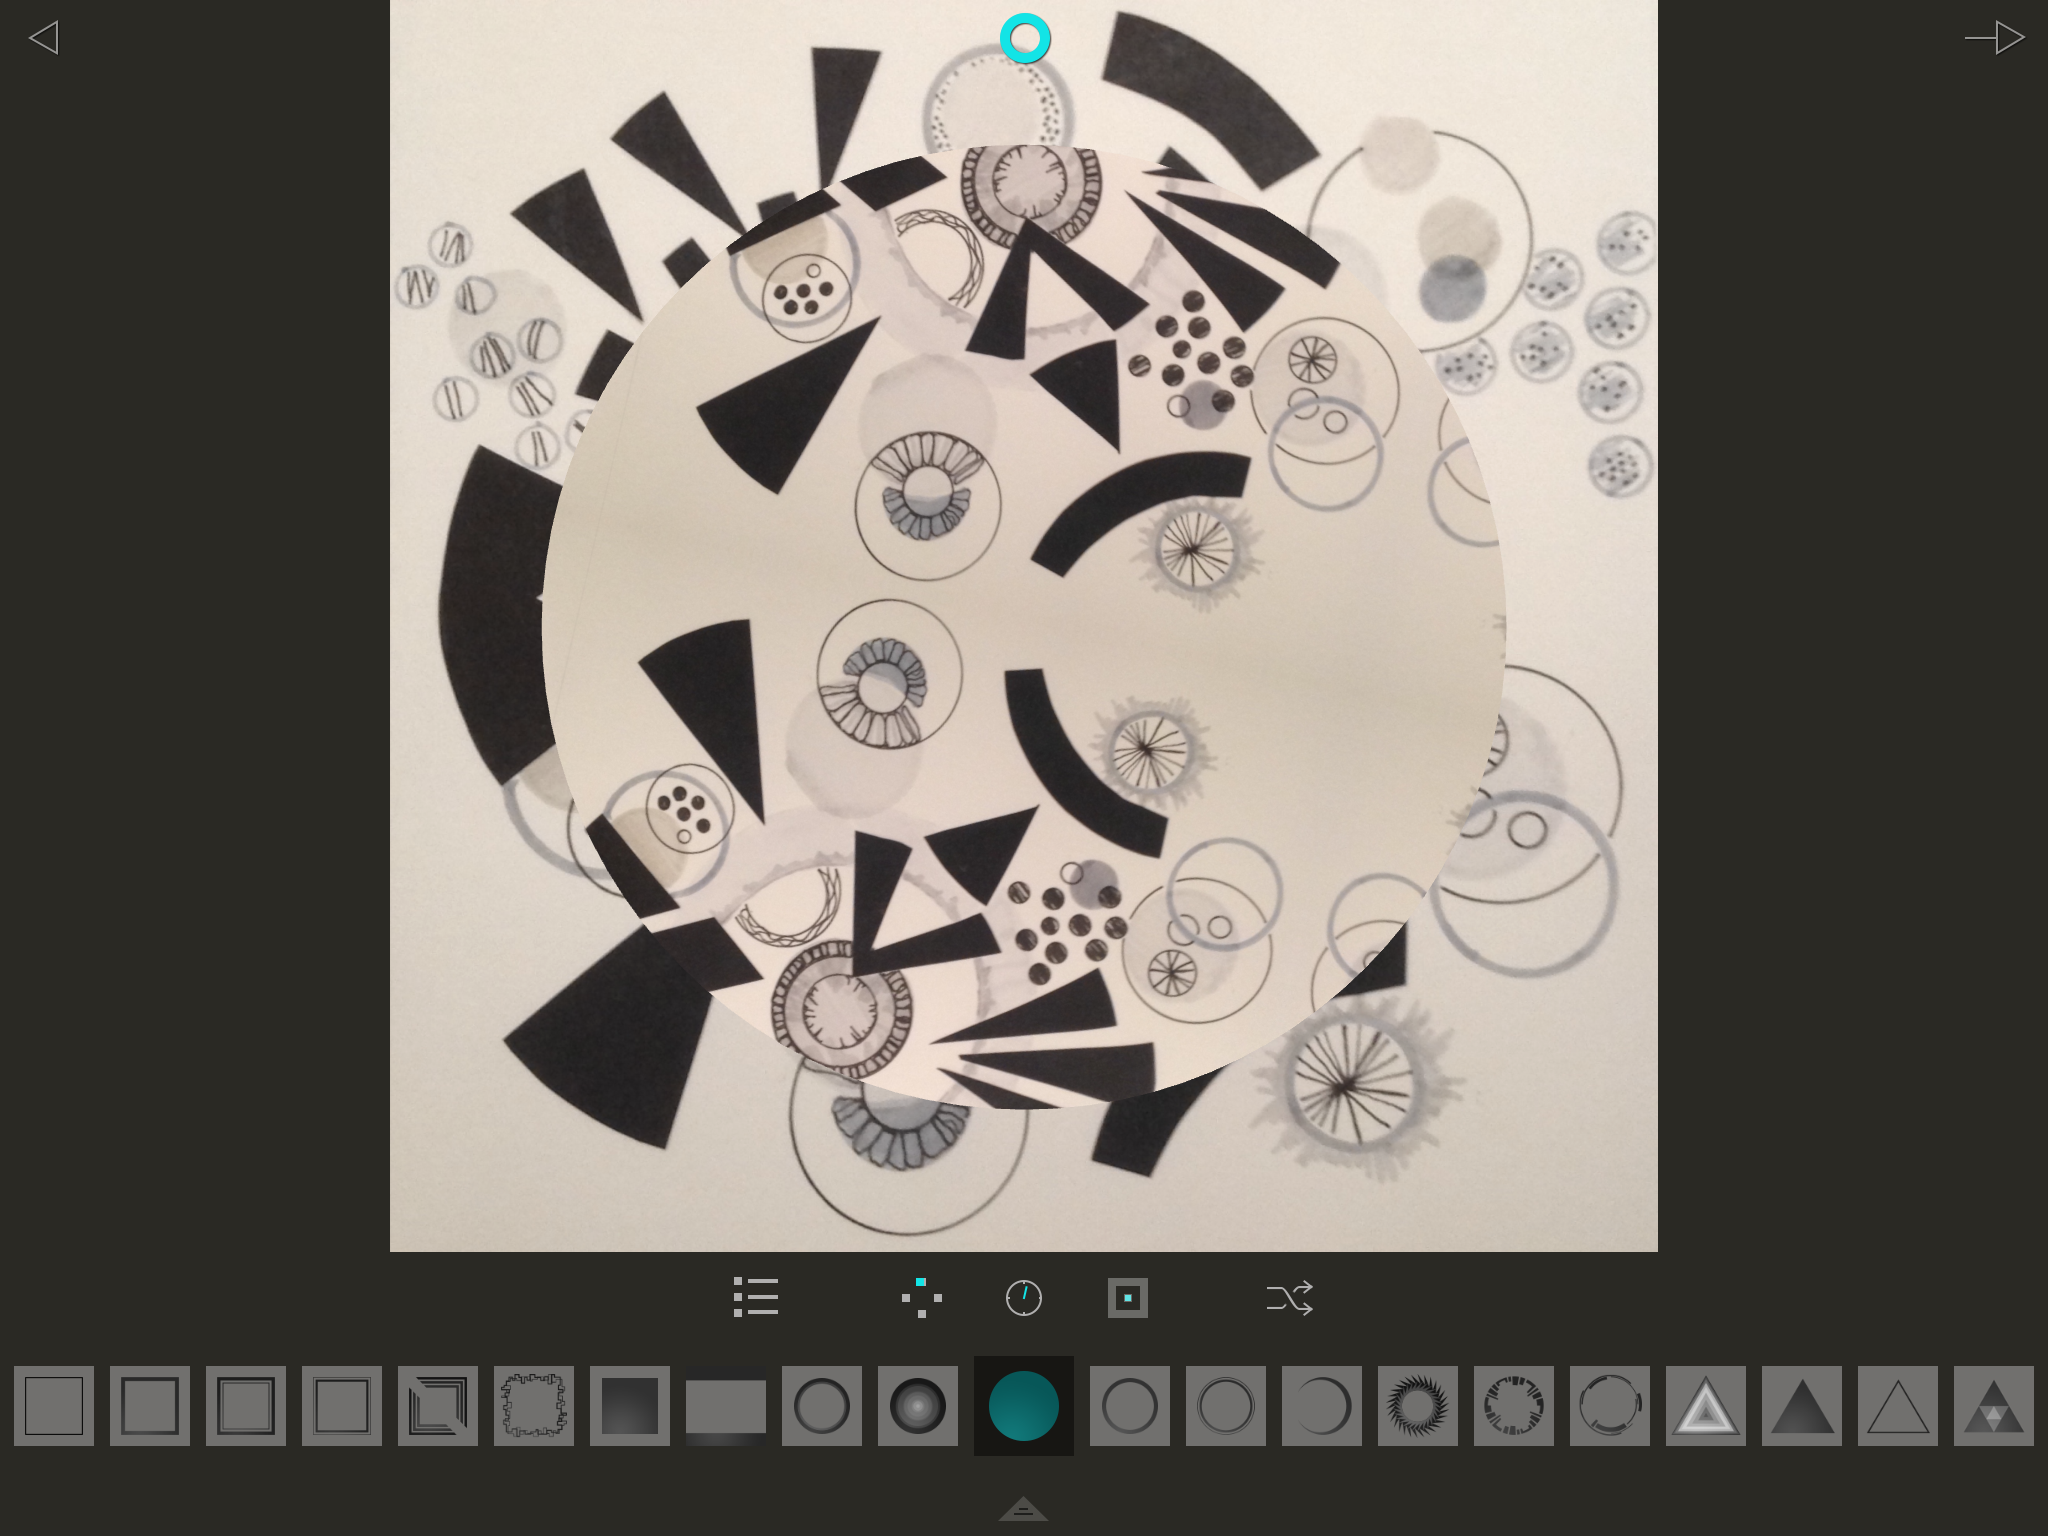
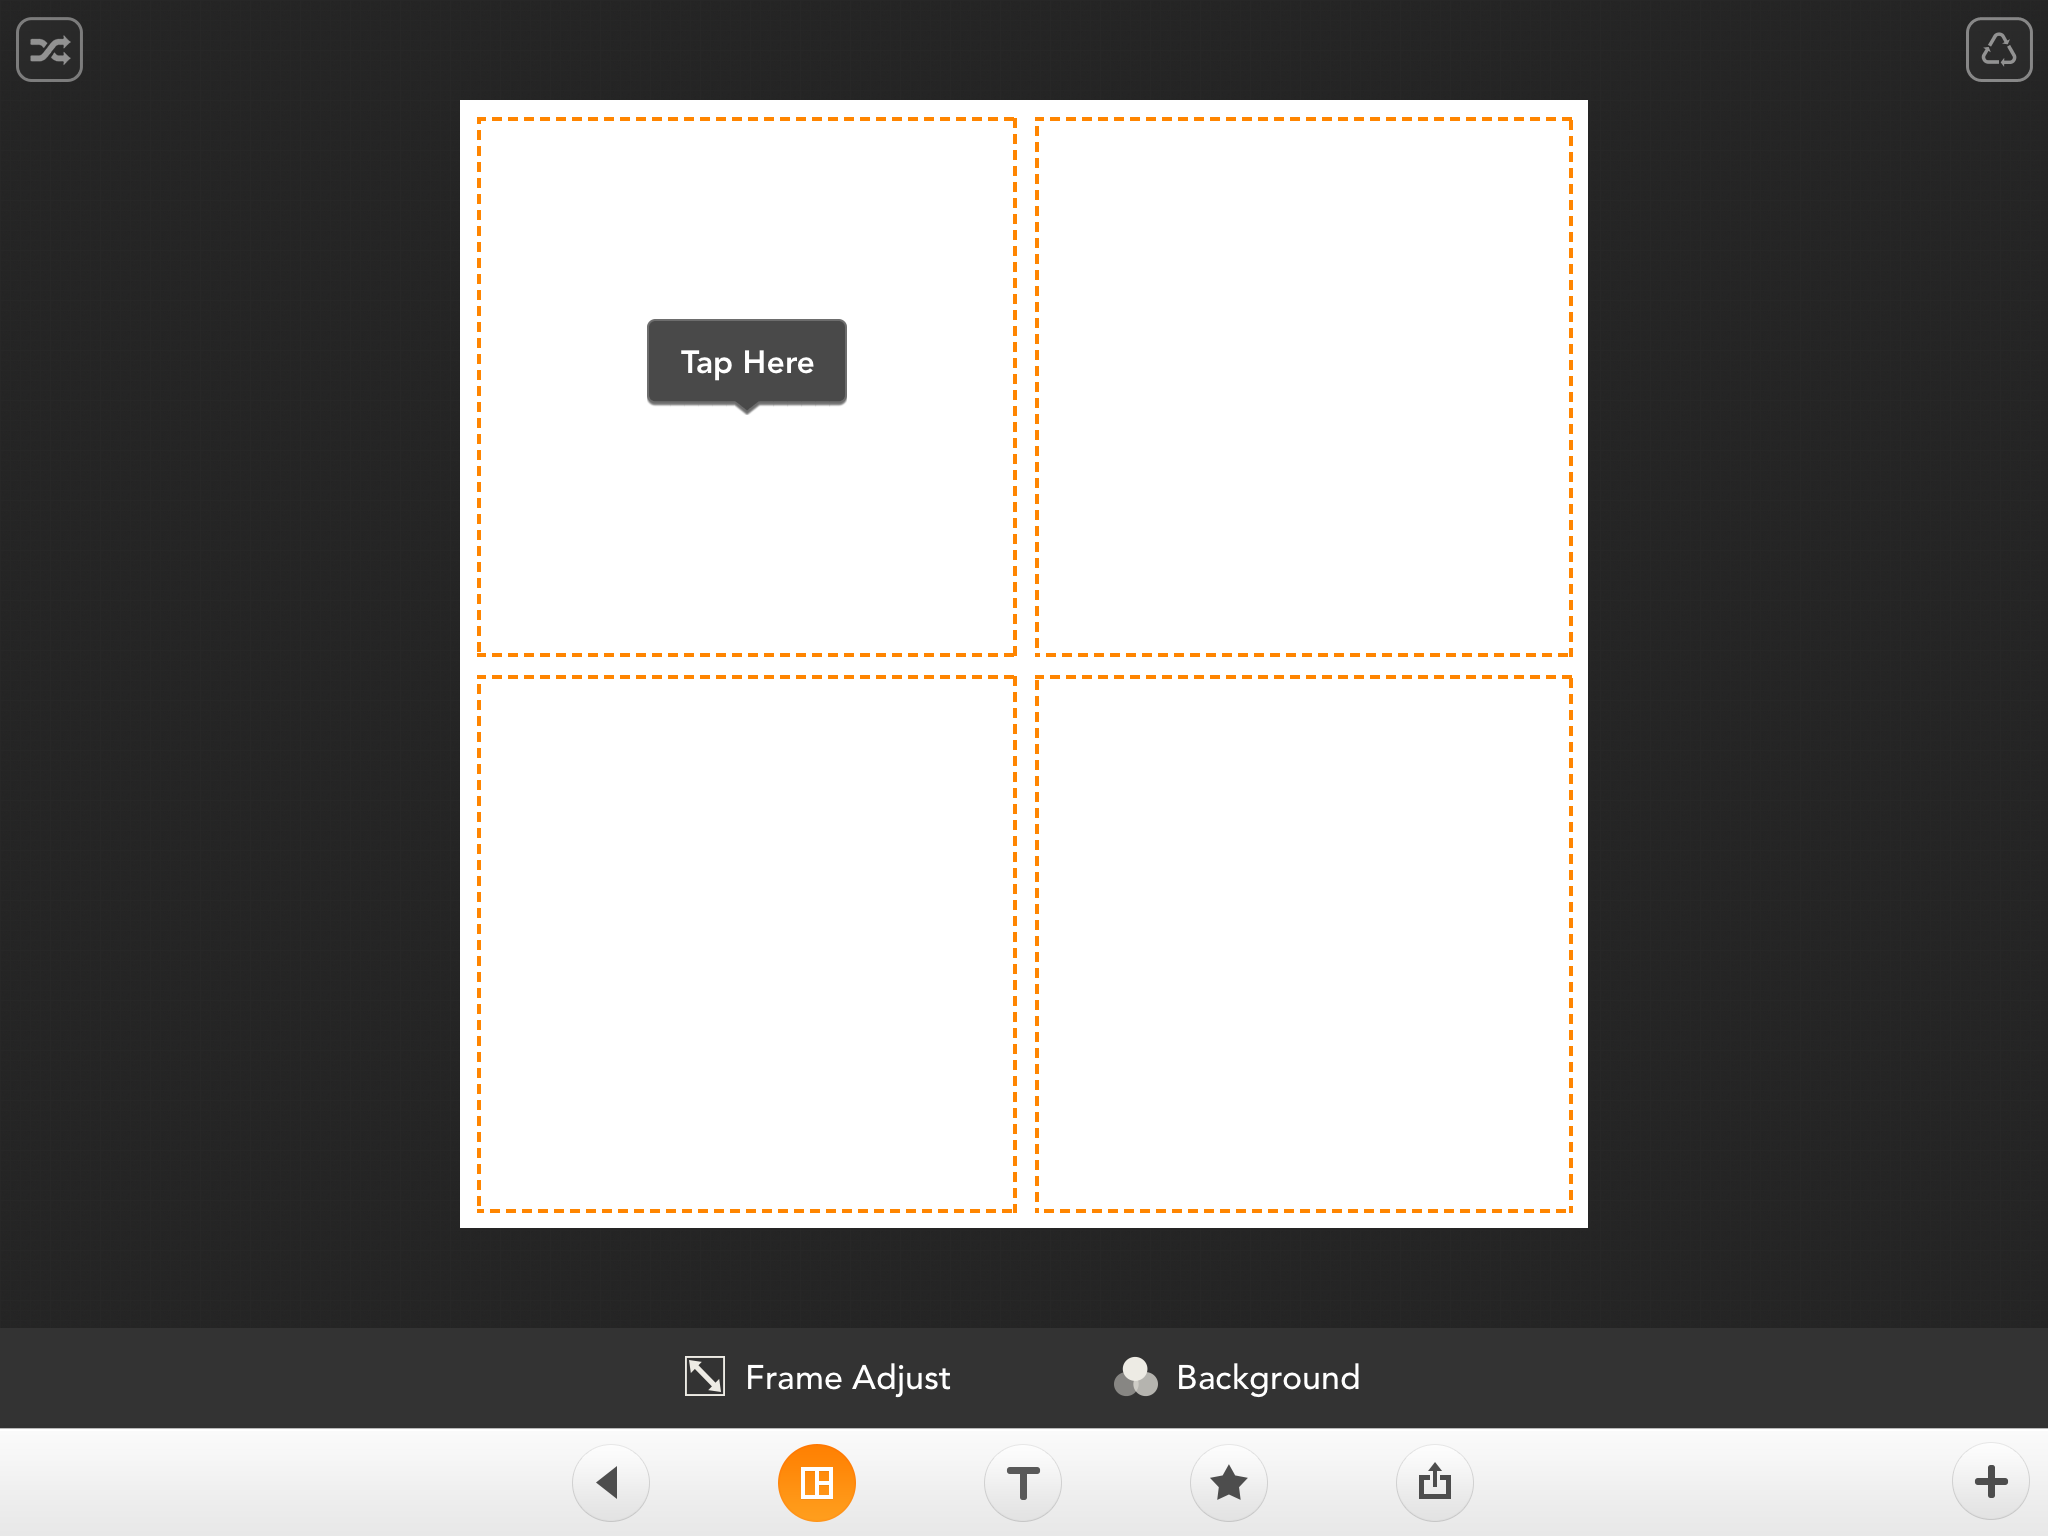
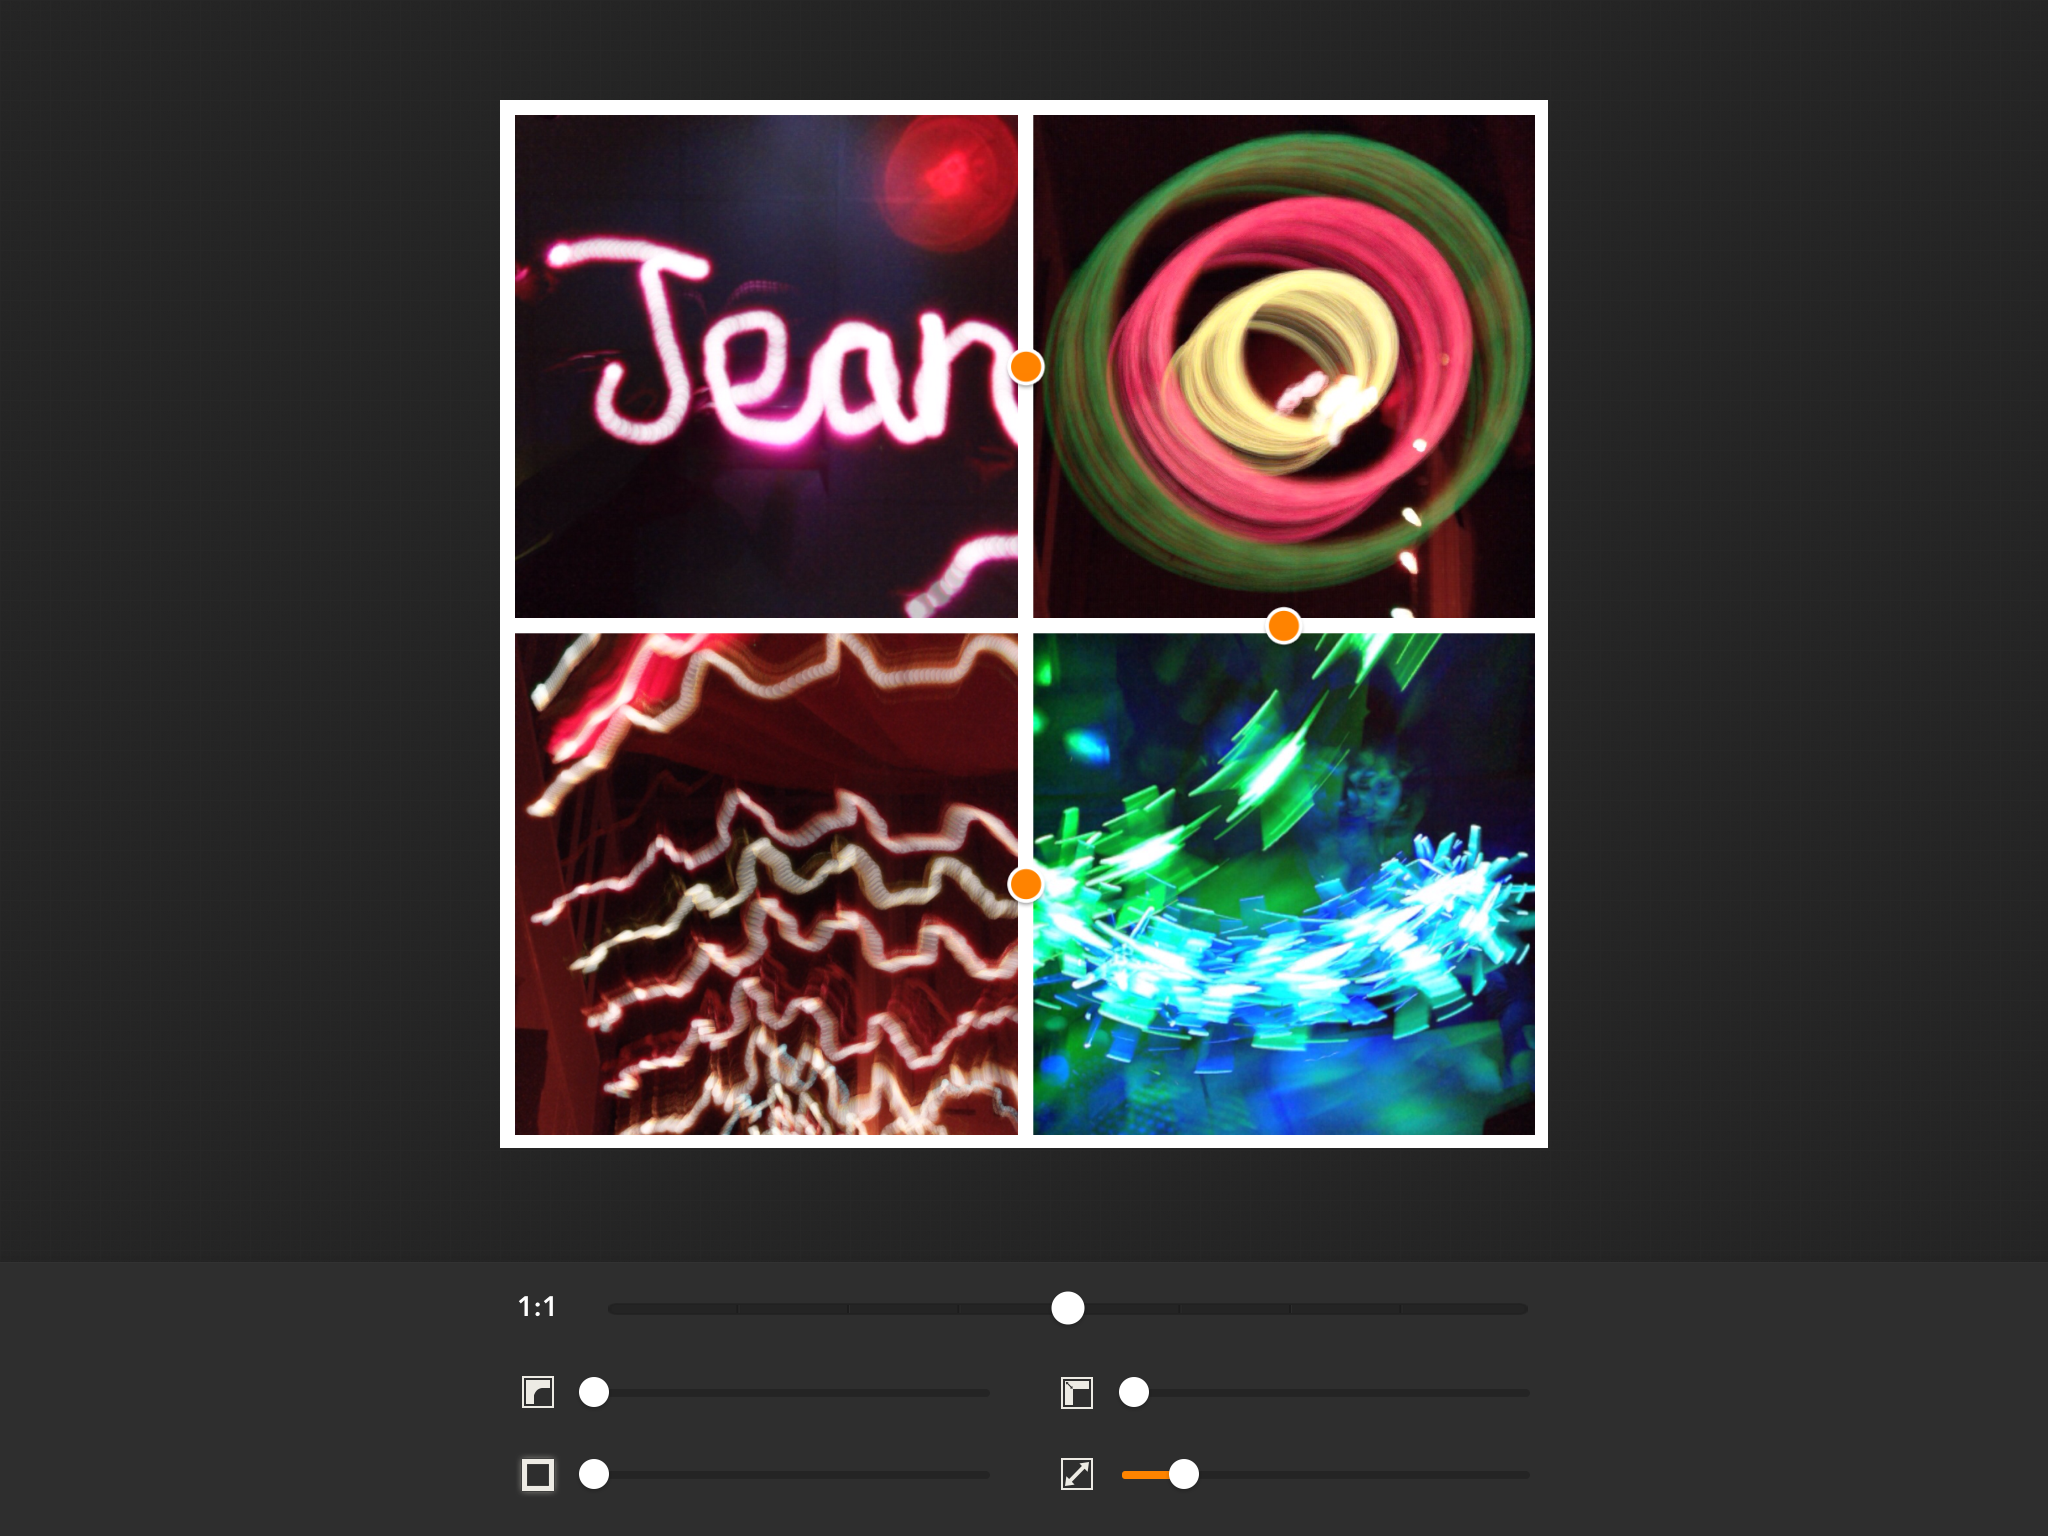
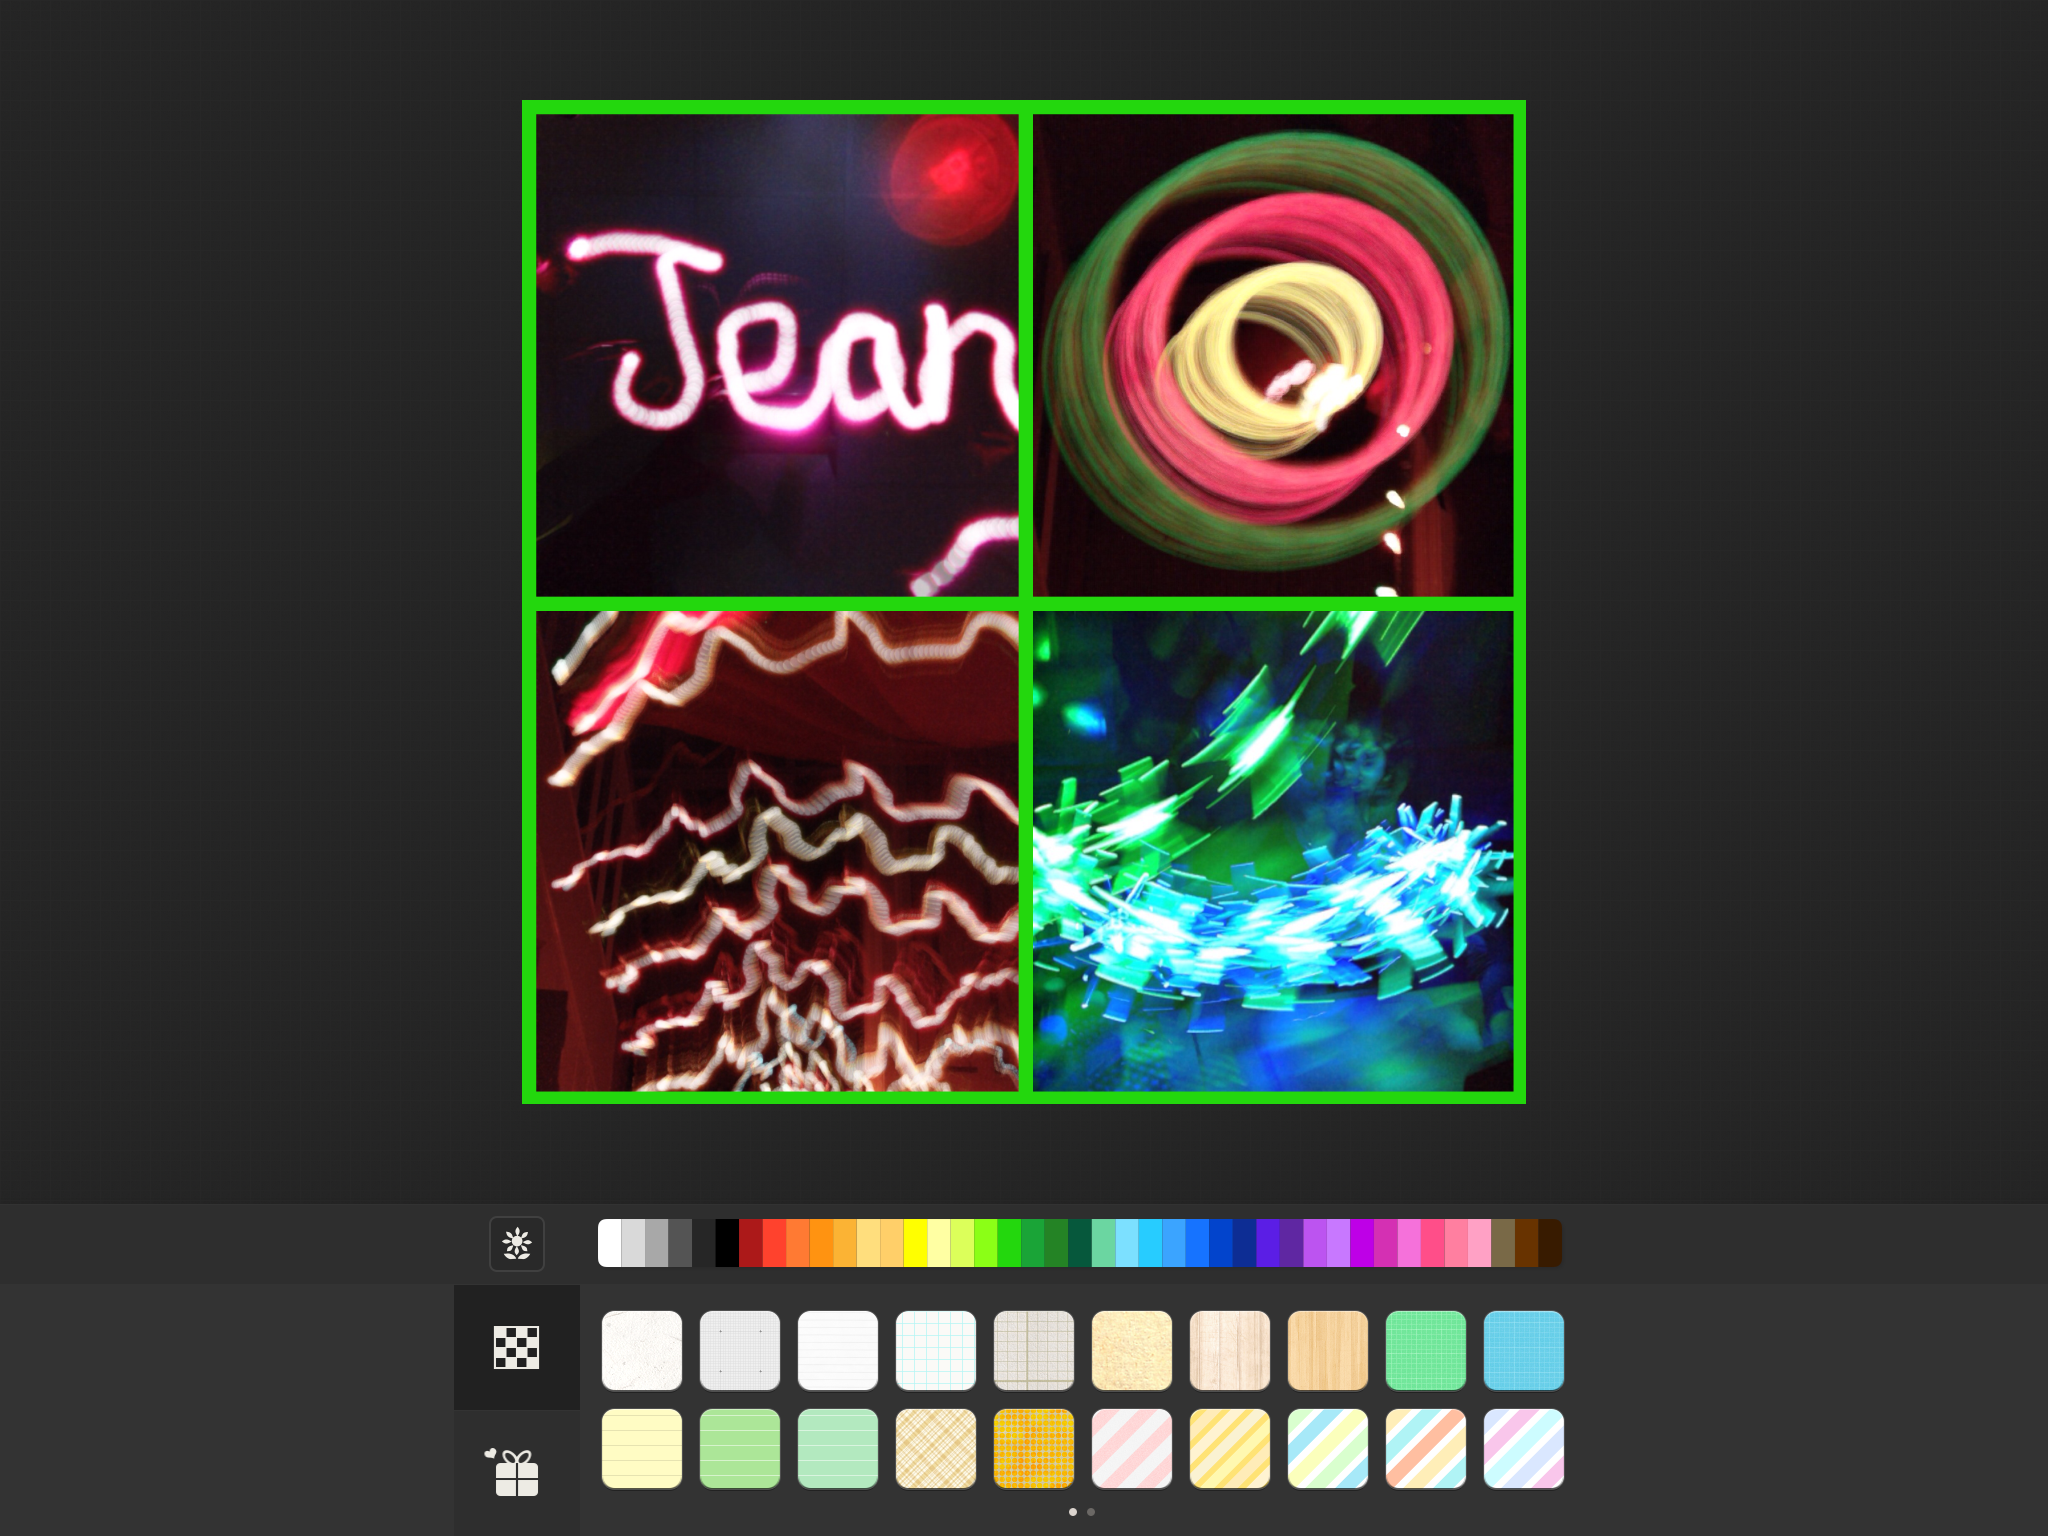
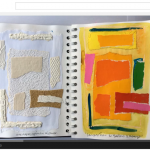
Finally I have used it construct two page by page views of collaborative sketchbooks that I have been working on this year. I was able to add the sequence of photos, add annotations and export the presentation to YouTube, Dropbox, imovie and ibooks and email it to myself. I would like to have added music but couldn’t quite work out how to do this.

One of these can be seen here:

I think this app has got a huge amount of potential for use with and by students and I am looking forward to exploring it further.

Fragment

Fragment

an IOS / Android app

cost £1.49

There is brief film that gives an overview of what can be done with the app at this link Fragment Prismatic Photo effects

How to use it:

the opening screen

the opening screen

When the app opens you can choose to use the last photo you were editing, a photo from your photo album, or ‘inspiration’ eg one of the preloaded images.


choosing the photo and size

choosing the photo and size


If you choose one of your own photos you can then choose a size and proportion. You can back to photos using the arrow to the left and forward to the app using the arrow on the right.


manipulating the image

manipulating the image


On the next screen you can choose to manipulate the photo using the effects randomly (arrows on right) or touch each shape in the line below to choose specific ones. Move the image around on the screen to change the size and orientation within the chosen shape.


changing colours

changing colours

You can touch the small inverted triangle at the bottom to move to the next screen. On this next screen you can change colour and within that the brightness and contrast as well as blurring, inverting and desaturating.


a refragmented image

a refragmented image


Touching the arrow at the top right allows you to save the image, refragment it and share it. It can be useful to save it at different stages as you work because it is sometimes impossible to back and recreate the same image again.


Ideas:

  • manipulating photos
  • make some art, photograph it, fragment it, make more art from it
  • use to make backgrounds for presentations
  • print out and use as collage, draw onto

Other associated apps – Tangent

If you have tried out the Fragment app please add your examples and ideas in the comments below.


Pinterest

Pin3Pinterest

Cost – free

Available on computer, tablet and phone and as website and app

WebsitePinterest

Help and information available here – All about Pinterest

Account – with your email address or sign in using Facebook.

pin4Pins

Pinterest describes pins as visual bookmarks – images that you collect and save or ‘pin’ to boards. You can browse and search the pins of other Pinterest users and pin them to your boards. Images might be your own photos and those taken by others, images collected from the internet and other sources. When you choose a pin and add it you have to name or label it and it is important to note the source of the image so that you can acknowledge the person who originally made it, unless you made or took it yourself.

Pin3Boards

You can collect your pins onto boards that you create, title and share, keep secret or use as a group. Have a look at the help pages above to explore how to create secret and shared boards.

Boards are the way you group your pins around themes related to an idea, interest, event or subject. You can follow the boards of other users that interest you.

Following

You can choose to follow other Pinterest users who pin on themes of interest to you and other users can follow you. You can also follow specific boards made by other users.

Pinterest for learning and teaching

Pinterest can support learning and teaching in a variety of ways both in the classroom and as part of your preparation for support or teaching.

In the classroom

You can collect images around a theme to support learning in a subject or lesson. When starting a unit of work on portraits in art or history you might collect some examples that you want to use in your teaching. You can label these with questions, information or suggestions.

You can pin photos of learning outcomes from a group of pupils or students and these can be shared with the pupils or students and their parents or other interested people – other teaching assistants and teachers.

To support your own role

Pinterest is a great tool for research. There are many teaching resources and ideas already pinned there that can give you ideas or spark off your own ideas for supporting learning. You can search using keywords and phrases to find these and then either follow the boards or users you find or collect the pins you choose onto a board of your own.

You can read a guide by edudemic here – The Teacher’s Guide to Pinterest

Some links to Pinterest users:

Jean Edwards – Jean’s Pinterest boards

Helen Caldwell – Helen’s Pinterest boards

Tate Gallery – Tate Gallery

Teaching Ideas – Teaching Ideas

If you are on Pinterest do add your name and link to the comments below so we can enjoy and learn from your boards.


Moldiv

Moldiv

cost – free

2014-05-26 16.55.35Moldiv is an app that allows you to:

1. present photos in different groupings ‘collage’ 

2. cut bits from images and put them onto other images ‘stitch’

Collage

To group and show photos in various formats and layouts browse through to see which layout you want – there are eighty free frames to choose from.

2014-05-26 17.04.14Touch the one you want to use. It will open larger and allow you to tap to choose photos from your gallery or take photos. The box where your photo will go is indicated by an orange fill. This might be important if your photos or images need to be a specific position or order.

When all your boxes are filled touch the tick on the right.


This allows you to see your photos and use:

2014-05-26 17.14.261. frame adjust – this allows you to adjust the size and part of the photos and move the frame lines around, as well as adjust the width of the frame lines and borders and round the corners.

2014-05-26 17.14.082. background – this allows you adjust the colour of the frame using block colours, patterns and grid paper.

In addition to this the T allows you to add text, the star allows you to add stamps and the scissors take you to the ‘stitch’ part of the app – more about this later.

Collage is useful for teachers and TAs when grouping together linked photos such as the record of a visit, event or outcomes of a lesson in one block. It can also be used to show the development of one learner’s work in one image or the outcomes of many students’ work in one image.

Learners can choose and group their own photos or images they have collected to represent a word, a feeling, an experience or some learning.

Stitch

2014-05-26 17.32.04To use the ‘stitch’ part of the app touch ‘stitch’ on the opening screen. This allows you to choose a photo from your camera roll by touching it – this will be your background,  you can cut from other photos and place them onto it.

2014-05-26 17.33.18Touch the tick on the right to begin to stitch. Touch the star to open and then touch the scissors – this will open your camera roll again so you can choose a photos from which to cut. Precut shapes can be chosen and resized.


2014-05-26 17.33.59Touch the tick to cut and then move and resize what you have cut on your background image. Alternatively touch the scissors to cut a shape of your own. Touch the plus button to copy another of the highlighted cut out.

This part of the app can be useful for constructing collections of images for learners to use. It can also be used for making collage art on the screen and choosing and cutting parts from an image and enlarging them to work on further.  It can be useful to think about the background and the elements that you will want to place onto it before beginning.Once saved any images can be further manipulated by using in other apps, such as by opening in Brushes and drawing onto or opening in distressedfx or SnapSeed to add effects.

At any point the photo frame can be downloaded to the camera roll, opened in other apps, shared through Twitter, Facebook, Tumblr and Flickr.

Light Trails

Light Trails Camera Pro

Cost – free

Preview – If you have the preview screen showing you can see the light trials build up. If you are writing or trying to capture something planned this is essential. Tap the word ‘preview’ to get it or remove it.

2014-03-25 08.29.512014-03-25 08.29.21


Camera settings (icon on left)

2014-03-25 08.39.03Capture mode – set to light trails

Shutter speed – the larger the number the longer the shutter stays open (eg 15 seconds). If the shutter speed is set to B the shutter is controlled manually so you can decide when it shuts. This useful if you are photographing a preplanned light trail (eg writing your name).


Camera settings (icon on right)

2014-03-25 08.42.06

Self timer – 0 (unless you want to use this – if trying this out alone it can be useful)

Screen shutter – button to left

Auto save – on or off


Other useful tips:

The record button is the circle in the centre and it goes red when photographing.

When the photograph has been taken if you touch the arrow to the right you are given the option of saving the photo to camera roll.

Freeze – half way between off and on.

Contrast – button half way along.

jean