BYOD4L January 2016

Overall reflections after taking part in BYOD4L January 2016

Last week I took part in the open course ‘Bring Your Own Device 4 Learning‘ which took place over five days. It was quite an intense experience as it coincided with a busy teaching week. having tried to complete the tasks and taken part in some of the twitter chats I wanted to reflect upon the overall experience and note some reminders to myself of what to do next.

Thinking about the 5Cs

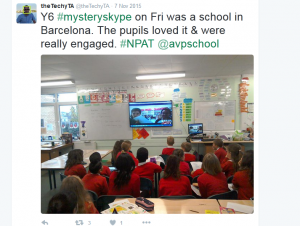
Connecting I wonder about using the time before induction to get students connecting with each other via social media through Twitter, a Google+ community of some other channel.

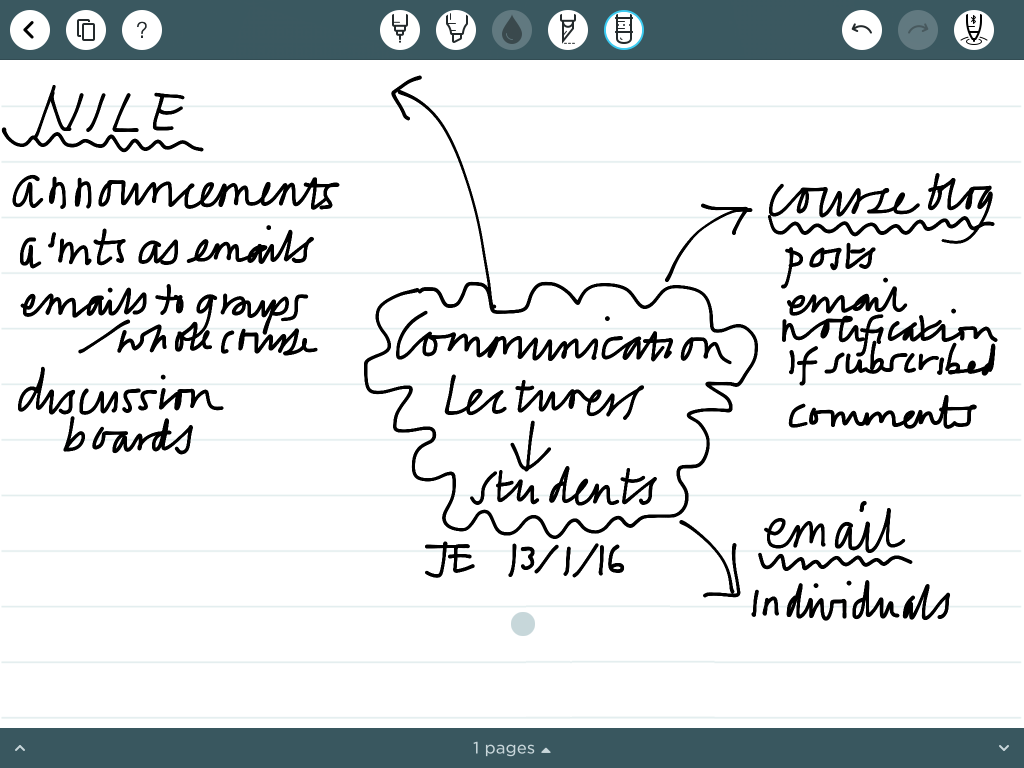
Communicating I could list and evaluate the various channels we use to communicate with students in order to evaluate them and consider their purposes. I might investigate the channels students use and their views of them with the aim of being more proactive during induction next year.

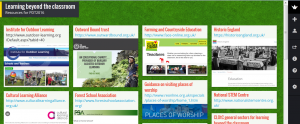
Curating So far I have often curated sets of resources for student use or student outcomes for sharing after sessions . I could involve the students in curating so that they develop their skills of finding, evaluating and choosing perhaps exploring learning resources or academic literature.

Collaborating I feel sure that if a number of colleagues from the same institution could take part together there would be much scope for supporting the online activities with face to face meeting. I could see this was happening for some people last week in previous BYOD4L experiences. BYOD4L could be a great way of boosting confidence and skills within an existing team or a disparate group of interested people.

byodcats
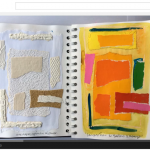
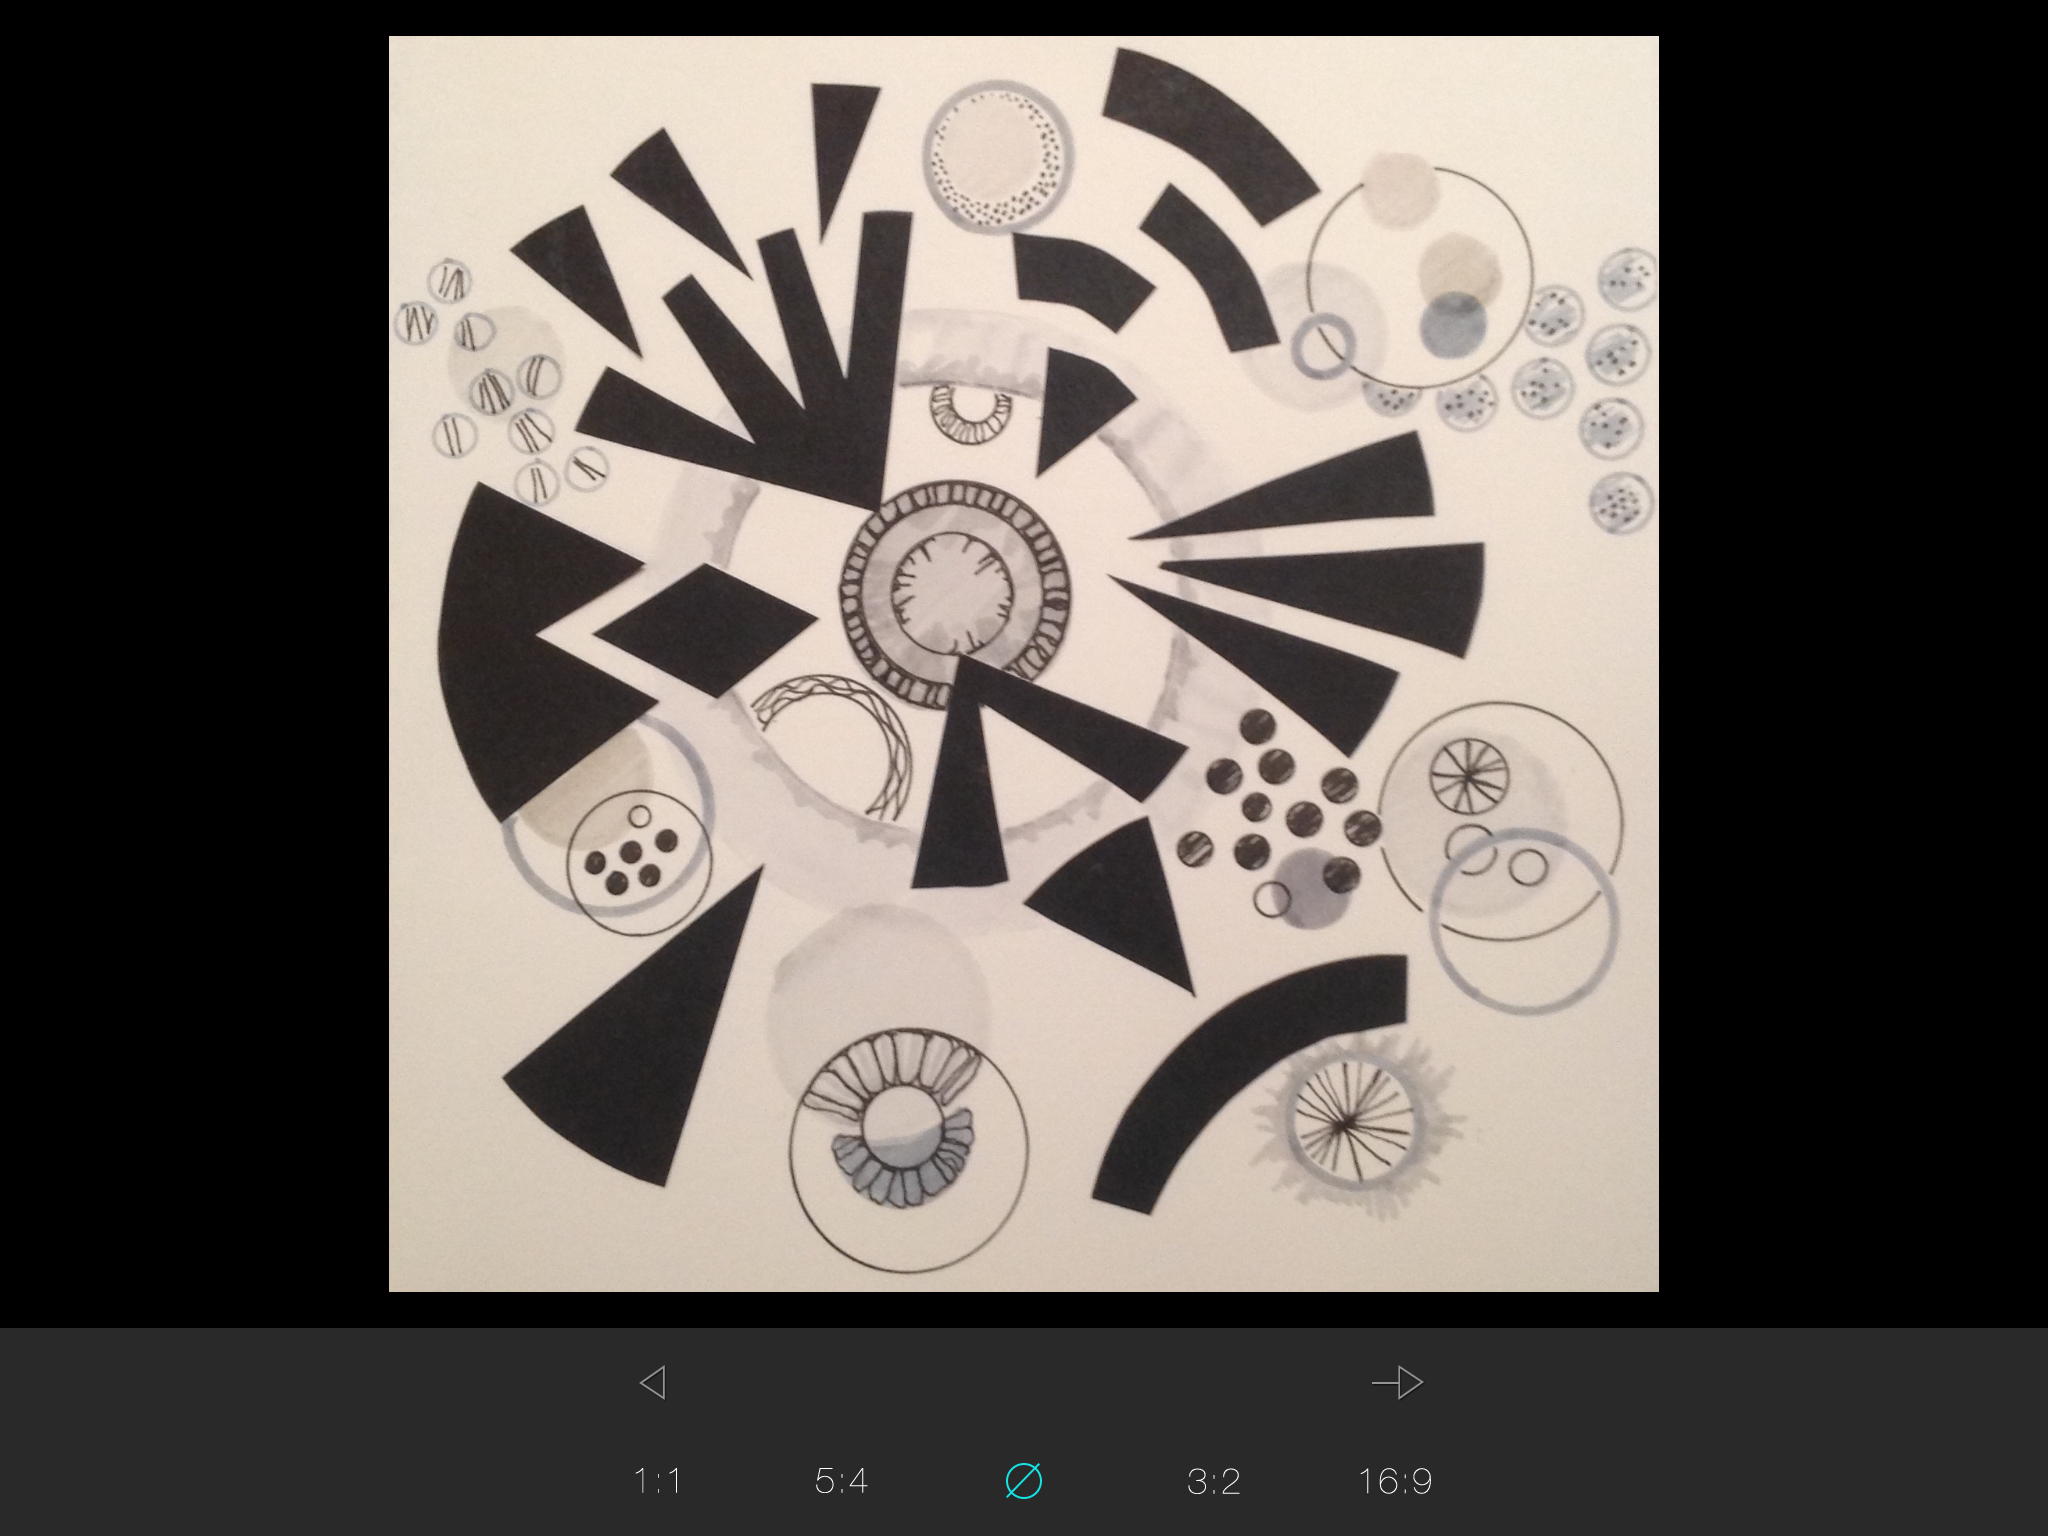
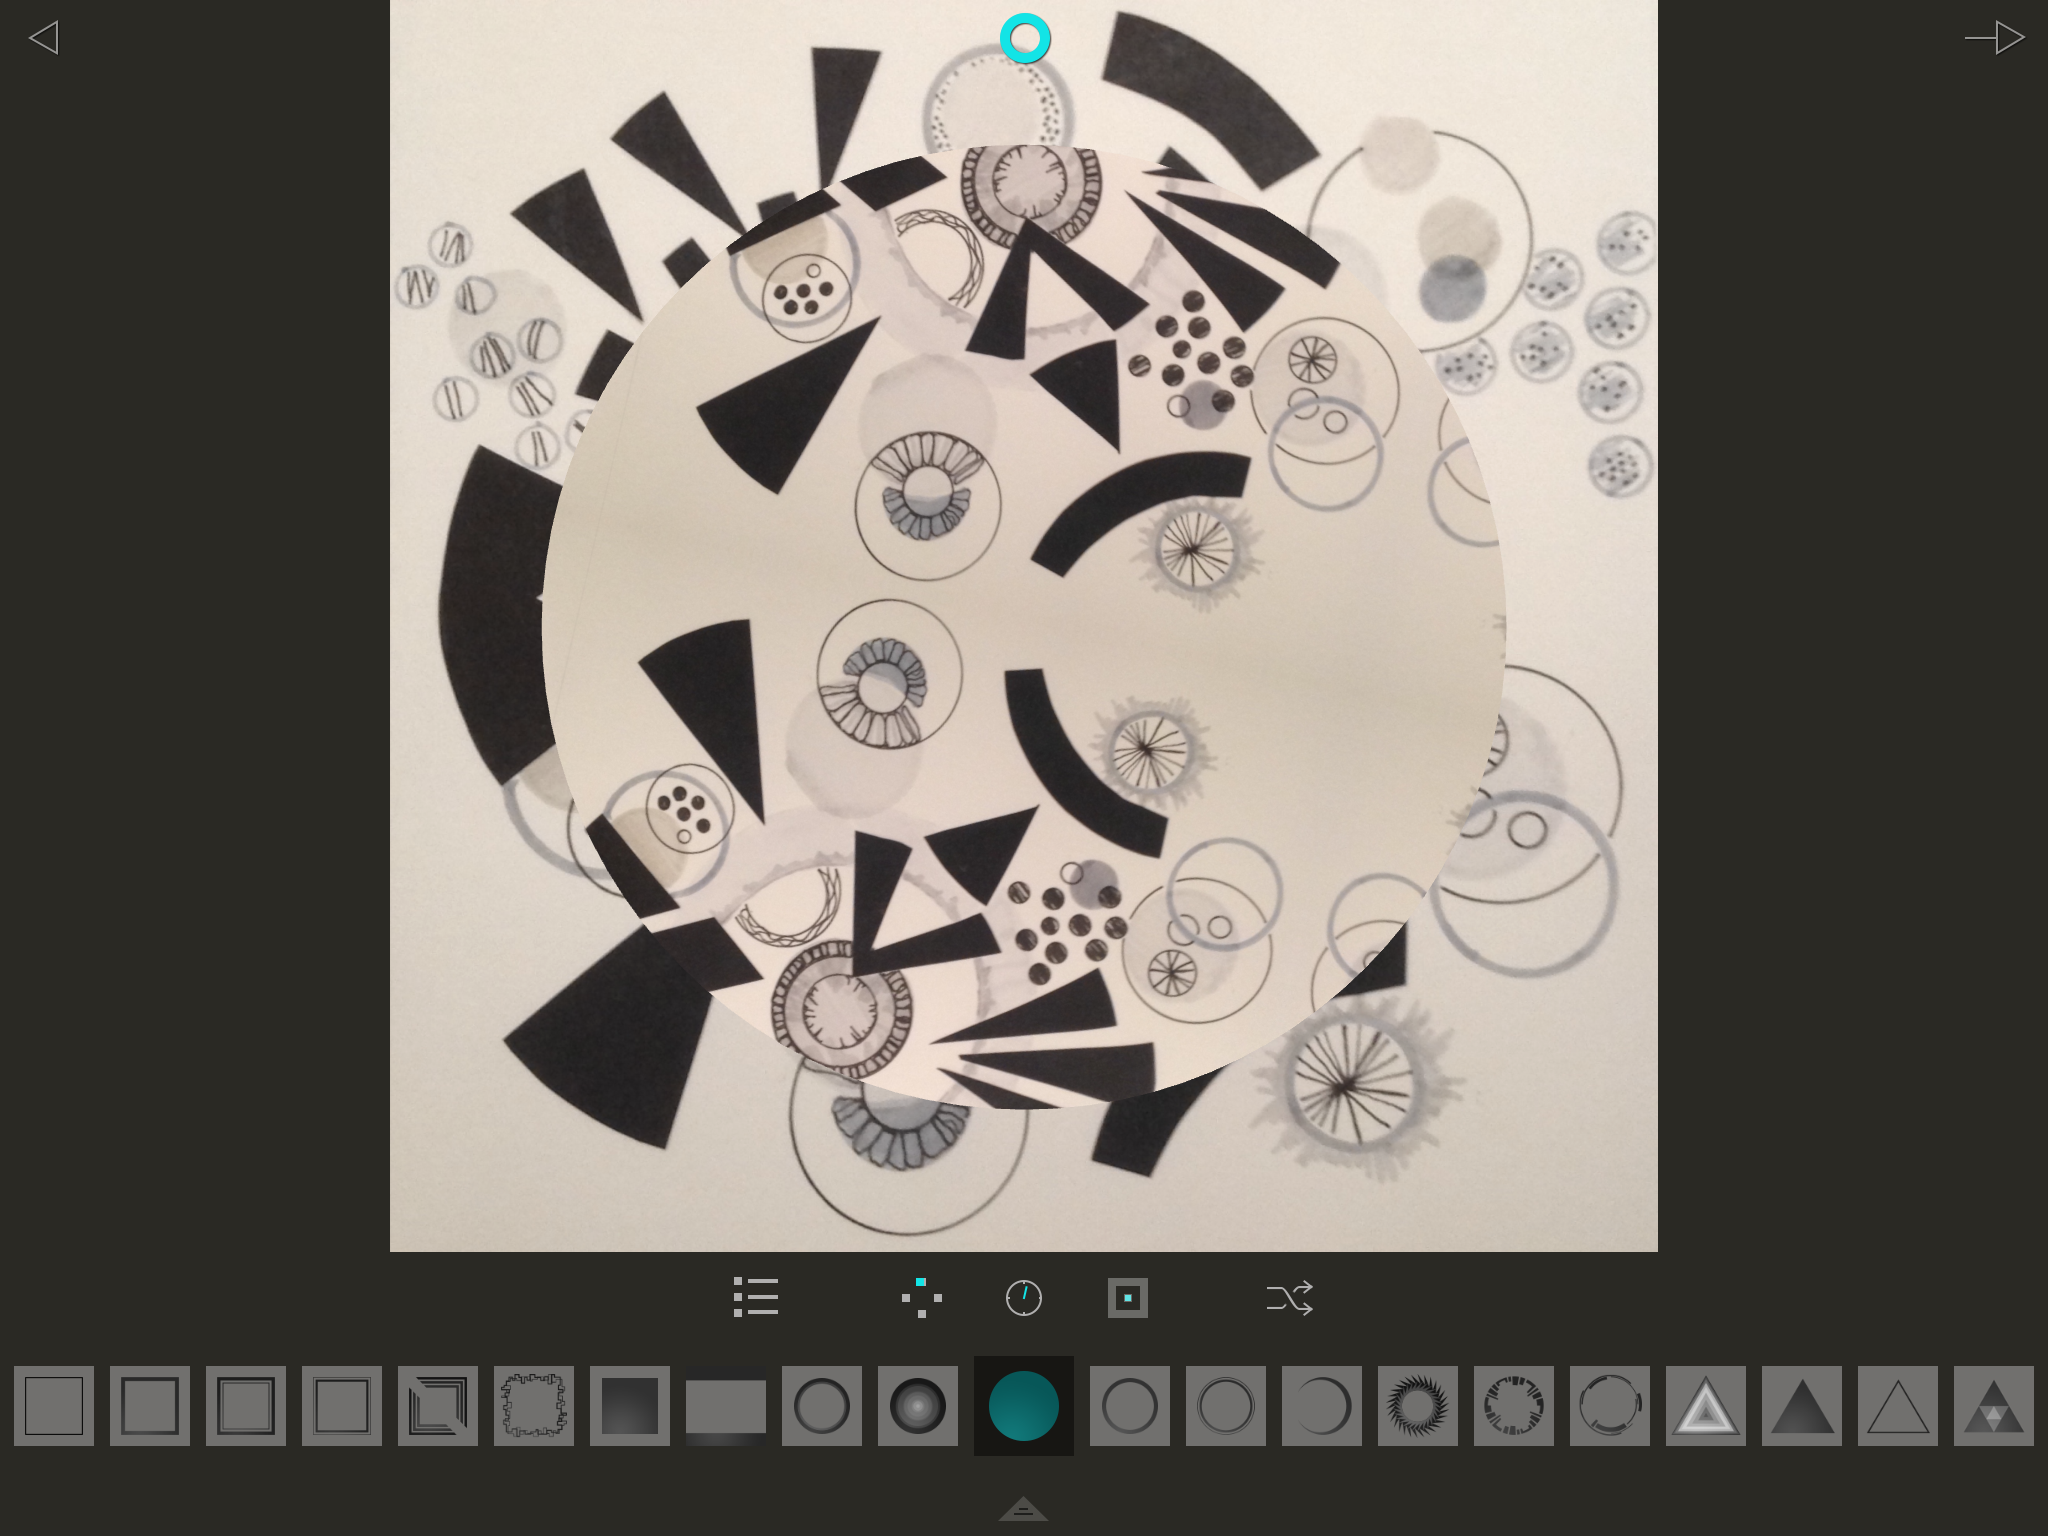
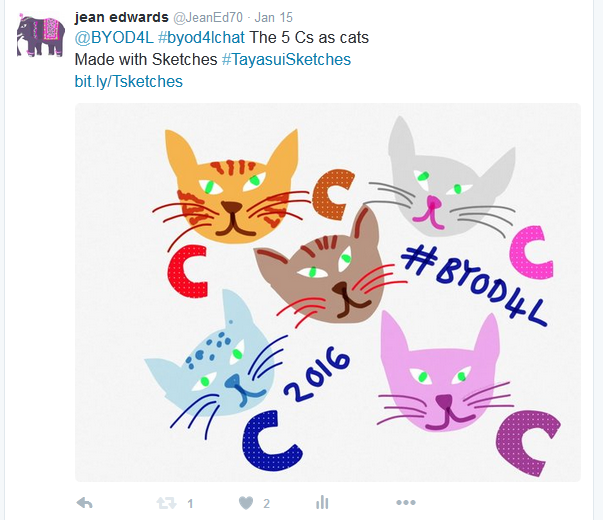
Creating I have valued the creative potential of using digital technology or a combination of ‘real’ and digital tools to make things in my art and in teaching. There are opportunities to bring this into learning and teachign sessions for the students and then for them to take back into school and develop with children.

The sharing and interaction during BYOD4L has been so inspiring – I really enjoyed the Twitter chats and look forward to maintaining contact here and there now I am following many of the participants.

BYOD4L Creating

Bring Your Own Devices 4 Learning #BYOD4L

This week I’m taking part in this online course. Here are some useful links:
byod4l wordpress
@byod4l
Google+ community BYOD4L Learning COmmunity

Friday Creating

Task 1 Reflecting I’ve shared a ThingLink that I made in early Septeber to help the students who were starting on the FDLT course. You can see it here – Welcome

The purpose was to be able to share some key links to resources using just one link in a visually attractive form.

Task 2 Poster The teacher scenario – I feel the same about getting to know students as they arrive. We are sent a photos of each student in class groups which is helpful but the idea of it being a video or annotated image is even better. I wonder if we could build that into induction in the future. This September I set up a Padlet for each new group and asked students to introduce themselves. Here’s one to look at: Introductions Padlet

As I think about this now I realise that we could make more of this so that it could be a reflective experience for students and an informative one for tutors. It would be important not to take away from the spontaneity and willingness to have a go that happened in this example. It allowed students to make contact before they began the session they independently set up a Facebook group before they met at the first session.

I’ve made a poster for task 3 by accident!

Task 3 Making

byod4lThe beginning of a poster created using the Phoster app (right).

Below is another beginning using this large letter C in the app Moldiv (collage part of the app).

I was thinking about either adding links to one of these in ThingLink or annotating it in the app Skitch.

Processed with MOLDIV

Processed with MOLDIV


Update!

I came across the post that asked to represent the entire experience and that led me to making this:

BYOD4l 2016


During the #BYOD4Lchat I made this using Sketches:

byodcats

BYOD4L Collaborating

Bring Your Own Devices 4 Learning #BYOD4L

This week I’m taking part in this online course. Here are some useful links:
byod4l wordpress
@byod4l
Google+ community BYOD4L Learning COmmunity

Thursday – Collaborating

mystery skypeTeacher scenario – the question posed in this scenario is of great interest to me. I am in the early stages of supporting some colleague to plan a session with an international focus. I too have been thinking about strategies to make this happen and I’ve come across something shared with me by a student (@TheTechyTA) called Mystery Skype. You can read about his experience of it here – Mystery Skype in school.

And more about having a go here Mystery Skype

I’ve been wondering if I can use this with the students. If anyone has any contacts abroad who work in education at school level, especially as teaching assistants I’d love to hear about them.

Task 1 reflecting As part of a work project (Teaching with Tablets MOOC) my colleagues and I are using Slack as we work on designing each week of the online course. We can access this from phones, Ipads and computers so it is very accessible for the whole group. Its the first time I’ve used it so its early days in terms of evaluating it. I know Slack has come up in the #BYOD4Lchats as well but I haven’t found my way to it yet!

Task 2 making – I’ve tweeted to see if anyone has any contacts with teaching assistants in international schools in relation to the session I’m seeking to organise with my colleagues (see above). I’ve included a colleague in the tweet to enlist her support in looking for people as she is one of the tutors who will be leading this session.

BYOD collab

Task 3 development
I realise the possibility of doing this online experience alongside other colleagues in the same university as this task in particular would be so helpful and productive. I hope next time BYOD4L runs to enlist a group of colleagues to take part, maybe from within the division that I work in as I think it could be a powerful way of developing our use of devices, something that will be essential in the next few years as the nature of out university and our jobs change.

BYOD4L Curating

Bring Your Own Devices 4 Learning #BYOD4L

This week I’m taking part in this online course. Here are some useful links:
byod4l wordpress
@byod4l
Google+ community BYOD4L Learning COmmunity

Wednesday – Curating

As an artist as well as an academic I am very interested in this theme of curating. In working on these activities I’ve realised how important it is to support students in being able to manage all the available resources they can now encounter.

Task 1 Reflection – This theme has made me consider and evaluate the way I try to collect and arrange all sorts of material and this partly related to where I found it and partly to what it is about.

Where I found it: some tools have an inbuilt way of collecting so on Twitter I will often like or retweet something so that it appears in my timeline and can be found again. I do the same with Facebook – by likening or sharing an item it is them in my feed. I’ve recently learned that ‘likes’ can be found in a list in the ‘activity log’ which is very useful. If I’ve found a useful link on Twitter or Facebook I will often save that to Pocket. For visual images I pin these on Pinterest boards.

What it is about: I’d like to be able to collect links and resources into themes (art (printmaking, teaching, sketchbooks), education (English, digital technology, teaching assistants, assessment)). I used to do this using bit.ly as I could save links and then group them into bundles. Having invested quite some time in setting this up the bundles function was discontinued and since this I have been hesitant to start again with another tool. I have just begun to add tags to my links in Pocket as an alternative.

Task 2 Making – Teacher scenario

The challenge is to share resources with students in such a way that they will access them. Having collected a range of interesting and enriching resources I agree that if students then do not use them it is disappointing and frustrating. I wonder if involving students in curating this collection of resources so they are actively involved in compiling it might help. As I have considered this scenario I have begun to wonder if this could be an interesting task to build into teaching.

In the context of the course I work on students could be asked to add a link to and brief evaluation of their favourite teaching resource website for a particular subject or aspect of learning to a Padlet. They could then be asked to follow up another student’s link to comment upon it. We have been building activities in where we ask students to collect and curate reading in relation to assignments and this perhaps addresses that challenge mentioned in the teacher scenario about whether students do follow up the shared information. Perhaps the key is that the students can see a clear benefit to their learning at university or their professional role in school.

I have recently begun making this Padlet to share resources about an area we are investigating in the spring and summer terms – learning beyond the classroom. You can see it here. Since beginning to think about curating this week I might approach it differently, making it more a product of shared recommendations from students.

Padlet loc

Task 3 Development In an annual project based on enriching the curriculum through practical activities I seek to record what the stduents have made. In 2014 I did this by adding images of all their matchbox sculptures to a Pinterest board. You can see it here – 2014 project. In 2015 I changed the way I curated the images to use Explain Everything and make a sequence of slides accompanied by music. You can see this here – 2015project. I haven’t decide what to do in 2016 yet – does anyone have any ideas. I’d like to involve the students in curating the images of the project this time. I’ve been thinking about a virtual pop up museum or gallery maybe…

BYOD4L Communicating

Bring Your Own Devices 4 Learning #BYOD4L

This week I’m taking part in this online course. Here are some useful links:
byod4l wordpress
@byod4l
Google+ community BYOD4L Learning COmmunity

Tuesday – Communicating

In the student scenario the student talked about joining a degree course as a mature student and seeking to manage the demands of university study, a job and family life and considered the challenge of how to use technology to stay in touch with his course and fellow students. This is exactly the situation the students I teach are in. They are Teaching Assistants (TAs) in schools, coming to university for one day a week so its vital for them to be able to stay in touch with us and each other when they are not at university.

For us as lecturers we have a several channels of communication:

Blackboard NILE – announcements, which we often choose to have sent as emails to students. We hope we can guarantee that everyone gest this information.

Course Blog – to share interesting items and resources that is additional to core content. Students are encouraged to subscribe to this so that they will get an email alert when a new post appears. A link to this is also tweeted.

Email – to individuals, usually responsive to student questions and concerns.

NILE discussion boards – Sometimes we create a NILE discussion board for students to use to ask questions and share ideas, especially about assignments. This allows tutor answers to be shared by all students and might mean that we don’t have to answer the same question via email to many individuals.

Task 1 Visualising – A representation of myself as a communicator: I created this ThingLink introducing My Digital Self in the summer.

Task 2 Making – I’ve represented a summary of my formal channels of communication as lecturer with students using Penultimate:

IMG_0090

Task 3 Reflection – We allow students to decide and manage communication within groups for themselves and this often evolves. Perhaps it is dependent on someone in the group deciding to take the initiative using a channel they favour. One group has a Facebook group and another use Whats app. As tutors we do not get involved with this but are aware of some of answers to questions, for example, being shared in this way. My only concern is that the chosen channel does not exclude some students in the group eg if a group used Facebook but one or two members are adamantly against Facebook and so are exclude from the conversation and support.

My reflection  on future actions – I wonder if we need to be more proactive about this during Induction into year 1 so that students choose one from several channels after discussion of their features and the students’ own devices, skills and attitudes to them. I think I will contact each existing group and ask what they use and their evaluation of it to see if we can learn something from this ready for the students who join us in September 2016.

BYOD4L Connecting

Bring Your Own Devices 4 Learning #BYOD4L

This week I’m taking part in this online course. Here are some useful links:
byod4l wordpress
@byod4l
Google+ community BYOD4L Learning COmmunity

Monday – Connecting
In the student scenario the student wanted to use social media to search for up to date material in her area of interest – well being. This is an interesting question – the wide range of a connections that can be made on Twitter can be useful here. It’s possible to find people who are working in your field, or interesting in it and learning about it. Ideas and links to resources, activities and publications are often shared. You can take part in organised chats or unexpected exchanges with people you might never be able to meet and work with face to face.
There are associated challenges – how do we track of all the links and ideas we come across? How do we help students learn to evaluate what they come across online in social media so they can use of in an academic context and understand its reliability and validity?
Keeping track – in the past I have used bit.ly, now I’m using Pocket to save links and resources that I coma across. I also use Twitter itself by ‘liking’ interesting things so I can come back to them later. I sometimes post links to a relevant Google community eg our Mobile Learning community at work.
Evaluation – I’ve seen Padlet used as a way of sharing useful academic resources with students and teaching them to evaluate sources.

Task 1 – who is who? completed on Google+ (using my digital self ThingLink) and In the Twitter chat
Task 2 – making – I used ThingLink to collect all the various spaces where BYOD4L is happening and collect them together on one image. You can see it here: ThingLink BYOD4L2016
Task 3 – reflection – in the Twitter chat we talked about using Twitter or another channel communication with students. Getting everyone to use the same channel is a challenge as we all have our personal preferences. Suggesting about showing how useful a channels is made me think I could try again maybe by having a Twitter recommendation or tweeter of the week on our course blog.


Design your digital self

This summer I took part in the ThingLink Teacher Challenge. The activity in week 1 was based around introducing ourselves and our connections in the digital world. This is a useful activity to consider when meeting a new class or group or as a task to set before pupils or students begin working together.

It consisted of two stages: firstly, designing a digital avatar and secondly, uploading this to ThingLink and adding tags.

Designing a digital avatar.

There are number of tools that can be used to design a digital avatar and you can see links to a few on the ThingLink below.

I used a web tool called ‘doppel me’ to create mine. It allows the user to make choices about the appearance of their avatar. If you join and sign in you can add more detail. e:

avatarThis is mine.

There are other ways of creating the image of yourself for this activity such as those suggested in the ThingLink above, using a photo or using a collage of photos of yourself.

After choosing or creating an avatar of yourself you can go on to the next stage.

Making your ThingLink

There are some instructions on how to make a ThingLink in this blog post. For this ThingLink the focus is you as a digital user and creator. I made a list of the various ways I appear and interact digitally on social media and other tools. This is a very good opportunity to consider issues related to internet safety and information it is appropriate to make public online. Here is my  digital self ThingLink. Feel free to explore it!

How do you use digital tools to make introductions?


Post it Plus

pipI came across the app ‘Post it Plus’ by accident. I often use post its as a teaching tool with groups of students, asking them to write ideas on post its and then move them around into themes or rank order. Since I had my ipad I have sometimes photographed these – but the Post It Plus app is a more flexible and versatile way of doing this.

When you open the app it allows you to take a photograph of a group of post its. To do this you hold down  the capture icon. Green lines appear around the post its that have been captured and if there are any that do not have a green line, you can touch these and the green line will appear around them so that all the post its are present. You then touch ‘create board’ and the image is saved. I usually take groups of post its and end up with maybe four or five boards to record an activity.

IMG_0333

After this you can move the boards on top of each other to make them all into one, you can name each group and the bigger group, add additional post its and write onto them and the board.

You can also share and export the boards in a number of ways eg by email as a PDF, as a photo, via social media etc. I was able to send the PDF record of our discussions to a group of students after the session so that they could use the discussion ideas after the session. I could have annotated questions and  comments onto it to challenge them further – maybe next time! I’ve added one to see what it looks like, above)

You can read more about the app here.

Explain Everything

Explain Everything

Explain Everything is an app (IOS, Android and Windows)

Cost – £2.29 in the Apple appstore.

You can read about it at this link Explain Everything

It is a very flexible presentation tool allowing you to:

  • import and insert documents, pictures and video
  • draw and annotate
  • move and animate
  • zoom and pan
  • record and play
  • export and share

There are some useful video tutorials available at the link above and some help pages within the app.

So far I have used Explain Everything in three different ways.

I have made a presentation that consists of a sequence of slides that I have added spoken commentary to. This was to introduce an assignment to students and remind them of where the supporting resources are. It was useful to be able to record the commentary with each slide and it was very easy to stop and rerecord small sections without having to record the whole thing in one go.

It can be seen here:

http://youtu.be/01rkBYdUHNQ

I have also narrated a short guide for students showing them how to get from the opening page of a NILE module to their discussion board and then how to access and use the discussion board. It was so useful to be able to click on the sequence links and show students where to click and what to expect live in the website.

It can be seen here:

Finally I have used it construct two page by page views of collaborative sketchbooks that I have been working on this year. I was able to add the sequence of photos, add annotations and export the presentation to YouTube, Dropbox, imovie and ibooks and email it to myself. I would like to have added music but couldn’t quite work out how to do this.

One of these can be seen here:

I think this app has got a huge amount of potential for use with and by students and I am looking forward to exploring it further.

Fragment

Fragment

an IOS / Android app

cost £1.49

There is brief film that gives an overview of what can be done with the app at this link Fragment Prismatic Photo effects

How to use it:

the opening screen

the opening screen

When the app opens you can choose to use the last photo you were editing, a photo from your photo album, or ‘inspiration’ eg one of the preloaded images.


choosing the photo and size

choosing the photo and size


If you choose one of your own photos you can then choose a size and proportion. You can back to photos using the arrow to the left and forward to the app using the arrow on the right.


manipulating the image

manipulating the image


On the next screen you can choose to manipulate the photo using the effects randomly (arrows on right) or touch each shape in the line below to choose specific ones. Move the image around on the screen to change the size and orientation within the chosen shape.


changing colours

changing colours

You can touch the small inverted triangle at the bottom to move to the next screen. On this next screen you can change colour and within that the brightness and contrast as well as blurring, inverting and desaturating.


a refragmented image

a refragmented image


Touching the arrow at the top right allows you to save the image, refragment it and share it. It can be useful to save it at different stages as you work because it is sometimes impossible to back and recreate the same image again.


Ideas:

  • manipulating photos
  • make some art, photograph it, fragment it, make more art from it
  • use to make backgrounds for presentations
  • print out and use as collage, draw onto

Other associated apps – Tangent

If you have tried out the Fragment app please add your examples and ideas in the comments below.