Illustrating Science

Illustrating Science by the House of Illustration and the Welcome Trust

Illustrating Science is a House of Illustration project funded by the Wellcome Trust to explicitly link science & illustration in the primary classroom. It promotes the interdependence between science and art through the use of illustration and technology to record, explain and communicate ideas and advance our understanding of the world.

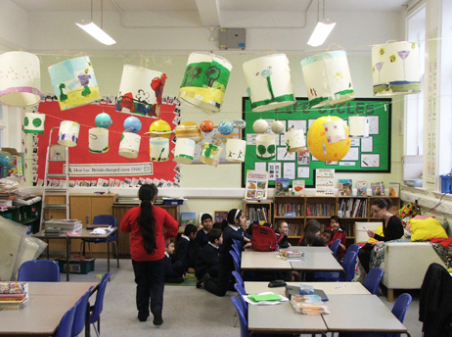
The House of Illustration sent six illustrators & two scientists into three London primary schools to tackle Key Stage 2 science topics using a variety of illustration techniques. Six classes experienced hands-on science, learned new illustration skills and came up with their own illustrated science resources. They found out more about the real worlds of science & illustration & learned how to communicate findings & complex processes in visually effective ways on the themes of The Heart and Circulation, The Life Cycle of Plants, Microorganisms and Local Nature Spotters.

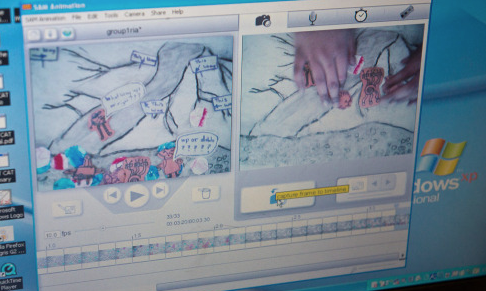
Find excellent examples of practice on their blog including animations of the journey of blood:

Screen Shot 2014-02-16 at 19.46.36

Screen Shot 2014-02-16 at 19.46.26

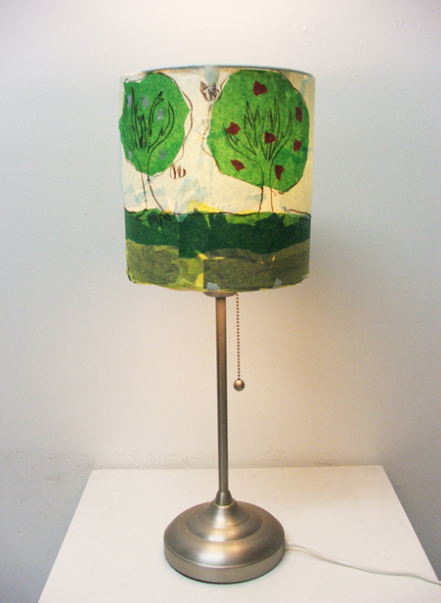
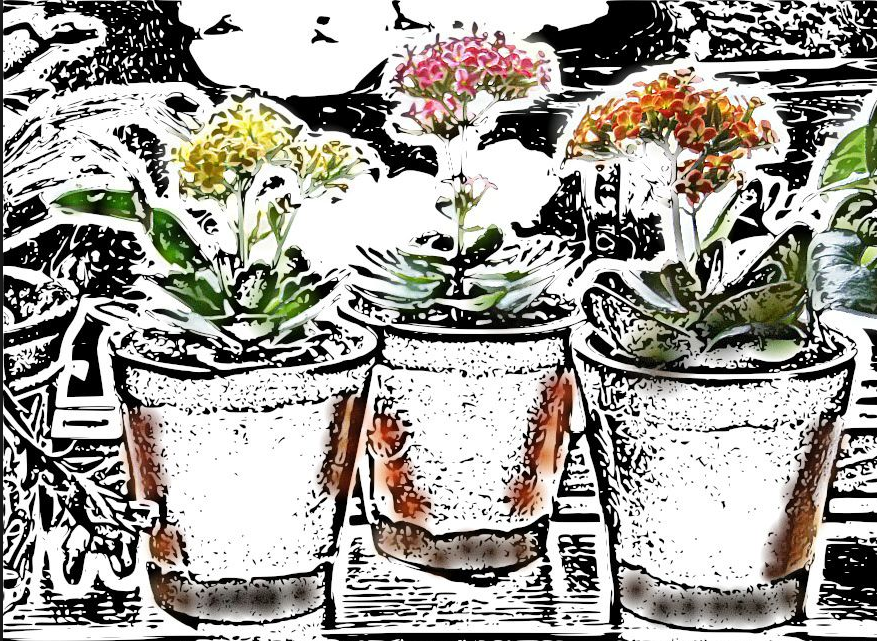
and designs for lampshades based on the life cycle of plants:

Screen Shot 2014-02-16 at 19.54.47


Screen Shot 2014-02-16 at 19.54.25


Henry VIII goes greenscreen

My name is Tomos Prosser, I’m an NQT at Simon de Senlis Primary School, in year 5. Here is a link to our class blog.

As explained in the second half of the video, this activity uses and enhances many different skills. It took us literally ten takes to create the video. Due to the fact I couldn’t see the green screen (obviously), it made it rather challenging. We ended up with my phone projecting the image of the greenscreen from behind the filmer (complicated). This problem solving activity was difficult even for us.

The actual activity here is very simple, just describing who is in the photo. This could be a much more complex task. You could do it with any different piece of art, a family portrait (like this), a historical building, or even a personal family photo. By liaising with peers, the children have a great experience and learn many skills.

You may be thinking, why not just have a picture of Henry VIII behind me? Well, the learning this way is a lot richer, it becomes much more fun than pointing at a dodgy printed image. The group must really focus on perfecting everything. Once you have worked out where bits are in the image, where you’re going to sit, who’s going to talk etc.. You then have the (not so easy) task of creating a perfect script for the video, which must engage the audience and be rich in information for peers to learn from. And then, where do you hold the script? Do you memorise the script? If you do, that’s great learning!

Thanks for reading/watching/your time 🙂

Tomos Prosser


Bridgewater Responding to Art

In Year 5, we have been looking at how we can respond to Art. We all appreciate that we have different emotions towards art, sometimes we can really like something but our friend might feel differently. We worked in small groups and were given different pictures to look at. We had to discuss with our friends what emotional responses we had to the picture and agree on a set of 3 emotions as a team. We then used these emotions and drew our own artwork which showed the feelings. We found our work was very abstract but that it had a particular meaning to ourselves (the artists!)The following week, we revisited our 3 words and artwork, and decided to evoke another one of our senses…sound! We created a soundscape for each of the paintings. We worked together as a team and composed our own musical score. This was the first time we have ever though about Art in this way and it has really made us think about how we respond to Art using our senses.

We hope you like what we created. We look forward to building on our skills in the future.

Exploring surface, depth and light

Exploring mark making on translucent and transparent surfaces such as tissue paper, wax paper, tracing paper and cellophane using marker pens of different thicknesses, ink (applied by pen, flicking, paint brushes, dribbling and running), collage and printing techniques.

Picture6

Layering the surfaces to explore what can be seen through them in different arrangements and layers.

Picture7

This can be developed and enhanced by using lightboxes and digital photography, and by using torches and other light sources and filming.

More about this at the next meeting on Monday 10th February!

Ideas inspired by the work of Brazilian artist, Mira Schendel and explored by Jean Edwards on her Sketchbook Circle blog.

Picture1

Photo Manipulation

Manipulating photos with apps and online tools

Screen Shot 2014-02-08 at 20.16.51

Screen Shot 2014-02-08 at 20.19.44

Be Funky and Pxlr-o-matic are free, no-registration photo tools that let you enrich images with a range of effects, making it easy to upload, crop, filter, change and undo.

Both are available as online tools and as apps.

Use them to respond to literature, create visual stories, make vintage photos, copy artistic styles, or think about moods and symbolism….

….add them to Animoto or PhotoPeach (online) or Haiku Deck (app) to make a slideshow.


Images and Text

An Animoto from The Bliss Charity School showing how they used the app Path On Swipe to Type to annotate drawings inspired by the book Skellig by David Almond.

Screen Shot 2014-02-08 at 18.33.08

Other interesting text effects can be explored using aTypo Picture a text-based photo filter for taking an existing image and overlaying with text,  and Type Drawing for creating typography art by typing what you want to say and then drawing with text.

Screen Shot 2014-02-08 at 19.51.50Screen Shot 2014-02-08 at 19.52.07


Images from Hansol Huh.

Over, Skitch and Phonto apps allow you to add text to images.

Over app and Phonto apps are reviewed for use in the classroom by Seomra Ranga.