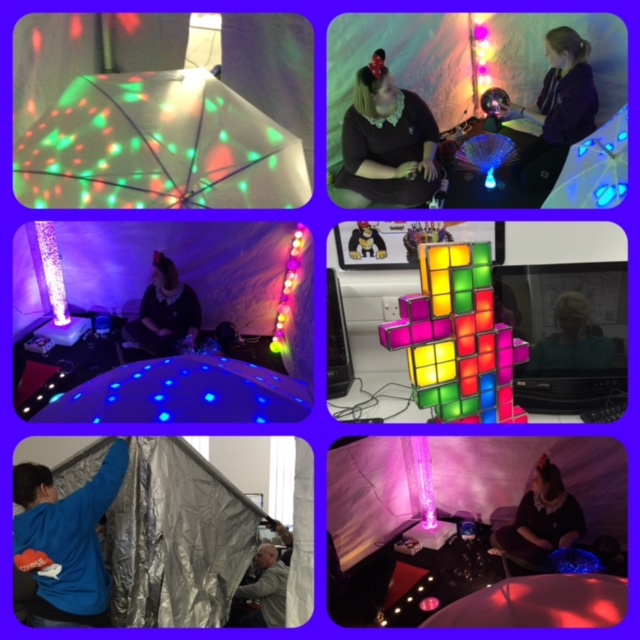
Creating immersive sensory experiences around a theme!
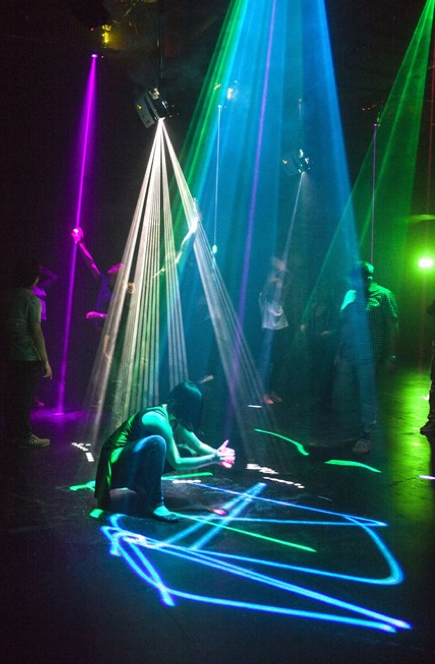
This session explored cheap and effective ways of creating multi sensory environments for visual and sound stimulation using portable dark and white rooms. We experimented with a wealth of light and sound equipment, create images using luminous paint, and project sensory iPad apps and video onto 3D objects. The aim was to create controllable experiential activities that encourage engagement and interaction for all learners, and to think about creative ways of theming these. We have been inspired by the work of Richard Hirstwood: http://youtu.be/ihMSw8BIXF4 and http://youtu.be/PkIKpOn7y98.
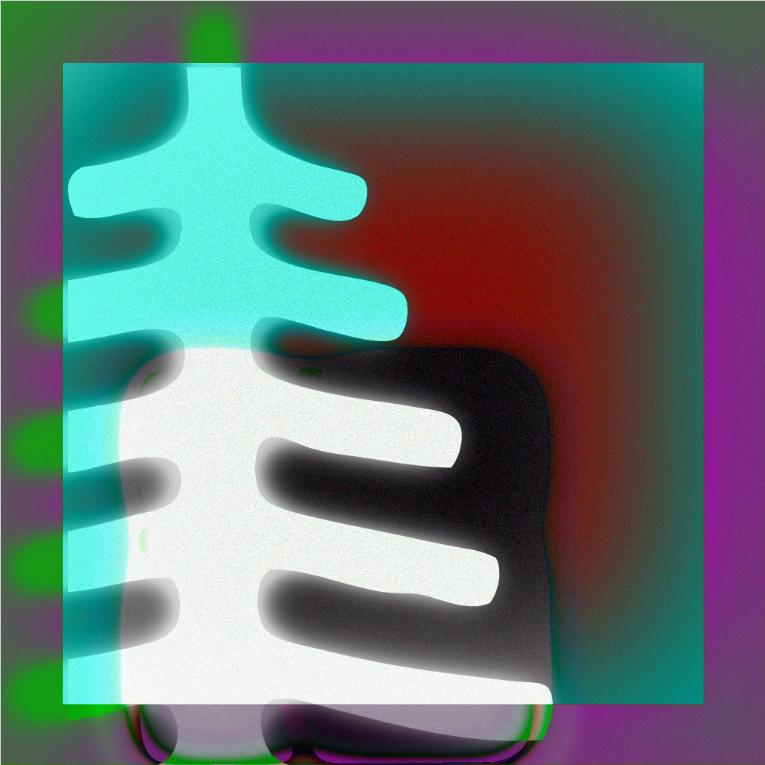
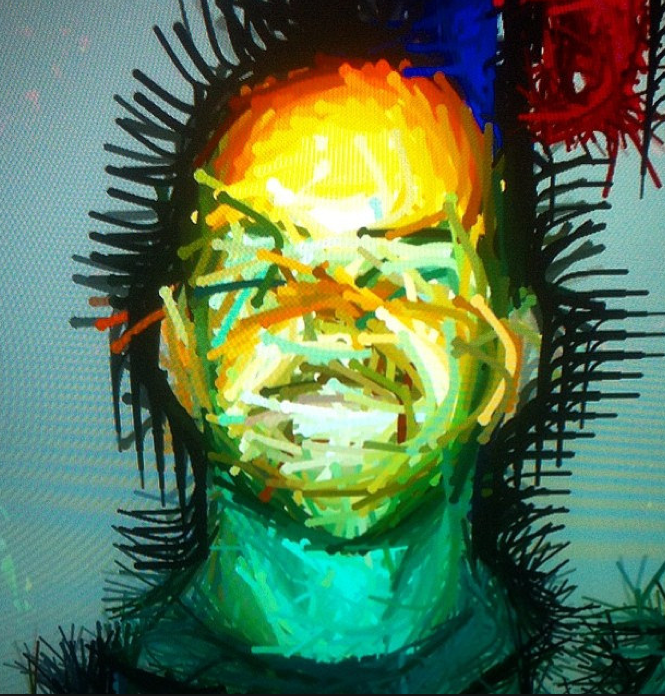
In the slideshows below children from Rowan Gate School, Portugal and Ireland used our multi sensory light equipment, iPads and the portable darkroom to manipulate photos and create abstract images as part of their Smart Through Art Comenius project exploring art across disciplines. They used the apps Rollworld, Fragment and Be Funky.
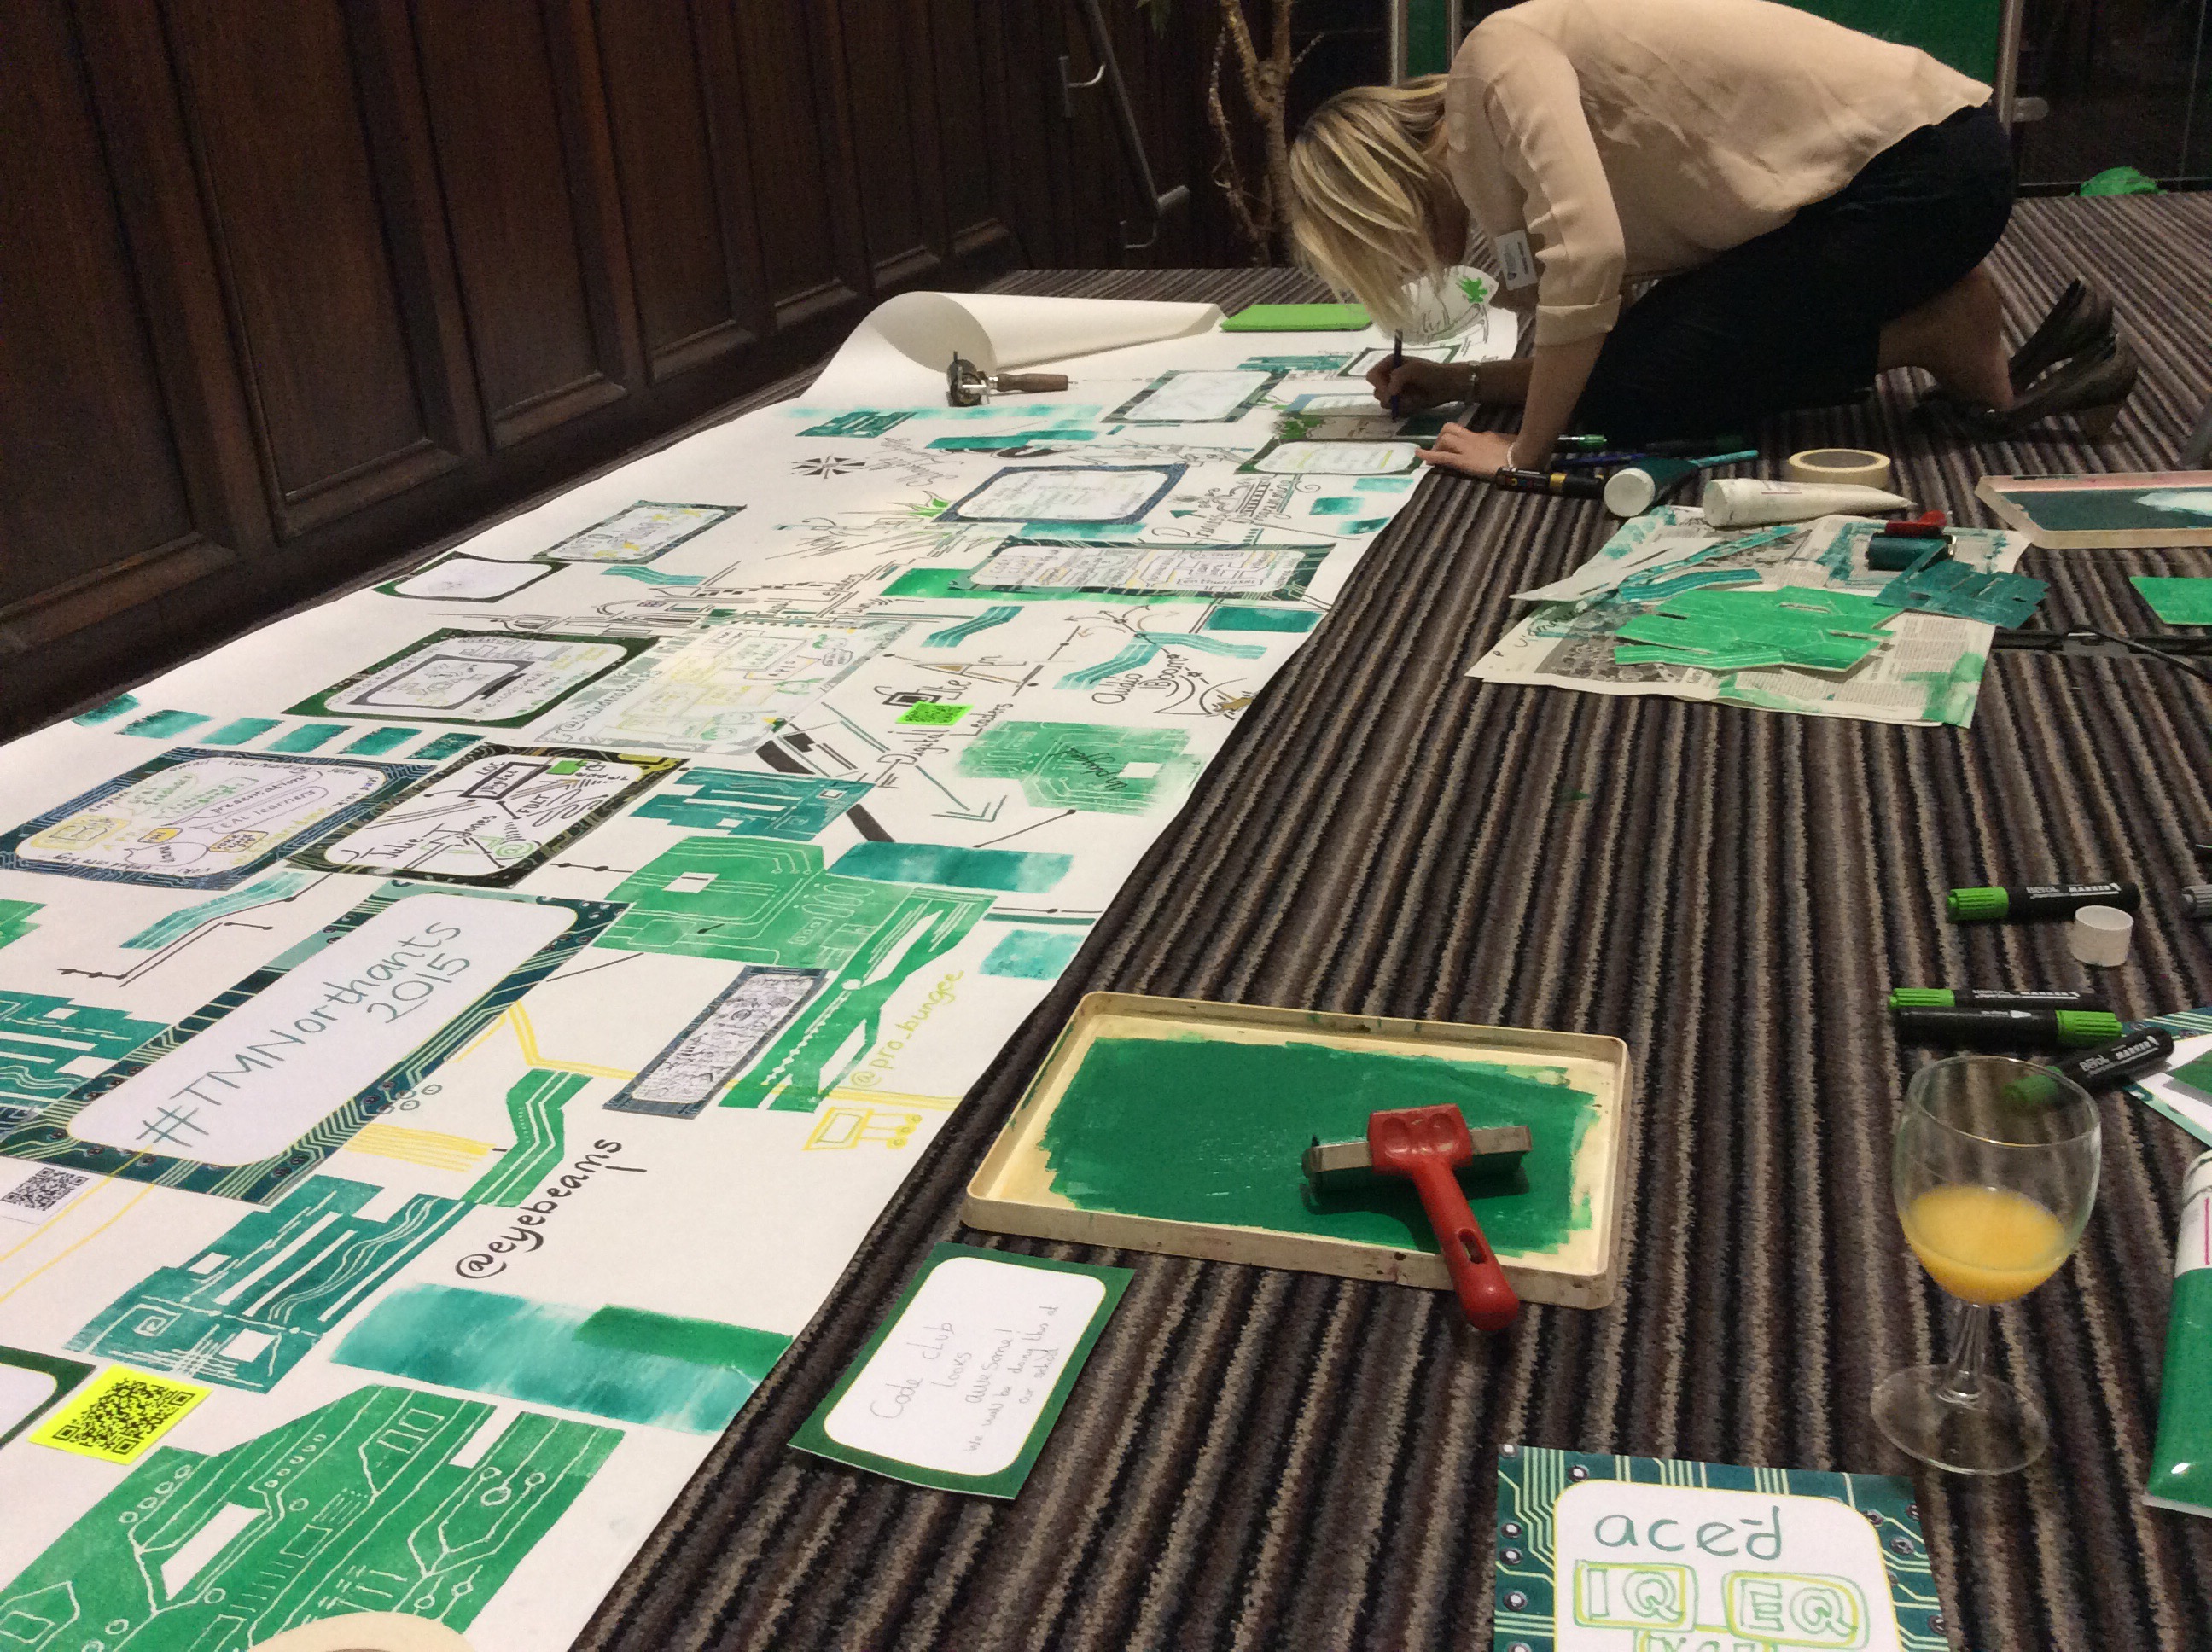
Last week the #TMNorthants2015 took place – you can read more about it here. The visual minutes were made by Jean Edwards and Rebecca Heaton. You can see a video of the finished image below.
The process…
Before the TeachMeet we talked quite briefly with Helen Caldwell to come up with an overall vision for the approach and settled upon circuit boards – taking the green, black, white, yellow and gold colours and the linear patterns as a basis for the visual appearance of the minutes. We aimed for an overall coherence but with lots of room for flexible responses to what would happen at the TeachMeet.
As preparation we collected some images of circuit boards on a Pinterest board and used these to make some different sized and shapes insets to write and draw onto. We also made a a set of smaller ones for the participants to write and draw upon and contribute to the minutes.
At the TeachMeet we were lucky to have a big space to work in, at the back of the hall but with a great overview of the presentations and audience. Just before the presentations began we made some pressprint tiles with some of the lines and patterns from circuit boards and printed and drew onto the huge sheet of paper that would be the backdrop for the minutes.
Once the TeachMeet began there was hardly a moment to stop and think as the ideas and inspiration flowed! Somehow I began to record the presenter ideas and Rebecca worked on the bigger image, incorporating each presentation into the image using printing and drawing. This evolved as we worked – it wasn’t a plan! The experience was intense because of the speed at which the presentations flowed and the variety of ideas to capture. I had to listen very carefully to try to capture the main idea and find a way of showing it on paper – there were some false starts along the way.
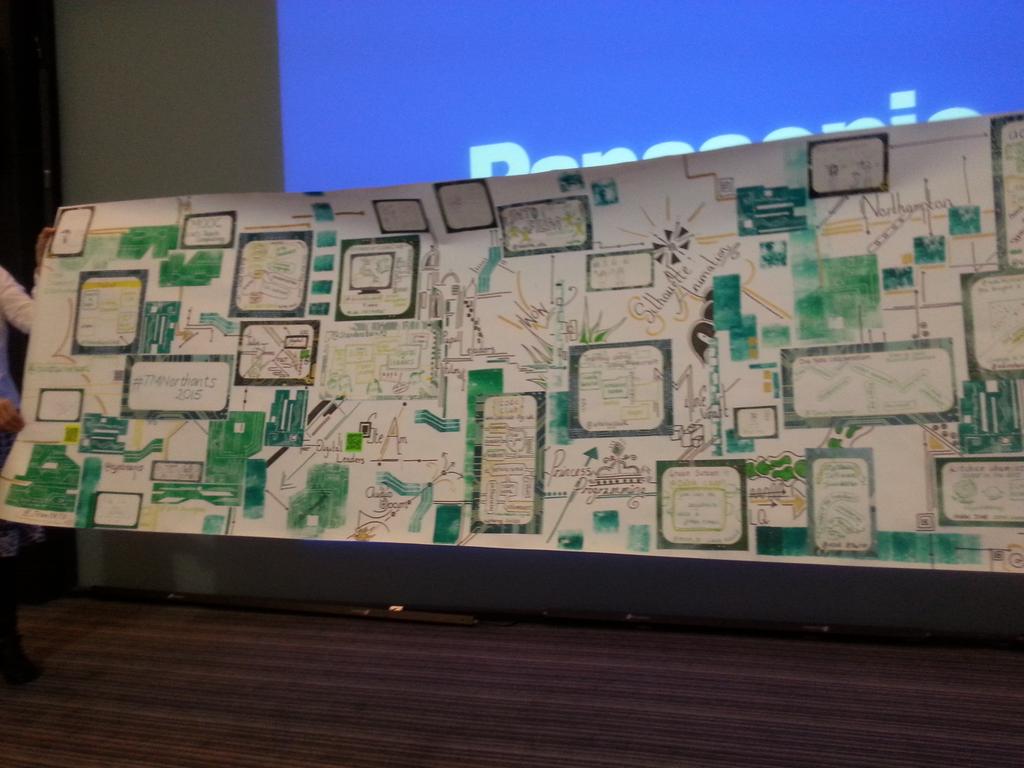
The results… What was really exciting about this experience was how valuable the collaboration became in documenting such a social event. The finished article shared the voices of ourselves as artist-teachers, the opinions of presenters and viewers of the teach meet and the voices of pupil-artists, who learn in our local schools. For us this sums up what a teach meet is about, learning together in collaboration. It also demonstrates how all disciplines of practice: art, technology and education can come together to share ideas through the visual.
We were very lucky that the piece of paper was just about big enough – although I’m sure we had squash a few things on towards the end! It was an exhilarating experience and we hope that the participants feel that we did their ideas justice – as we said some contributions came from participants and pupils, the pupils from Standens Barn Primary were the most enthusiastic helpers. We were very glad that there were two of us working together…. we are looking forward to a new project….
Jean Edwards and Rebecca Heaton (@jeanEd70 @rebeccaonart)
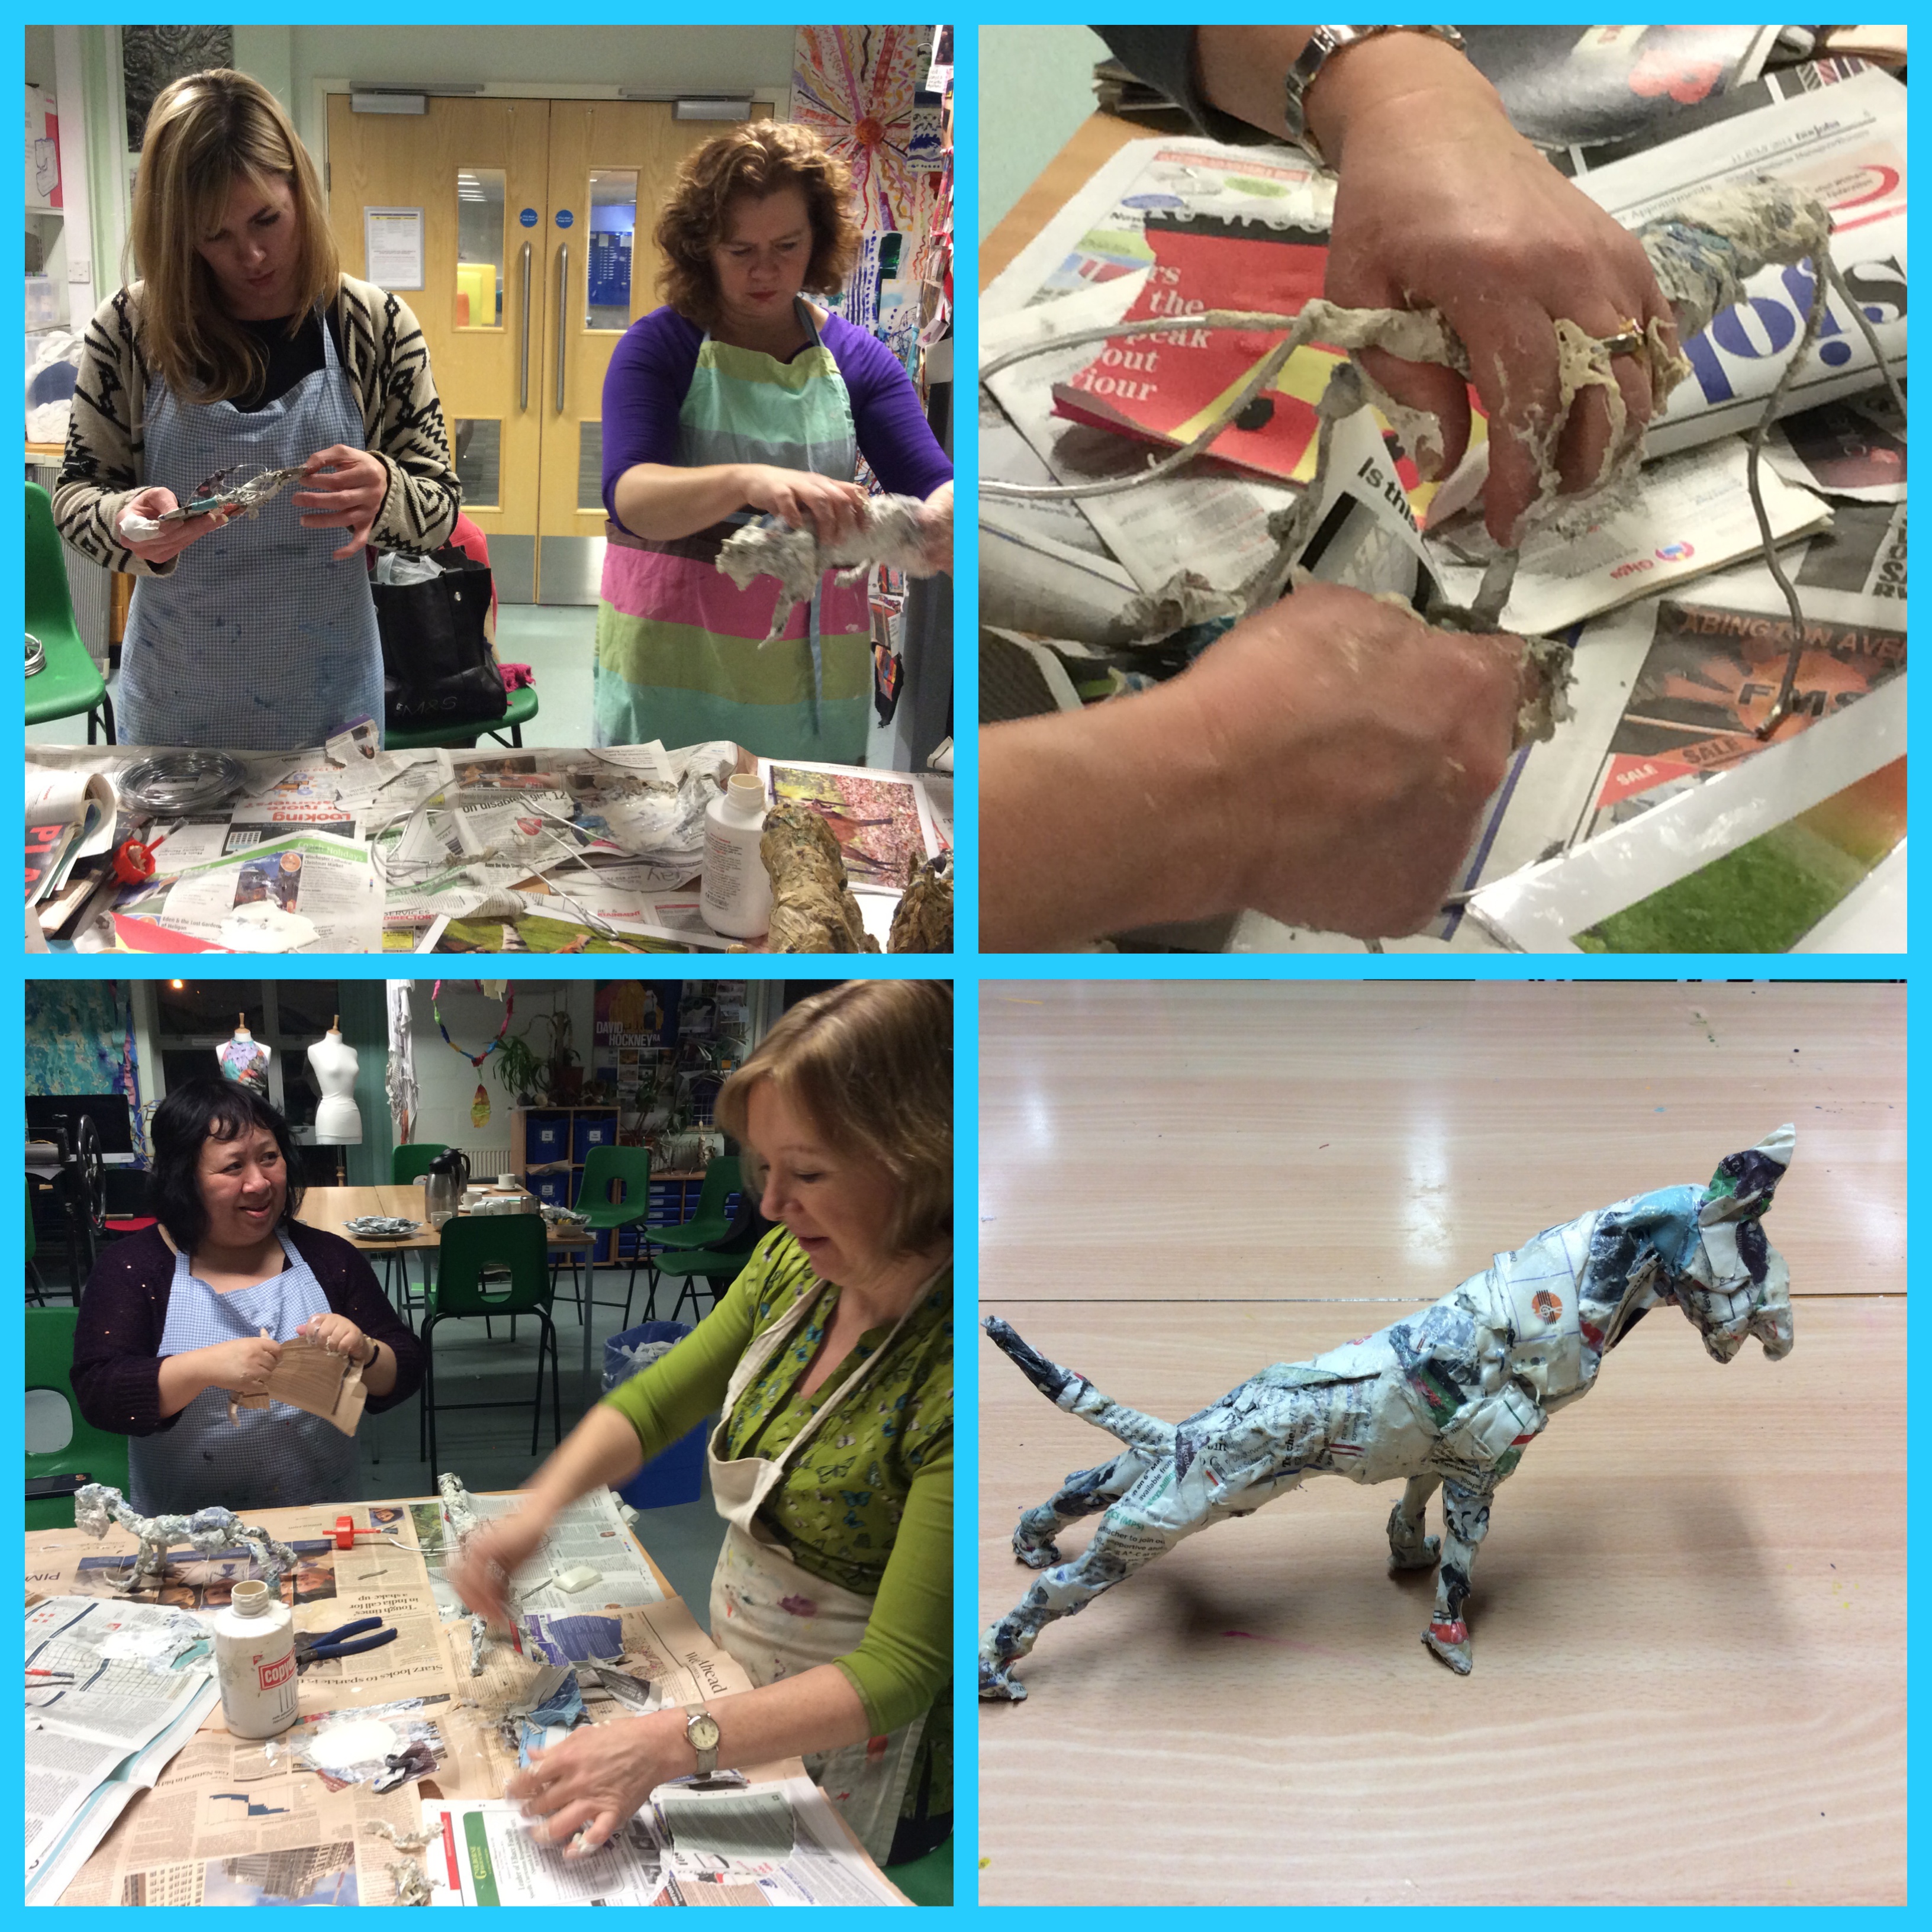
In our January meeting Helen Scott introduced us to the technique for making three dimensional forms – we explored animals. Helen showed us how to manipulate aluminium wire to make an armature, then cover this with thin strips of newspaper and copydex, followed by adding for scrunched up paper to add form. We worked from photos Helen had brought along and she encouraged us to look for the features of the animals’ bodies that made them seem ‘in movement’ so that the sculptures were more than just static ornaments. It was both challenging and absorbing – and quite amazing how much we got done in a short time. There is so much potential for using this technique with students and children – suggestions about using photos of children in motion could also be a good starting point, as would insects.
Dave Barrow came along and showed us some of his work towards his next children’s book – soon to be published. He explained how he uses pencils, paint and other art materials and then scans and manipulates the images to create multi layered images for each of the pages in his picture books using low cost or free software such as Gimp, PaintShop Pro or Photoshop Elements. We can’t reveal his finished images until his work is published!
Helen Caldwell showed us how to use a green screen and the app Greenscreen by Do Ink to place the animal forms that we had made into other environments, such as a a habitat or story scene and choose from a still or a moving image. The green background can be as simple as a strip of backing paper or a green PowerPoint slide on an interactive whiteboard, or you can buy a portable green screen for under £100. Narration or sound effects could be added within the app or by editing in iMovie. Interesting effects can be achieved by working with green gloves or a piece of material to make a moving image.
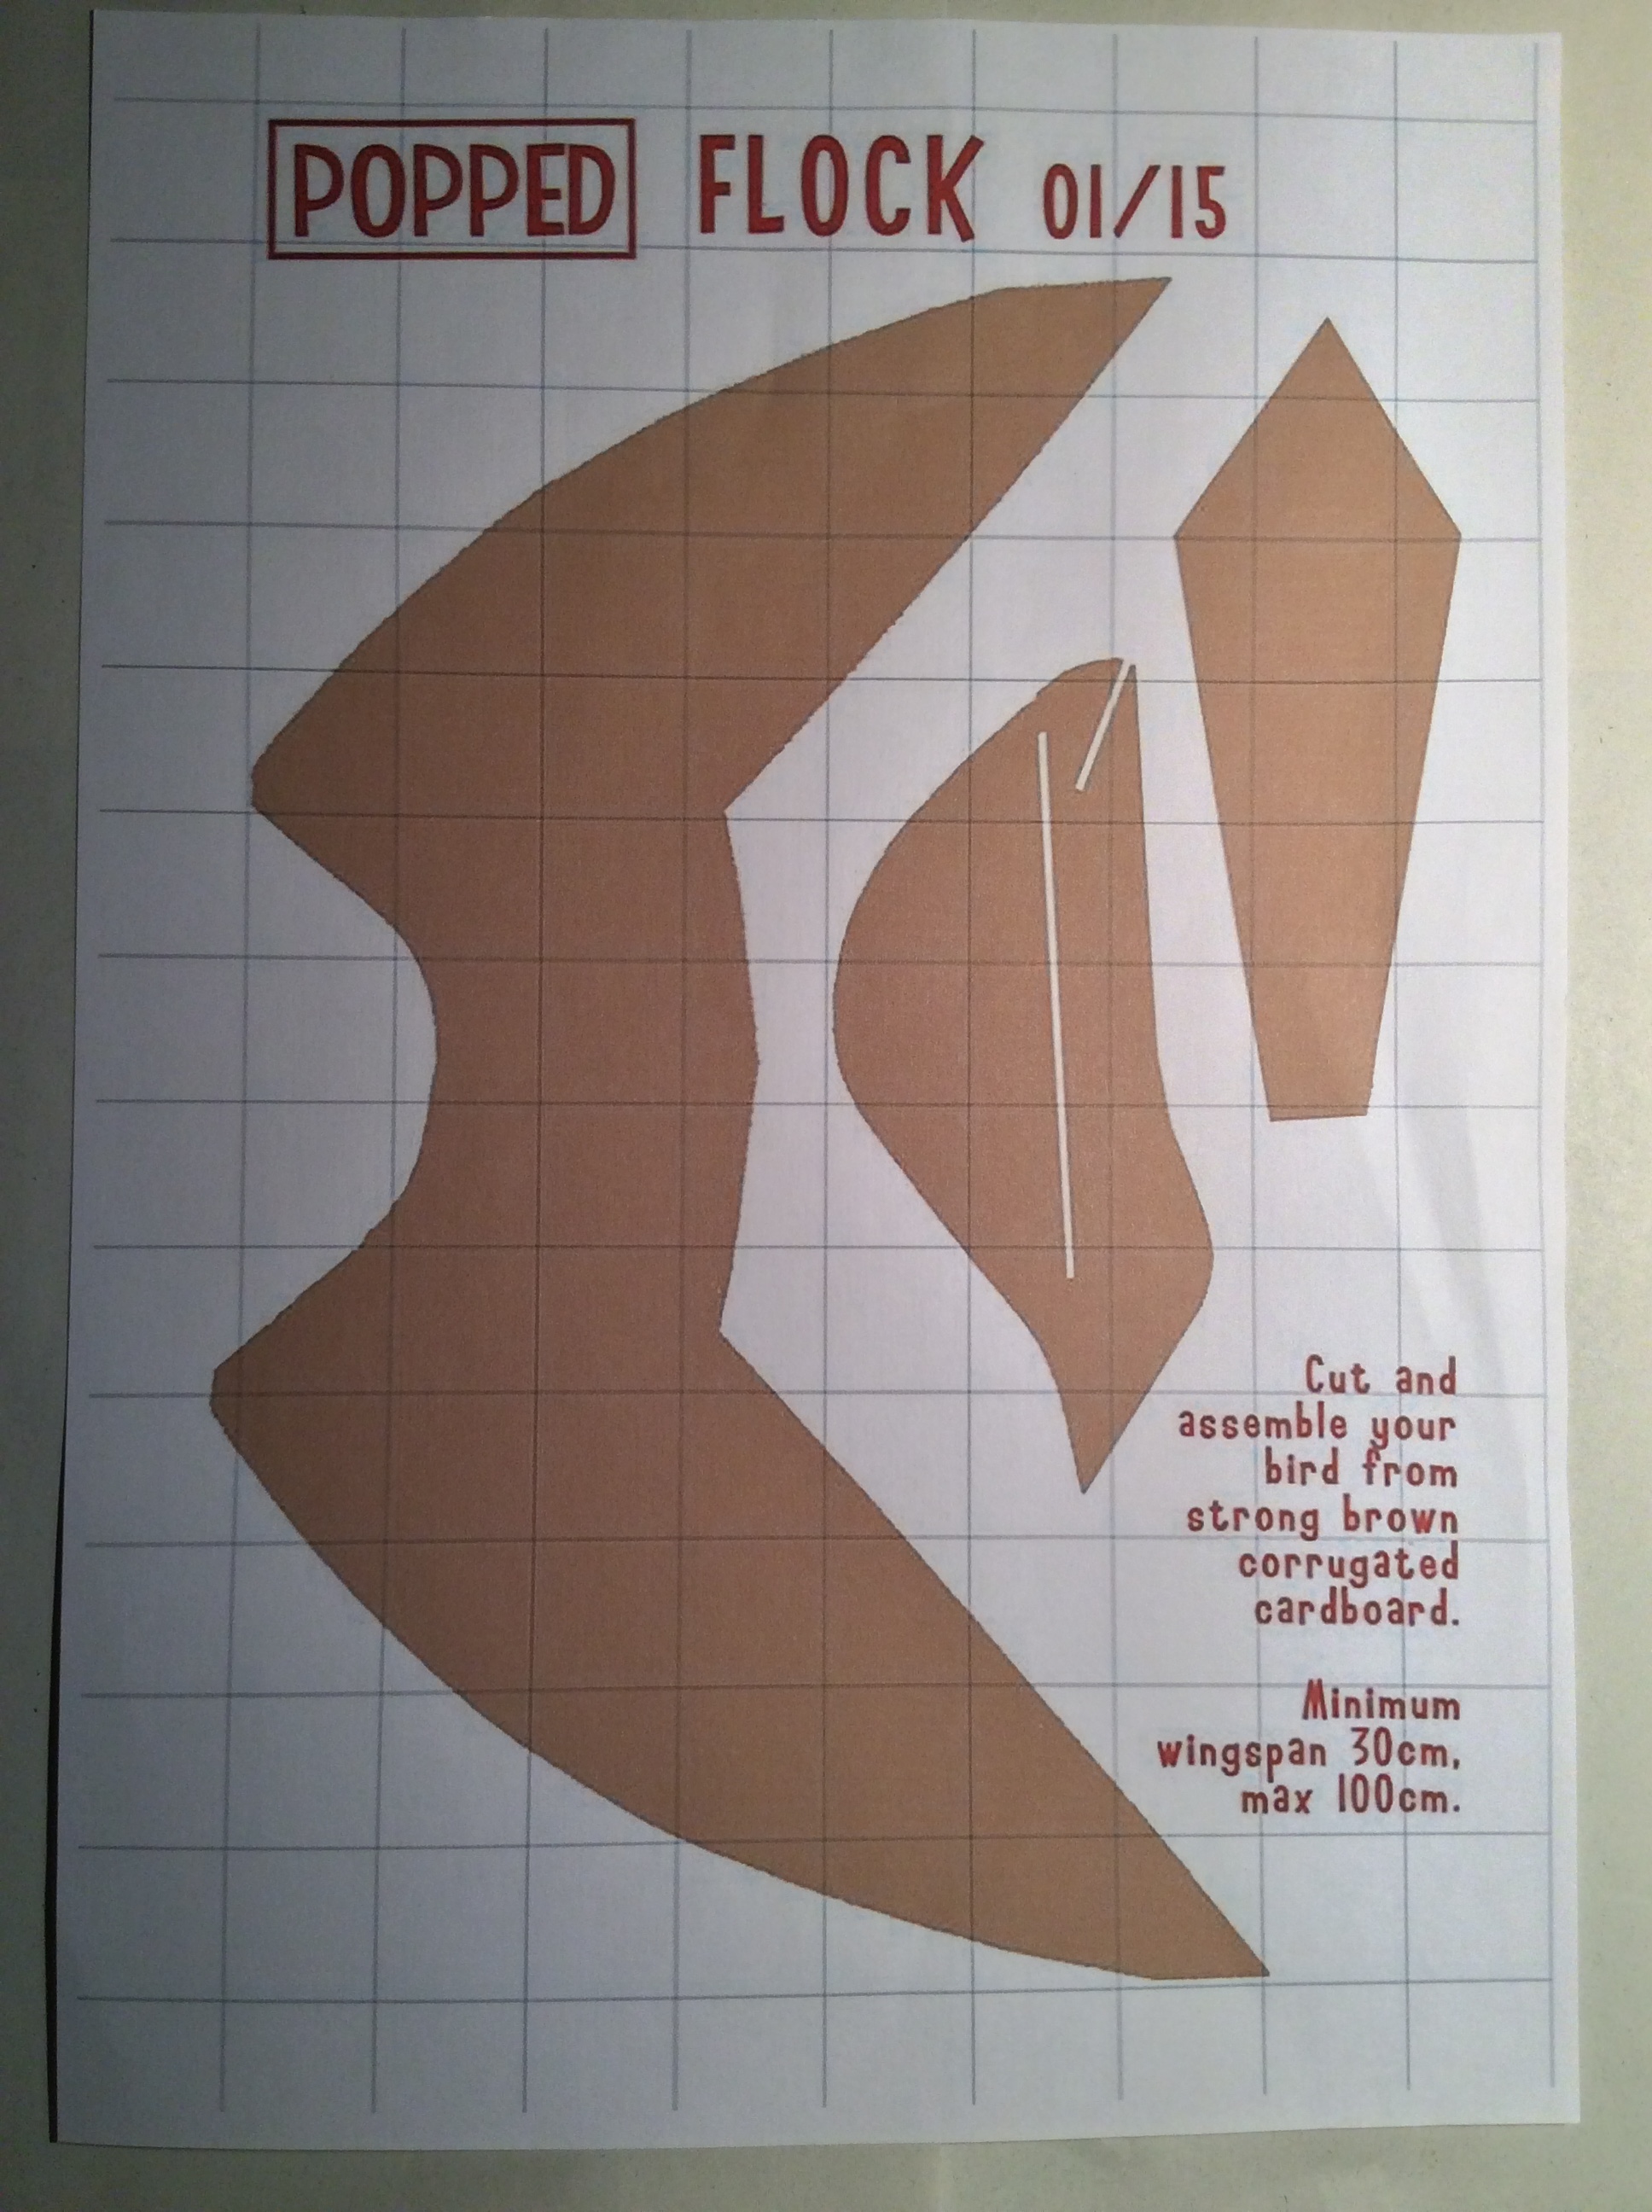
Jean Edwards shared the NN Cafe project where the arts group ‘Popped’ are asking people to make birds from corrugated card and take them in to be part of art installation called ‘Flock’. Jennifer Hogan is working on this with the children at Lab 13 – it will be interested to see what happens…
In our November meeting we explored at how we could use the visual programming language Scratch to create interactive art. One of the key approaches to computing is to remix and reuse, rather than always start from scratch, so to speak, and so there is much to be gained from modifying existing computing projects.
Helen shared this collection of coding and art Scratch projects that we explored in the session.
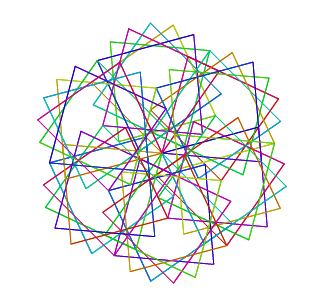
We also looked at resources from Barefoot Computing on drawing crystal flowers and thought about how these might link with analysing Rangoli, Islamic or Celtic patterns, as well as with aspects of the maths curriculum.
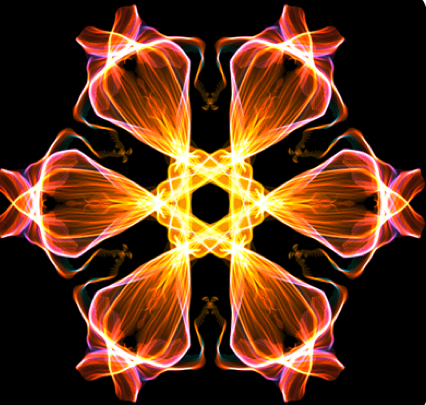
Other webtools that can be used alongside this theme include the online image generator Mutapic and the interactive art tools Weavesilk and Beautiful Curves.
Alongside these we looked at some of the amazing projects created using digital technology by artists that were featured in recent exhibition at The Barbican, Digital Revolutions.