July 10th 2014 – Northampton Inspire TeachMeet
In July the first year of Northampton Inspire culminated in a TeachMeet at NN Contemporary in Northampton where everyone who had participated in the project came together to share their ideas and resources. This was a great opportunity to see how technology had been used to support and inspire learning throughout Northamptonshire.
You can see some of the highlights by browsing this padlet that was made during and after the evening: Northampton Inspire TeachMeet July 10th 2014
You can read the tweets from the evening here: storify
We are about to begin our new 14 / 15 programme of meetings and you can read more about the first meeting in 22nd October and book a free ticket on the Meetings 14/15 page above.
12.05.14
Exploring digital microscopes
This week we are looking at manipulating close up and microscopic images. We’ll begin with the digital images and think about ways of enhancing them with physical art techniques. Useful apps: Taru Magnifier Up to 10x magnification (iOS free) Big Magnify Up to 8x magnification (iOS free) Smart Microscope Lite A virtual mobile microscope with 5 free slides of plants and specimens to zoom in and out of with your fingers. 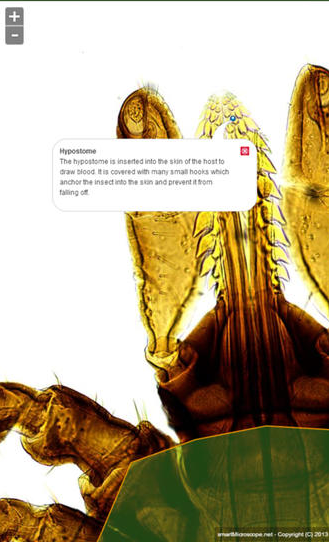 Useful websites: Zygote Body Zoom around and manipulate a 3D anatomical model of the human body: like Google Earth only for the body!
 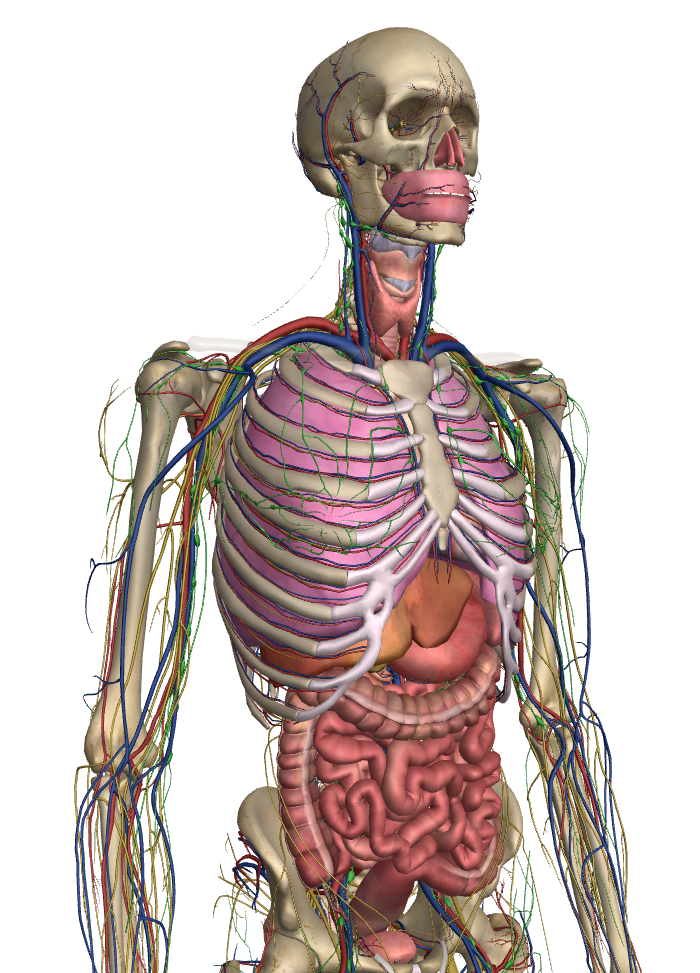 __________________________________________________________
24.03.14
Exploring movement through light trails and photographic effects
At our third meeting on Monday 24th March, 2014, we explored apps that allow the recording of light trails. Before we began we had a look at some light trail photography collected on a Pinterest board – you can see the full board at the link below. 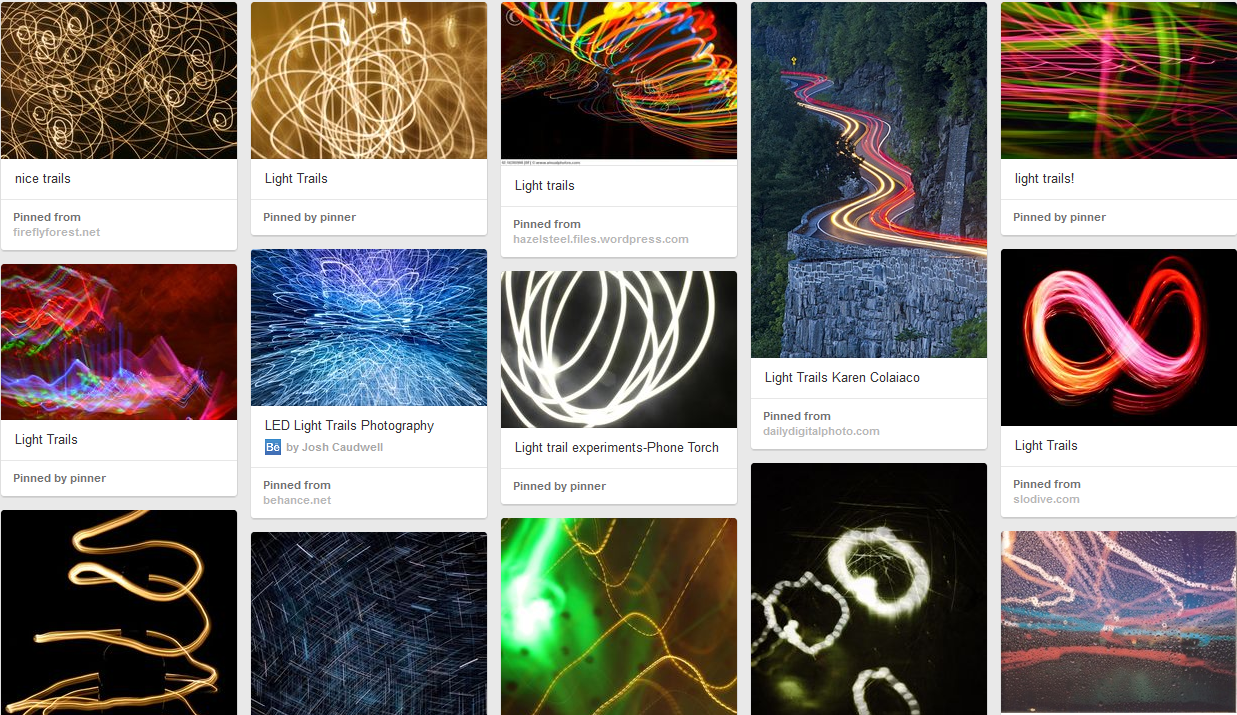 http://gb.pinterest.com/jeanneed70/light-trails/ Helen Caldwell introduced us to some web tools and apps for the manipulation of light and some examples pf teachers using these ideas in their teaching. You can see the full set of links below:
A set of useful Links for lessons on light trails: http://bitly.com/bundles/helencaldwell/v
We used the free app ‘Light Trail Camera Pro‘ on ipads for the exploration and practical work in the session. Here’s a video from the session: Here are some tips and instructions that we found useful – thanks to all the people present for working together and experimenting to find this out.
Getting the best from the Light Trail Camera Pro app
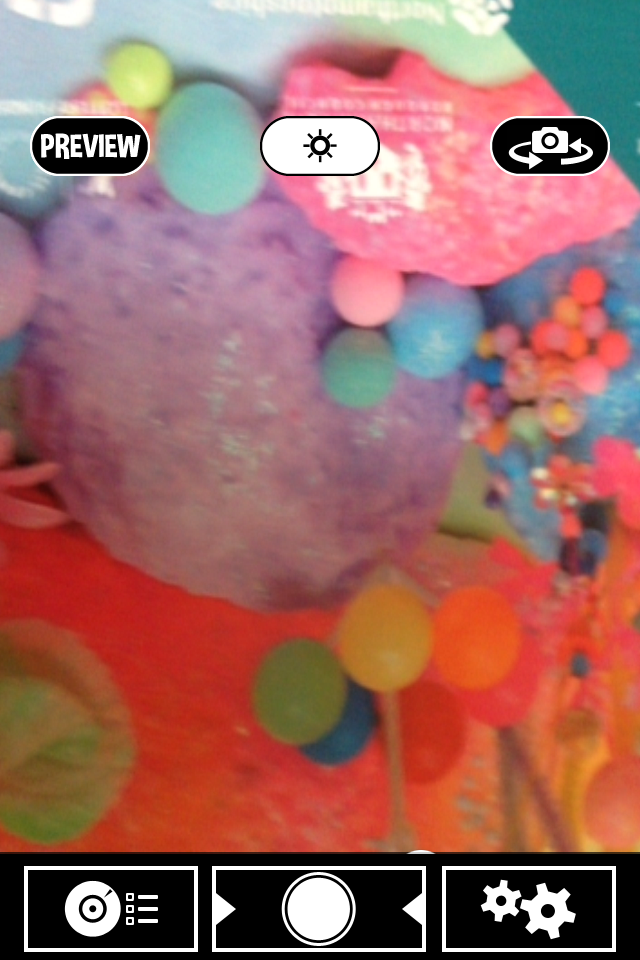 Preview – If you have the preview screen showing you can see the light trials build up. If you are writing or trying to capture something planned this is essential. Tap the word ‘preview’ to get it or remove it.
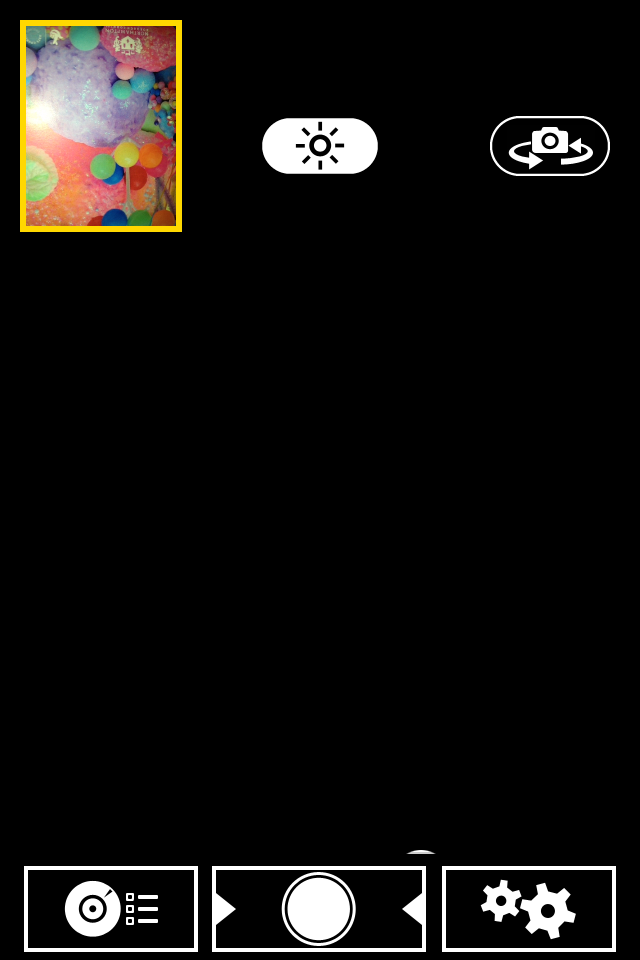
Camera settings (icon on left)
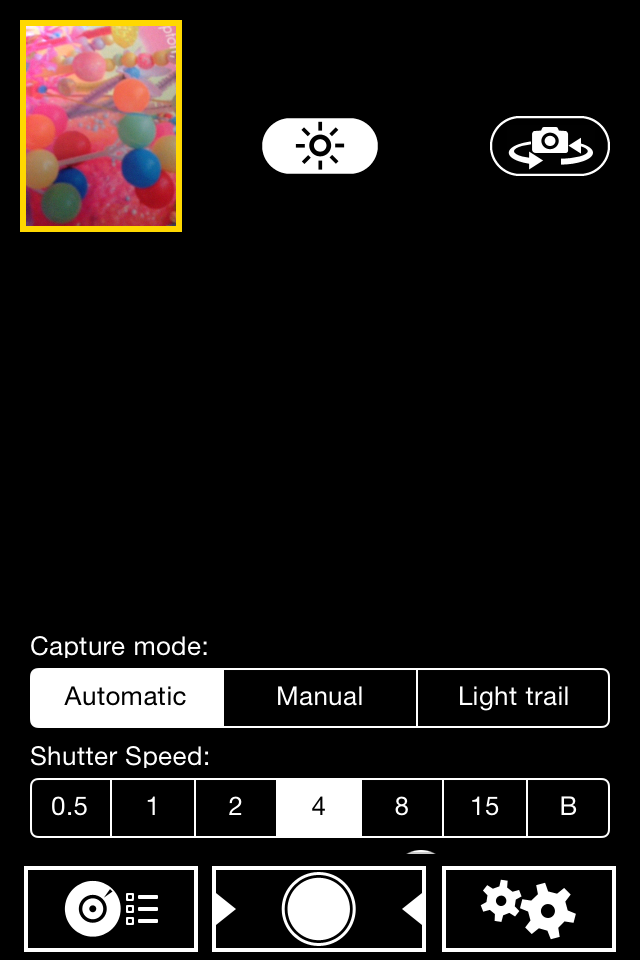 Capture mode – set to light trails Shutter speed – the larger the number the longer the shutter stays open (eg 15 seconds). If the shutter speed is set to B the shutter is controlled manually so you can decide when it shuts. This useful if you are photographing a preplanned light trail (eg writing your name).
Camera settings (icon on right)
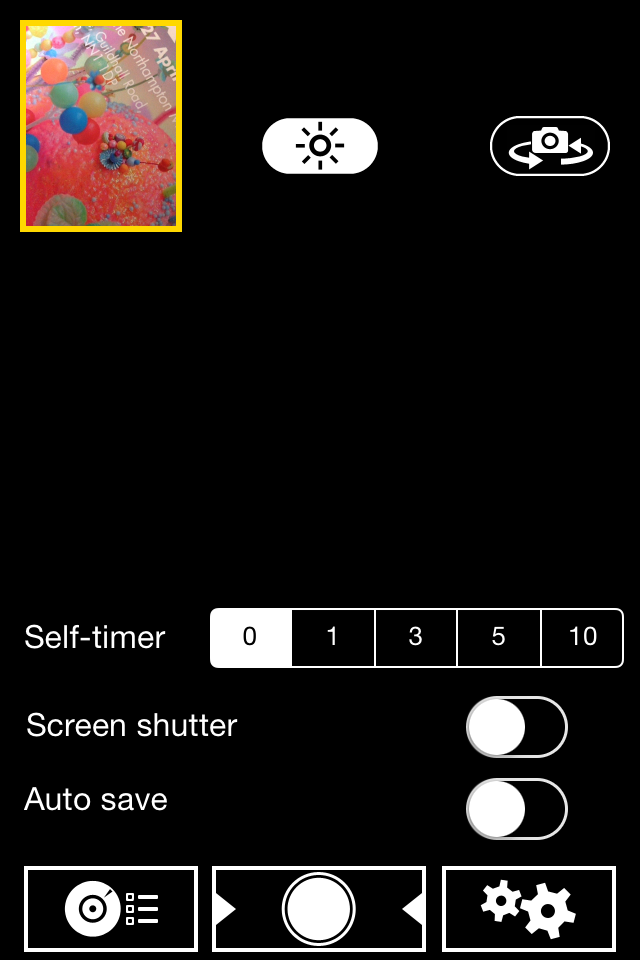 Self timer – 0 (unless you want to use this – if trying this out alone it can be useful) Screen shutter – button to left Auto save – on or off
Other useful tips:
The record button is the circle in the centre and it goes red when photographing. When the photograph has been taken if you touch the arrow to the right you are given the option of saving the photo to camera roll. Freeze – half way between off and on. Contrast – button half way along.
Here are some examples of what we did:
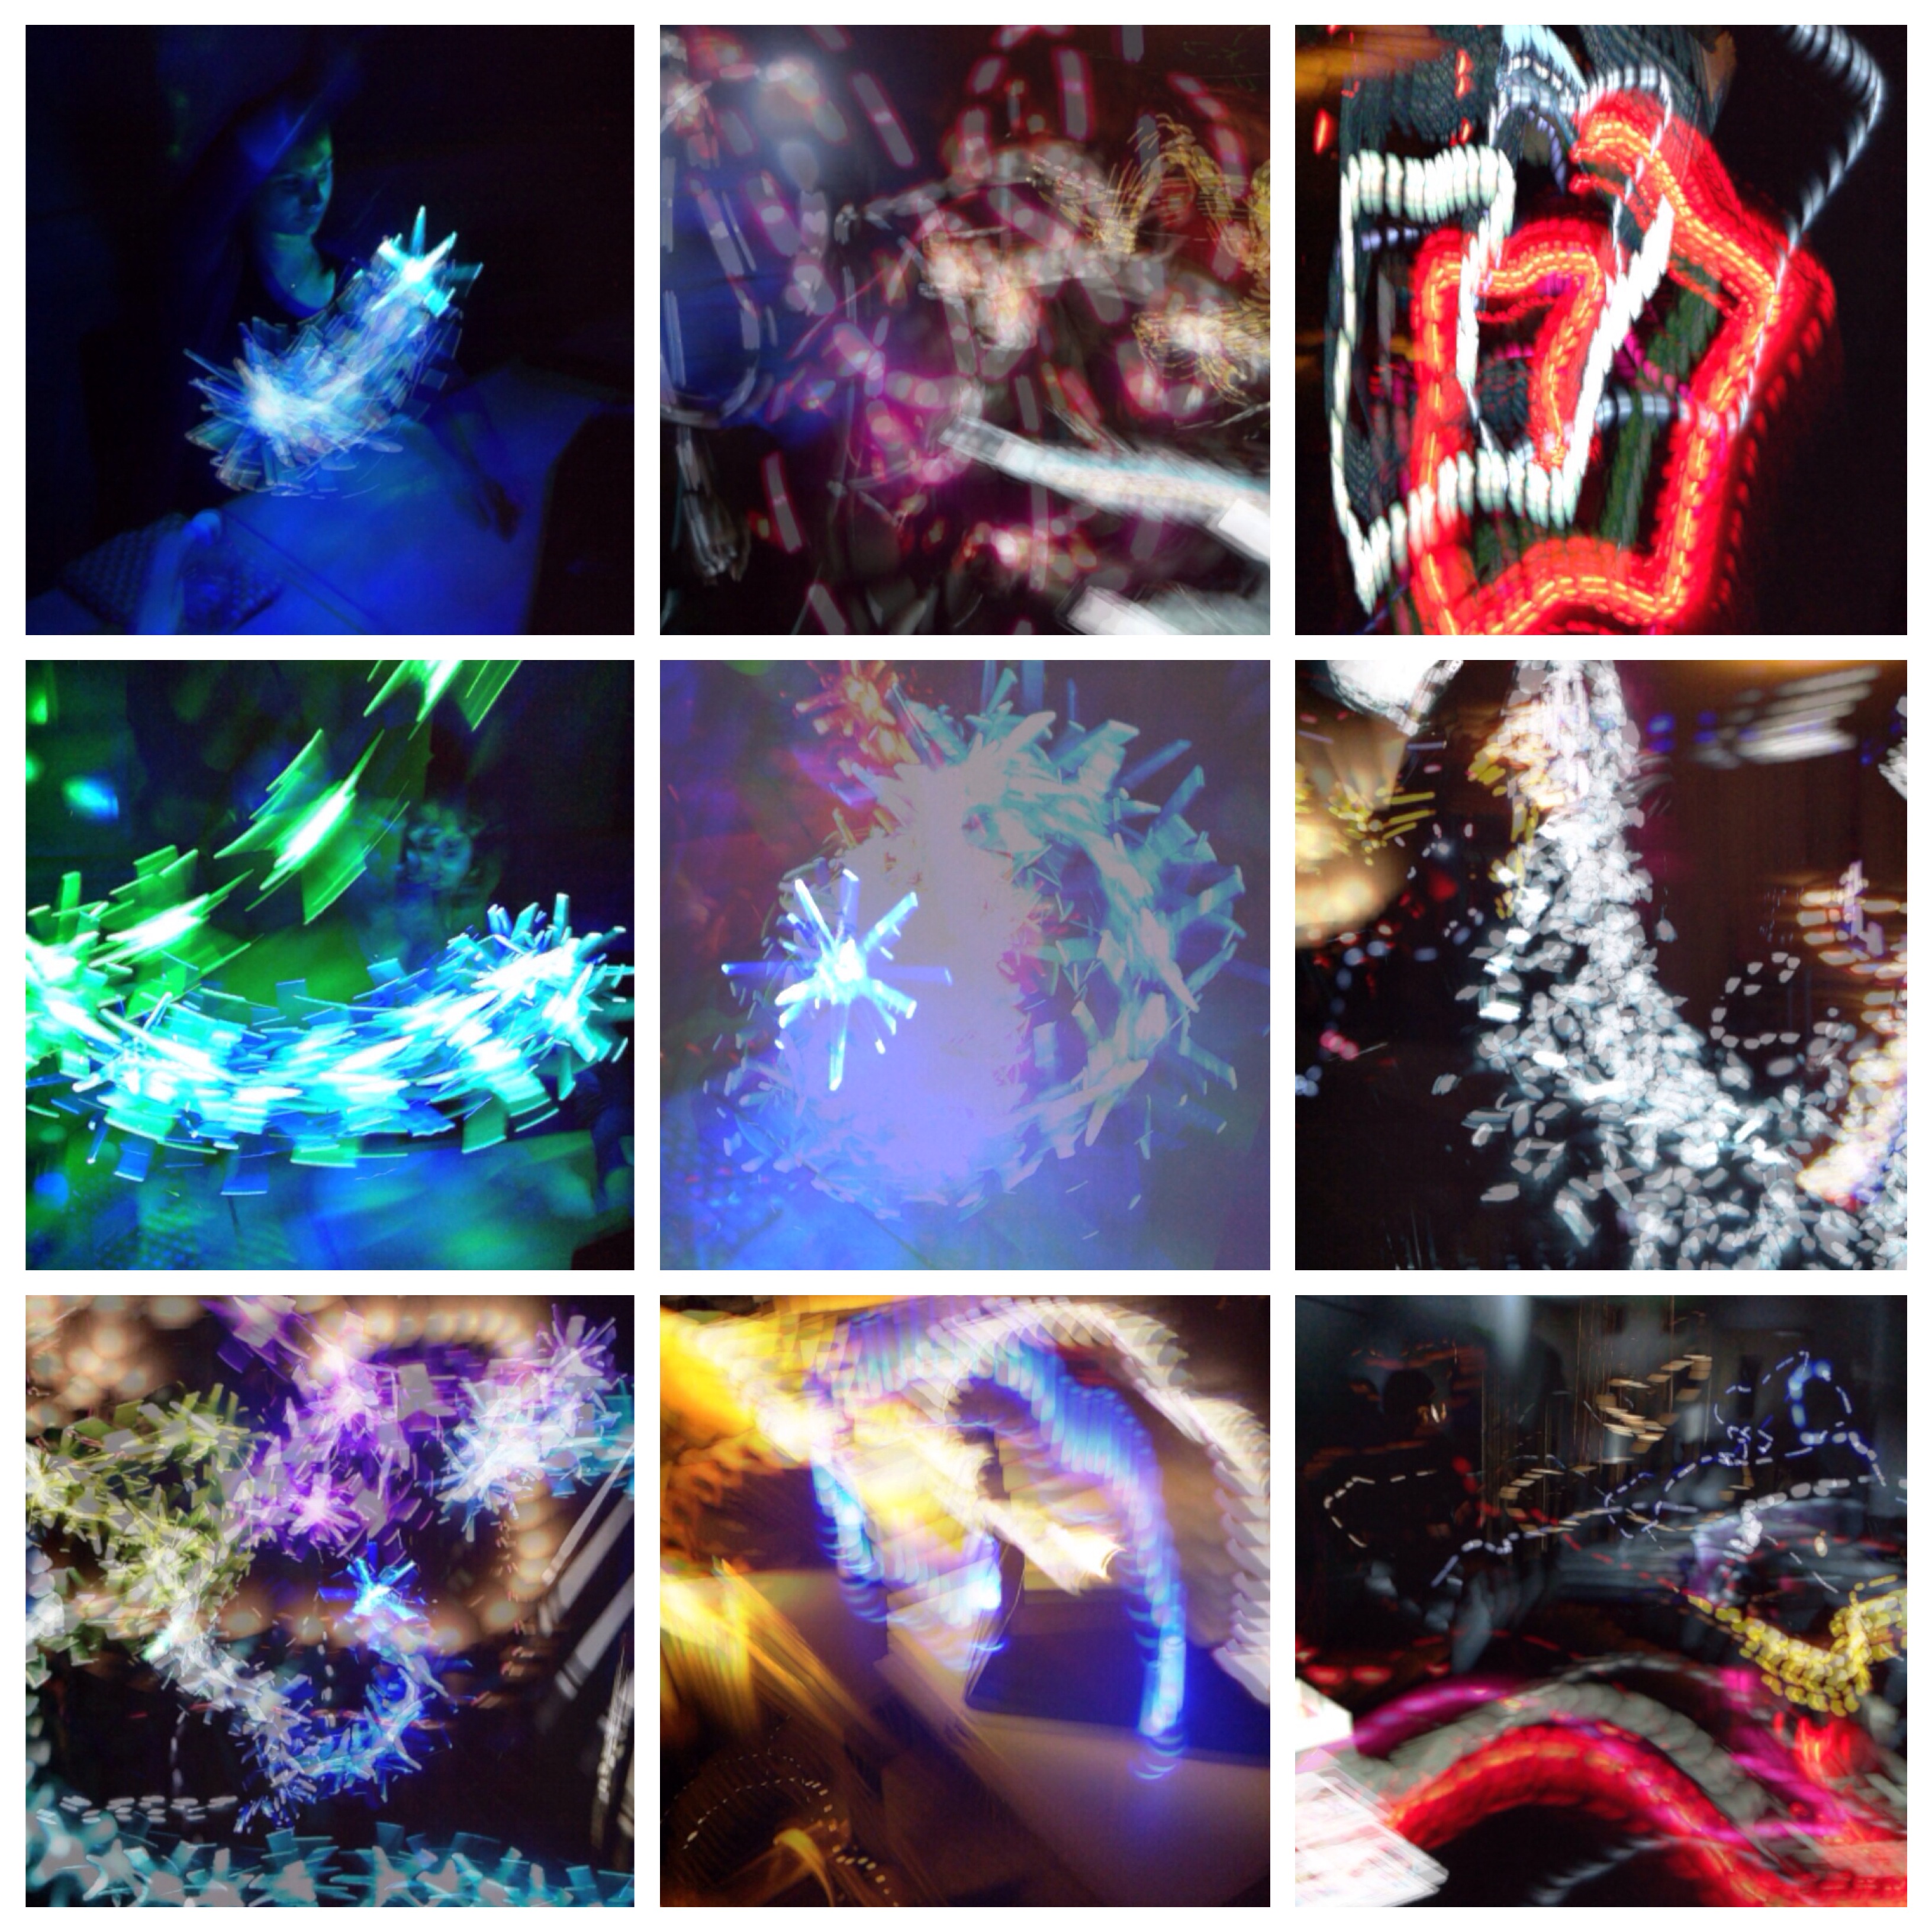 We were using a variety of torches, LED lights, strings of fairy lights and flashing lights. The photo on the bottom right is a view of the room as everyone experimented. We also tried drawing and writing with light:
  For this you need a source of light that will produce a distinct line. The Ipad needs to be about 1 m away (or perhaps on the floor is an adult is writing). If the lines are not to be joined you have to cover or switch off the torch when you don’t want a line – eg from the end of the J to the start of the e here.
What else could we do?
- Use the technique to capture everyday movements with lights attached to hands / feet
- use it to capture sport or dance movements with lights attached to hands / feet / sports equipment (eg a ball)
- Link the light to sound by creating the light picture in response to a sound, or creating sound as a response to the light picture.
- Import the photos into another app and manipulate, draw or write on it.
- Print out onto acetate and put onto windows – digital stained glass?
- Try out in the dark outside – children with lights running round the playground. (for this rest the ipad or camera onto a wall or fence if you don’t have a tripod).
- If you have compact camera you can try this – settings would be 100 ISO, F8, 6 seconds, try using the zoom whilst the shutter is open.
Links to artists and photographers
Light Show (Hayward Gallery) Light Show list of artists You could use this list to look up artists who work with light. Time lapse photography – have a look at the Muybridgizer app and this part of the Tate website Eadweard Muybridge
Digital swap star
We looked at the NSEAD digital swap circle and had the idea that we’ll send teachers a digital image by email for each teacher and / children to manipulate digitally and send back with a brief description of how they changed the image. More about this soon… Thanks everyone for your imagination and persistence – another great session for the Northampton Inspire network! Please note – you should consider the effect working with very bright lights could have on children and adults and follow your school’s health and safety guidelines. ________________________________________________________________________
10th February 2014:
Moving from physical art to digital artefact
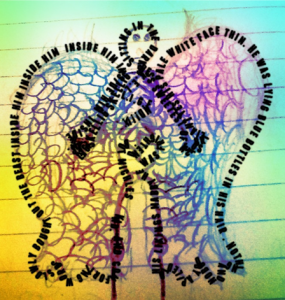
Slideshows created using PhotoSnack: http://www.photosnack.com/F5DB7DE9E8C/p7n0za2y http://www.photosnack.com/F5DB7DE9E8C/p7js7sye Our second meeting was inspired by the work of Brazilian artist Mira Schendel who made over 2000 monotype drawings on rice paper in the 1960s. Jean Edwards shared some of her own drawings which explore mark making in a similar way using ink on layers of translucent and transparent surfaces. Jean then led a practical art session along with Tracey Sherwood from the School of Art, assisted by students Martyna and Julian, and we all experimented with small and larger scale applications of these techniques.  Exciting effects were achieved by adding coloured lights and photographing artwork in front of a light box. We went on to manipulate our photos on iPads using the photo editing app Be Funky (also available as a free online tool). Be Funky is easy to use and children can achieve a wide range of results by experimenting with filters and sliders. This type of activity is particularly apt for responding to poems, creating book illustrations or exploring an environment using photography. Mira Schendel makes use of lettering in her work:
Lettering effects can be achieved using printing letters and ink on tracing paper or digitally by using the apps PathOn Swipe to Type or Type Drawing.as the example below from Bliss Charity School shows:
We finished a most productive evening by mirroring images from the iPads onto the interactive whiteboard and sharing ideas from our classrooms. Illustrator Dave Barrow showed us some of his artwork and explained how he uses graphics software such as Paint Shop Pro or Gimp, both which can be downloaded for free. These applications allow him to control layers of colour in the manner of a printmaker when he works with digital representations of his physical paintings. Something to be explored at a future meeting maybe!  Finally here is a link to the
 @AdobeUKStudents courses that Chris Dicken mentioned: http://create.adobegeneration.com.
___________________________________
2.12.13
Northampton Inspire 1st Meeting
Responding to Art 


 The group experimented with a selection of generative music apps and webtools and thought about how children could respond to paintings through music and sound. Their sound compositions might be added to the app and webtool VoiceThread and shared as a set . You can listen to these samples by clicking on the arrows or on the individual avatars. Clicking on the bottom right will take you through the photos and you can add your own comments here if you like. We talked about ways in which the network group might support the development of arts and technology most effectively in schools and collected thoughts using the webtool AnswerGarden. Please add your ideas here: What would you like from Northampton Inspire?… at AnswerGarden.ch. Future half termly meetings will focus on themes combining subject areas in technology and the arts: for example media production, digital art, animation, creative computer programming, art techniques,outdoor learning, media trails, light, or sound and music.
Pingback: January (sending) | sketchbookcircle