Exploring movement through light trails and photographic effects
At our third meeting on Monday 24th March, 2014, we explored apps that allow the recording of light trails. Before we began we had a look at some light trail photography collected on a Pinterest board – you can see the full board at the link below. 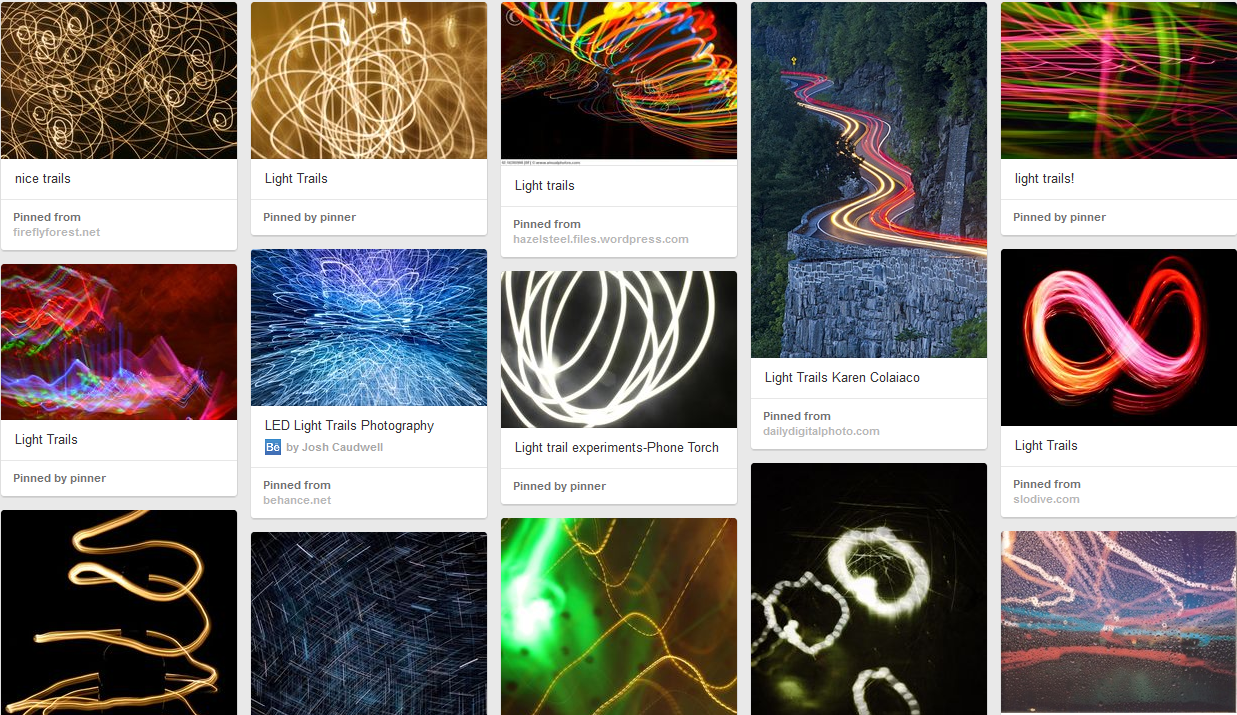 http://gb.pinterest.com/jeanneed70/light-trails/ Helen Caldwell introduced us to some web tools and apps for the manipulation of light and some examples pf teachers using these ideas in their teaching. You can see the full set of links below:
A set of useful Links for lessons on light trails: http://bitly.com/bundles/helencaldwell/v
We used the free app ‘Light Trail Camera Pro‘ on ipads for the exploration and practical work in the session. Here’s a video from the session: Here are some tips and instructions that we found useful – thanks to all the people present for working together and experimenting to find this out.
Getting the best from the Light Trail Camera Pro app
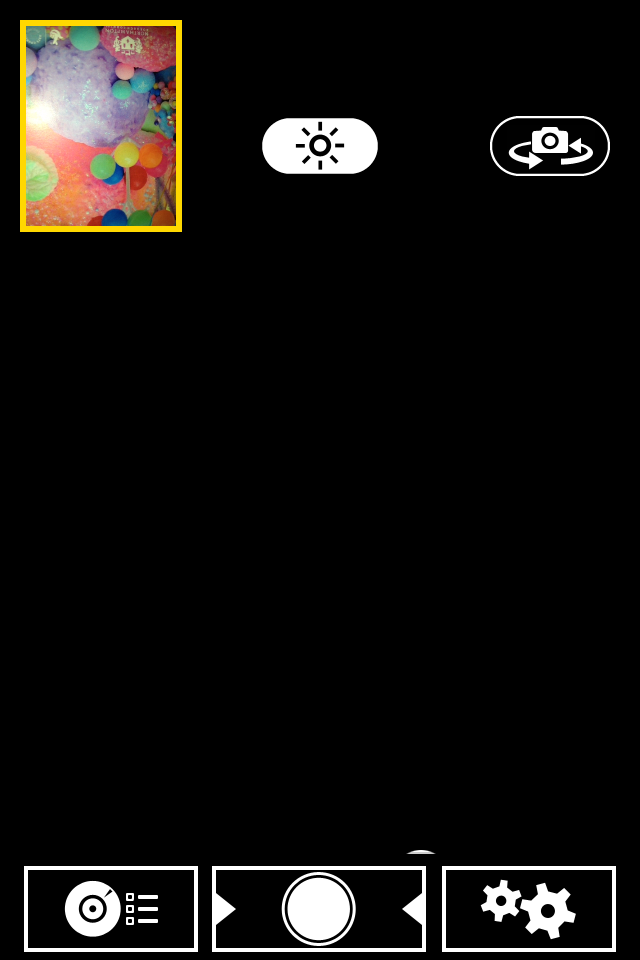
 Preview – If you have the preview screen showing you can see the light trials build up. If you are writing or trying to capture something planned this is essential. Tap the word ‘preview’ to get it or remove it.
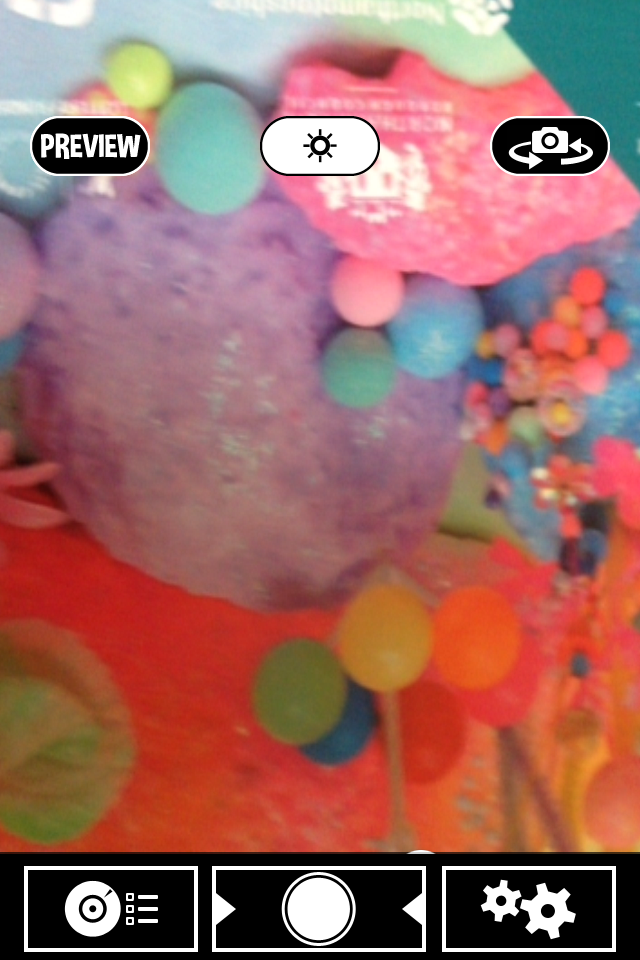
Camera settings (icon on left)
 Capture mode – set to light trails Shutter speed – the larger the number the longer the shutter stays open (eg 15 seconds). If the shutter speed is set to B the shutter is controlled manually so you can decide when it shuts. This useful if you are photographing a preplanned light trail (eg writing your name).
Camera settings (icon on right)
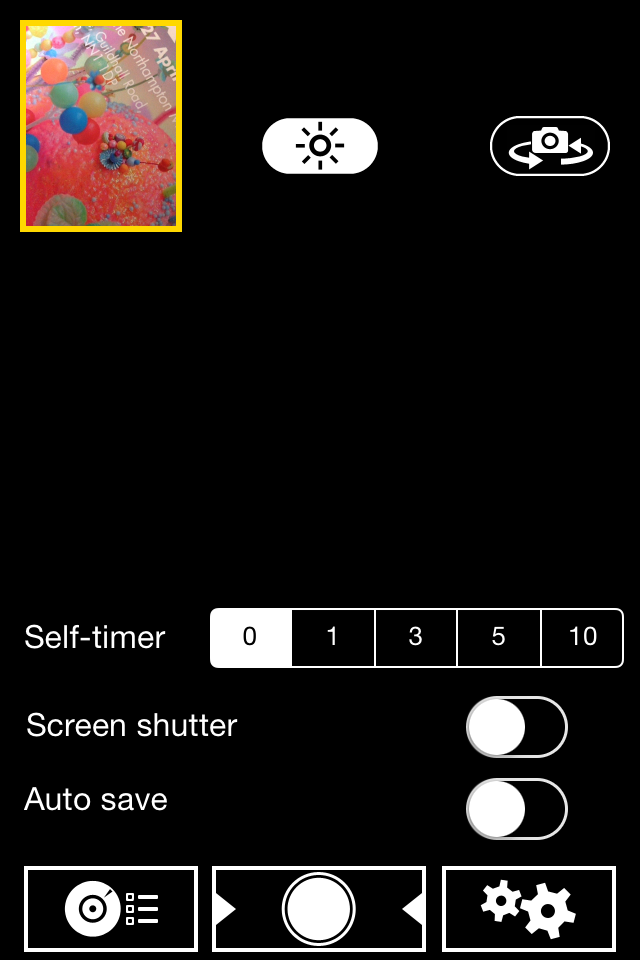 Self timer – 0 (unless you want to use this – if trying this out alone it can be useful) Screen shutter – button to left Auto save – on or off
Other useful tips:
The record button is the circle in the centre and it goes red when photographing. When the photograph has been taken if you touch the arrow to the right you are given the option of saving the photo to camera roll. Freeze – half way between off and on. Contrast – button half way along.
Here are some examples of what we did:
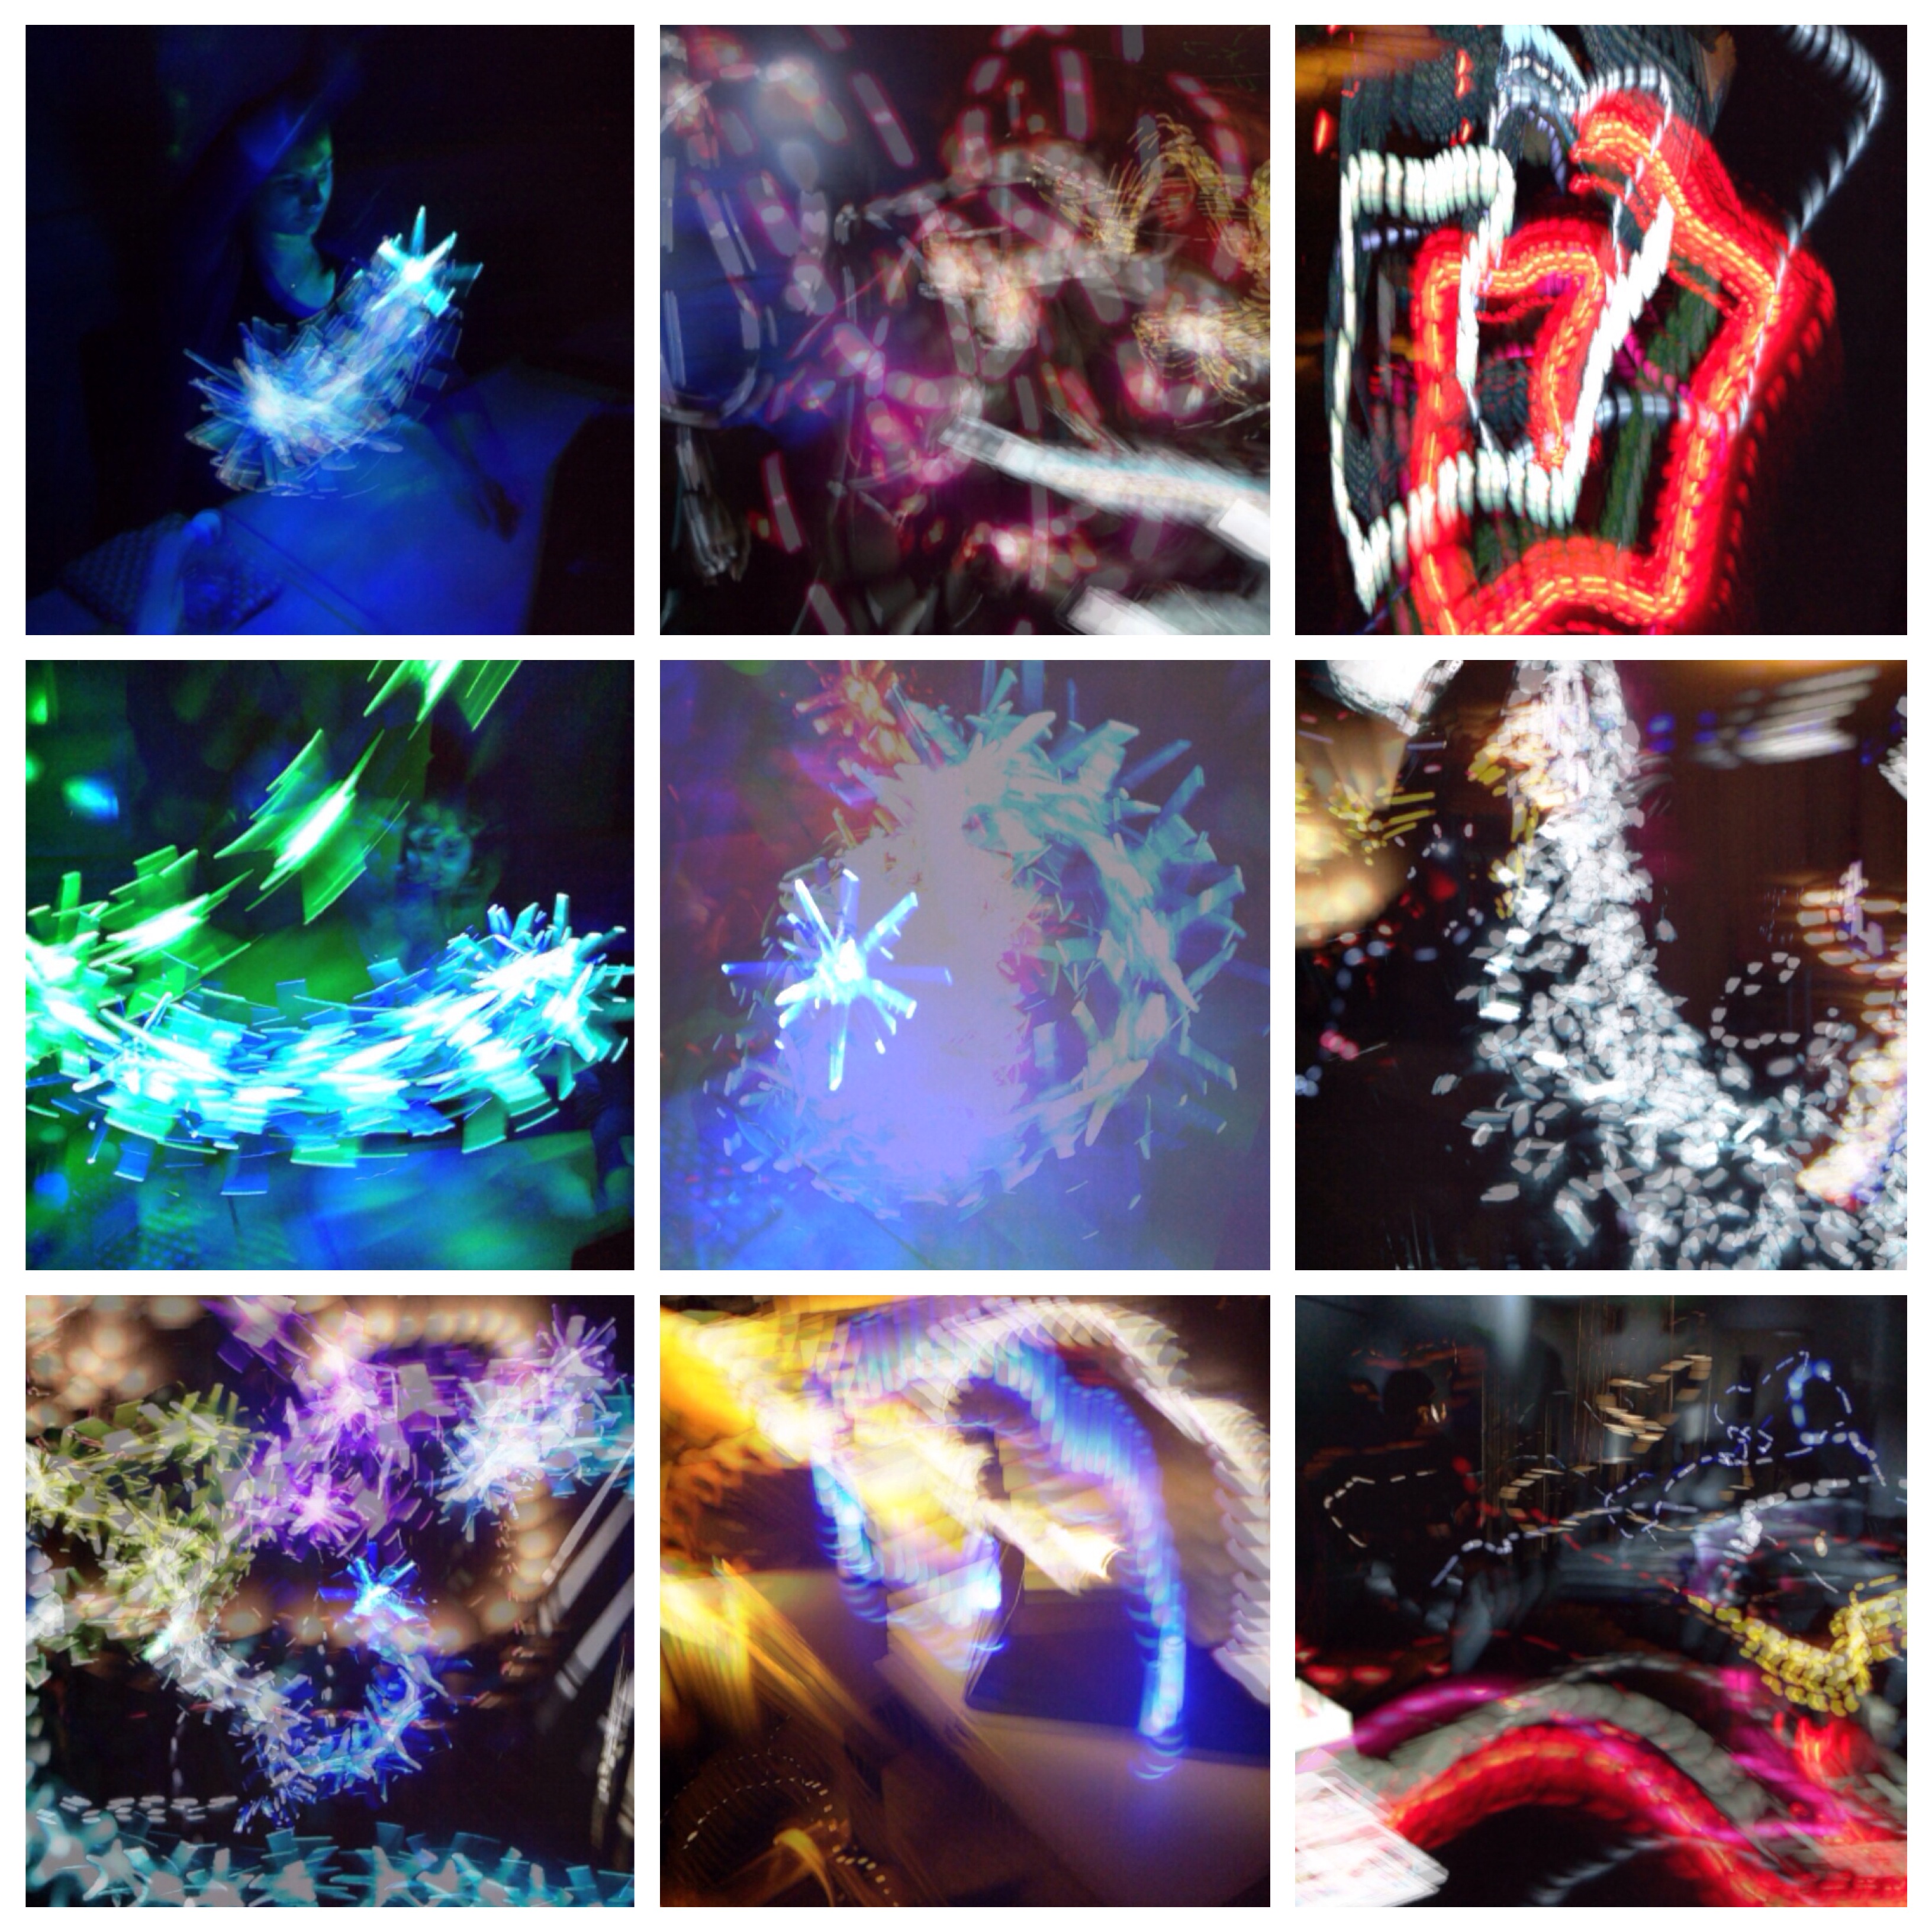 We were using a variety of torches, LED lights, strings of fairy lights and flashing lights. The photo on the bottom right is a view of the room as everyone experimented. We also tried drawing and writing with light:
  For this you need a source of light that will produce a distinct line. The Ipad needs to be about 1 m away (or perhaps on the floor is an adult is writing). If the lines are not to be joined you have to cover or switch off the torch when you don’t want a line – eg from the end of the J to the start of the e here.
What else could we do?
- Use the technique to capture everyday movements with lights attached to hands / feet
- use it to capture sport or dance movements with lights attached to hands / feet / sports equipment (eg a ball)
- Link the light to sound by creating the light picture in response to a sound, or creating sound as a response to the light picture.
- Import the photos into another app and manipulate, draw or write on it.
- Print out onto acetate and put onto windows – digital stained glass?
- Try out in the dark outside – children with lights running round the playground. (for this rest the ipad or camera onto a wall or fence if you don’t have a tripod).
- If you have compact camera you can try this – settings would be 100 ISO, F8, 6 seconds, try using the zoom whilst the shutter is open.
Links to artists and photographers
Light Show (Hayward Gallery) Light Show list of artists You could use this list to look up artists who work with light. Time lapse photography – have a look at the Muybridgizer app and this part of the Tate website Eadweard Muybridge
Se você está em busca de uma nova plataforma de entretenimento online, FogueteAposta pode ser exatamente o que você procura. Com uma interface dinâmica e uma ampla gama de jogos, desde slots clássicos até mesas de jogo com crupiês ao vivo, FogueteAposta oferece diversão para todos os gostos. As promoções são constantes e atrativas, agregando mais valor à sua experiência. A compatibilidade com dispositivos móveis também é um ponto forte, permitindo que você leve a diversão para qualquer lugar. Descubra um mundo de possibilidades com FogueteAposta http://fogueteaposta.com e veja por que tantos usuários estão se apaixonando por essa plataforma!