Bramblewars- A STEAM Project for Year 6

A STEAM Project for Year 6

During week 3 of our placement,  the majority of the year 6 children were going on a residential to PGL. We were asked if we would be able to create and run a programme of activities for the 17 children remaining at school; a challenge we were delighted to accept . Following the  work towards the exhibition and the children having had a lot of art time we decide to create a STEAM project   instead of retaining a purely art based focus. The idea of a shift from STEM to STEAM has been a particular interest to me as an art specialist and digital leaders so this was a fantastic opportunity to implement  a trial project.

 STEM to STEAM

The development of  STEM learning is  actually about a philosophy of  how children learn and emphasises the importance of  helping students integrate knowledge across disciplines, encouraging them to think in a more connected and holistic way.  The traditional approach of teaching topics in isolation does not support the ways that children learn best and over the  years  there has been a big drive advocating the benefits of STEM learning Recently, the idea of adding the arts to STEM programs has been gaining momentum. This model is championed by Ruth Catchen (2013), an artist and educator turned STEAM pioneer. According to Ruth, the arts are a great learning tool and can serve as an avenue  for some children to access STEM. Engaging students’ strengths using art activities increases motivation and the probability of STEM success. She views art as a way of offering more diverse learning opportunities and greater access to STEM for all types of learners. Further to this, Art also provides diverse opportunities for communication and expression. Ruth believes that in our  digital world, we have a responsibility to educate the whole child to become a ‘global citizen’ in his or her community. According to Jolly (2014), the benefits of a shift to a multidisciplinary paradigm such as STEAM would be beneficial in the following ways:

  • Within Design-Art can serve a practical function. Students might apply design and decoration to products that were created during the course of a design challenge. They could use computer graphics to create logos or stylized designs to include in communications or presentations. Through industrial design, students could improve the appearance, design, and usability of a product created during a STEM project.
  • Within Performing arts, such as drama and speech. What about technical or persuasive writing? Those arts fit naturally into the “Communications” stage of the engineering design process. They would work well as part of a STEM project. (If you want students to get REALLY ambitious and creative, check out this video of students in Paraguay who made instruments out of discarded materials!)
  • Creative planning. As students brainstorm solutions for an engineering problem, encourage them to adopt a playful, inventive, artistic approach. Calling on their artistic right brain can help them to generate more creative and innovative thinking         (Jolly 2014)

She concludes  that in todays modern world we need students who are motivated and competent in bringing forth solutions to tomorrow’s problems.

When push comes to shove, it’s not STEM vs. STEAM—it’s about making every student a fully-literate 21st-century citizen.” ( Jolly 2014)

Having established the idea of running a STEAM project we  contacted Helen Caldwell ( Digital Literacy and Computing Senior Lecturer at the University of Northampton ) to get some practical advice on how to approach  the idea. Helen provided us with a range of resources and links to material and projects which she felt would benefit us  and serve as inspiration. She discussed with us some of the apps we may lie to use as well as arranging for us to borrow the university’s Green Screen.  We were able to clarify with Helen that although there should be elements of each discipline within the project that it was not a necessity to make sure they were equally weighted the most important factor was that the tasks and activities were characterised  as open ended, collaborative and provided opportunities for problem solving again  using the Challenge based learning model as we had with the art project.

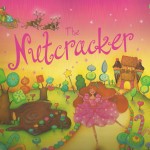
Looking at some of the examples Helen had provided we were particularly taken with the  Bridge Craft STEAM week which was run at Bridgewater Primary school in 2014. This was a great example of STEAM learning across a whole school based on the popular computer game Mine craft. We liked the idea of running a theme based project and also the use of digital avatars which would talk to the children and provide an interactive experience so we decided to run a Starwars based project called Bramblewars. We spent a long time preparing resources which we hoped would be engaging and motivating to the children this included a Starwars Crawl which introduced the project. (we had a bit of a problem with uploading music so the music was played from youtube in the background)

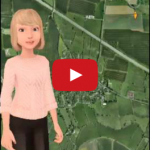
followed by messages from talking StarWars avatars which we created using the app Morfo.

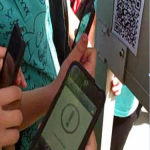
Our first challenge was for the children to build a spaceship launch tower for the Millennium Falcon, the children used spaghetti and marshmallows and worked collaboratively in small groups  to attempt to build the tallest tower. They had access iPads  during the activity so they could carry out research  to support their ideas as they progressed.image

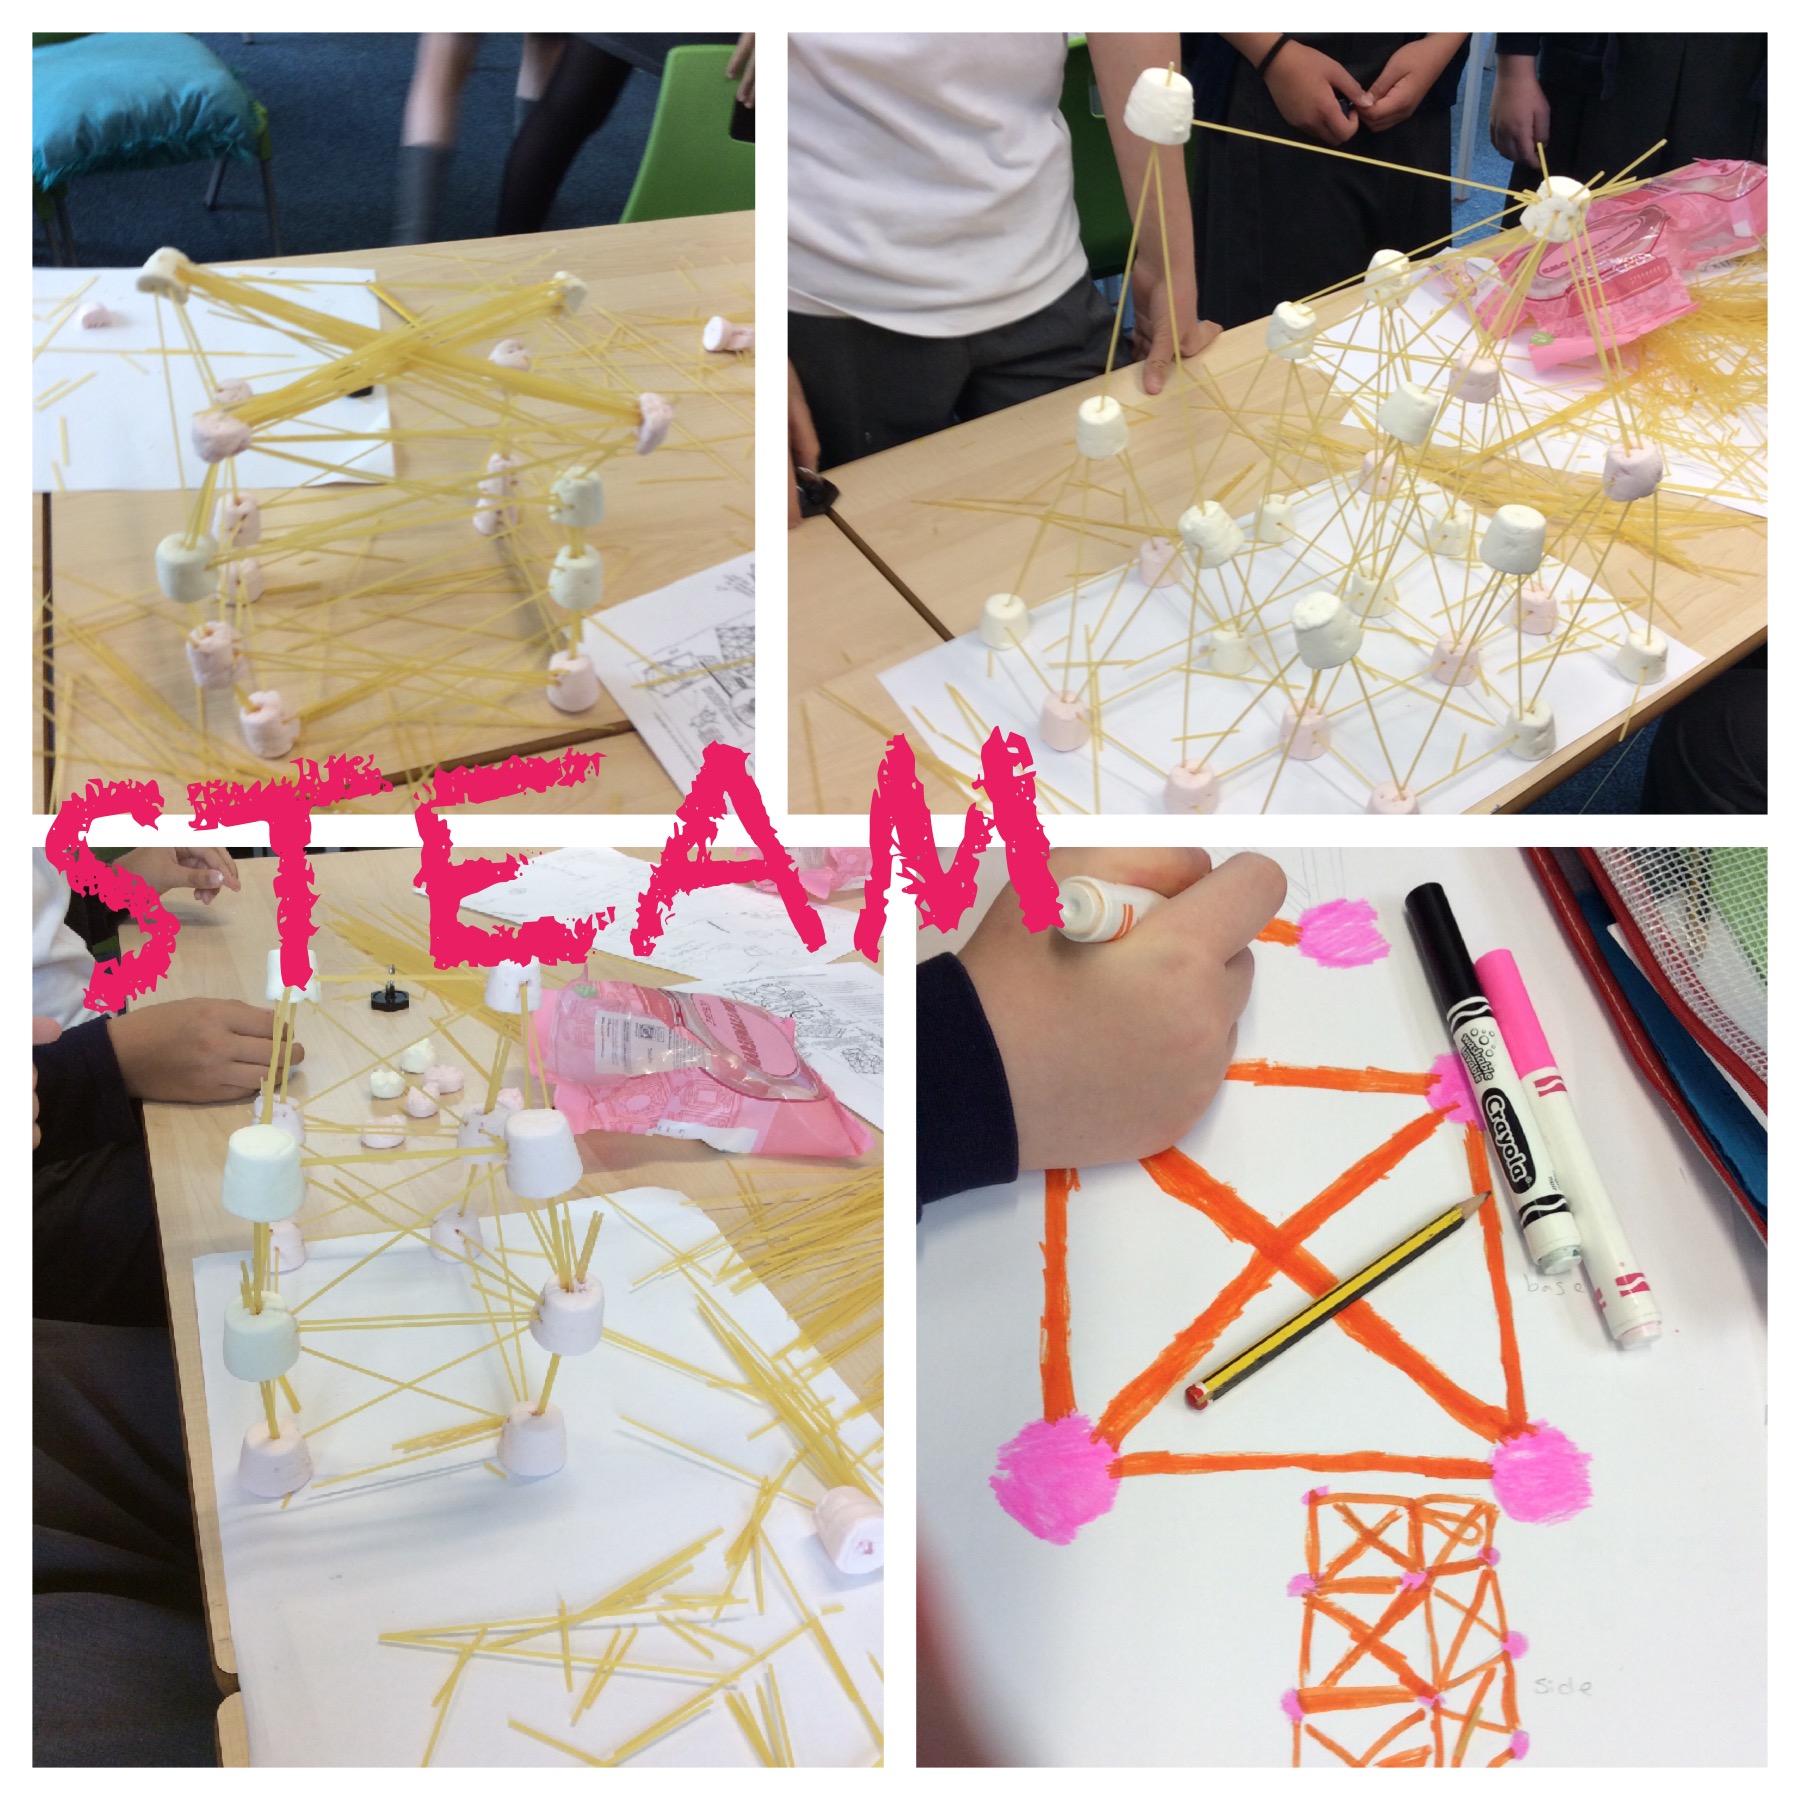
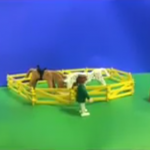
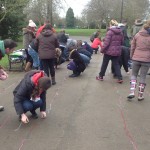
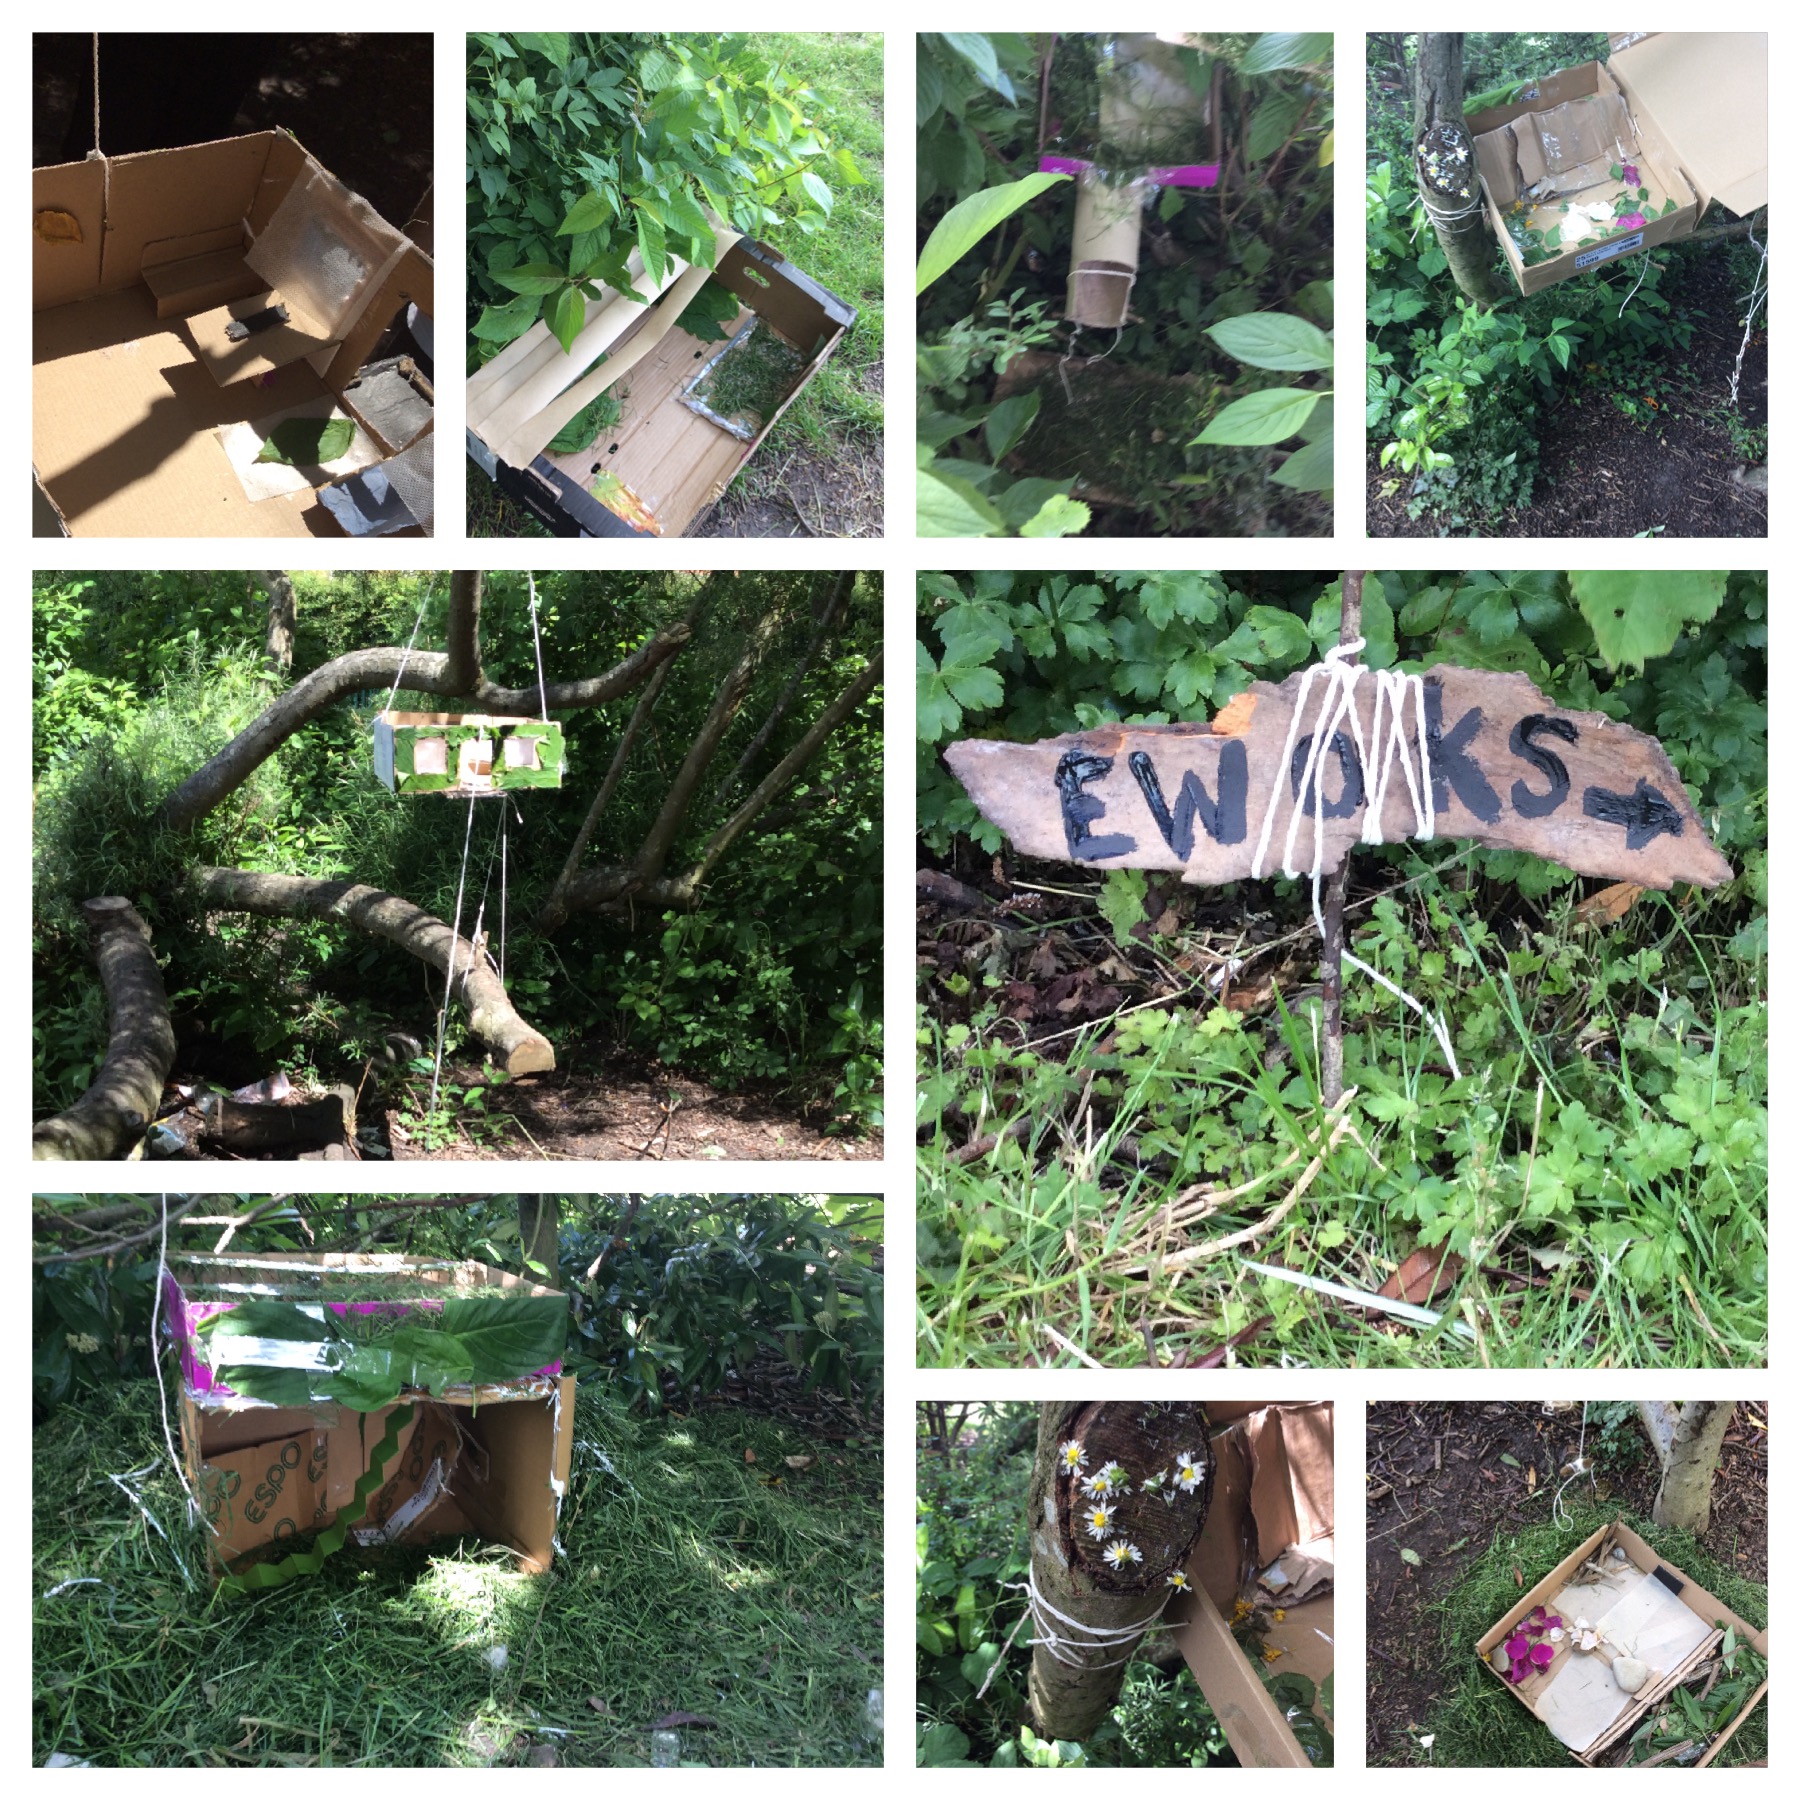
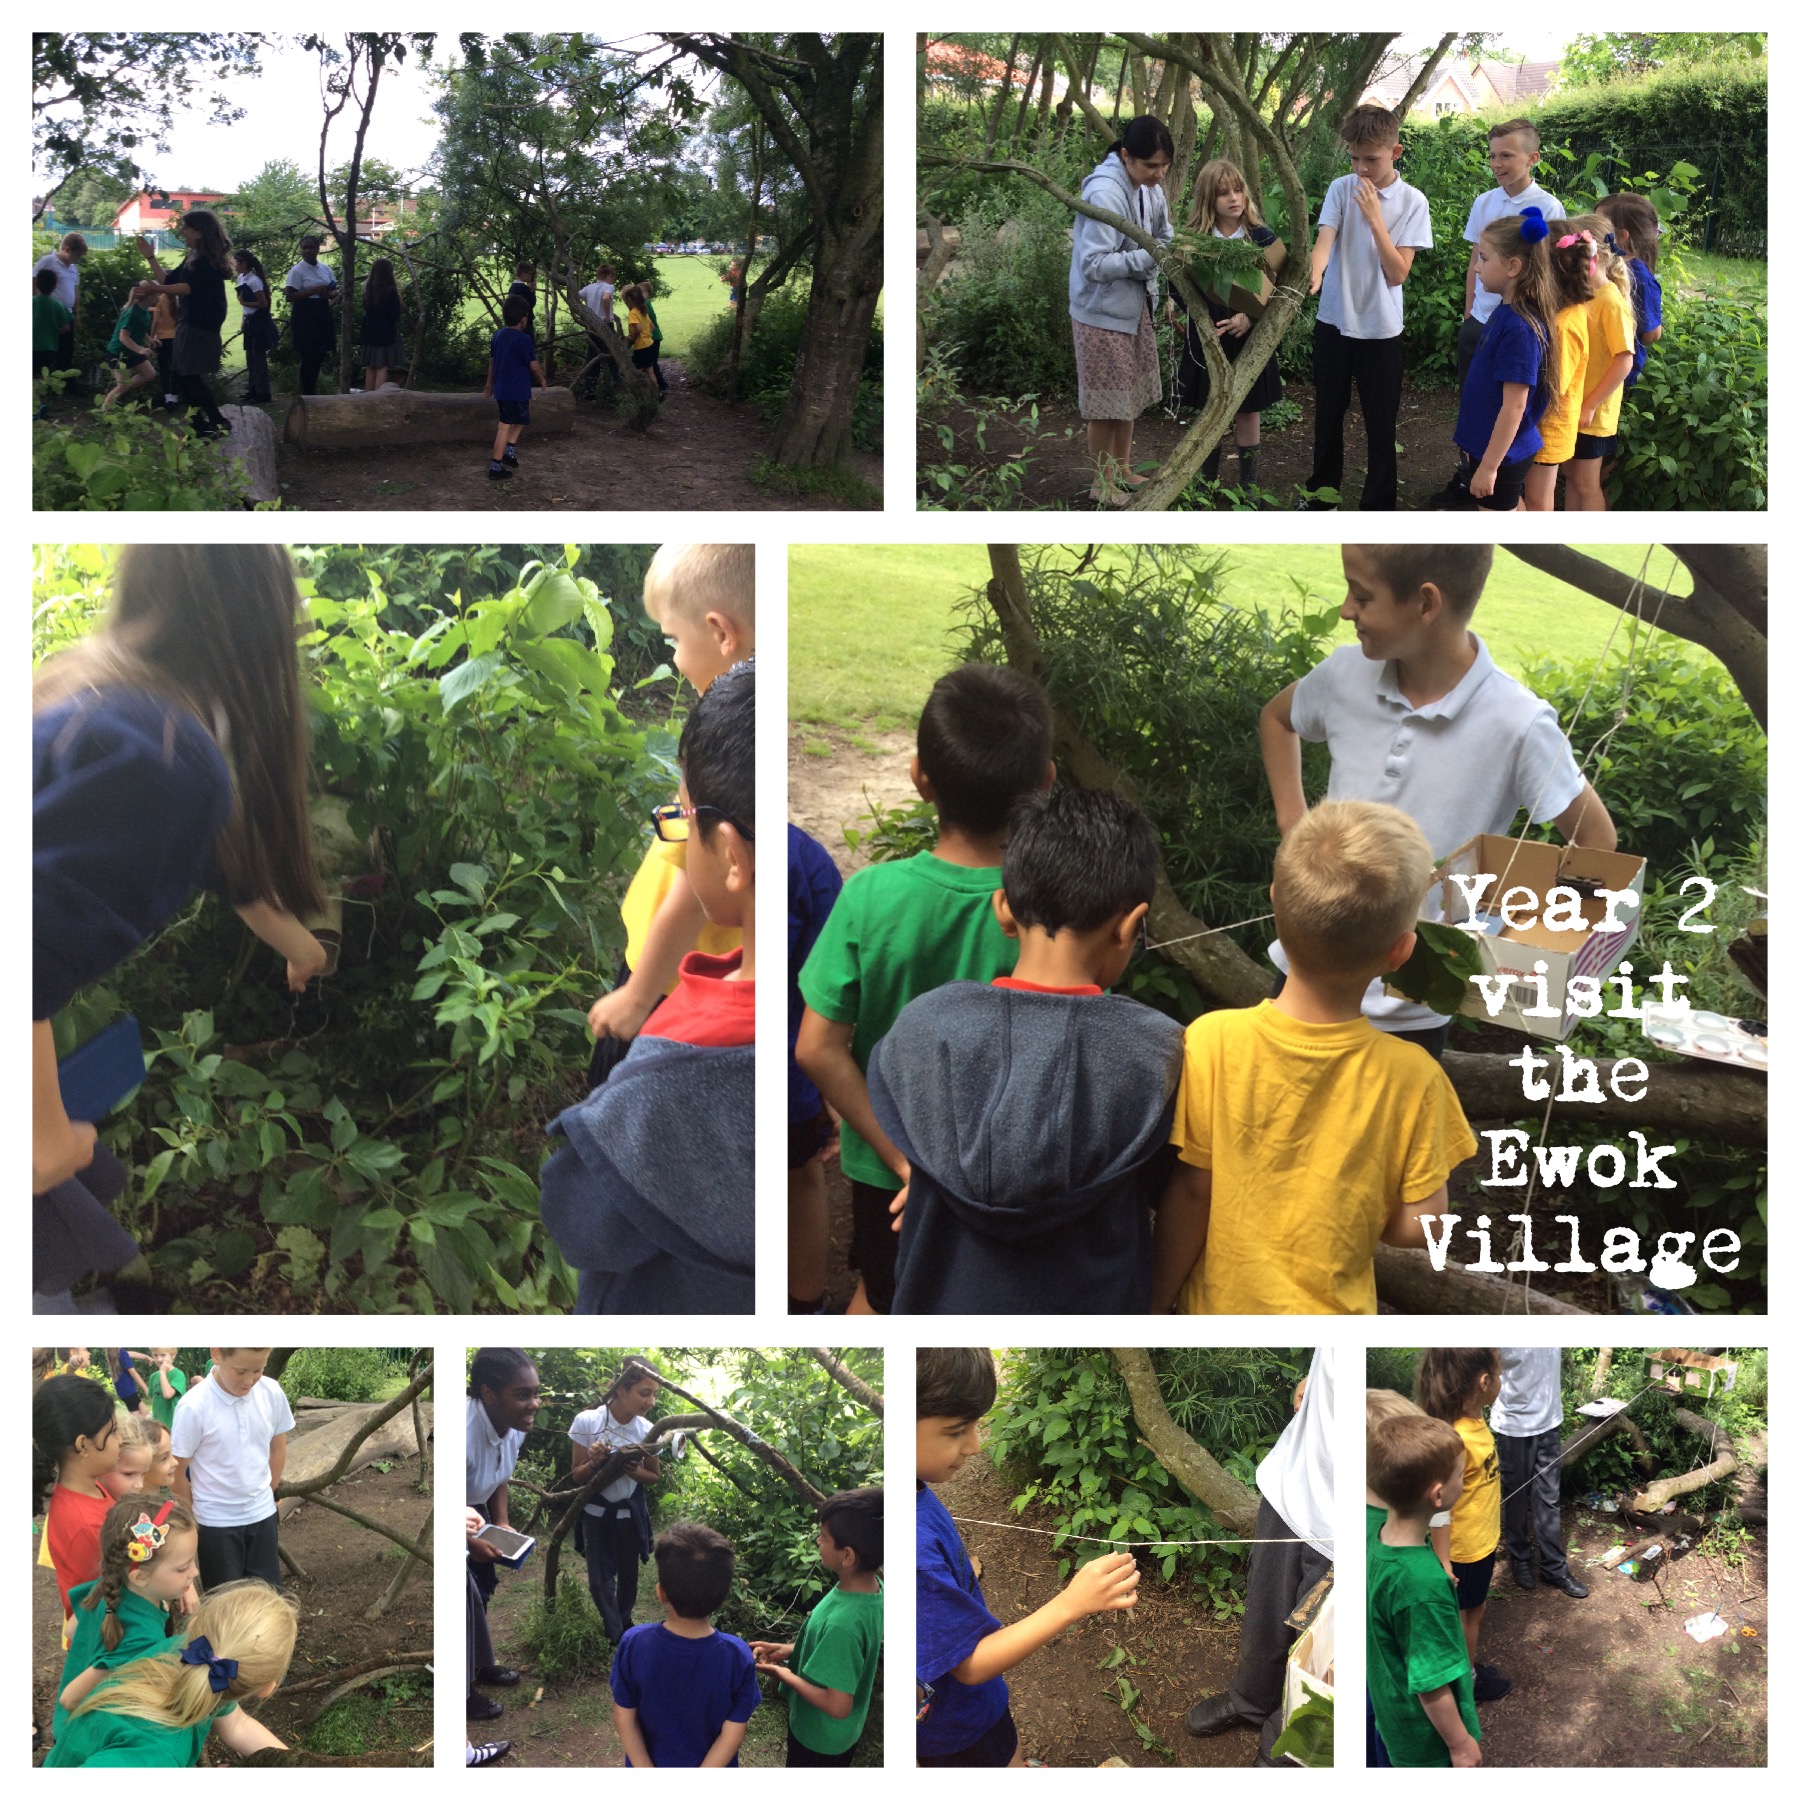
Our second challenge was building an Ewok village. The children worked in pairs outside in the woodland area. They used natural found materials, glue, and string to construct tree top houses. They had specific requirements which needed to be included; an escape route, camouflage, a soft area to sleep, a sheltered area and a garden/outdoor area. We were so lucky with the weather on this day and the children really enjoyed the task and became absorbed in their designing and making challenge. We spent a fell day out in the woodland area completing this task and when the village was complete the children made a Pic collage  showing the features of their Ewok home. We also then invited year 2 to come and explore our Ewok village to share some of our fantastic and imaginative designs.image image image

Our third challenge was to create  a TV advert to advertise our Ewok homes. The children wrote a script using persuasive language and then filmed their advert in front of the Green screen . we then imported photographs of the houses as a background so it appeared that the children were standing outside their own Ewok house.image

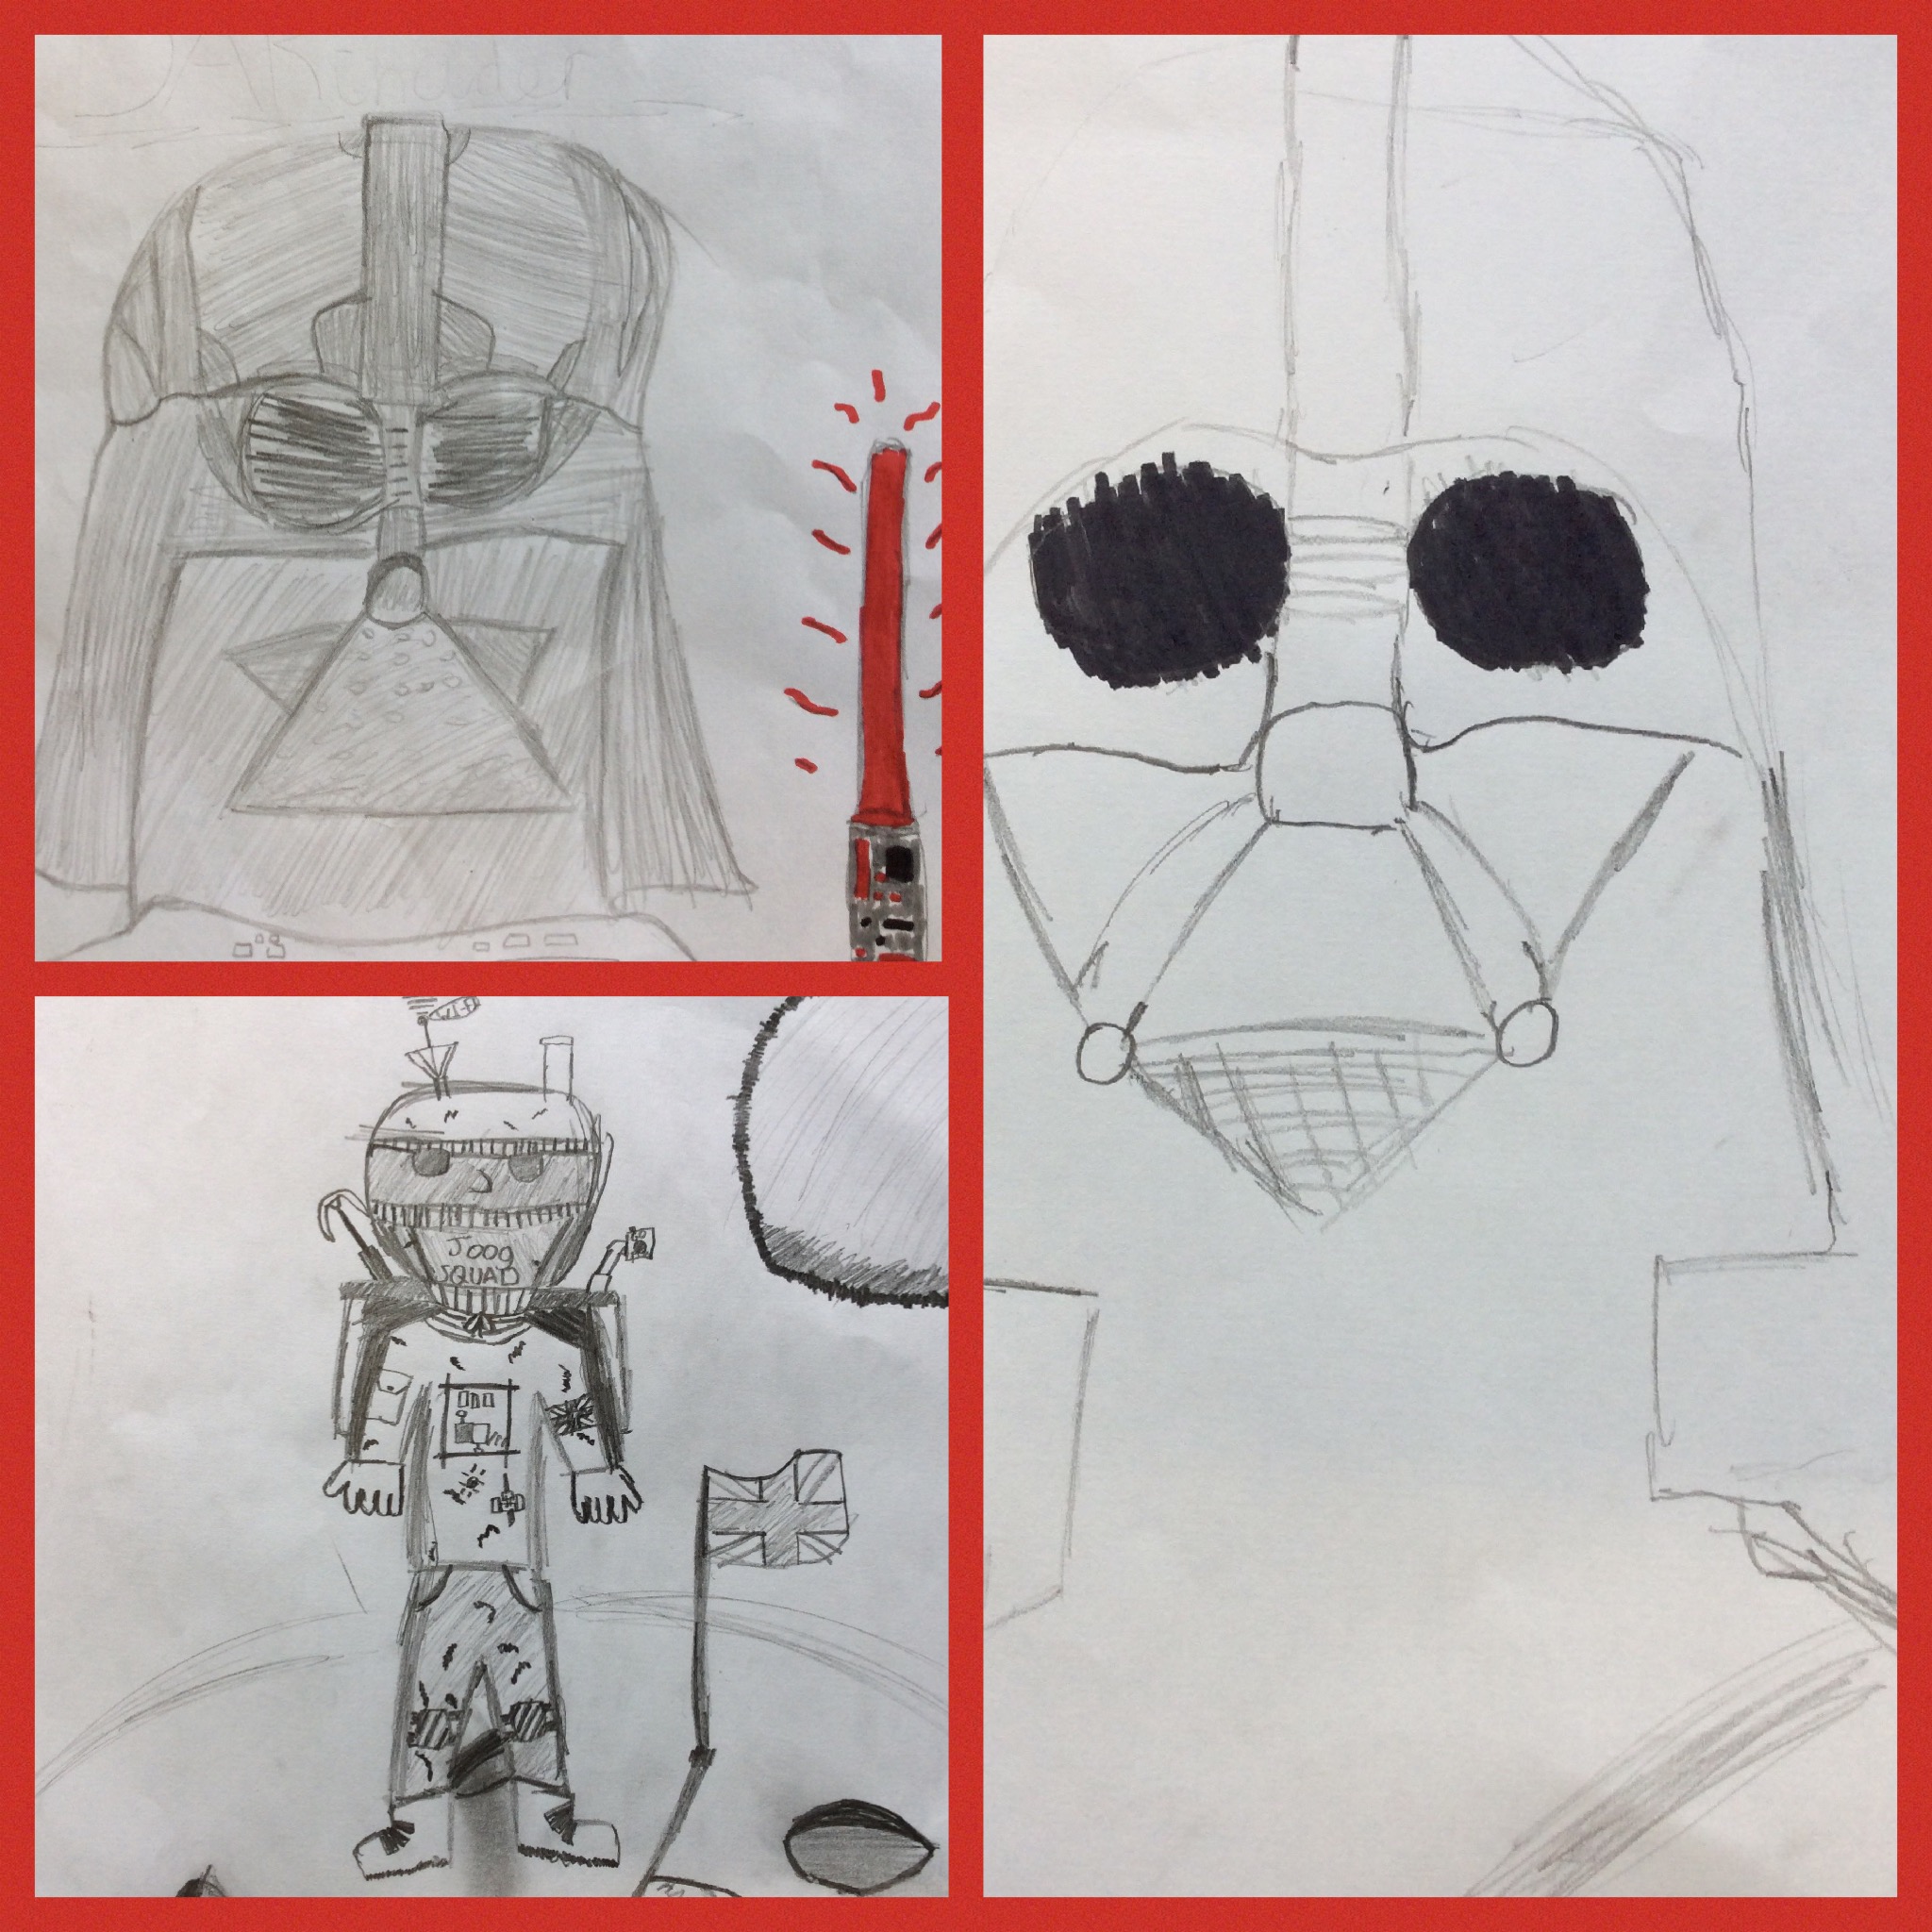
Our third a final session was a free choice session where the children  were allowed to choose to create something Starwars related. We had some children create spaceships using Sketchup Pro, some creating Powerpoints about the films and others who drew starwars characters.

image image image

starwarsthing

The preparation for the project was time consuming but certainly worth the while as it created  a sense of excitement and engaged the children by asking them to solve real world problems.I would recommend to anybody to have a go at a STEAM project, its not as scary or intimidating as it may sound. It was so much fun and drew in many strands of the curriculum (not just STEAM subjects!).I will be looking to develop and improve the STEAM program further and hope to run a further improved project this coming year.

I would love to hear about any experiences anybody has had running either STEM or STEAM projects however big or small 🙂

Stop frame animation on placement

A day in the life at Wollaston School

As a digital leader I was keen to lead in sharing a project of some description whilst on placement. I decided to offer a stop frame animation club to the children in my class. This was going to take place one lunchtime a week for the 8 weeks that I was on placement. The club was offered to all the children in the class. When I first introduced the idea, I asked the children what they thought stop frame animation looked like. A few responses were along the lines of Lego Movies and Minecraft. However, within the classroom there were a pair of bookends with the iconic image of Morph. The children recognised that despite being nearly forty years old he still entranced and amused children and adults alike with the magic of stop frame animation. Modern contemporaries in the guise of Shaun the Sheep and Wallace and Gromit were also identified. I told the children as places were limited to six they had to write me a letter persuading me to be part of the club. I had just started the placement and had not as yet seen much evidence of the children’s written work as they were focusing on grammar and comprehension.  I had planned to do persuasion writing within the topic so this had given me an insight into the children’s abilities.

I received approximately eight letters varying from a scribbled note on the back of a piece of scarp paper to a full addressed letter within an envelope. I accepted the first six letters I received and announced that at 1pm every Tuesday after they had eaten their school lunch they were to come to the classroom. The apps used on the project were I can animate and iMovie Maker.

1st session – I brought from home a load of plasticine and Lego characters. My own iPad mini suffered a collision with the floor so the university were very generous in loaning me one for the duration of my placement. In fact, I had originally planned on doing a green screen project based around the topic Guitar Hero to make rock videos. With that in mind university loaned me an iPad, iPad stand and green fabric. Getting back to the session, the children brainstormed what kind of story they wanted to animate. Various suggestions were given such as one involving an ensemble of angry birds, minions and Lego characters all at once. In the end it was agreed to animate ‘A day in the life of Wollaston School.’ The children started to sculpt their characters. They were very creative due to the limited range of colours that I had but it didn’t deter the children and in fact caused quite a few giggles.

2nd session – The children wanted to stage their backdrops and had the idea to use the actual surroundings. So armed with the iPad, photos were taken of the entrance, classroom and hall as a backdrop. They also had the great idea to record the sounds in and around the school. However, there was an issue the original iPad was not recording the sounds. Thankfully the university came to the rescue and loaned me a second iPad.

Further sessions.

During the 8 weeks that the club was in session the children overcame quite a few obstacles. The backdrops were photos taken from around the school which was then stuck to a piece of cardboard which then had the plasticine figures stuck to it. Quite often the dictionaries, of which there were many, would slide about which meant that the continuity would be affected. Additionally, the figures would frequently drop off the photos. Towards the end of the session, the eagle eyed viewers of the animation will notice that the figures have changed to Lego characters as they were much lighter.  There were many contributions within the school towards the project with the voices of Head Teacher Sally Hamson, Class teacher Tom Goacher and the children in the playground.

I’m sure you’ll agree that what the children managed to create in eight 20 minute sessions is outstanding and an enjoyable way to spend a lunch break. I hope they get further opportunities to explore their animation skills.


Digital Art on Placement

Following the work I have been doing on digital art at university ,I was keen to bring my experience in to the classroom on placement so when my mentor asked me to organise making Mother’s Day cards I had the perfect opportunity  to do just this. Working with year 1 I decided to use just one app to introduce the children to digital image manipulation and I felt RollWorld  would be  a good choice as it is easy to use and most importantly , it creates fantastic images;I have yet to meet someone who doesn’t love using it!   The children created some art work which focused on shape and colour initially using felt tip pens, we the photographed their work and they manipulated it in RollWorld. The children loved the different effects they were able to achieve and were really proud of their very professional looking Mother’s Day cards which were produced. Most importantly , the mums  all loved their unique and unusual cards  and  we even managed to create a fantastic digital art work display to brighten up the class room.Many of the children enjoyed using the app so much that they went home and downloaded it on their own tablets so they could continue to experiment and create their own body of digital art.image image

The Nutcracker Suite and how to WOW the audience!

At Christmas time it’s traditional the the early years pupils of a primary school (ages 4 -6) put on some form of play. There are a few hundred different ones from which to choose with some schools sticking with a more ‘traditional’ nativity to those who lean towards the more avant-garde.

The Nutcracker is one that is well known, well loved, and crops up from time to time with the story of the Sugar Plum Fairy often taken from a Children’s book derived from the original.

However, with the possibility of 60 small children involved and 60 sets of people in the audience who all want to see their little one centre stage in a key role, how to keep to time and make sure everyone has a part to play?

The large projector in the hall, an iPad, an app, a huge section of green cloth and lots of patience is how.

The Early Years teachers at Abington Vale Primary decided to ‘tech up’ this years performance and literally immerse their pupils into the story by using green screening and the DoInk app. Using pictures from a supporting text pupils were given sections of dialogue to read and were filmed in their classroom with the large green backdrop.

Once this had been recorded directly into the DoInk app the children could be positioned on the relevant background to match their part of the story. At first, understandably. the pupils were a little confused as to why they were ‘standing on a giant green sheet‘ and then even more confused when they saw what was behind them on the ‘magic iPad’…

The reaction from the audience when, without warning, a 7ft tall 5 year old appeared on the projector screen standing inside the magical and imaginary world of the Nutcracker was clearly audible and continued to delight throughout the performance.

The feedback from the teachers was this activity inspired the pupils imaginations, they talked of travelling to a magical place and want to know where else they can go.

Create a photo trail using skitch

The children decide on a key word. The word in this case was ‘team work’, the children take photographs using the camera on the iPad of objects or things that begin with that letter. they can then upload them to Skitch, annotate them, number them in order, draw arrows etc. They can then give this to another team to solve.Year 2 oaa correct

Pic collage: Art, PE and IT outdoors


Northampton University School Direct students explored learning outdoors by linking Art, PE and ICT in a cross curricular way.

The activities the students explored included:

1) Collecting string worms through PE. Scatter lengths of sting, collect them in teams and encourage children to learn about warm ups, movement, speed and agility. Link to maths through measuring the longest/shortest worm using non standard units of measure, explore estimation or get those rulers out. Create artwork, observe the environment and use the worms or other found materials to create a drawing of an object in the locality- explore form, line and shape.

2) Create relays to collect items to build a natural dinosaur trap or nest. Explore your construction techniques- weaving, layering, knotting and tying materials together. Use your physical skills or problem solving to race for materials and problem solve through construction. Document this using ICT, collect specific tones of colours, explore a collection of textures or document the dinosaurs movements all using pic collage.

Through these creative encounters imagine the applied learning taking place….


Out of this world

Focus

Using green screen techniques to film in unusual places.

Suitable for

All ages who can use a camera on a digital device.

What you need

A green screen, green wall, or green backing paper.

An iPad with the app GreenScreen DoInk or Touchcast.

iMovie or Moviemaker for editing.

Screen Shot 2014-02-26 at 23.00.51

What you do

Explain that you can use the green screen to be anywhere in a virtual sense: back in time, as large as a giant or as small as an insect.  Use this idea to explore an environment from a different point of view by taking photos from unusual perspectives or researching the history of a place and using as the background for an interview or narration.

Learning Benefits

Participants gain experience of team working and of exploring an environment from different points of view. They use images to portray feelings and create a memorable video as a talking point to come back to.

Taking it Further

Edit the films in iMovie to add sound effects, music and transitions.

Create an iMovie Trailer using a movie genre. Explore different perspectives of an environment through different film templates such as romance or adventure that include graphics and theme music as a backdrop for your own video and photos.


Unusual Perspectives

Focus

Looking at different points of view using specialist cameras e.g. a headcam, underwater or panorama

 Screen Shot 2014-02-26 at 22.29.51

Suitable for

All ages who can use a camera on a digital device.

What you need

Mobile devices with a camera.

Apps or online tools for manipulating photos: e.g. Be Funky, Photo Booth, Photosynth, 360 Panorama, Photoshaper, Fotor, Phoster

Apps for creating talking photos: PixnTell, Tellagami, VoiceThread

Apps for making photocollages: PicCollage, Fotor, Popplet, Strip Designer

What you do

Explain to the groups that you are going to create look for unusual angles to take photos and make images as you explore your environment.

The idea is to think about different viewpoints and share a range of ways of looking at an environment. The initial images can be further manipulated to express feelings using a filters and editing options within apps or online tools such as Be Funky accepting or rejecting options until the desired effect is achieved. These can be annotated with words using tools such as Skitch or compiled into a slideshow for review and discussion.

Learning Benefits

Participants gain experience of team working and of exploring an environment from different points of view. They use images to portray feelings and create a set of slides as a talking point to come back to.

Taking it Further

Experiment with apps for adding narration and gathering multiple responses (e.g. VoiceThread).

Compile images into a photo collage.

Screen Shot 2014-02-26 at 22.33.17

Images from:

http://blog.befunky.com/befunky-in-your-classroom/

http://creativestarlearning.co.uk/science-outdoors/cloud-shaping-and-making/

QR Safari

Focus

An activity designed to enable two groups to work together to explore an environment.

Suitable for

All ages who can read and write simple questions.

What you need

Mobile devices for scanning codes, each with a QR reader installed (eg. Scan).

A printer. Squares of card in two colours for mounting codes.

‘Treasure’ for both winning groups to find and share.

Internet access for creating the trails. No internet access is needed for carrying out the trail.

What you do

Explain to the groups that you are going to create treasure hunts for each other and that the idea is to do some finding out and exploring about the new place.

Their first job is to explore the environment as a group. What can they discover by looking, by talking to people or by researching online? What would make an interesting focus for the treasure trail?  Encourage them to choose a focus and to be creative in their ideas. The first word of the answers might solve an acrostic puzzle, for example. They can use the notebook on their device to draft questions.

The next step is to visit an online QR Treasure Hunt Generator: http://www.classtools.net/QR . This has a click-through guide to creating a quiz. Questions and answers need to be separated by *.  The questions are turned into printable QR codes and the answers are available for reference.

Once they have their printed codes groups stick them to the coloured card and make their trail around the environment. Groups then swap and follow the trails, decoding the questions as they go.

Learning Benefits

Participants gain experience of team working and of exploring an environment. They create and follow instructions.

Screen Shot 2014-02-23 at 15.31.10 Screen Shot 2014-02-26 at 21.53.29

Taking it Further

Experiment with other code types such as websites, uploaded images, YouTube videos or audio files uploaded to Audioboo or Croak.it.

EarthCaching for visual treasures

Focus

An Earthcache is a visual treasure, a sight to behold, a treat for the eyes. You navigate to an earthcache using GPS coordinates. On arrival you will be presented with a visual phenomenon. This is usually a natural phenomenon but it can include man made beauties such as murals, buildings or structures. Once you find the earthcache you will be able to download supporting information and fascinating facts (via Aurasma, QR codes, weblinks or a good old fashioned notice board).

Suitable for

All ages who can follow simple instructions or directions on a mobile device.

What you need

IPad or iPhone with GPS and the Geocaching United Kingdom app installed (or similar), or a Garmin GPS device.

What you do

Decide what your natural or manmade cache will be. It could be a local beauty spot, an interesting building, or an unusual perspective, for example.

Measure your GPS coordinates using your mobile device with GPS capability.

Design the description and fascinating facts that will be available to upload or appear at your Earthcache. It should be factually correct and inform the reader accurately about the history, process, or meaning behind the cache. Consider using a QR code to link to a website, a blogpost or a spoken description created using Audioboo or Croak.it.

Screen Shot 2014-02-22 at 12.46.10


Select image to read about Balmullo’s QR Safari

National curriculum links

Computing- are responsible, competent, confident and creative users of information and communication technology

Physical Education KS2- take part in outdoor and adventurous activity challenges both individually and within a team

Geography- understand the processes that give rise to key physical and human geographical features of the world. Communicate geographical information in a variety of ways.

Art and Design- produce creative work, exploring their ideas and recording them.

English- write clearly, accurately and coherently, adapting their language and style in and for a range of contexts, purposes and audiences.

Learning Benefits

Learners will be given opportunities to appreciate the hidden treasures all around them and invite others to do the same. Recognising and understanding geographical formations or appreciating perspective and are fundamental to the learning here. Children will benefit in collaborating to produce their earth cache and develop their speaking and writing skills in developing the virtual description to accompany to their earthcache.

Taking it further.

  • You might design a virtual visitor trail around your school or grounds.
  • Alternatively you could record the GPS coordinated whilst on a school visit and on return to school design the information that visitors or explorers might need to know.
  • If it is a structure or sculpture your earthcache might link to consider creating a series of before, during and after pictures visualising the creative process.
  • Why not create your own virtual zoo, world tour, tree trail, or ghost walk?
  • Find out more on GeoSociety’s Earthcaching website.

Here’s an example of a sculpture trail around the University of Northampton grounds created using the iPad app Haiku Deck:

Screen Shot 2014-02-22 at 12.33.14


Crack the Code


Screen Shot 2014-02-22 at 11.49.54
Image shared by John Martin CCby2.0 

Focus:

The activity takes learning outdoors to uncover a series of geocaches each of which contains a cipher to decode and perhaps a small treat with instructions to find the location of the next geocache.

Suitable for:  KS2

What you need:

A Mobile GPS device such as the Garmin. Or a iPhone or iPad with 3G and a geocaching app installed.

A selection of coded messages for pupils to decode and solve. Each message reveals a set of coordinates for the next location.  Waterproof containers (caches) to store the messages. The final cache includes a certificate or reward.

What you do: 

Explain to your pupils that they are about to decipher a secret message which has been hidden around the school grounds.  Ideally, they should work in groups of 3 or 4.  Depending on numbers, it might be sensible to create a number of different trails.  Each group must collect 5 hidden caches and use their GPS receiver to move from one cache to another inputting the coordinates of the next location each time they find a cache.  The coded messages must be deciphered in order to receive hints as to the next location. The final cache may include a certificate or reward.

Preparation: 

Explore the school grounds to find suitable locations to store each of the caches.  Ideally, these will be hidden from view and a little challenging to find; they could even be camouflaged.  Locate the co-ordinates of each location and record these.  Prepare  the caches to include a coded message which can be deciphered to reveal a location hint and the co-ordinates of the next cache. You could use a a range of coding techniques:

Here are some examples of codes:

Learning benefits:  

Pupils will understand more about encryption and coding and learn to relate this to the computing curriculum.  They will work in teams and learn how to collaborate, listen and respect the views of others.

Taking it further:

Geocache trails may be linked to key computer scientists in history, giving opportunities to refine their research skills and to validate their findings.  More complex codes such as binary, hex, and ascii could increase the challenge for more able learners.

Useful links:

Geo-caching guide from the National Trust

Background to the Enigma Machine and World War 2 codebreakers


Digital Scavenger Hunt

Focus

Designing a scavenger hunt for a team to collect images around an environment.

This activity is based on an original idea from Ed Tech Workshop.

Suitable for

All ages who can read and write simple questions and use an iPad camera.

What you need

What you do

Explain to the groups that you are going to create scavenger hunts for each other and that the idea is to do some finding out and exploring. The first job is to explore the environment and think about what items to include in the scavenger hunt.  Encourage groups to choose a theme and to be creative in their ideas. They are going to use iPads to collect photos of things they find and then arrange them according to themes such as colours, natural objects, shapes or signs.

The next step is to plan a hunt list for another group.  For example ‘Can you find…something green, something smooth, interesting, red, old, circular, alive etc’.  They create a template in Pic Collage. Groups then swap scavenger hunts and aim to add photos of the objects they find.

They import these into PicCollage and arrange and annotate on the page. There are options to add borders, to clip elements from photos, to edit photos for effects, brightness, sharpness and colours, and to annotate by drawing over photos.  Text, stickers and backgrounds can be added to the page.

 Learning Benefits

Participants gain experience of group working and of documenting their exploration of a place. They practise photo manipulation skills and think about page layout options.

Images are from the Ed Tech Workshop blog.

Taking it Further

Additional challenges can be based on using the photo editing tools to produce a pleasing poster of images. Groups might collect sounds to upload to Padlet using Audioboo, or Croak.It, or to VoiceThread in response to a set of questions based on sound in the environment.

Tiny People Tales

Focus

Setting up a gallery of photos showing tiny figures in unusual places.

Suitable for

This can be aimed at KS2 children but with modifications it can be engaging for young and old alike.

What you need

  • A set of tiny figures (try: www.newmodellersshop.co.uk/Model%20Railway/scenery-people-and-animals.htm)
  • Digital Cameras / iPods or iPads.
  • A digital projector or electronic whiteboard
  • Lots of paper to write and draw on.

What you do

This activity is based on ideas from the Little People Project and Un Petit Monde, and by the adaptation of these ideas for schools by the inspiring Chris Dicken from Parklands Primary.

Screen Shot 2014-02-19 at 19.03.17

Children take small model railway figures and plant them around the school in unusual places, perhapsa tiny person looking at a large book, or a sitting on a swing. They then take two photos of each little scene, one from a distance so it’s not clear what we’re looking at, the second is a close-up of the figure.

The photographs are shown on a large screen and they are asked to talk about the tiny person’s story. The can share thoughts as a class group, write stories about the scenes, or respond with drawing, drama, or song: any artform that feels like fun.

Learning Benefits

Children are encouraged to use their imaginations and bring the figures’ lives to life. Experience of group working is also a benefit as they can collaborate on the creation of shared narratives.

Photos from The Little People Project and Un Petit Monde.

The example below was made by student teacher Ashley Williams during a visit to Abingdon Park:

Screen Shot 2014-04-27 at 15.23.04