Bramblewars- A STEAM Project for Year 6

A STEAM Project for Year 6

During week 3 of our placement,  the majority of the year 6 children were going on a residential to PGL. We were asked if we would be able to create and run a programme of activities for the 17 children remaining at school; a challenge we were delighted to accept . Following the  work towards the exhibition and the children having had a lot of art time we decide to create a STEAM project   instead of retaining a purely art based focus. The idea of a shift from STEM to STEAM has been a particular interest to me as an art specialist and digital leaders so this was a fantastic opportunity to implement  a trial project.

 STEM to STEAM

The development of  STEM learning is  actually about a philosophy of  how children learn and emphasises the importance of  helping students integrate knowledge across disciplines, encouraging them to think in a more connected and holistic way.  The traditional approach of teaching topics in isolation does not support the ways that children learn best and over the  years  there has been a big drive advocating the benefits of STEM learning Recently, the idea of adding the arts to STEM programs has been gaining momentum. This model is championed by Ruth Catchen (2013), an artist and educator turned STEAM pioneer. According to Ruth, the arts are a great learning tool and can serve as an avenue  for some children to access STEM. Engaging students’ strengths using art activities increases motivation and the probability of STEM success. She views art as a way of offering more diverse learning opportunities and greater access to STEM for all types of learners. Further to this, Art also provides diverse opportunities for communication and expression. Ruth believes that in our  digital world, we have a responsibility to educate the whole child to become a ‘global citizen’ in his or her community. According to Jolly (2014), the benefits of a shift to a multidisciplinary paradigm such as STEAM would be beneficial in the following ways:

  • Within Design-Art can serve a practical function. Students might apply design and decoration to products that were created during the course of a design challenge. They could use computer graphics to create logos or stylized designs to include in communications or presentations. Through industrial design, students could improve the appearance, design, and usability of a product created during a STEM project.
  • Within Performing arts, such as drama and speech. What about technical or persuasive writing? Those arts fit naturally into the “Communications” stage of the engineering design process. They would work well as part of a STEM project. (If you want students to get REALLY ambitious and creative, check out this video of students in Paraguay who made instruments out of discarded materials!)
  • Creative planning. As students brainstorm solutions for an engineering problem, encourage them to adopt a playful, inventive, artistic approach. Calling on their artistic right brain can help them to generate more creative and innovative thinking         (Jolly 2014)

She concludes  that in todays modern world we need students who are motivated and competent in bringing forth solutions to tomorrow’s problems.

When push comes to shove, it’s not STEM vs. STEAM—it’s about making every student a fully-literate 21st-century citizen.” ( Jolly 2014)

Having established the idea of running a STEAM project we  contacted Helen Caldwell ( Digital Literacy and Computing Senior Lecturer at the University of Northampton ) to get some practical advice on how to approach  the idea. Helen provided us with a range of resources and links to material and projects which she felt would benefit us  and serve as inspiration. She discussed with us some of the apps we may lie to use as well as arranging for us to borrow the university’s Green Screen.  We were able to clarify with Helen that although there should be elements of each discipline within the project that it was not a necessity to make sure they were equally weighted the most important factor was that the tasks and activities were characterised  as open ended, collaborative and provided opportunities for problem solving again  using the Challenge based learning model as we had with the art project.

Looking at some of the examples Helen had provided we were particularly taken with the  Bridge Craft STEAM week which was run at Bridgewater Primary school in 2014. This was a great example of STEAM learning across a whole school based on the popular computer game Mine craft. We liked the idea of running a theme based project and also the use of digital avatars which would talk to the children and provide an interactive experience so we decided to run a Starwars based project called Bramblewars. We spent a long time preparing resources which we hoped would be engaging and motivating to the children this included a Starwars Crawl which introduced the project. (we had a bit of a problem with uploading music so the music was played from youtube in the background)

followed by messages from talking StarWars avatars which we created using the app Morfo.

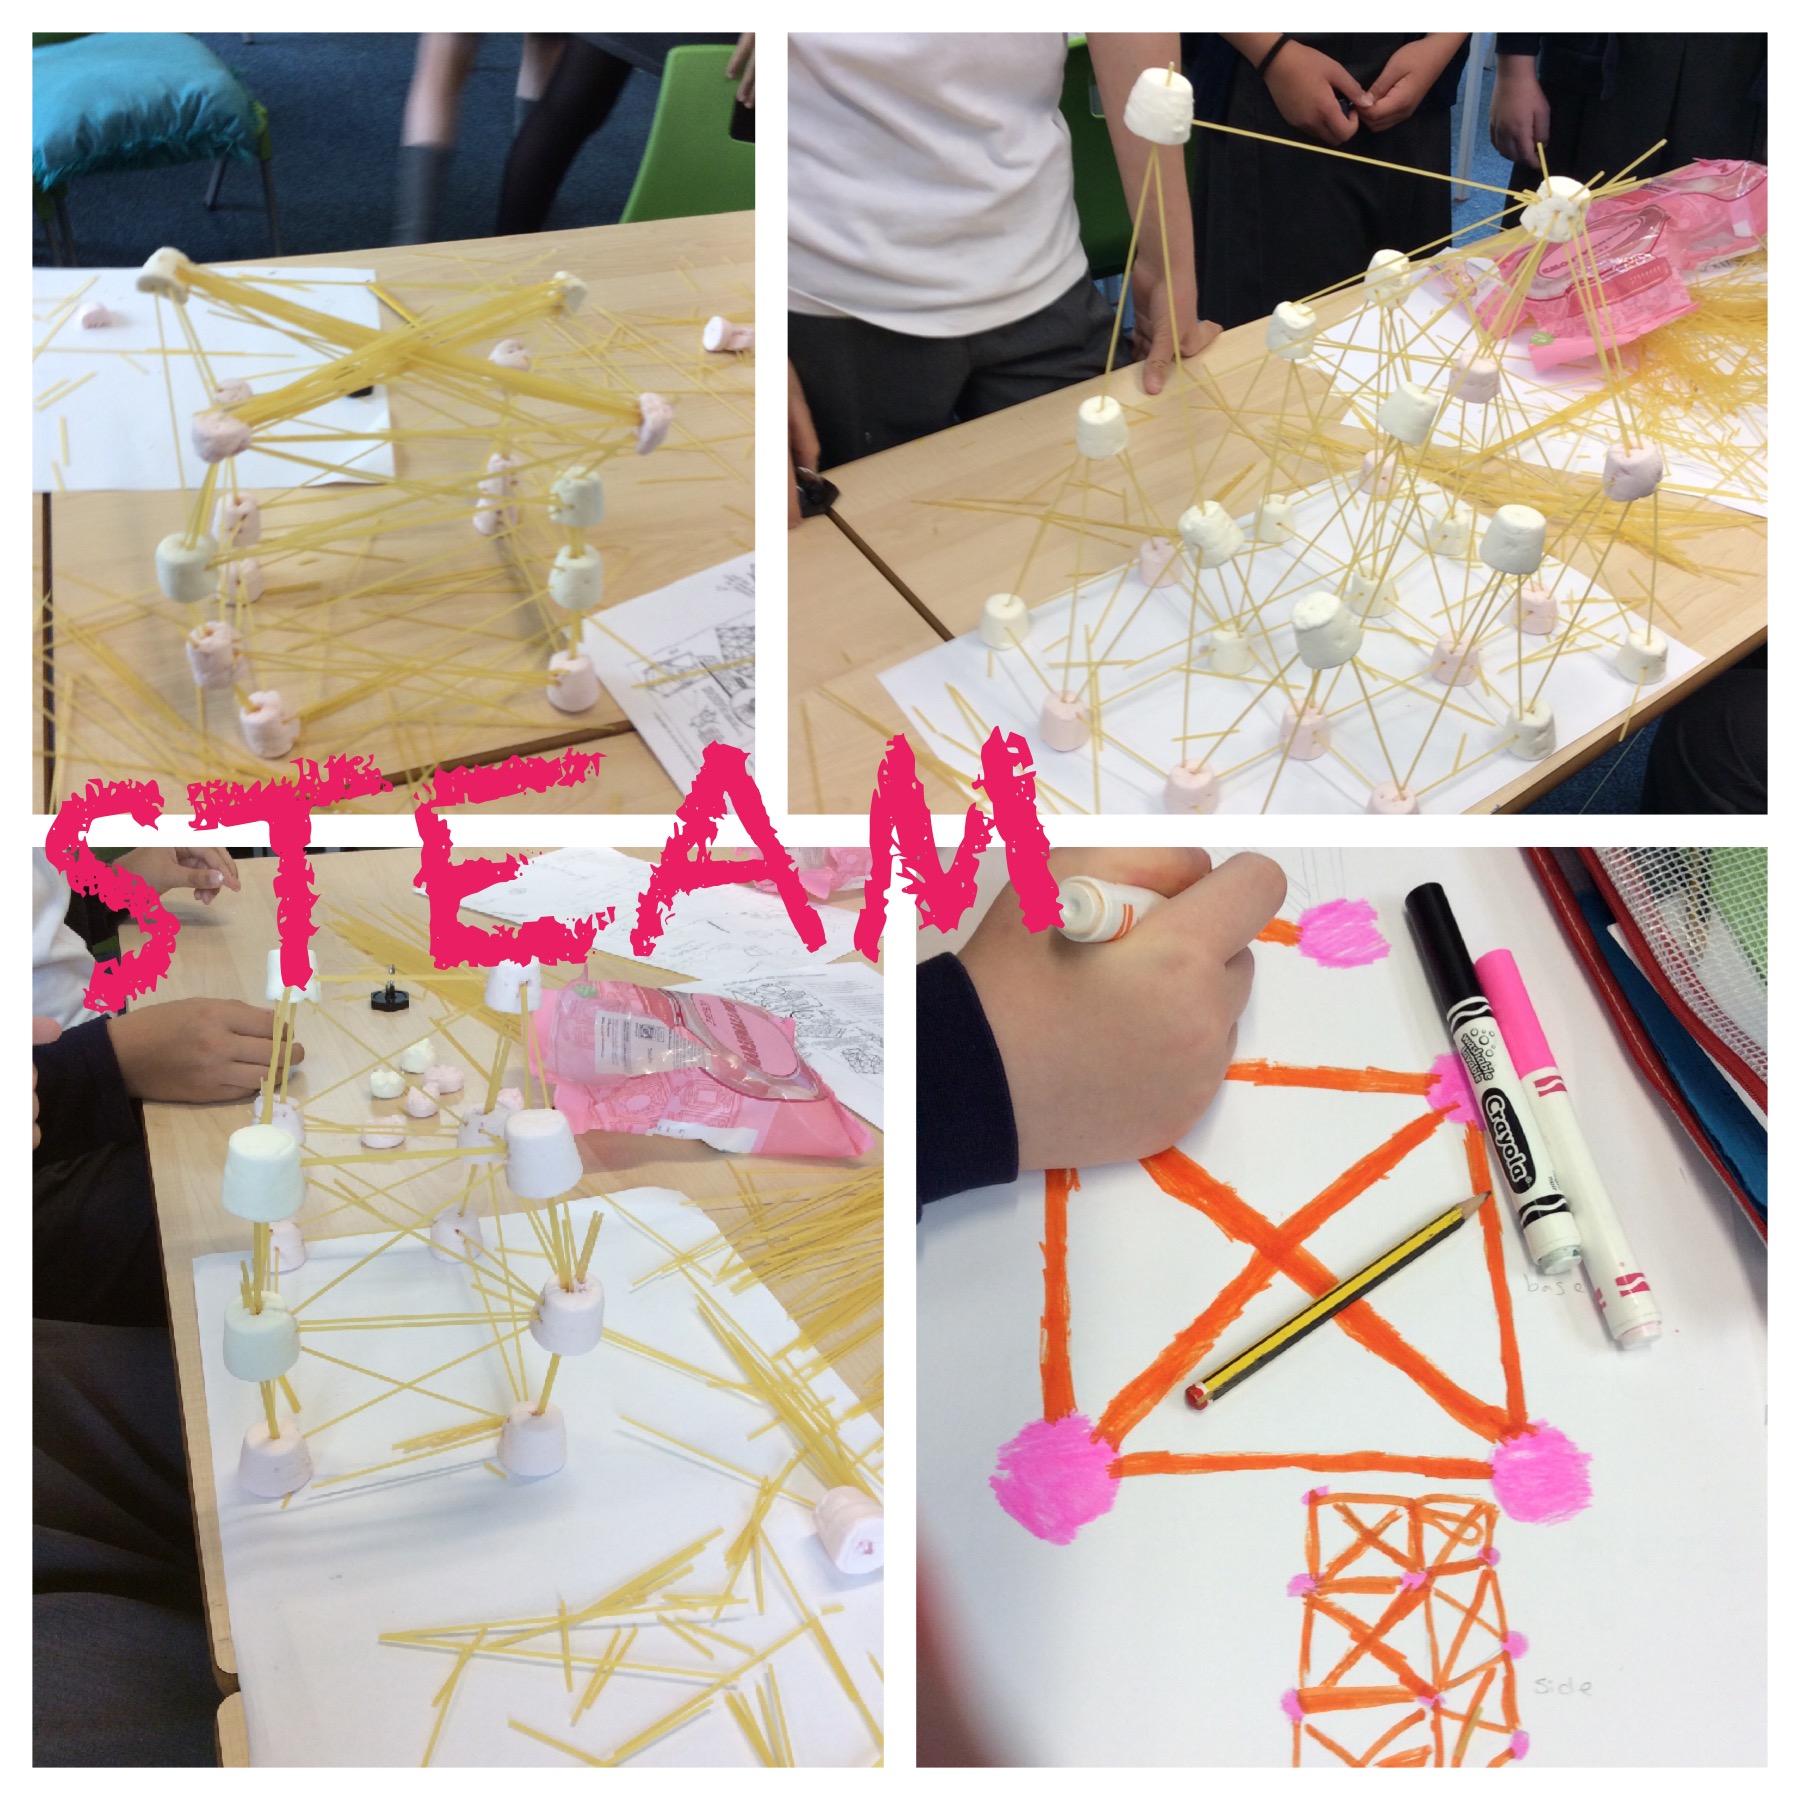
Our first challenge was for the children to build a spaceship launch tower for the Millennium Falcon, the children used spaghetti and marshmallows and worked collaboratively in small groups  to attempt to build the tallest tower. They had access iPads  during the activity so they could carry out research  to support their ideas as they progressed.image
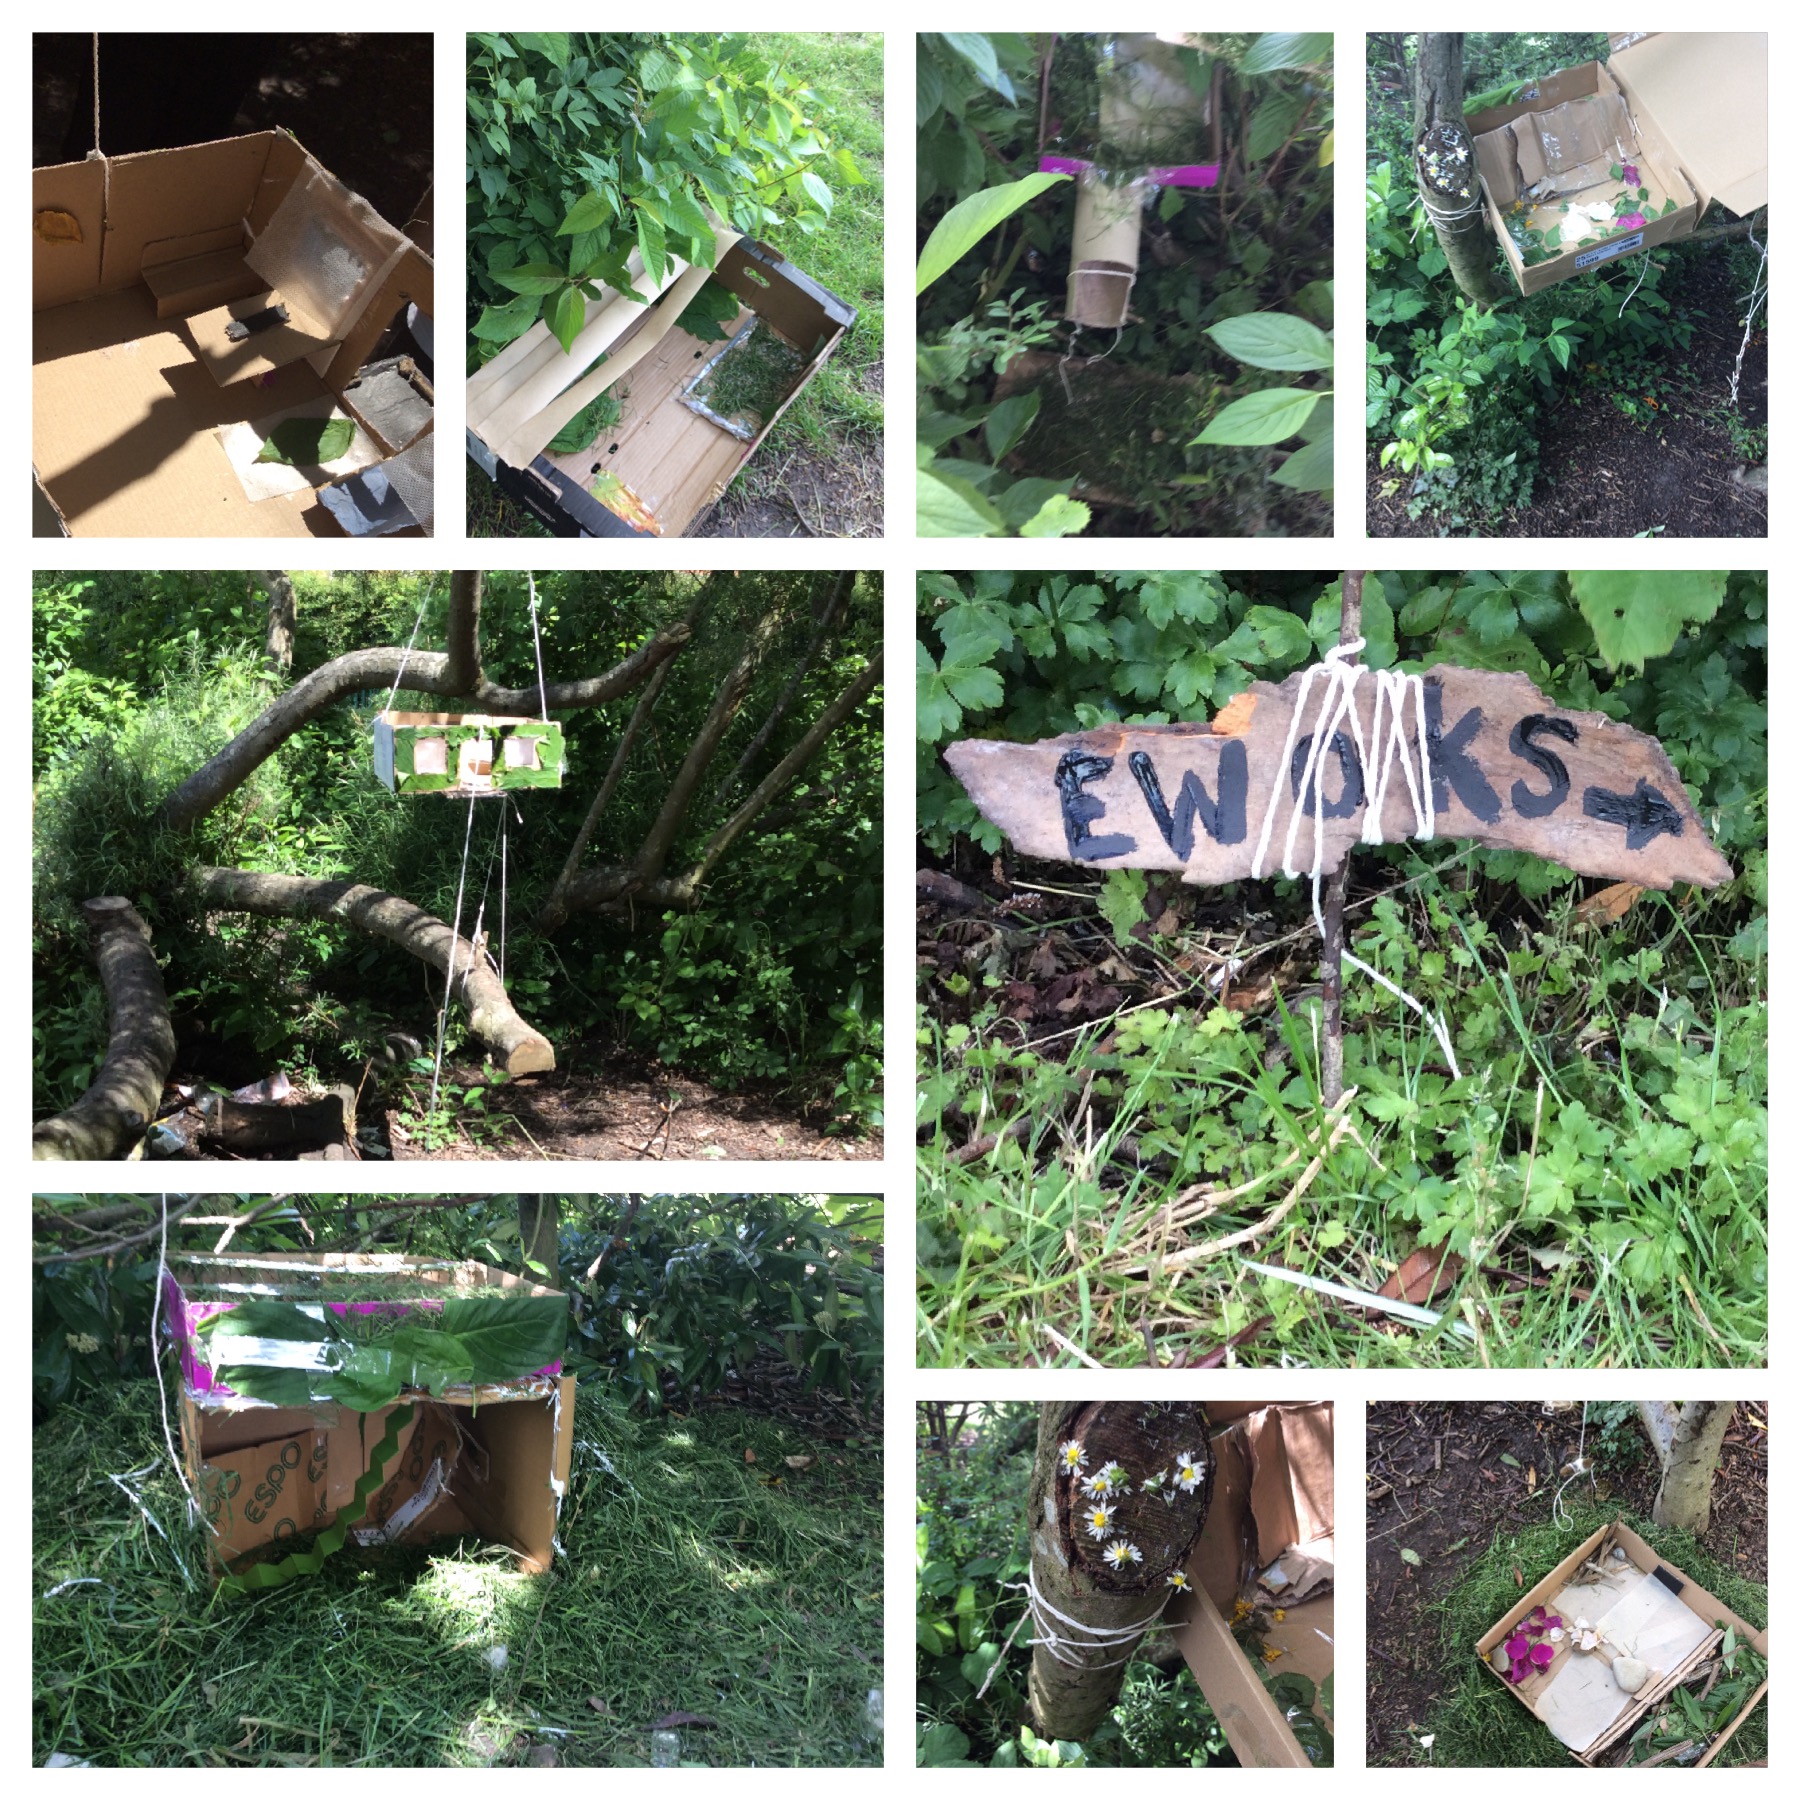
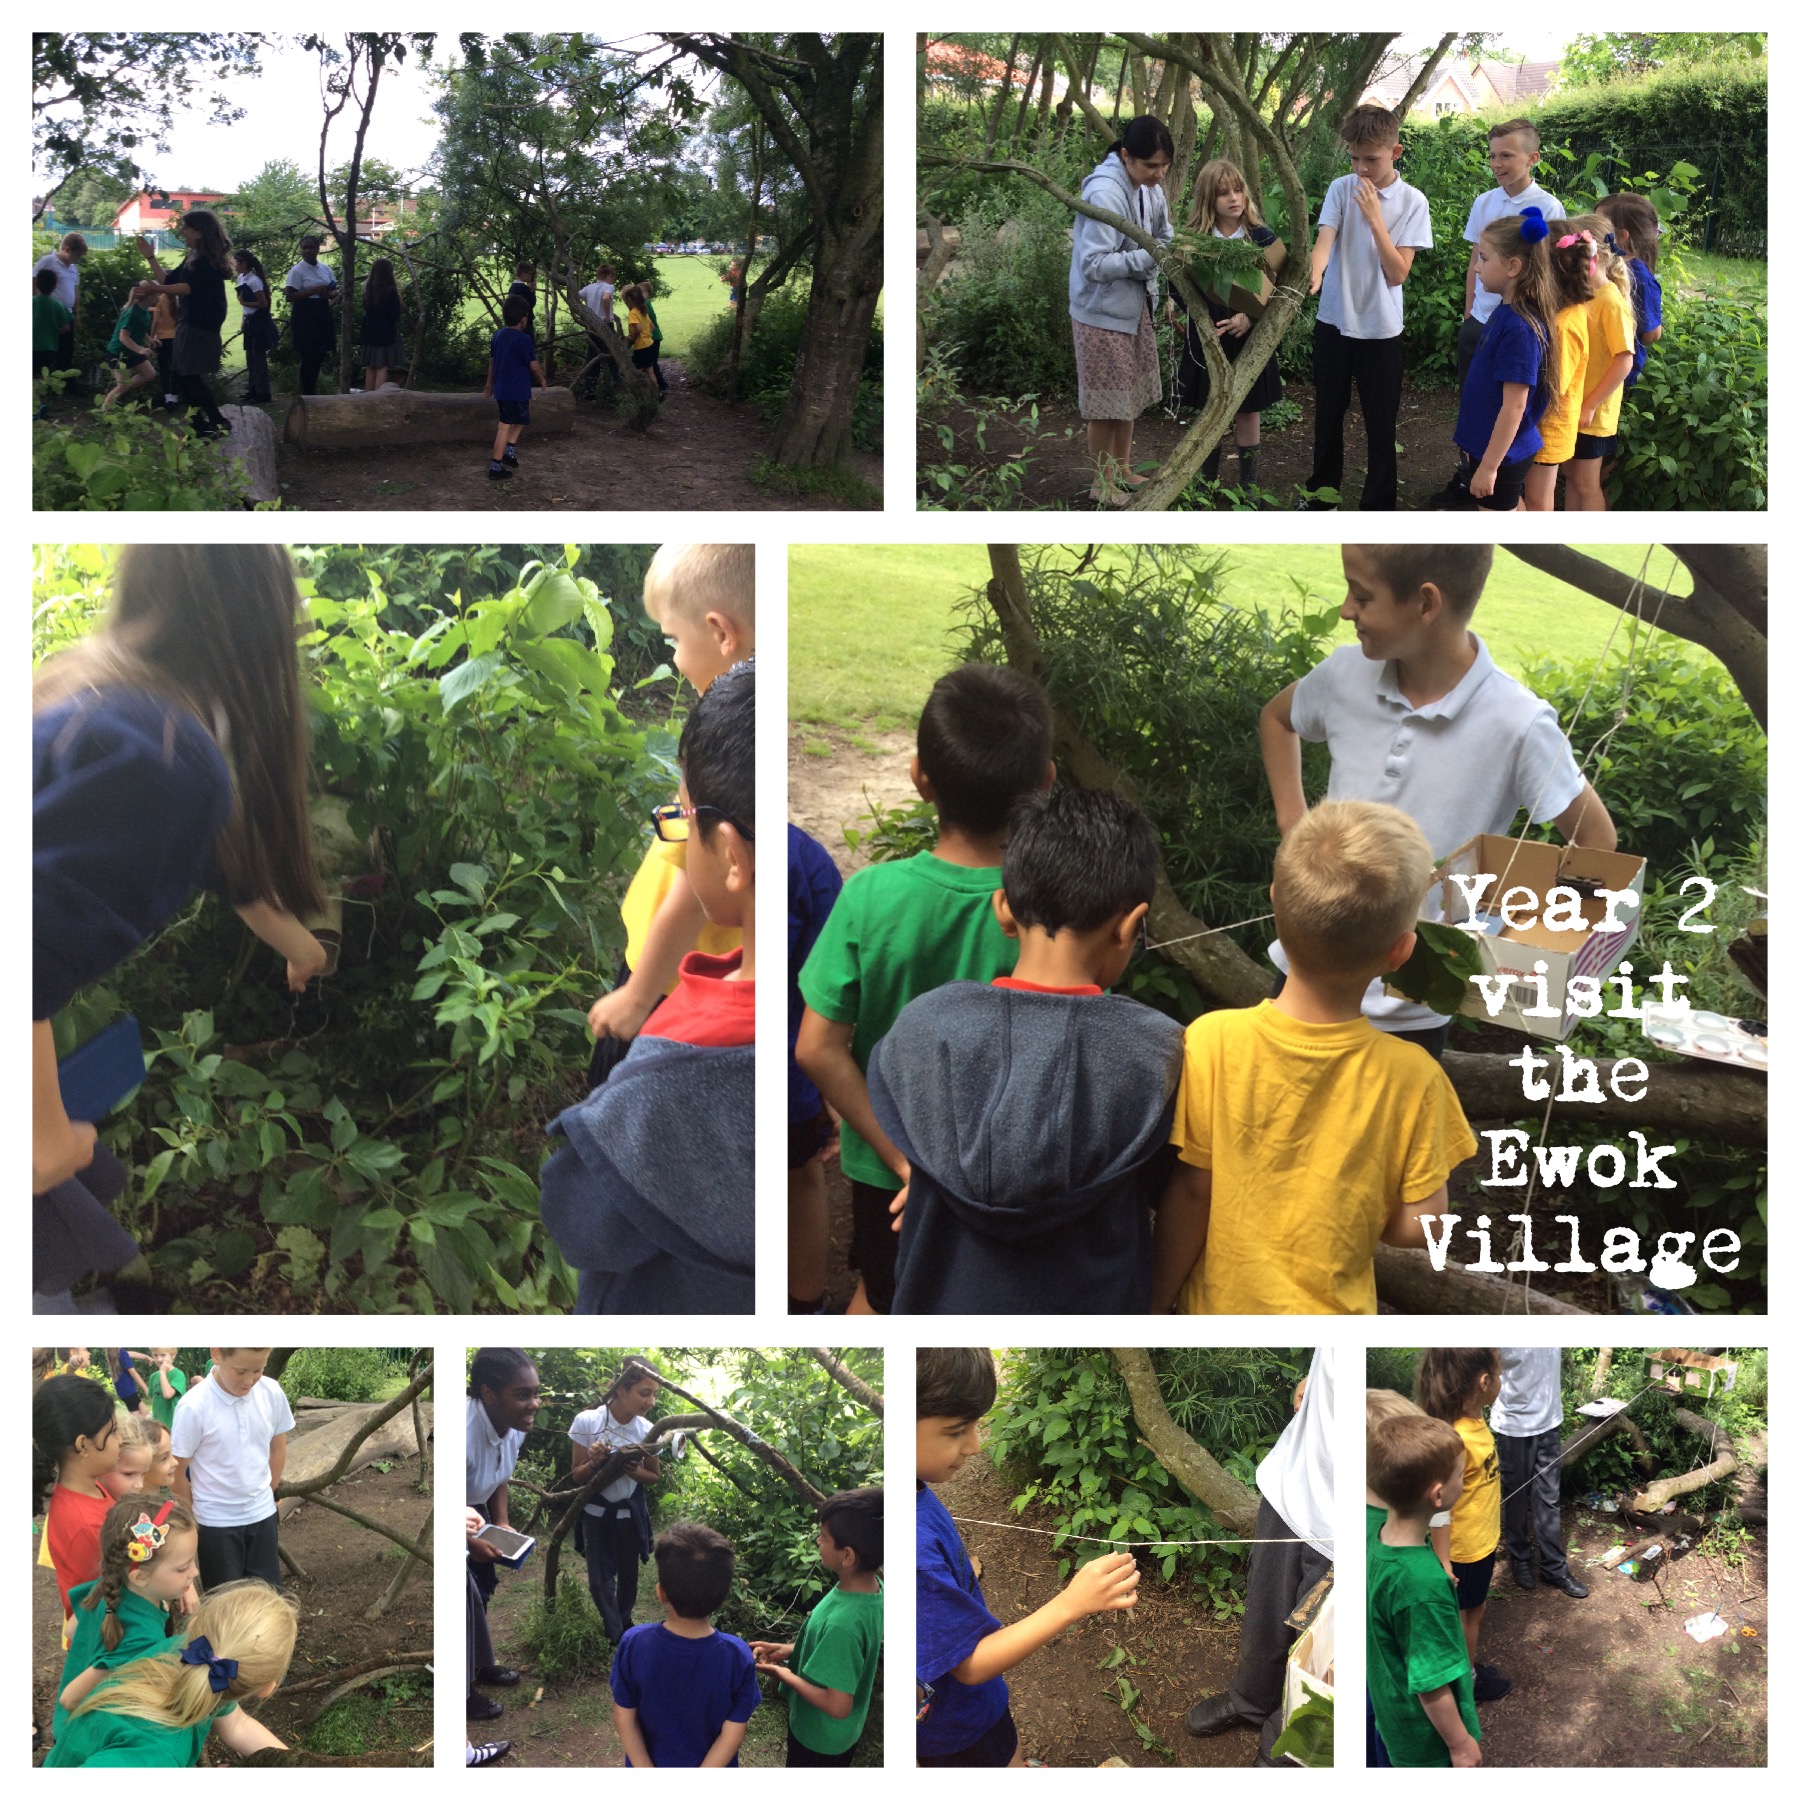
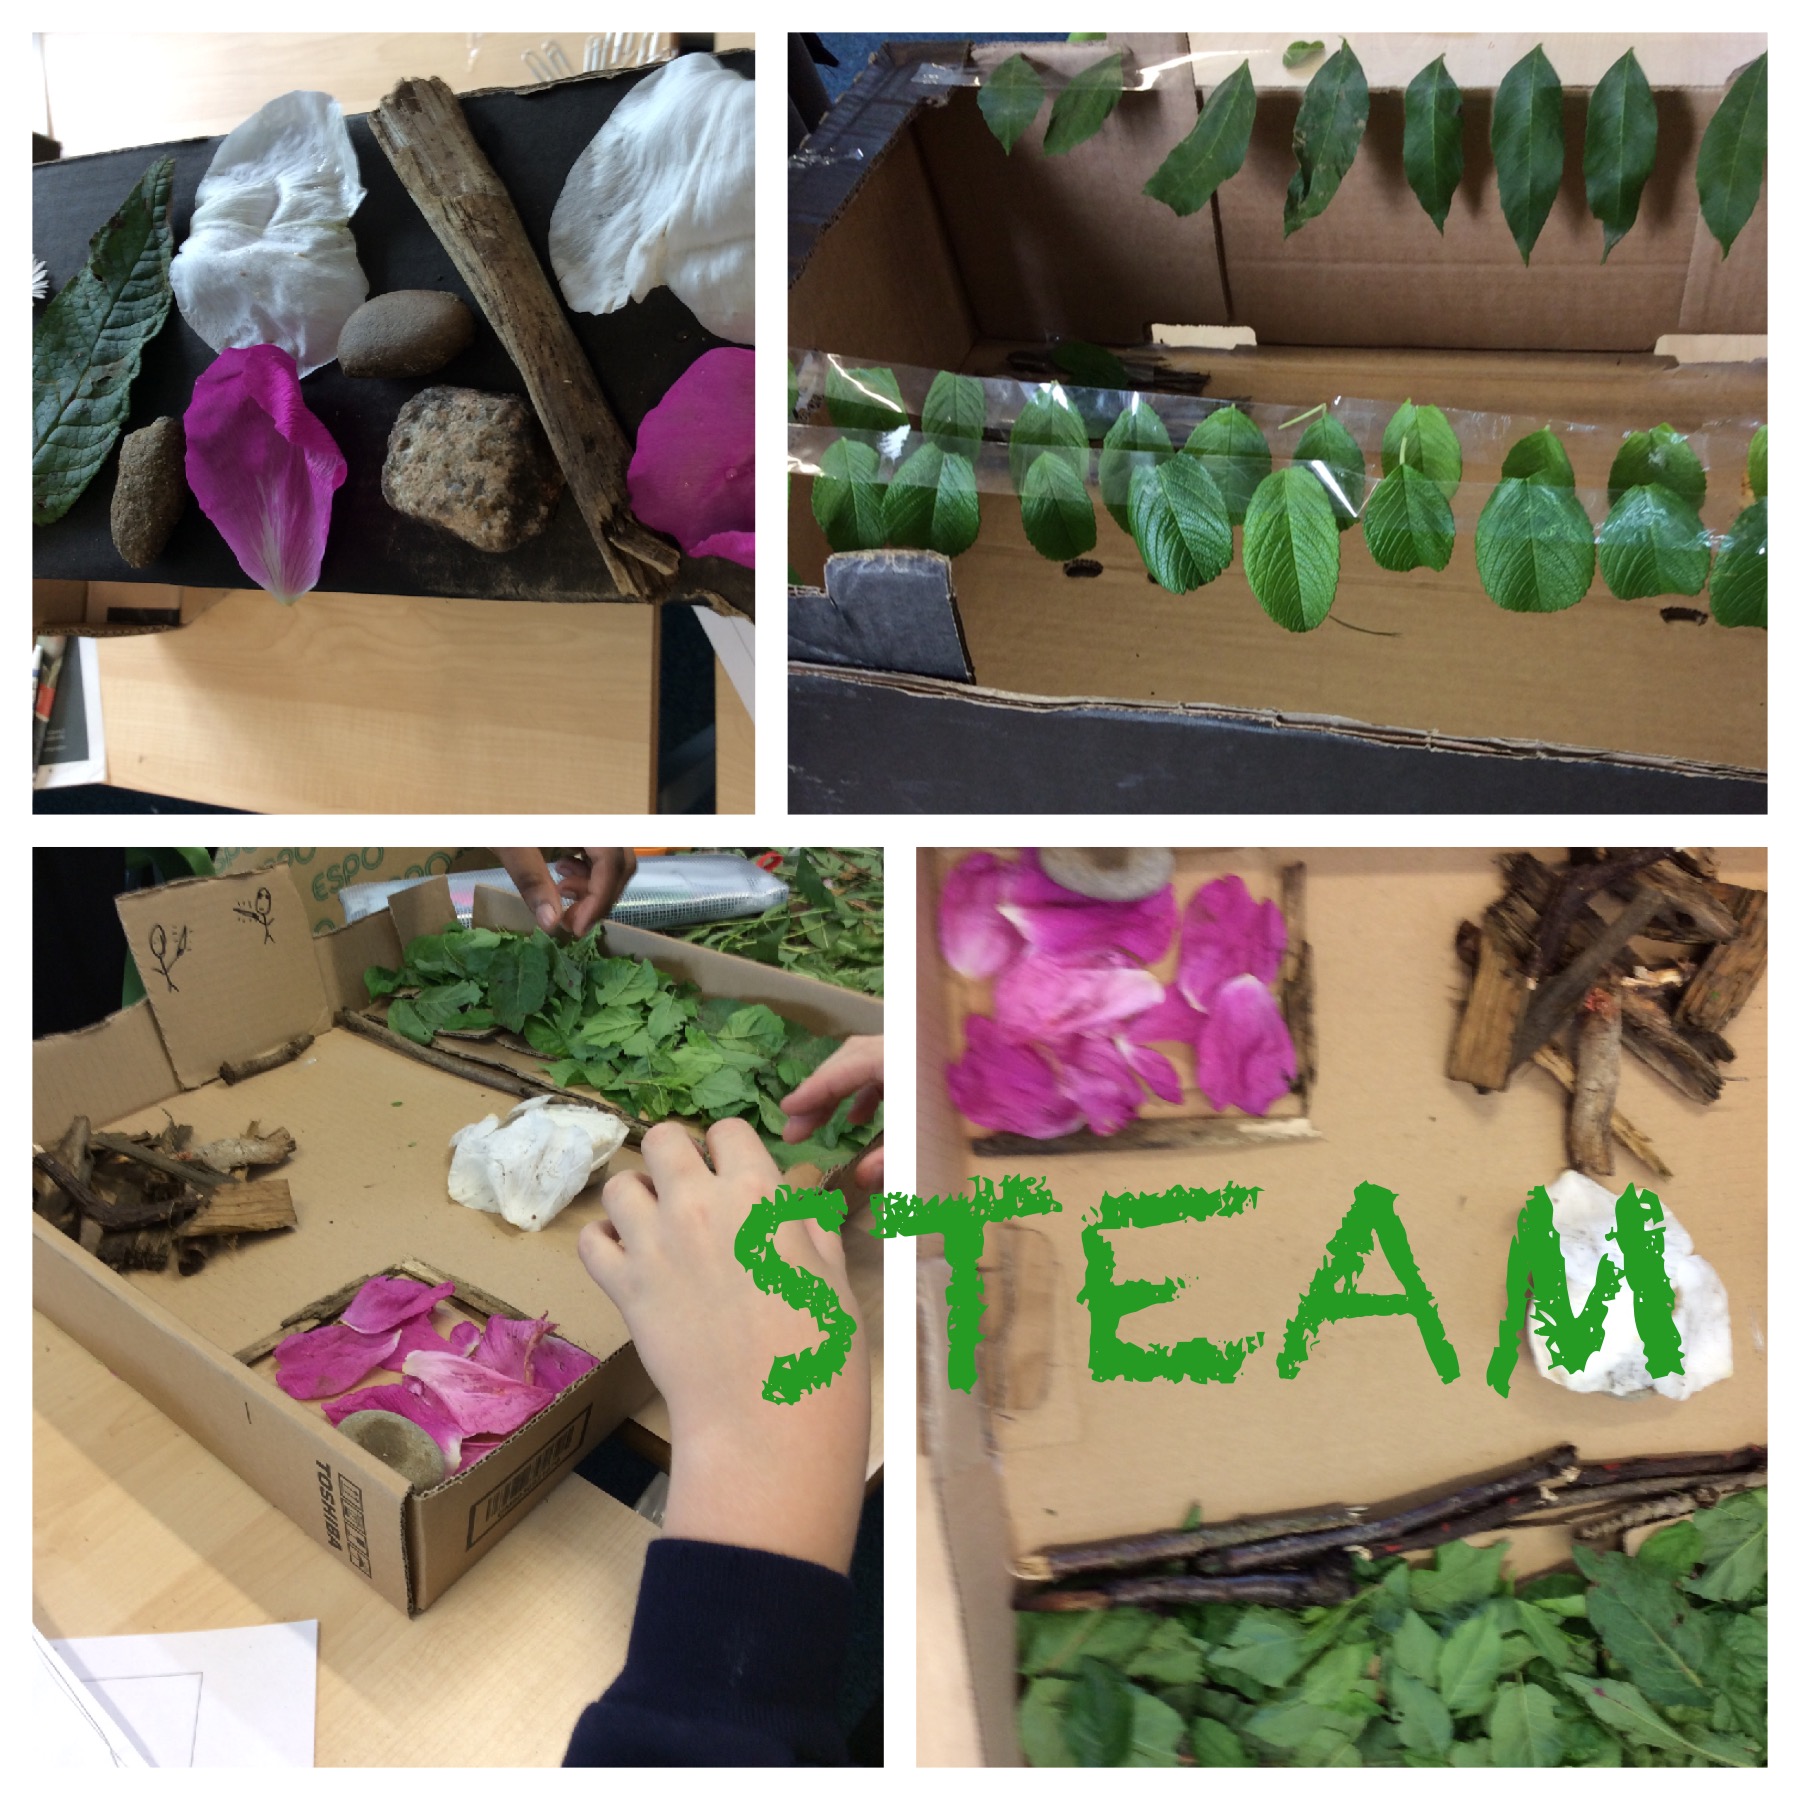
Our second challenge was building an Ewok village. The children worked in pairs outside in the woodland area. They used natural found materials, glue, and string to construct tree top houses. They had specific requirements which needed to be included; an escape route, camouflage, a soft area to sleep, a sheltered area and a garden/outdoor area. We were so lucky with the weather on this day and the children really enjoyed the task and became absorbed in their designing and making challenge. We spent a fell day out in the woodland area completing this task and when the village was complete the children made a Pic collage  showing the features of their Ewok home. We also then invited year 2 to come and explore our Ewok village to share some of our fantastic and imaginative designs.image image image
Our third challenge was to create  a TV advert to advertise our Ewok homes. The children wrote a script using persuasive language and then filmed their advert in front of the Green screen . we then imported photographs of the houses as a background so it appeared that the children were standing outside their own Ewok house.image

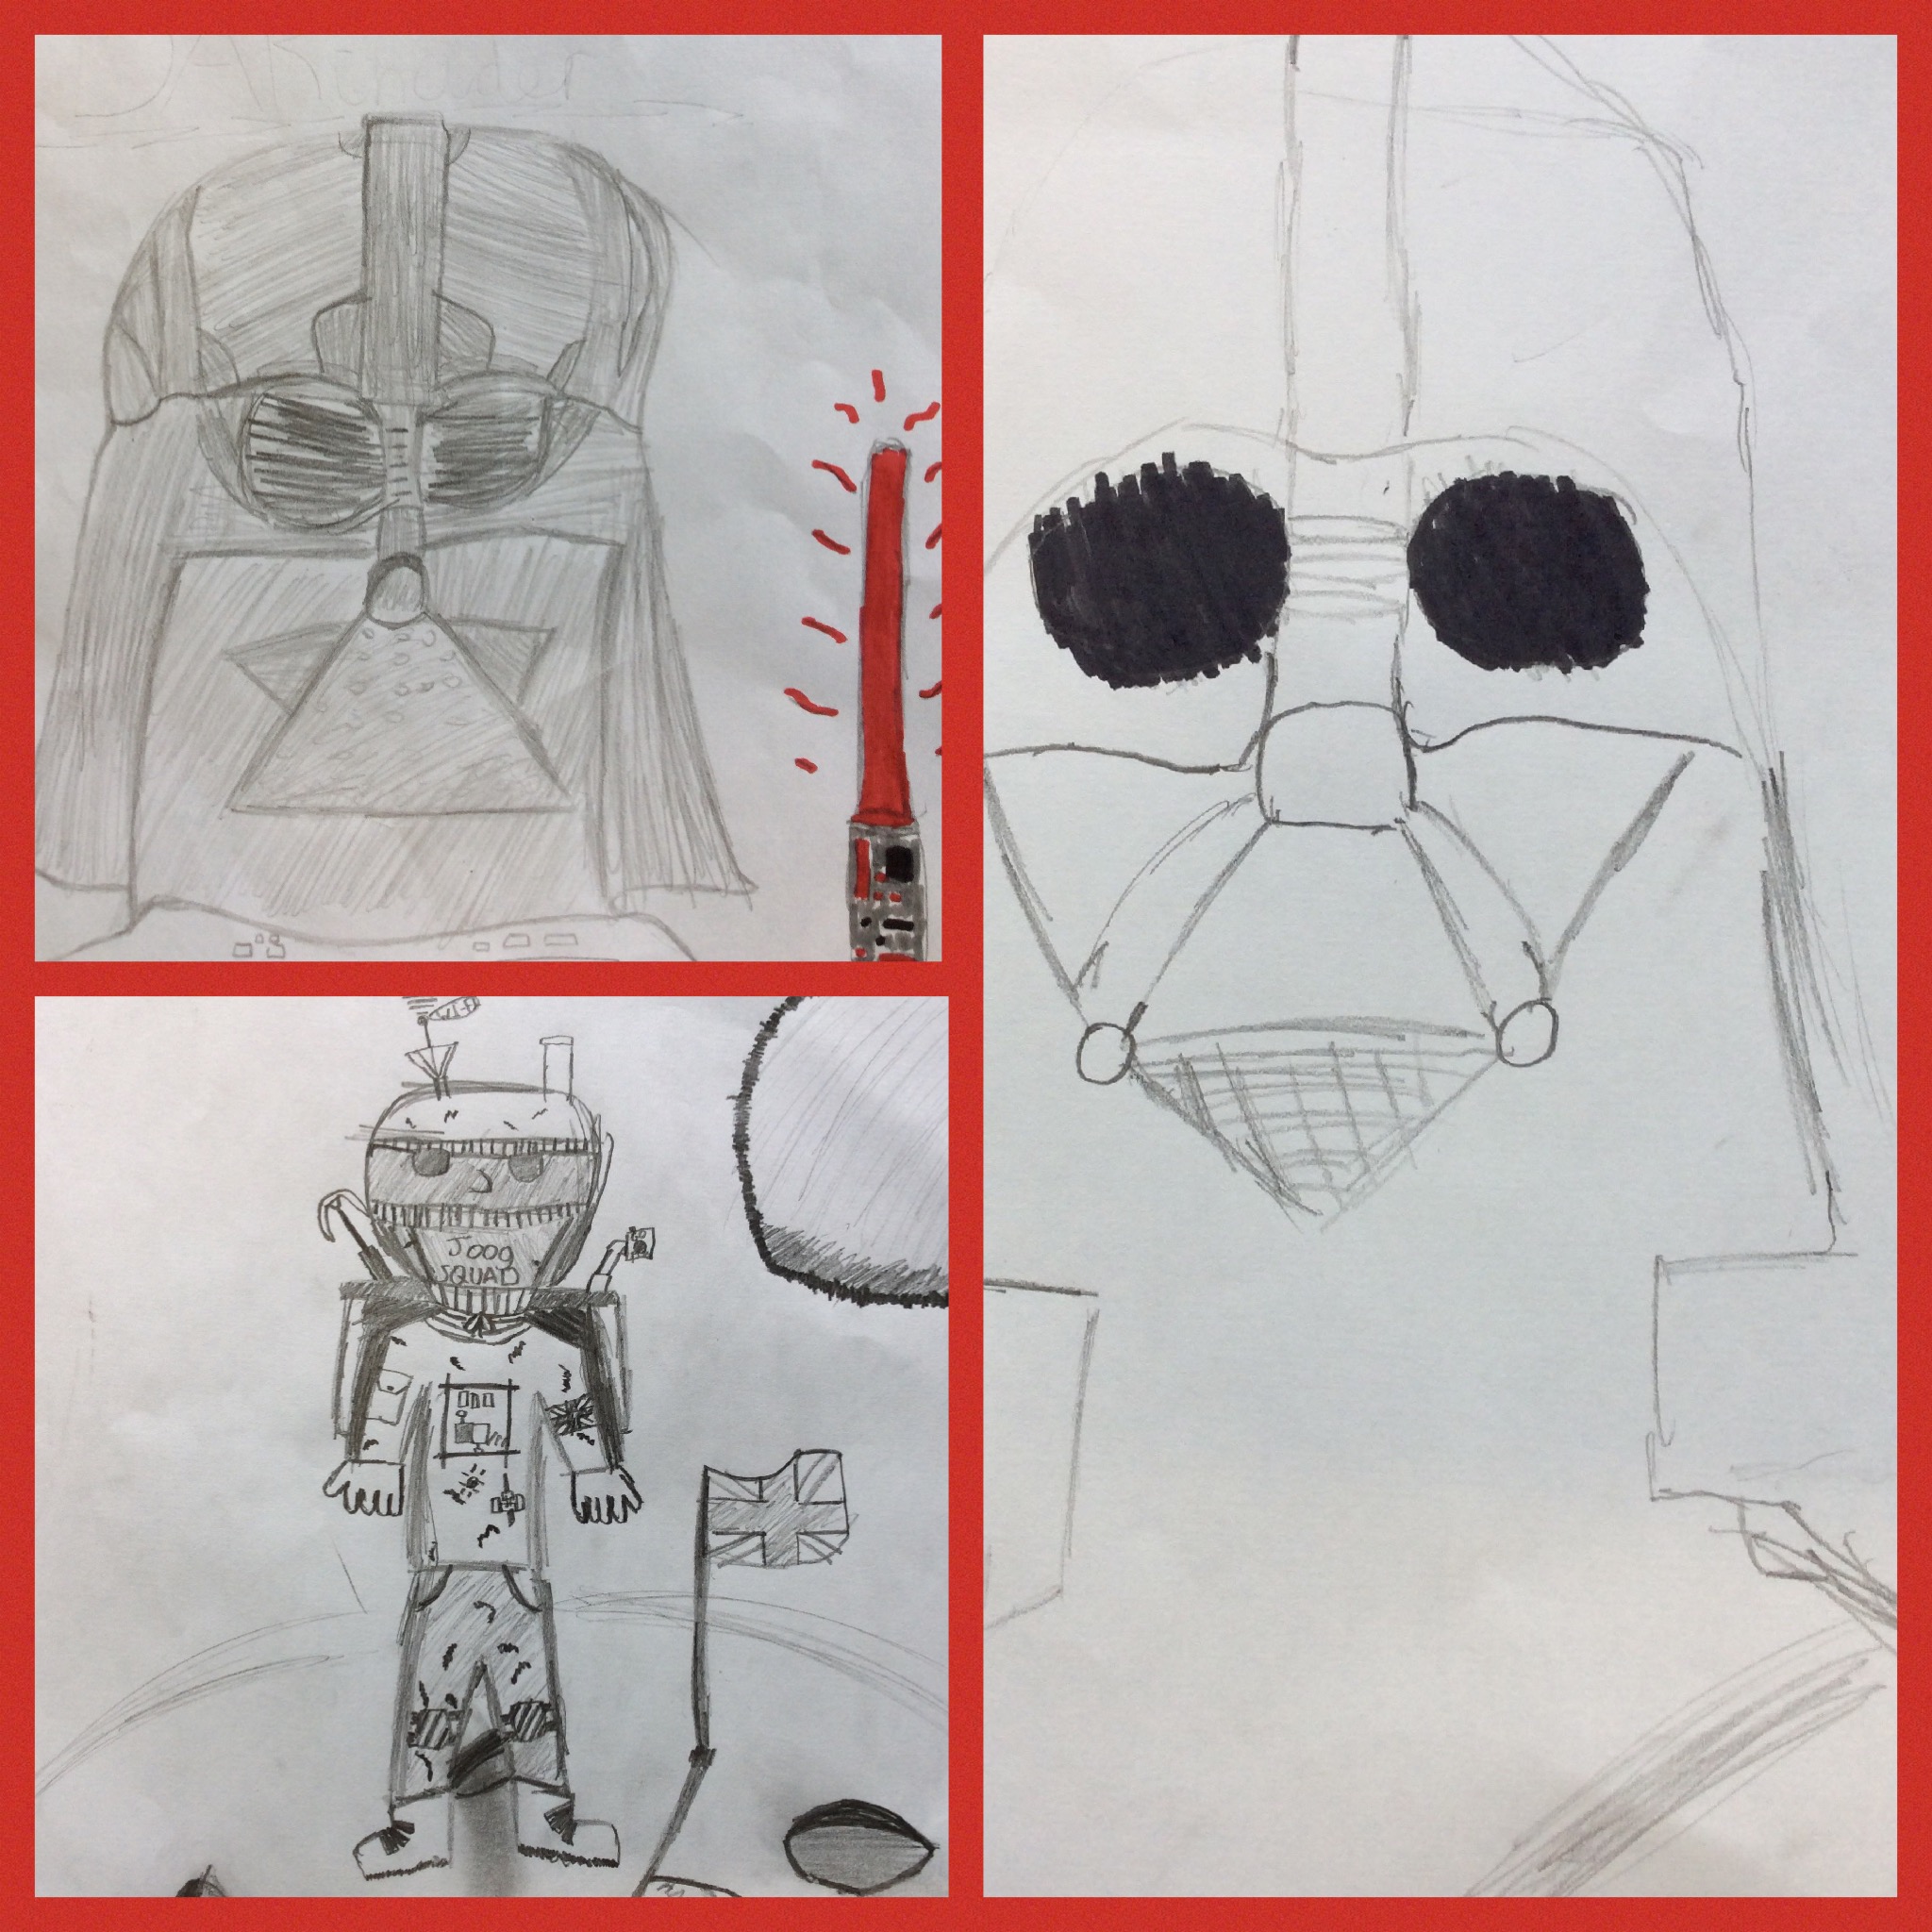
Our third a final session was a free choice session where the children  were allowed to choose to create something Starwars related. We had some children create spaceships using Sketchup Pro, some creating Powerpoints about the films and others who drew starwars characters.

image image image

starwarsthing

The preparation for the project was time consuming but certainly worth the while as it created  a sense of excitement and engaged the children by asking them to solve real world problems.I would recommend to anybody to have a go at a STEAM project, its not as scary or intimidating as it may sound. It was so much fun and drew in many strands of the curriculum (not just STEAM subjects!).I will be looking to develop and improve the STEAM program further and hope to run a further improved project this coming year.

I would love to hear about any experiences anybody has had running either STEM or STEAM projects however big or small 🙂

Digital Art with Billingbrook Special School

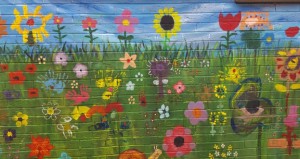
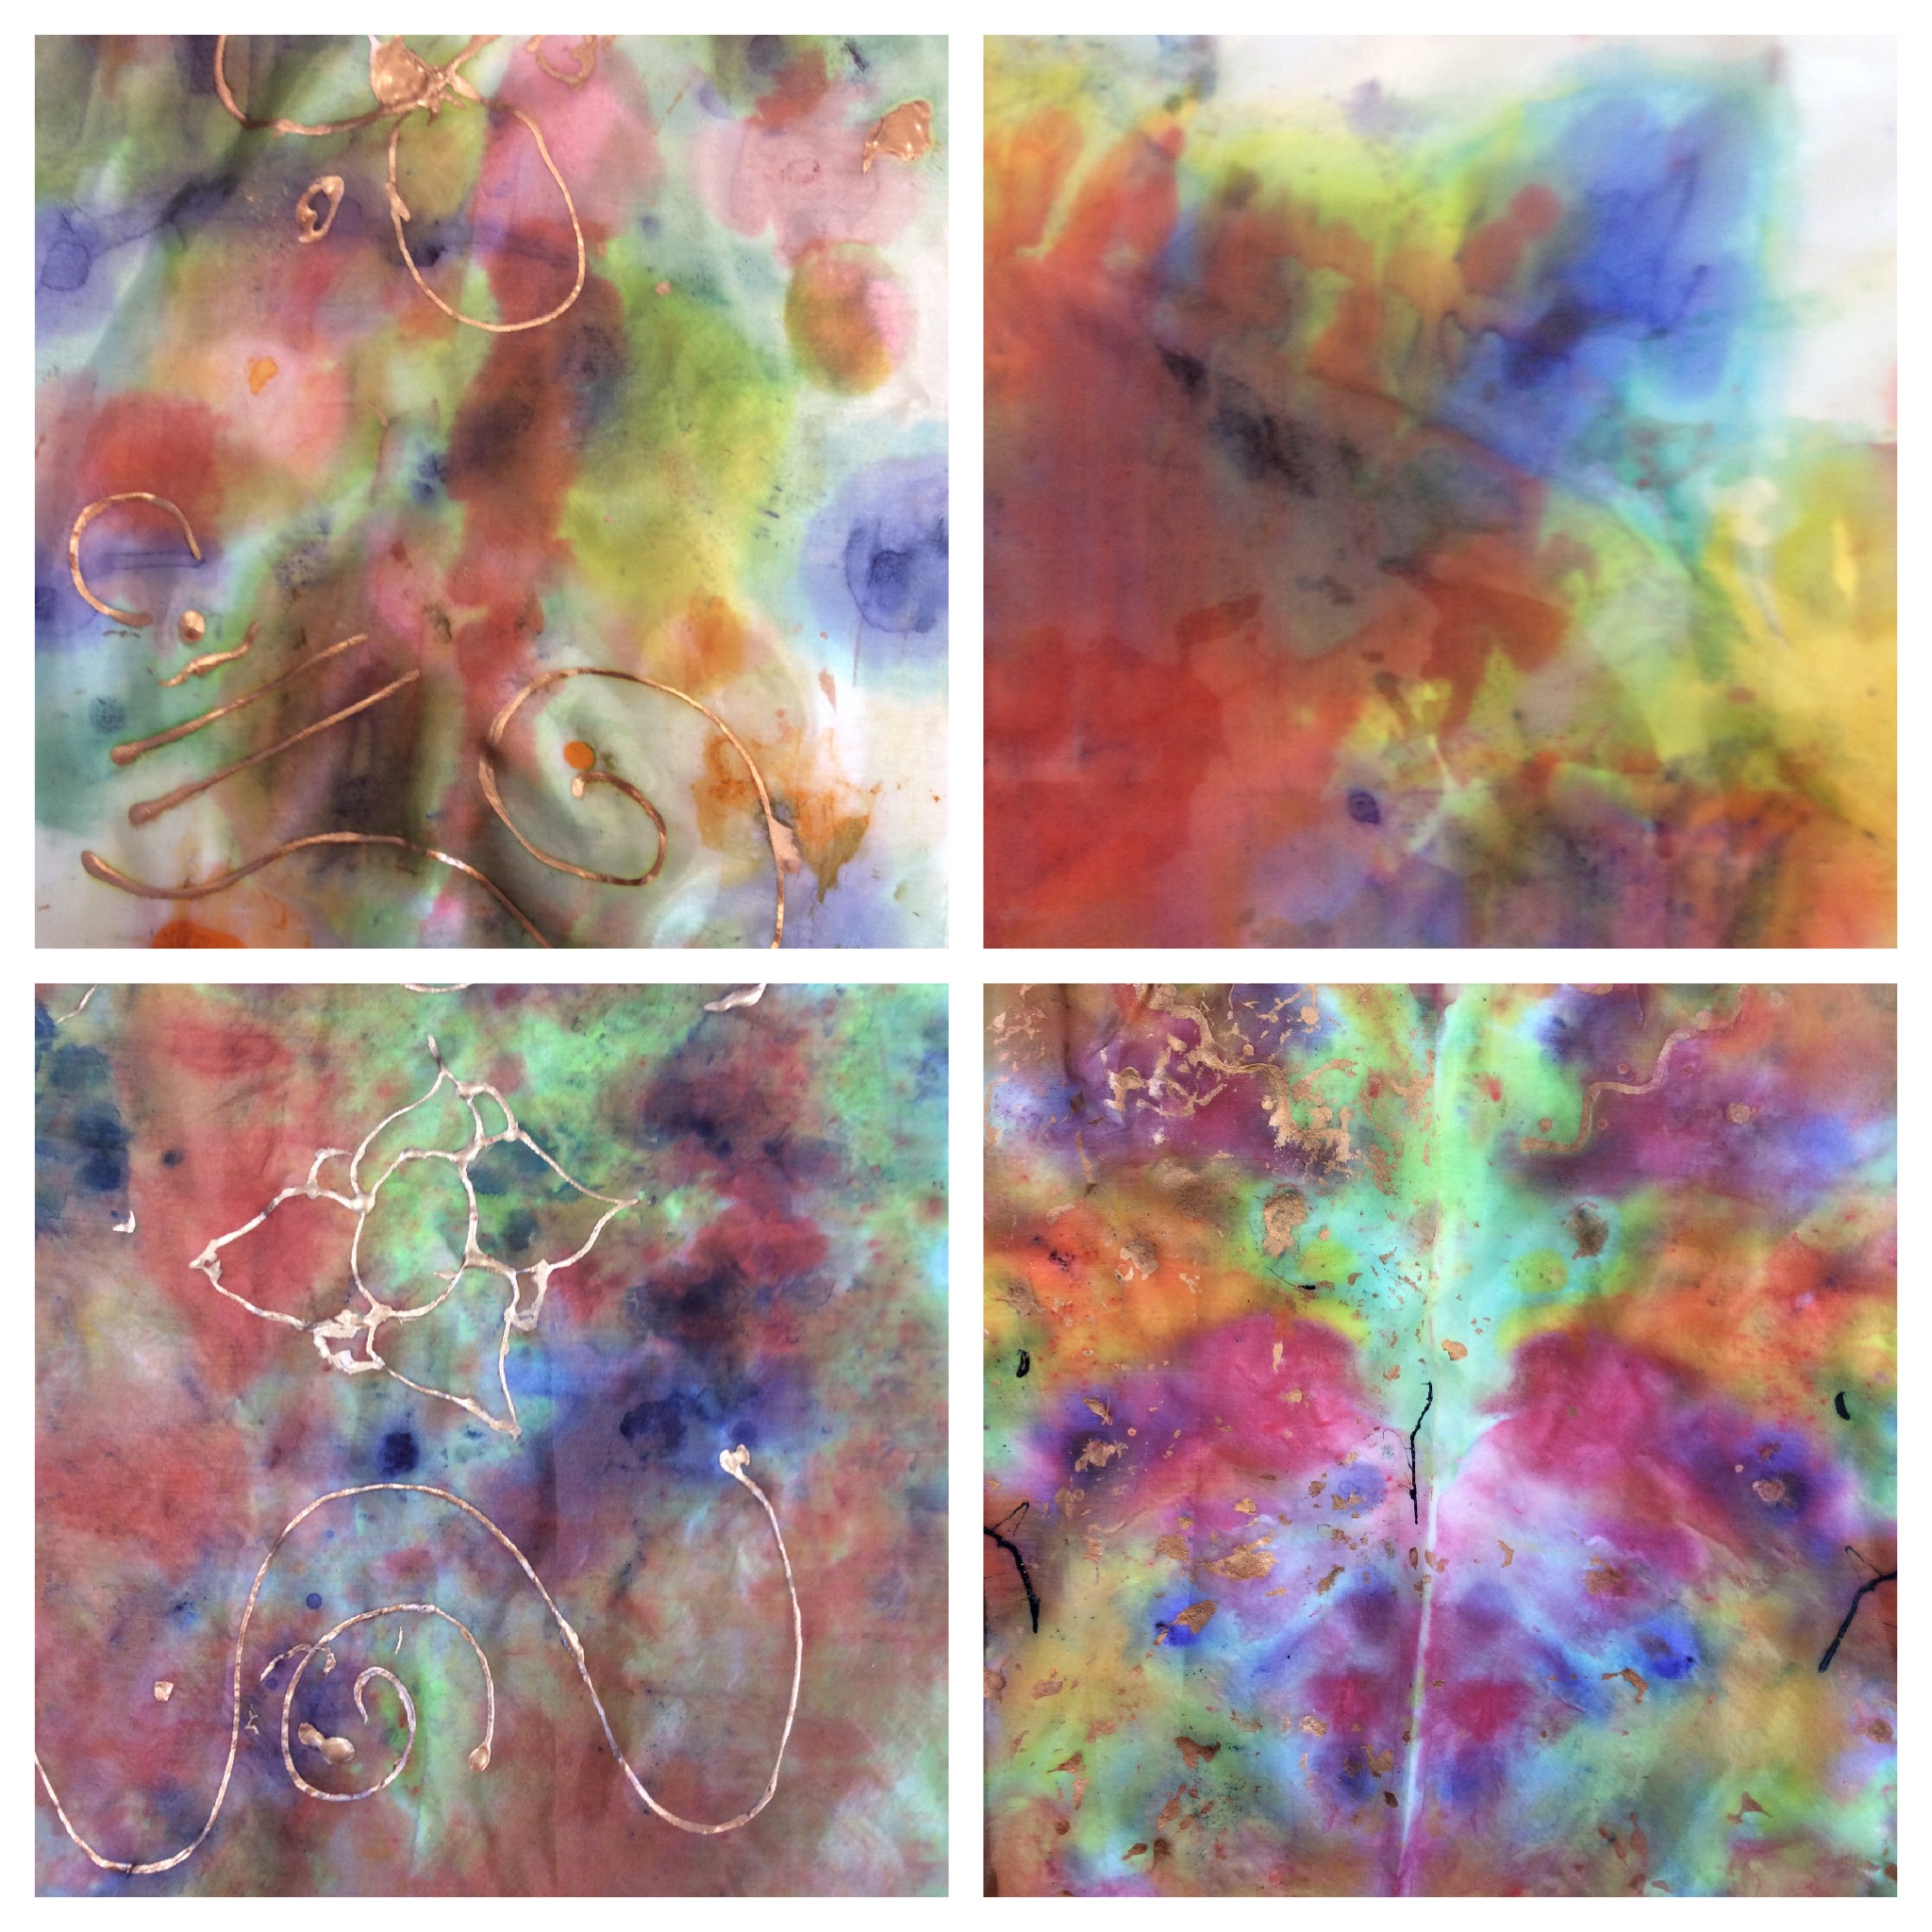
The project enabled the children to explore and develop their knowledge on Horticulture by creating a painted garden on their school wall (see figure 1). Horticulture is studied at Billing Brook Special School as a hands-on approach that provides sensory purposes and works as a therapy. It also provides trips, aids social skills and results in a qualification. This is something extremely important to the school, especially next year when GCSE’s will be taken out of the curriculum and replaced with functional skills.

Throughout the topic the children were able to experiment with different techniques and mediums to assist the key component of the topic, the wall. The various mediums (paint, paper, collage materials, colouring pens/pencils and iPads) enabled the children to create and develop numerous techniques so that the project was accessible to all. Digital art was something vaguely new to the school and therefore a pleasure to teach.

To begin our project, we began by discussing our initial ideas to suit the chosen theme. It was highlighted by the school that they did not want the painting to be in a cartoon style. Taking this into consideration, along with the theme, we felt that the picture embedded many different flowers in size and colour, this therefore emphasizing diversity (a key component to the school).

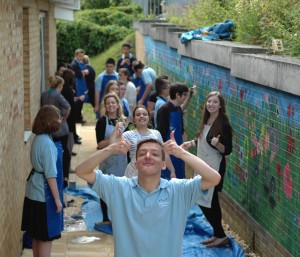
The main aspect to the project was ‘the wall’. Most of the children had an exploration lesson before hand so that it could remain focused, either one-to-one or for bigger classes a few children per student/TA. For those children who joined the project in the last week (due to the requested extension), an exploration was provided before they painted on the wall however this was very brief. Most of the children were able to visualise the expectations from looking at the wall and discussing it (what they think the flowers have been made with and how).

evie1 evie2 evie3 evie 6 evie5 evie4

Stop frame animation on placement

A day in the life at Wollaston School

As a digital leader I was keen to lead in sharing a project of some description whilst on placement. I decided to offer a stop frame animation club to the children in my class. This was going to take place one lunchtime a week for the 8 weeks that I was on placement. The club was offered to all the children in the class. When I first introduced the idea, I asked the children what they thought stop frame animation looked like. A few responses were along the lines of Lego Movies and Minecraft. However, within the classroom there were a pair of bookends with the iconic image of Morph. The children recognised that despite being nearly forty years old he still entranced and amused children and adults alike with the magic of stop frame animation. Modern contemporaries in the guise of Shaun the Sheep and Wallace and Gromit were also identified. I told the children as places were limited to six they had to write me a letter persuading me to be part of the club. I had just started the placement and had not as yet seen much evidence of the children’s written work as they were focusing on grammar and comprehension.  I had planned to do persuasion writing within the topic so this had given me an insight into the children’s abilities.

I received approximately eight letters varying from a scribbled note on the back of a piece of scarp paper to a full addressed letter within an envelope. I accepted the first six letters I received and announced that at 1pm every Tuesday after they had eaten their school lunch they were to come to the classroom. The apps used on the project were I can animate and iMovie Maker.

1st session – I brought from home a load of plasticine and Lego characters. My own iPad mini suffered a collision with the floor so the university were very generous in loaning me one for the duration of my placement. In fact, I had originally planned on doing a green screen project based around the topic Guitar Hero to make rock videos. With that in mind university loaned me an iPad, iPad stand and green fabric. Getting back to the session, the children brainstormed what kind of story they wanted to animate. Various suggestions were given such as one involving an ensemble of angry birds, minions and Lego characters all at once. In the end it was agreed to animate ‘A day in the life of Wollaston School.’ The children started to sculpt their characters. They were very creative due to the limited range of colours that I had but it didn’t deter the children and in fact caused quite a few giggles.

2nd session – The children wanted to stage their backdrops and had the idea to use the actual surroundings. So armed with the iPad, photos were taken of the entrance, classroom and hall as a backdrop. They also had the great idea to record the sounds in and around the school. However, there was an issue the original iPad was not recording the sounds. Thankfully the university came to the rescue and loaned me a second iPad.

Further sessions.

During the 8 weeks that the club was in session the children overcame quite a few obstacles. The backdrops were photos taken from around the school which was then stuck to a piece of cardboard which then had the plasticine figures stuck to it. Quite often the dictionaries, of which there were many, would slide about which meant that the continuity would be affected. Additionally, the figures would frequently drop off the photos. Towards the end of the session, the eagle eyed viewers of the animation will notice that the figures have changed to Lego characters as they were much lighter.  There were many contributions within the school towards the project with the voices of Head Teacher Sally Hamson, Class teacher Tom Goacher and the children in the playground.

I’m sure you’ll agree that what the children managed to create in eight 20 minute sessions is outstanding and an enjoyable way to spend a lunch break. I hope they get further opportunities to explore their animation skills.


Digital Art and Drawing using Rollworld and PicCollage


We Welcomed some international guests from Weingarten in Germany who are trainee teachers. We introduced them to Art and design using a Prezi and by using the Apps Roll world and Pic collage created some digital art.

http://prezi.com/5www3us-phws/?utm_campaign=share&utm_medium=copy


weingarten 1weingarten 2

Digital Art on Placement

Following the work I have been doing on digital art at university ,I was keen to bring my experience in to the classroom on placement so when my mentor asked me to organise making Mother’s Day cards I had the perfect opportunity  to do just this. Working with year 1 I decided to use just one app to introduce the children to digital image manipulation and I felt RollWorld  would be  a good choice as it is easy to use and most importantly , it creates fantastic images;I have yet to meet someone who doesn’t love using it!   The children created some art work which focused on shape and colour initially using felt tip pens, we the photographed their work and they manipulated it in RollWorld. The children loved the different effects they were able to achieve and were really proud of their very professional looking Mother’s Day cards which were produced. Most importantly , the mums  all loved their unique and unusual cards  and  we even managed to create a fantastic digital art work display to brighten up the class room.Many of the children enjoyed using the app so much that they went home and downloaded it on their own tablets so they could continue to experiment and create their own body of digital art.image image

Introducing a literacy unit

Being a digital leader I wanted to use  my placement as an opportunity to put in to practice some of the new skills I have learned during my digital literacy sessions at university and see how these could have a positive impact in the classroom.  I was teaching a year 1 class and I decided to use iMovie to create an exciting hook for  our literacy focus; writing an information text.With the help of my daughter who posed as ‘Penny the Explorer’ I made a short  film (see above)  in which Penny asked the children to help her with her mission to create some animal fact files to publish in her new book. The children were so excited to watch the movie which mentioned their class name  as we commenced the new topic.Creating the character Penny really engaged the children with their task, the children all wanted to help Penny  and were motivated to  find out lots of interesting facts for Penny’s book. I also used the video to introduce our new class mascot Terry the Toucan who proved a big hit with the children and was used during many of our rain forest lessons across the curriculum.Following the success of  my initial video , seeing how it had motivated and engaged the children in literacy, I built on this momentum by  editing  the video to make an additional clip to set a challenge for maths. This time Terry had broken his wing and Penny was asking the children to use their doubling and halving skills  to make him a special medicine. Because i had already made the original clip it took very little time for me to edit  and add content to create a new video. iMovie is such a versatile tool to enhance a creative classroom with endless possibilities to be integrated across the curriculum. I would recommend all teachers to  familiarise themselves with the software, it is very easy to navigate with a little practice and  of course, a tool that the children can use too!

by Gemma Wade

Documenting evidence from placement

Screen Shot 2016-04-03 at 12.35.20

If you have read any of my previous posts you will probably have a picked up that I am a big fan of using the app Pic Collage! I find using pic collage is an effective way to visually document evidence to enhance my RPE. Here is a Pic collage I created which documents some of the creative methods I used to engage the children in literacy. My collage shows a screen shot from the iMovie I created, a photograph of the ‘letter’ which the class received from Penny the Explorer and  photographic evidence of some of the shared writing  we produced as a class before the children  wrote their own factfiles. One of the reasons that I  have found this to be such an effective method to document evidence is  that is quick, efficient and an accessible and  effective visual reference for  assessors when they look at my  RPE.  This collage along with my lesson plans and work produced by the children created a strong pack of evidence to go into my RPE and I had very positive feedback from my PAT who felt that the addition of a visual to complement and enhance the usual evidence they would expect to find.
By Gemma Wade

Digital Art -RollWorld & Procreate

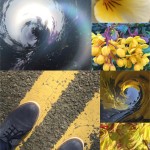
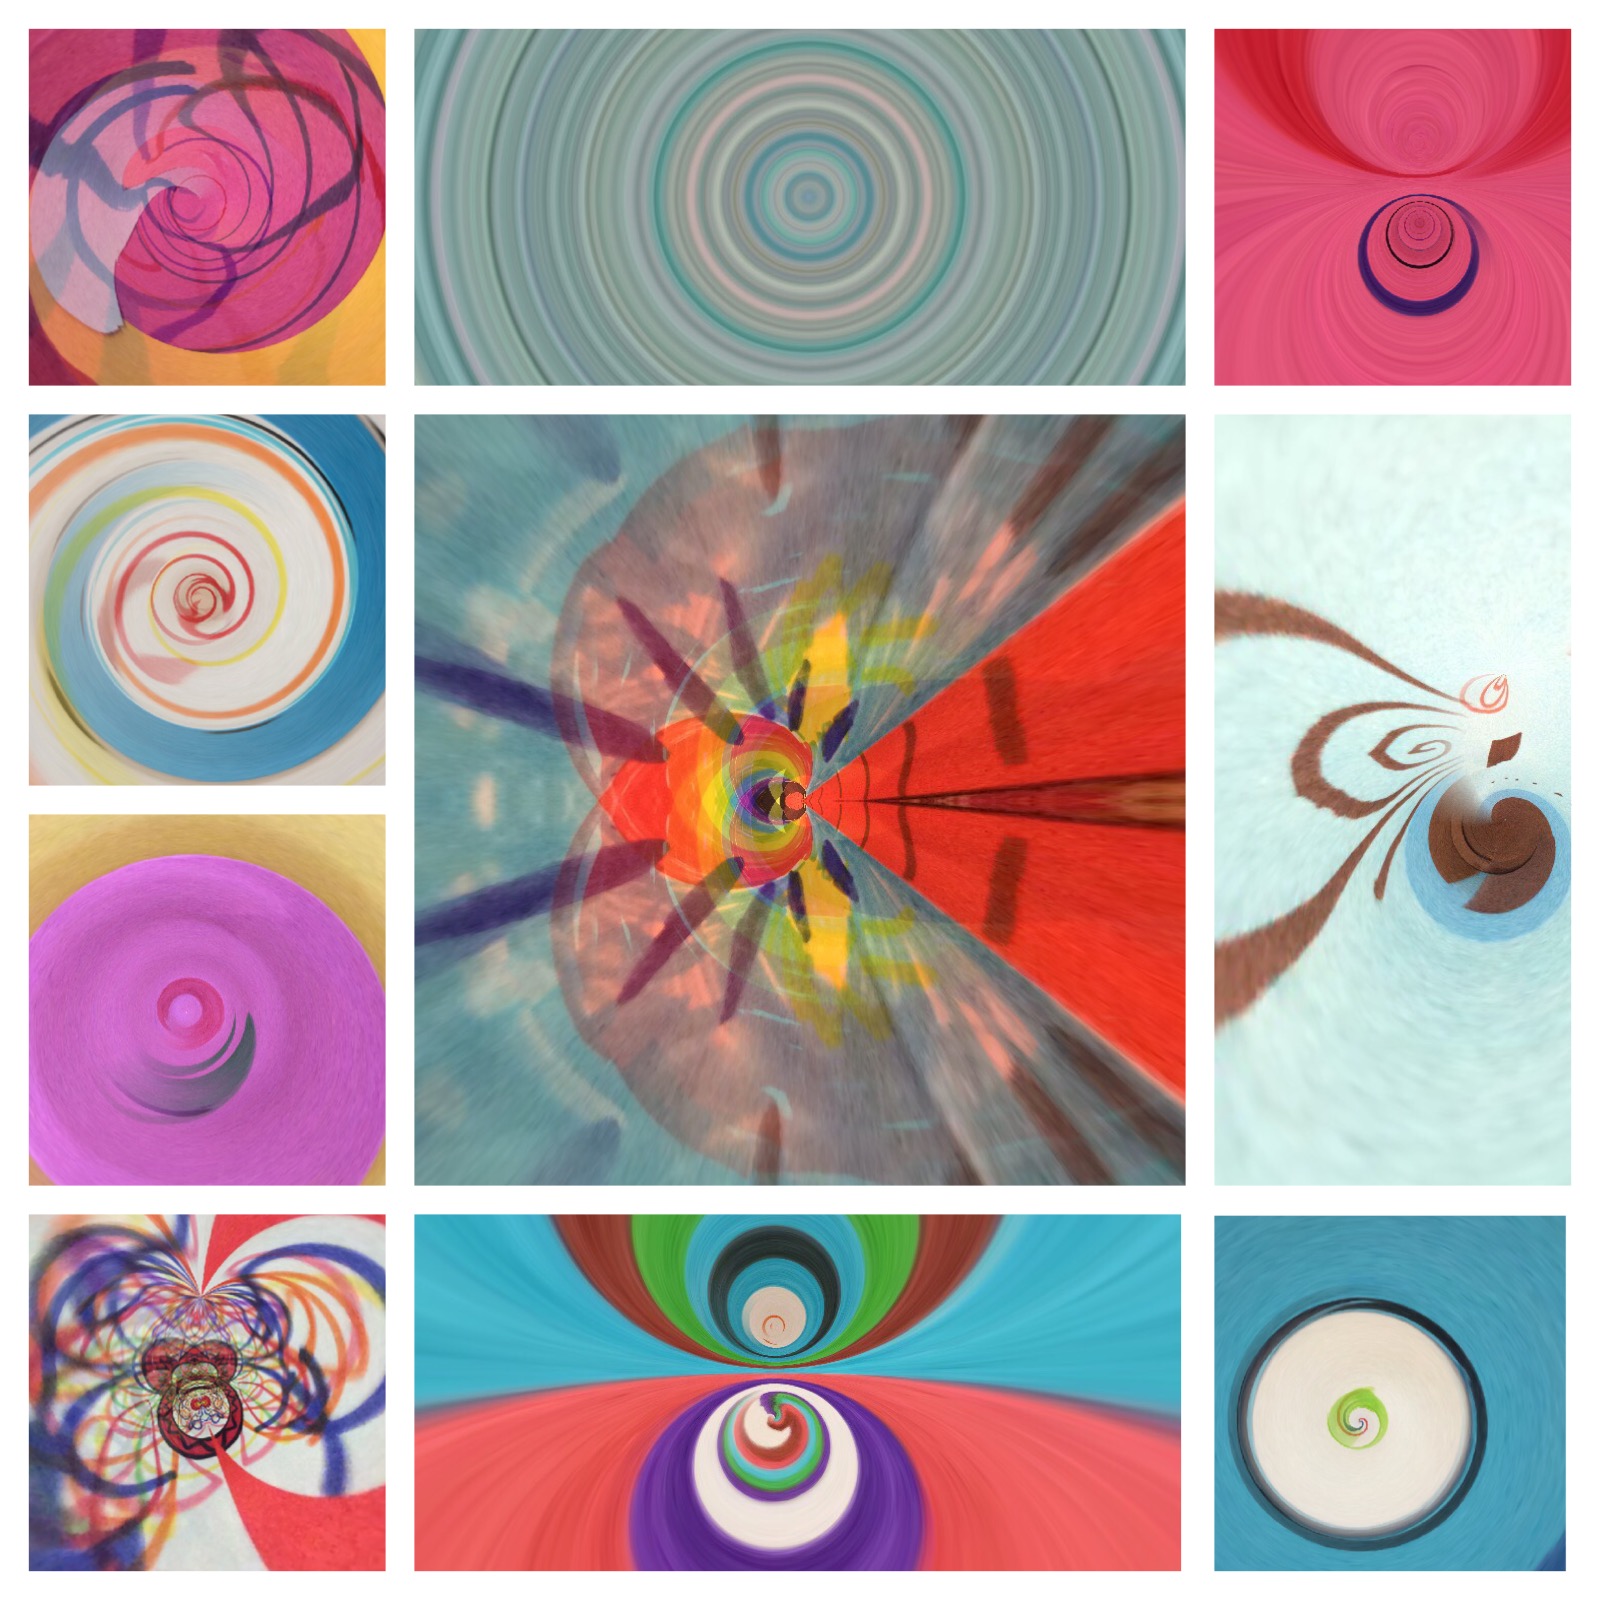
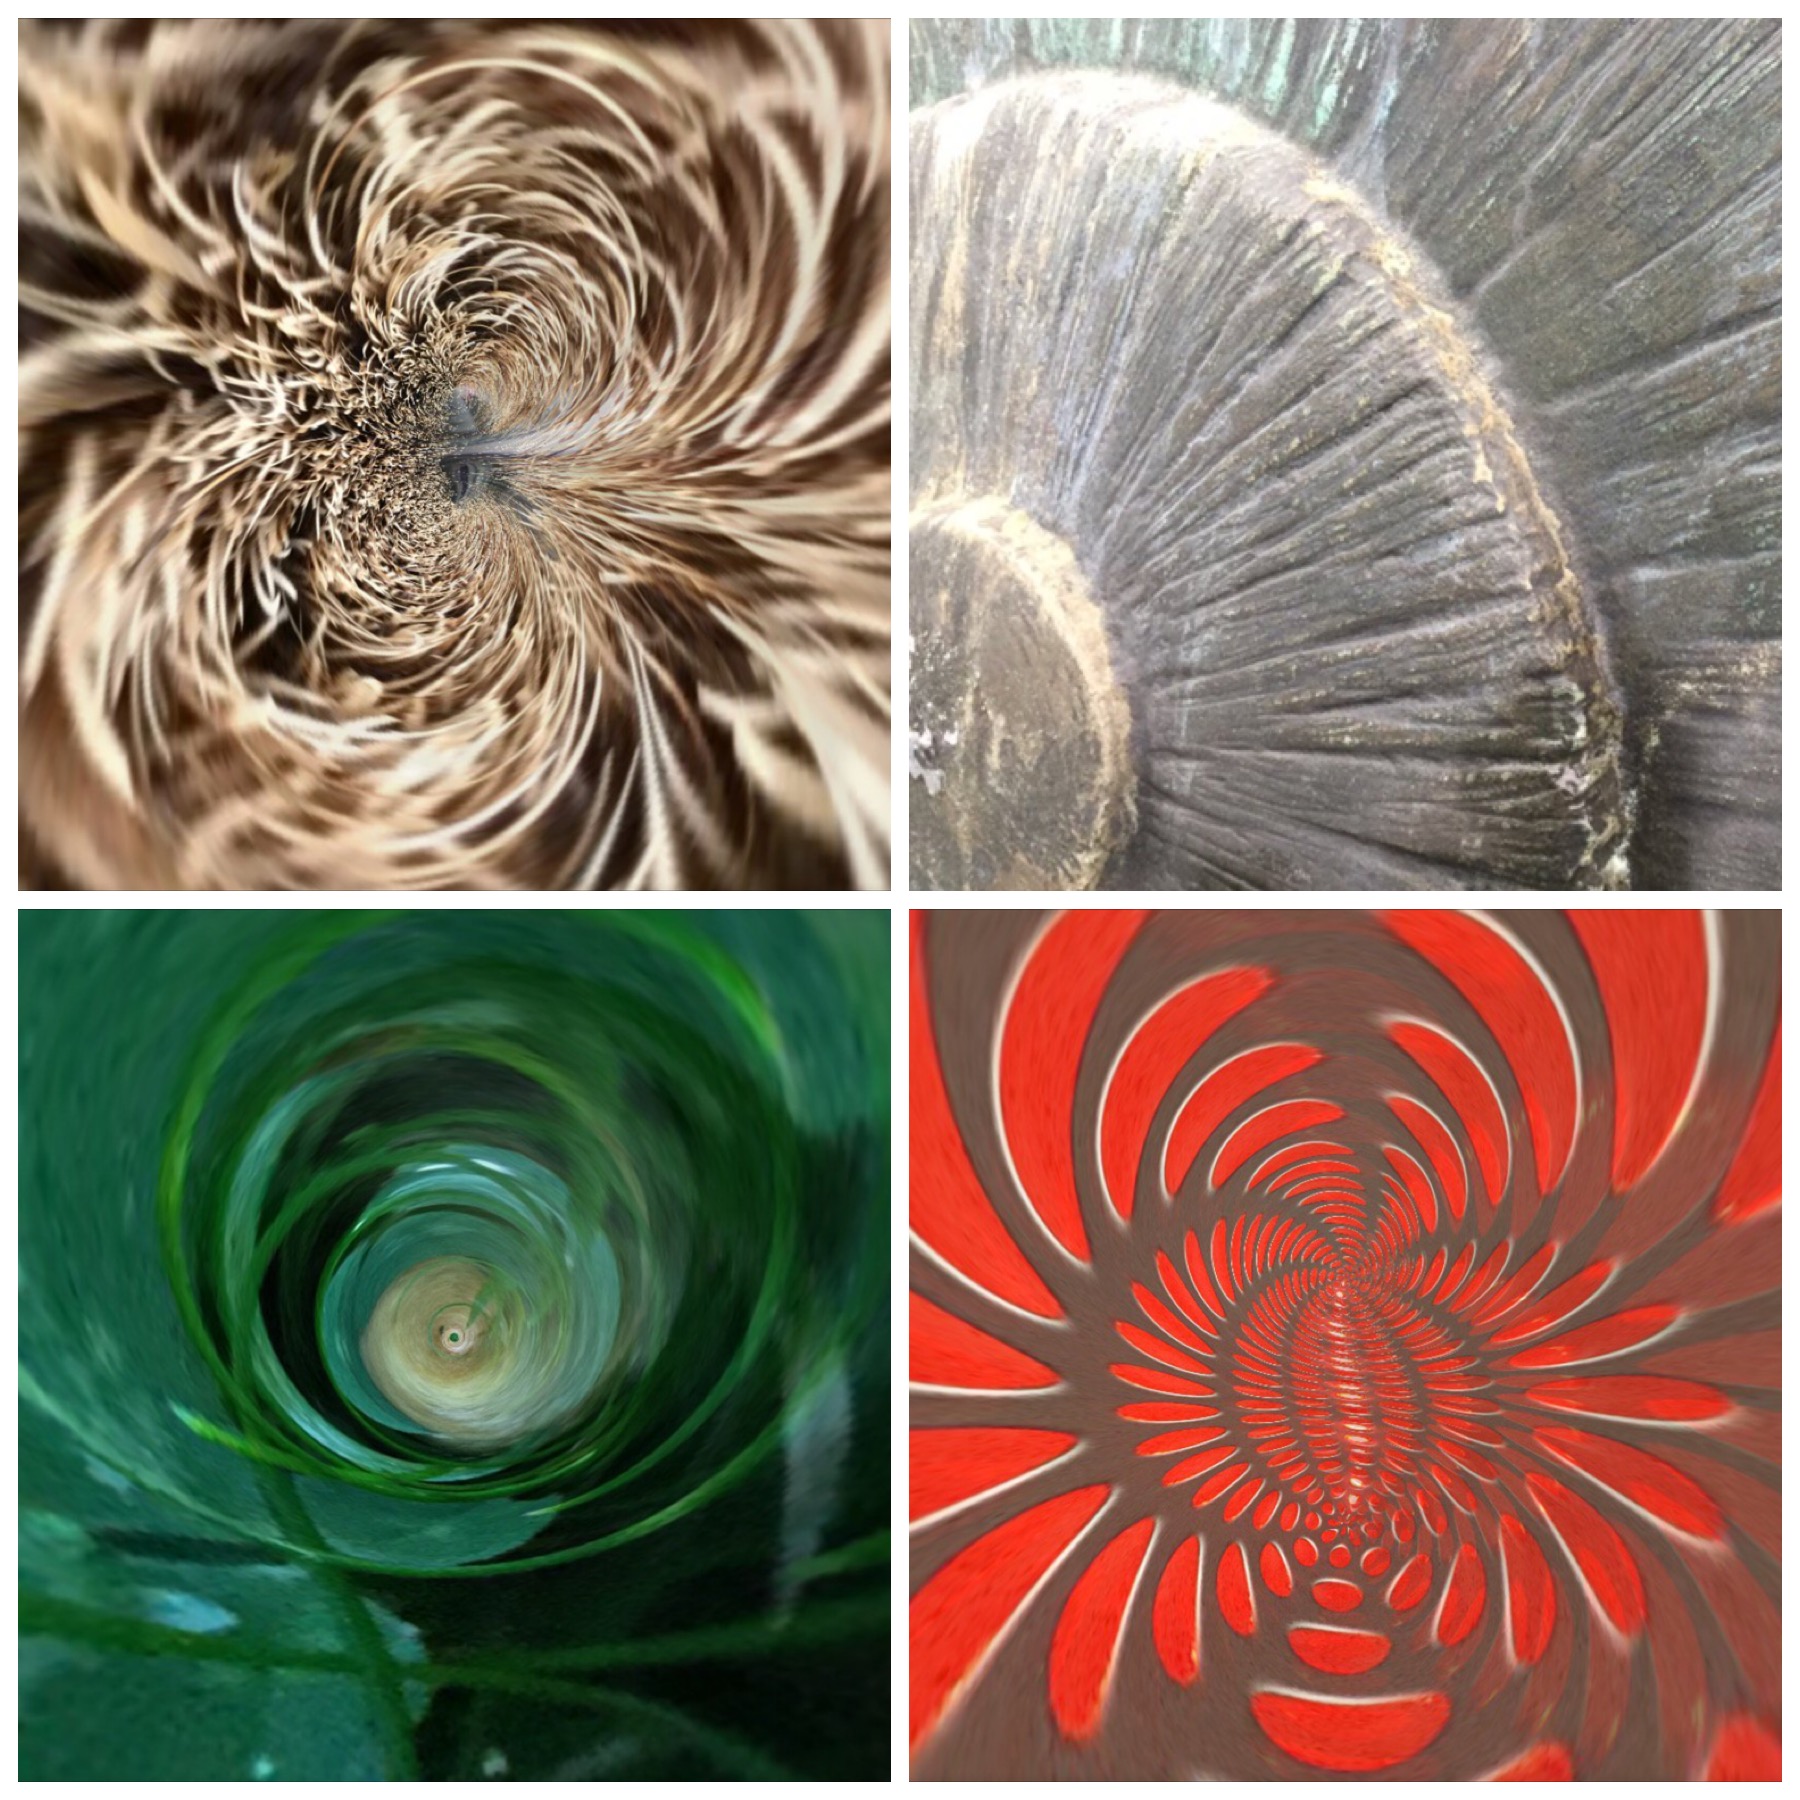
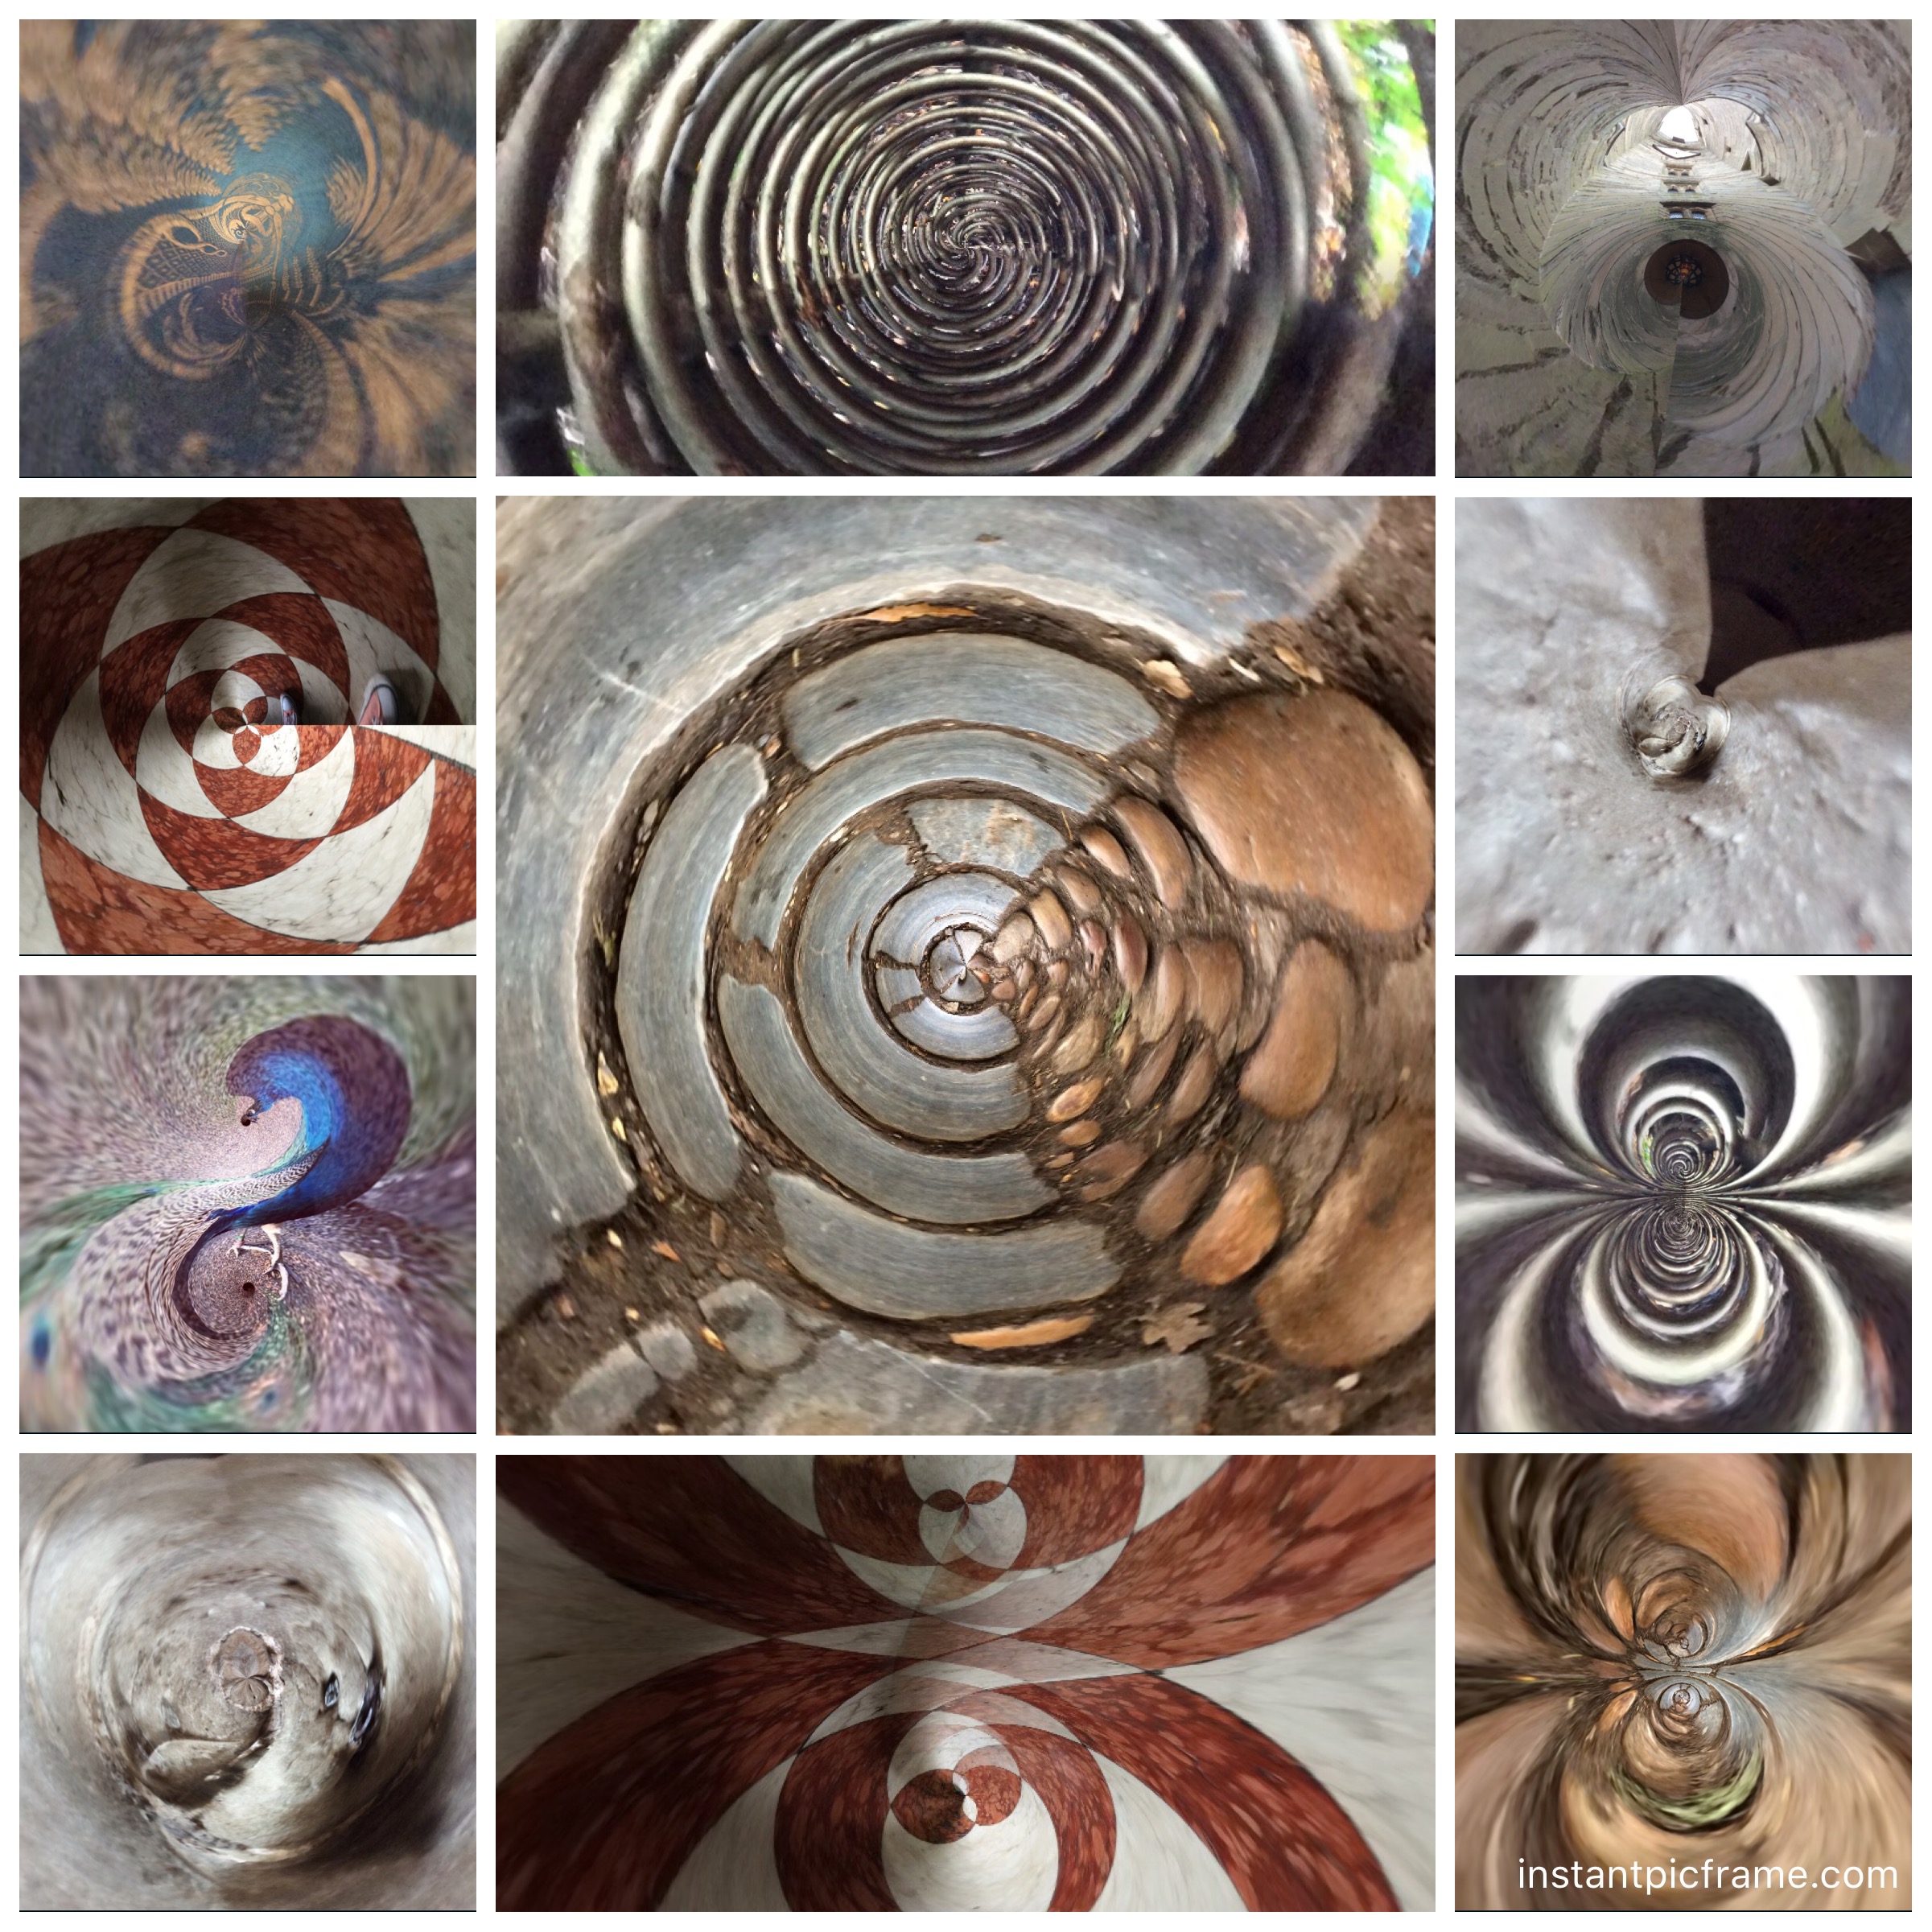
As part of my art specialism course at university we have been exploring digital Art and how we may use it as a new form of media for children to express their creativity. One of the most striking  impacts of  the inclusion of digital media as a new medium is the  opportunity it provides as a way in for   children who think they are ‘not good at art’ .Our group led a workshop for a group of EYTS students many of whom, were  quick to  say that art was not one of their strengths however,  after using some very simple and easy apps such as roll world and fragment  there seemed to be a shift in attitude as the students where pleasantly surprised by the work which they managed to produce. What happened during this workshop  clearly demonstrated to me the transformational and innovative potential for digital media to offer a new  engaging medium for learners to express their creativity and perhaps discover new skills which they have not been able to explore through traditional  art mediums. Here are some examples of art work created using RollWorld, student went out and about on camp as searching for shape, texture and pattern. They then took photographs on iPads which they manipulated in RollWorld to produce some striking images. image

As part of our second year portfolio of assignments we were asked to write a learning outside the classroom curriculum map for a venue of our choice. My assignment focused on a trip to Warwick castle and  I planned for children to carry out the same activity as we had used with the EYTS students. Children would be challenged to be shape detectives and collect a series of photographs of different shapes they found within the building at Warwick castle, they would then create some abstract art by manipulating their photographs through RollWorld and Fragment. Here is a collection of images produced from photographs taken on the iPad at Warwick castle.image

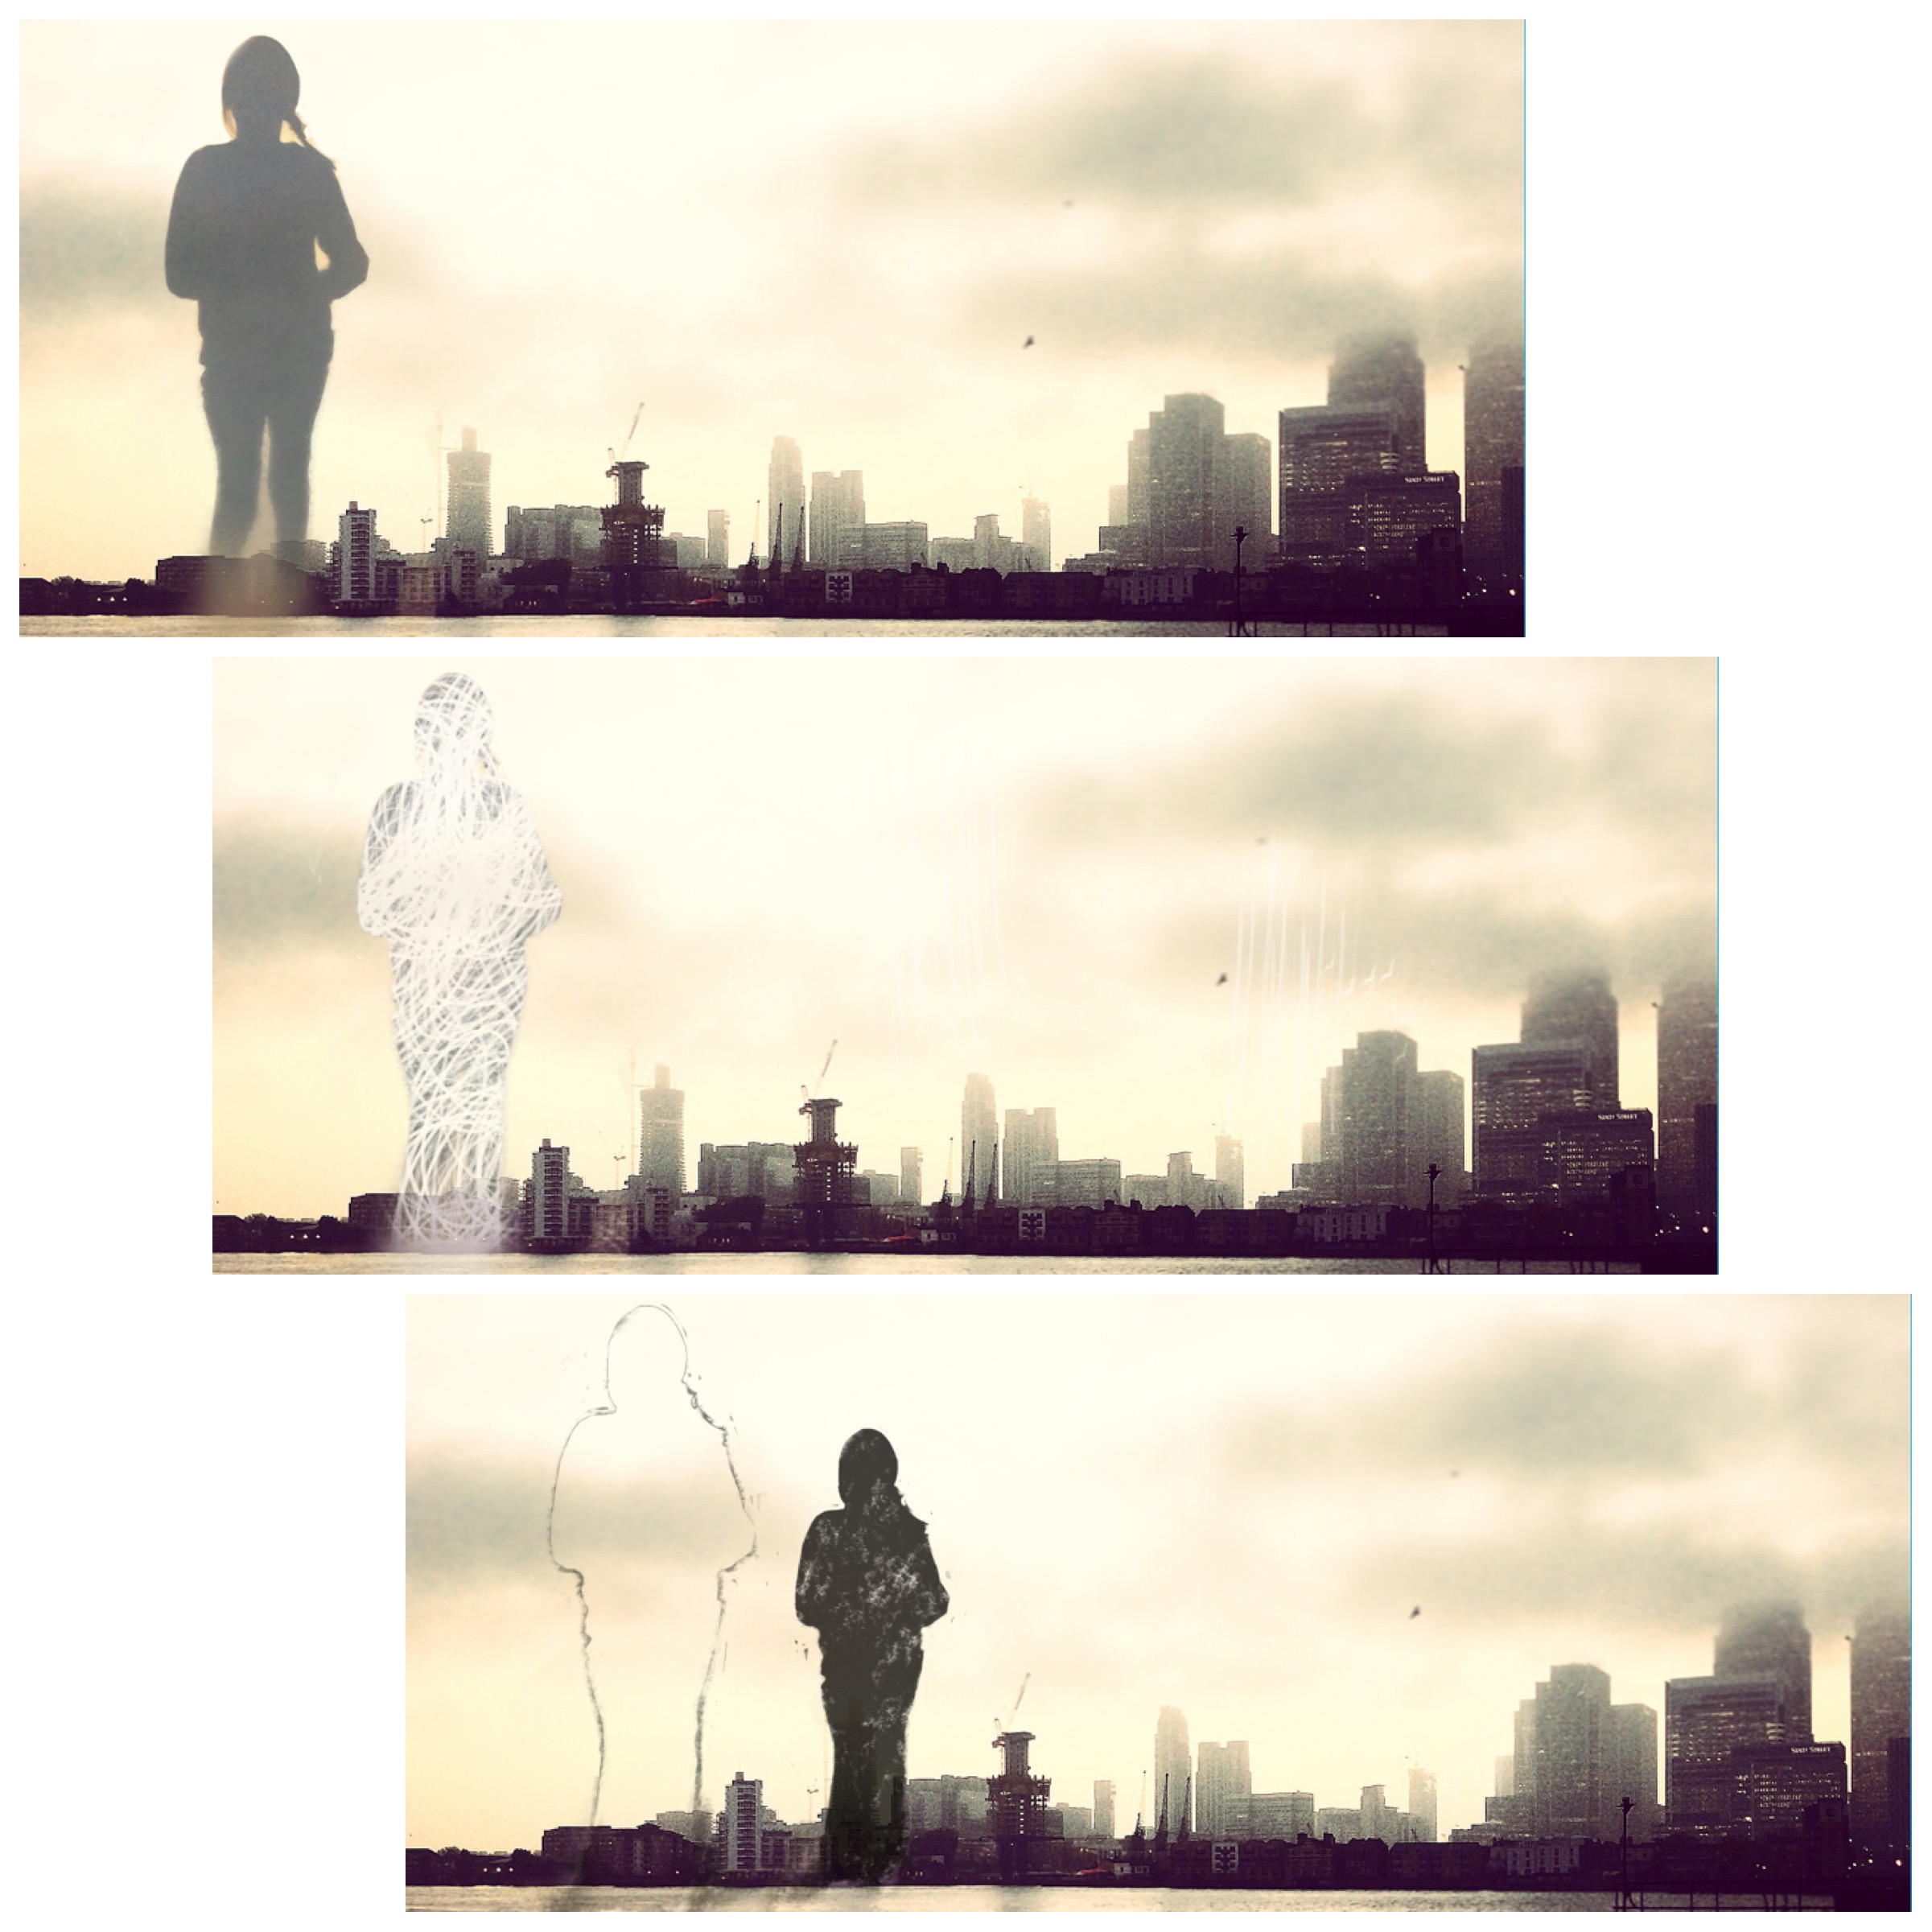
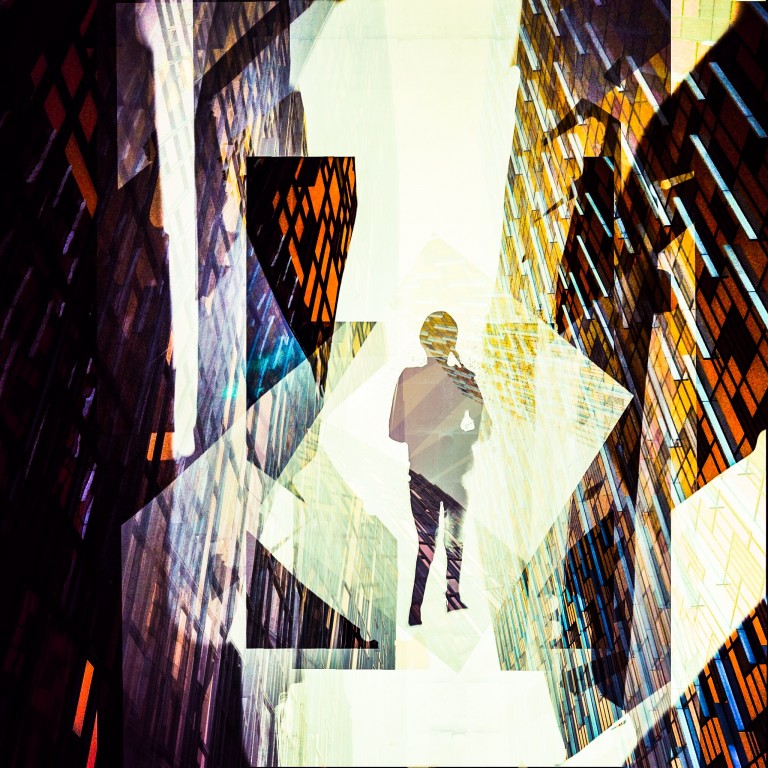
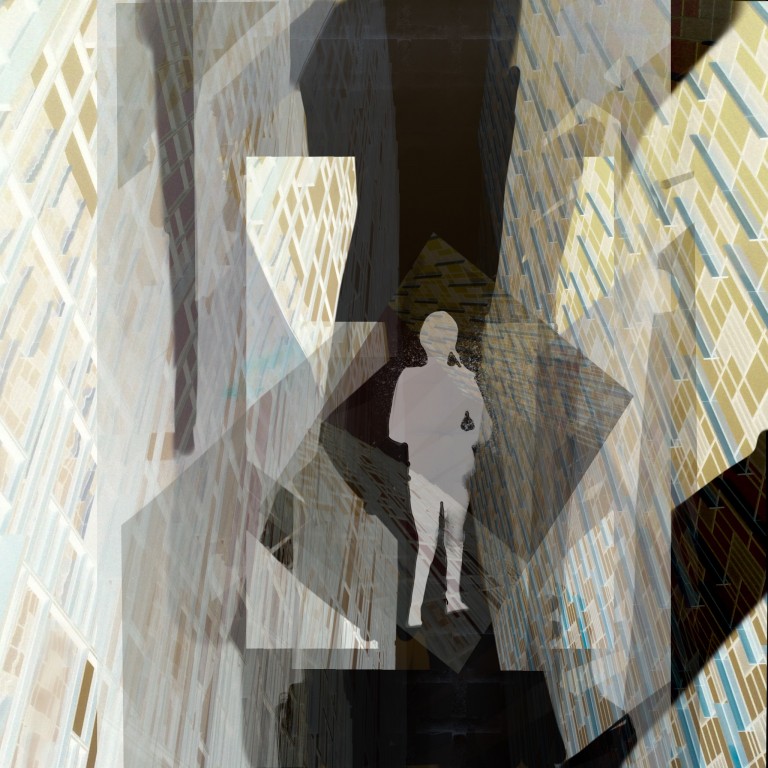
Another aspect of digital art which I was keen to experiment with was  digital photography and image manipulation. This is something I would like to bring in to the classroom but with very little experience I decided to carry out some of my own exploration to get to grips with what there is on offer first. I started by experimenting with the art app Procreate which allows you to work on isolated layers, import images and photographs, draw images with a range of brushes which replicate traditional art mediums  and add a variety of special effects  and filters to your work.  Below are some of the images which I produced using photographs I took on the  river Thames in London.image image imageThese images were combined with images of my daughter and photographs of the skyline and buildings. These pieces of art are an exploration of childhood identity and are part of my art specialism module this year . The app is very easy to use one you are familiar with all of the tools . I would recommend if you want to use an app such as this for children in school that they have plenty of opportunities to experiment and play with the app prior to  attempting a project with a specified outcome in order to gain confidence using the different tools and also become accustomed to working in layers which provides lots of opportunity for fantastic work but can be confusing at first. Moving forward, now I am on placement I am going to explore some digital art with the children in my art club which starts after half term. I will of course, keep you posted !

Elements of Art by Gemma Wade

I have found using apps such as pic collage are a great tool for teaching. It has multiple uses in the classroom  and is so easy to access . Being an Art specialist, I try to include a creative aspect in many of my lessons and Pic Collage is an ideal tool to showcase the individual outcomes in a quick,simple and effective visual means.

Often I will create a Pic collage or two of the work produced during a lesson so I can share it on Twitter or add it to a class blog as visual record of what the children have done. Pic collage has also proved an easy tool to create effective flyer designs for my Art club, with the option to add text, my own photos and also search images on the internet. I was really pleased with my design and it took me 5 minutes to create and print, a perfect solution for busy teachers.

I would also encourage teachers to get the children using pic collage as an easy and  effective way for children to document their learning for example children may document the different stages during a design technology project or  perhaps  take photographs to document a problem solving activity in maths.

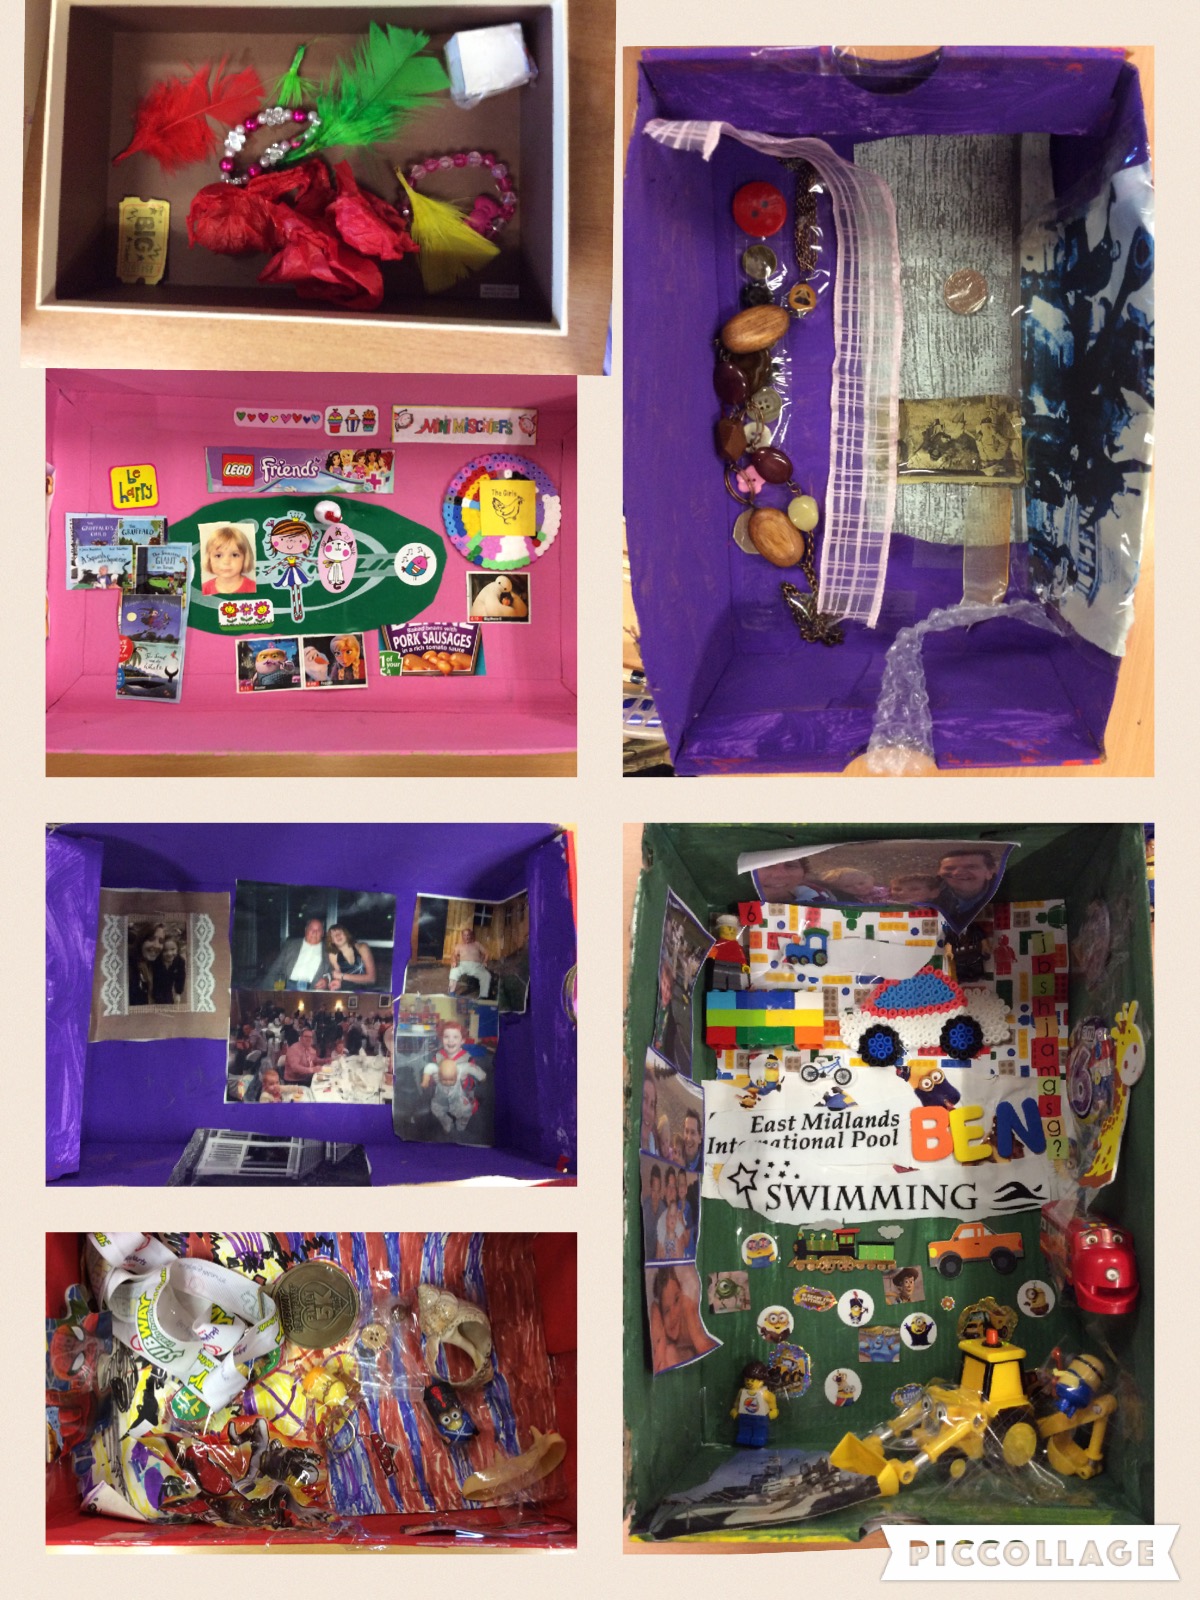
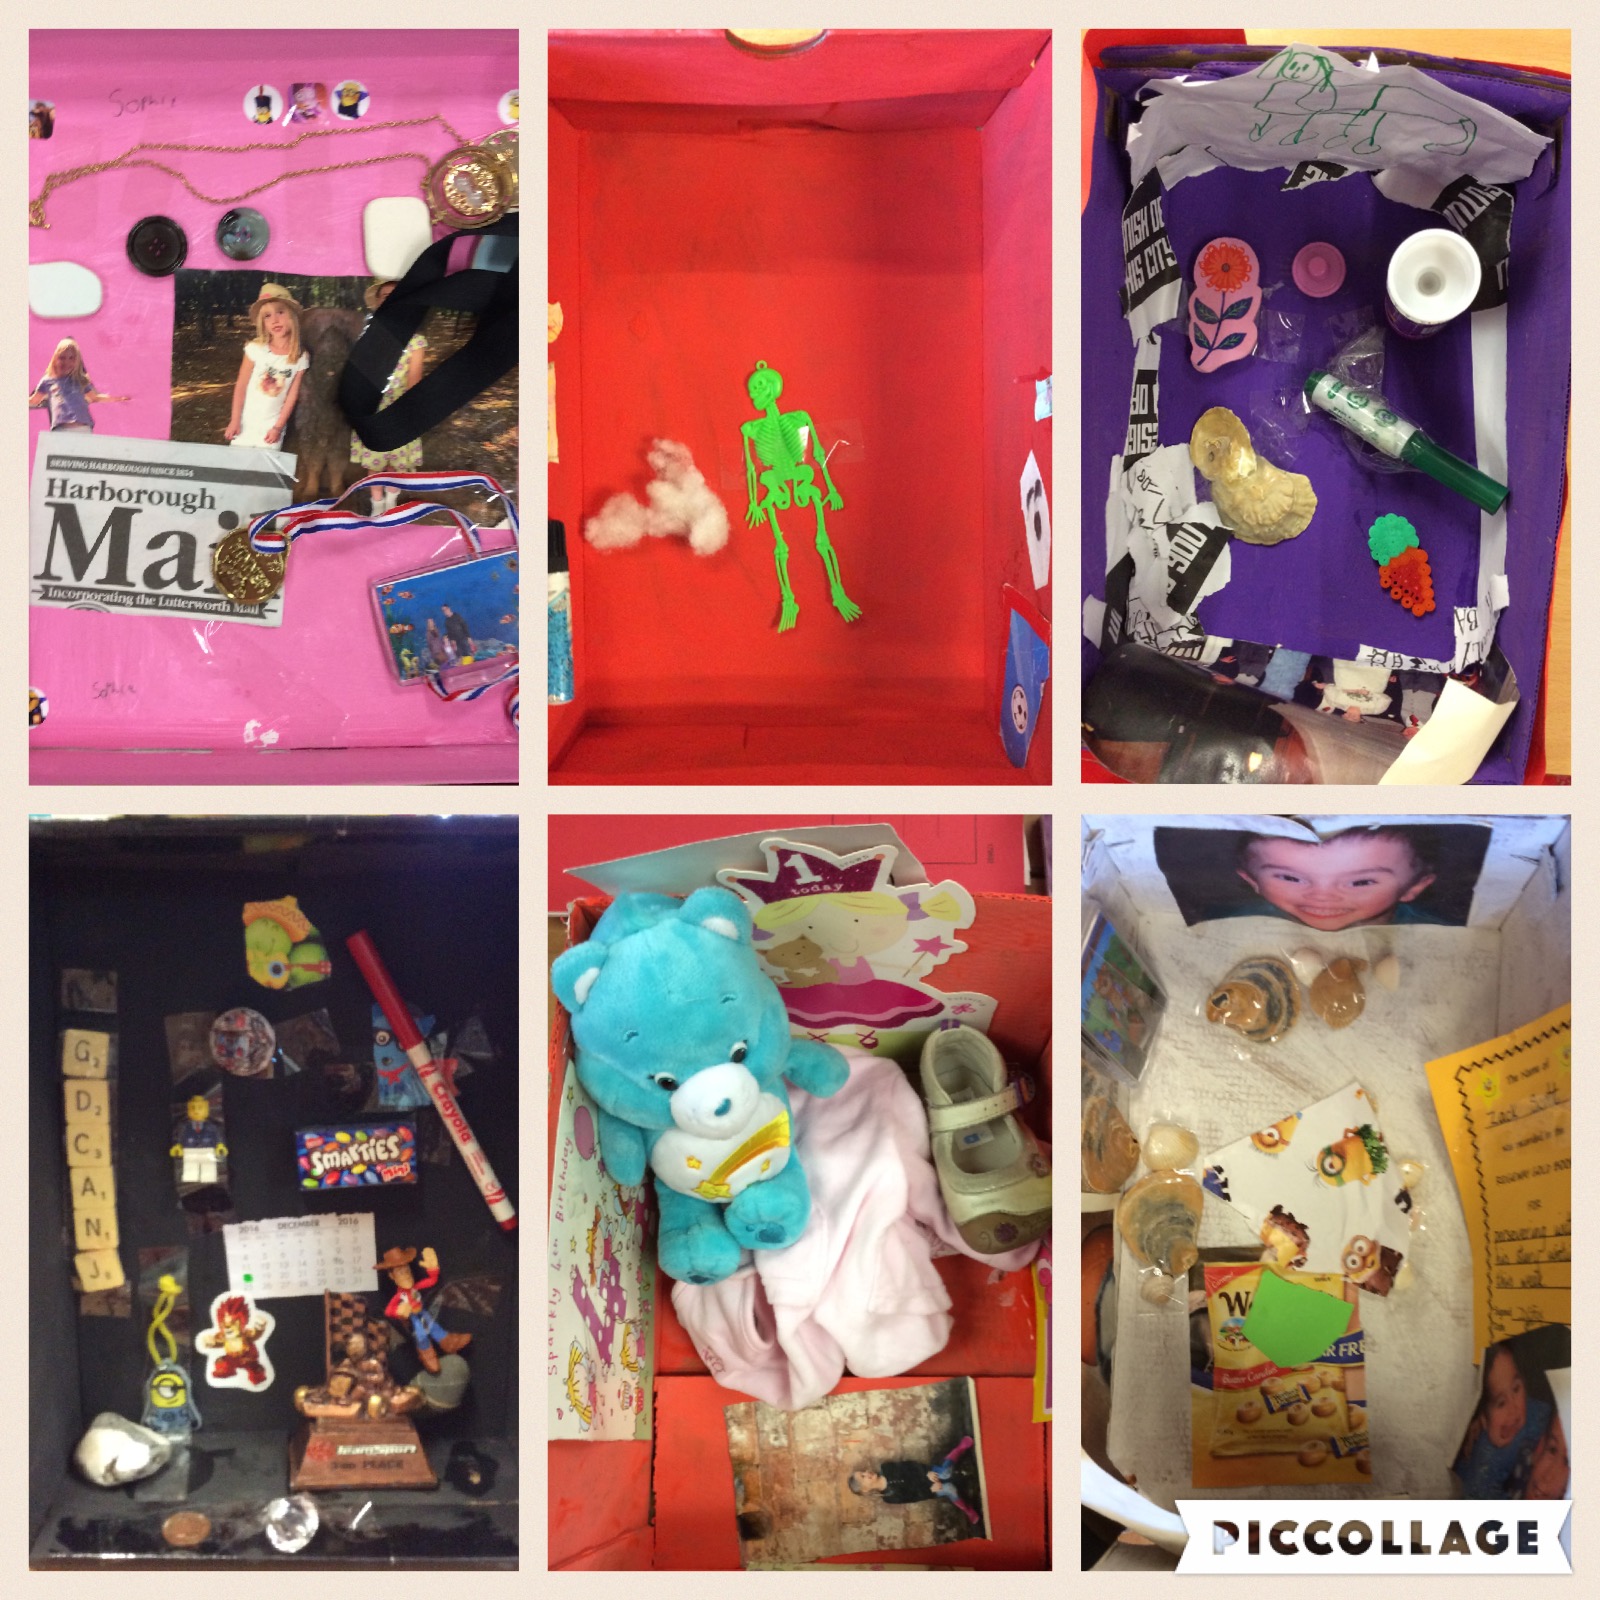
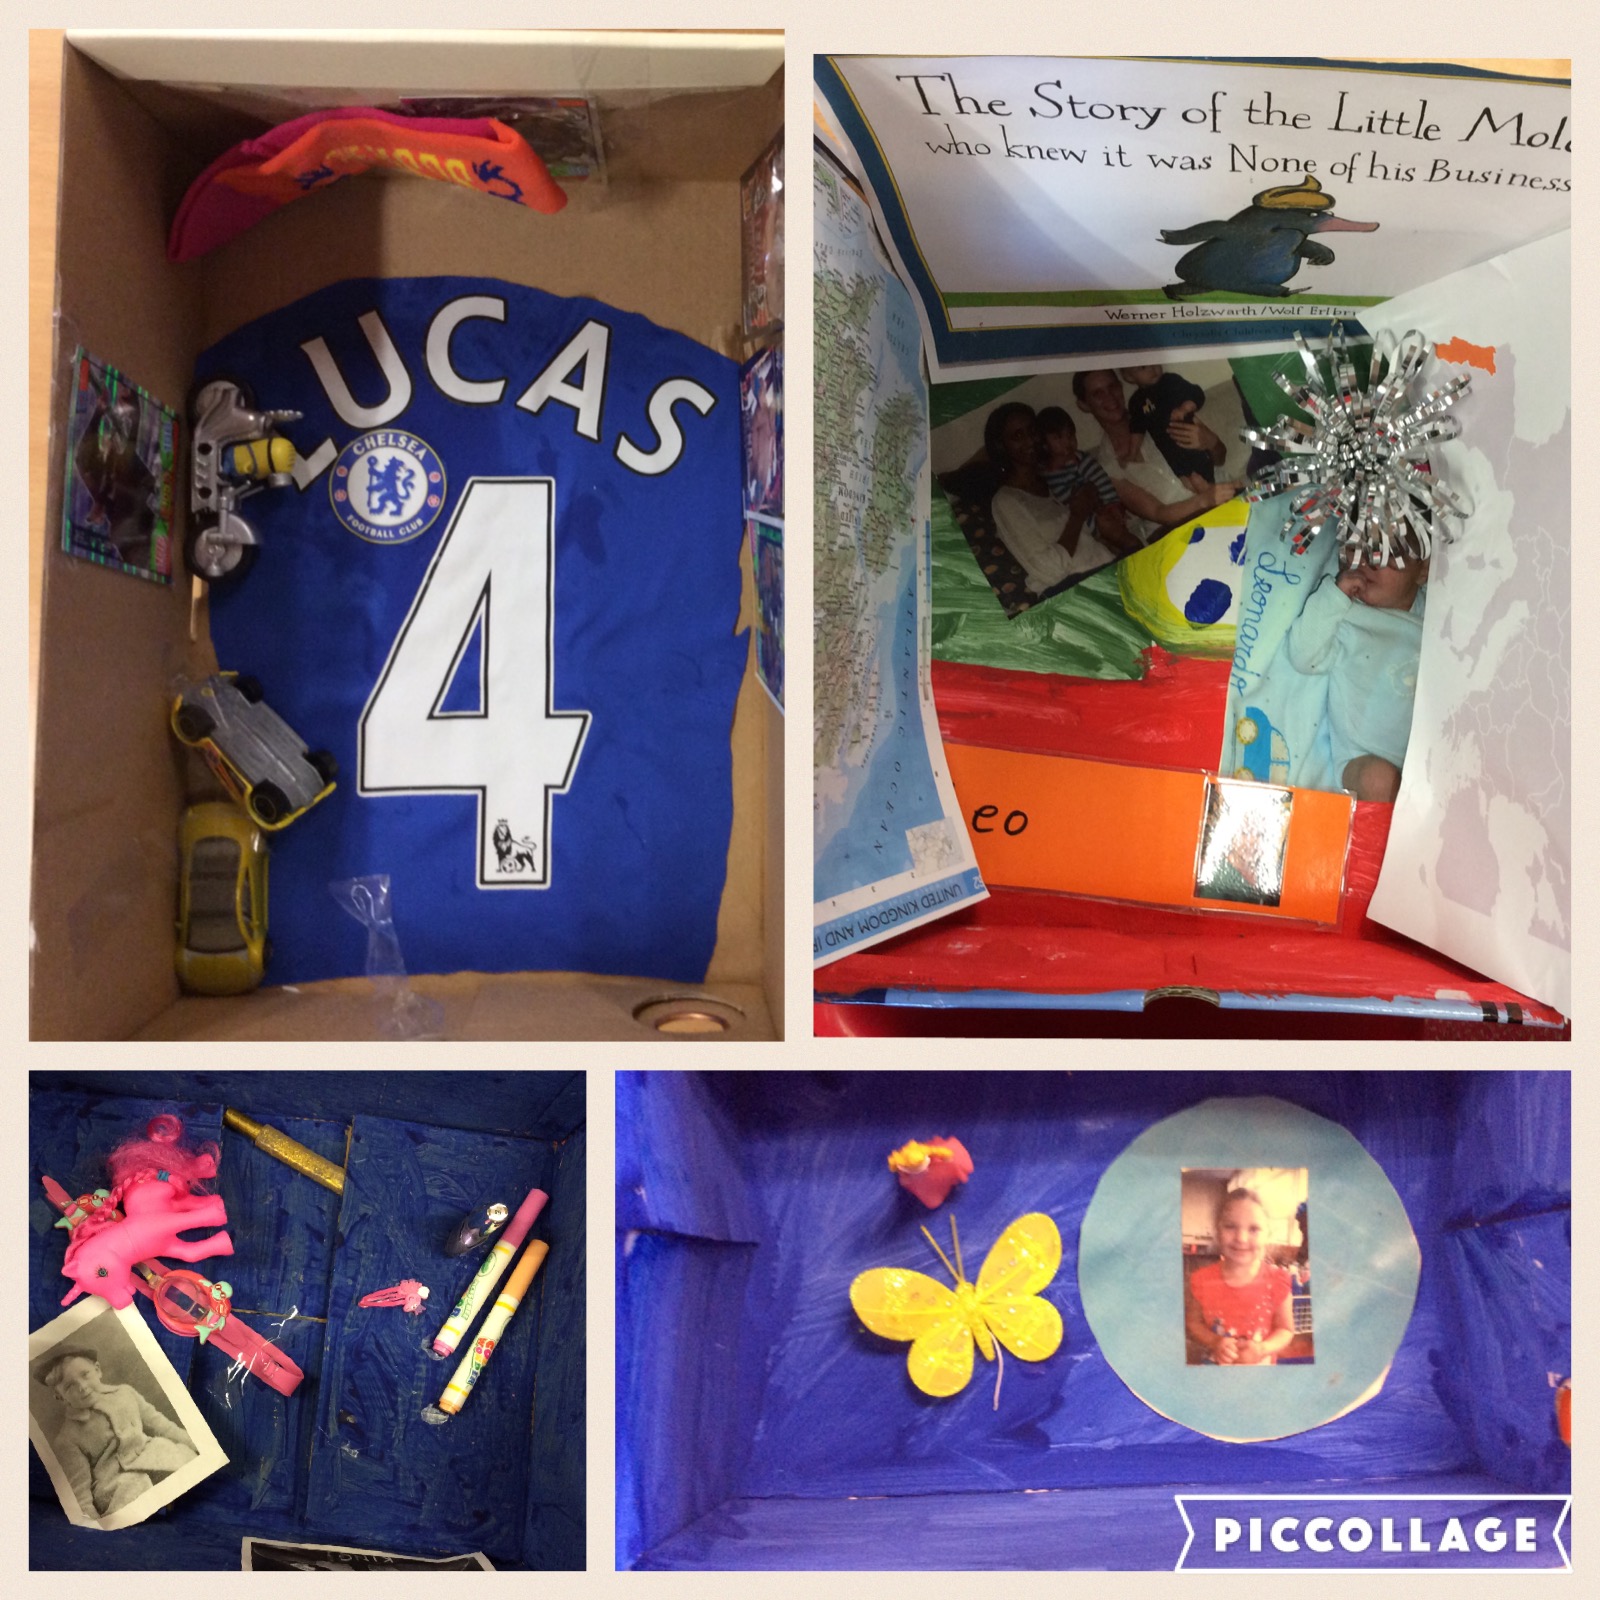
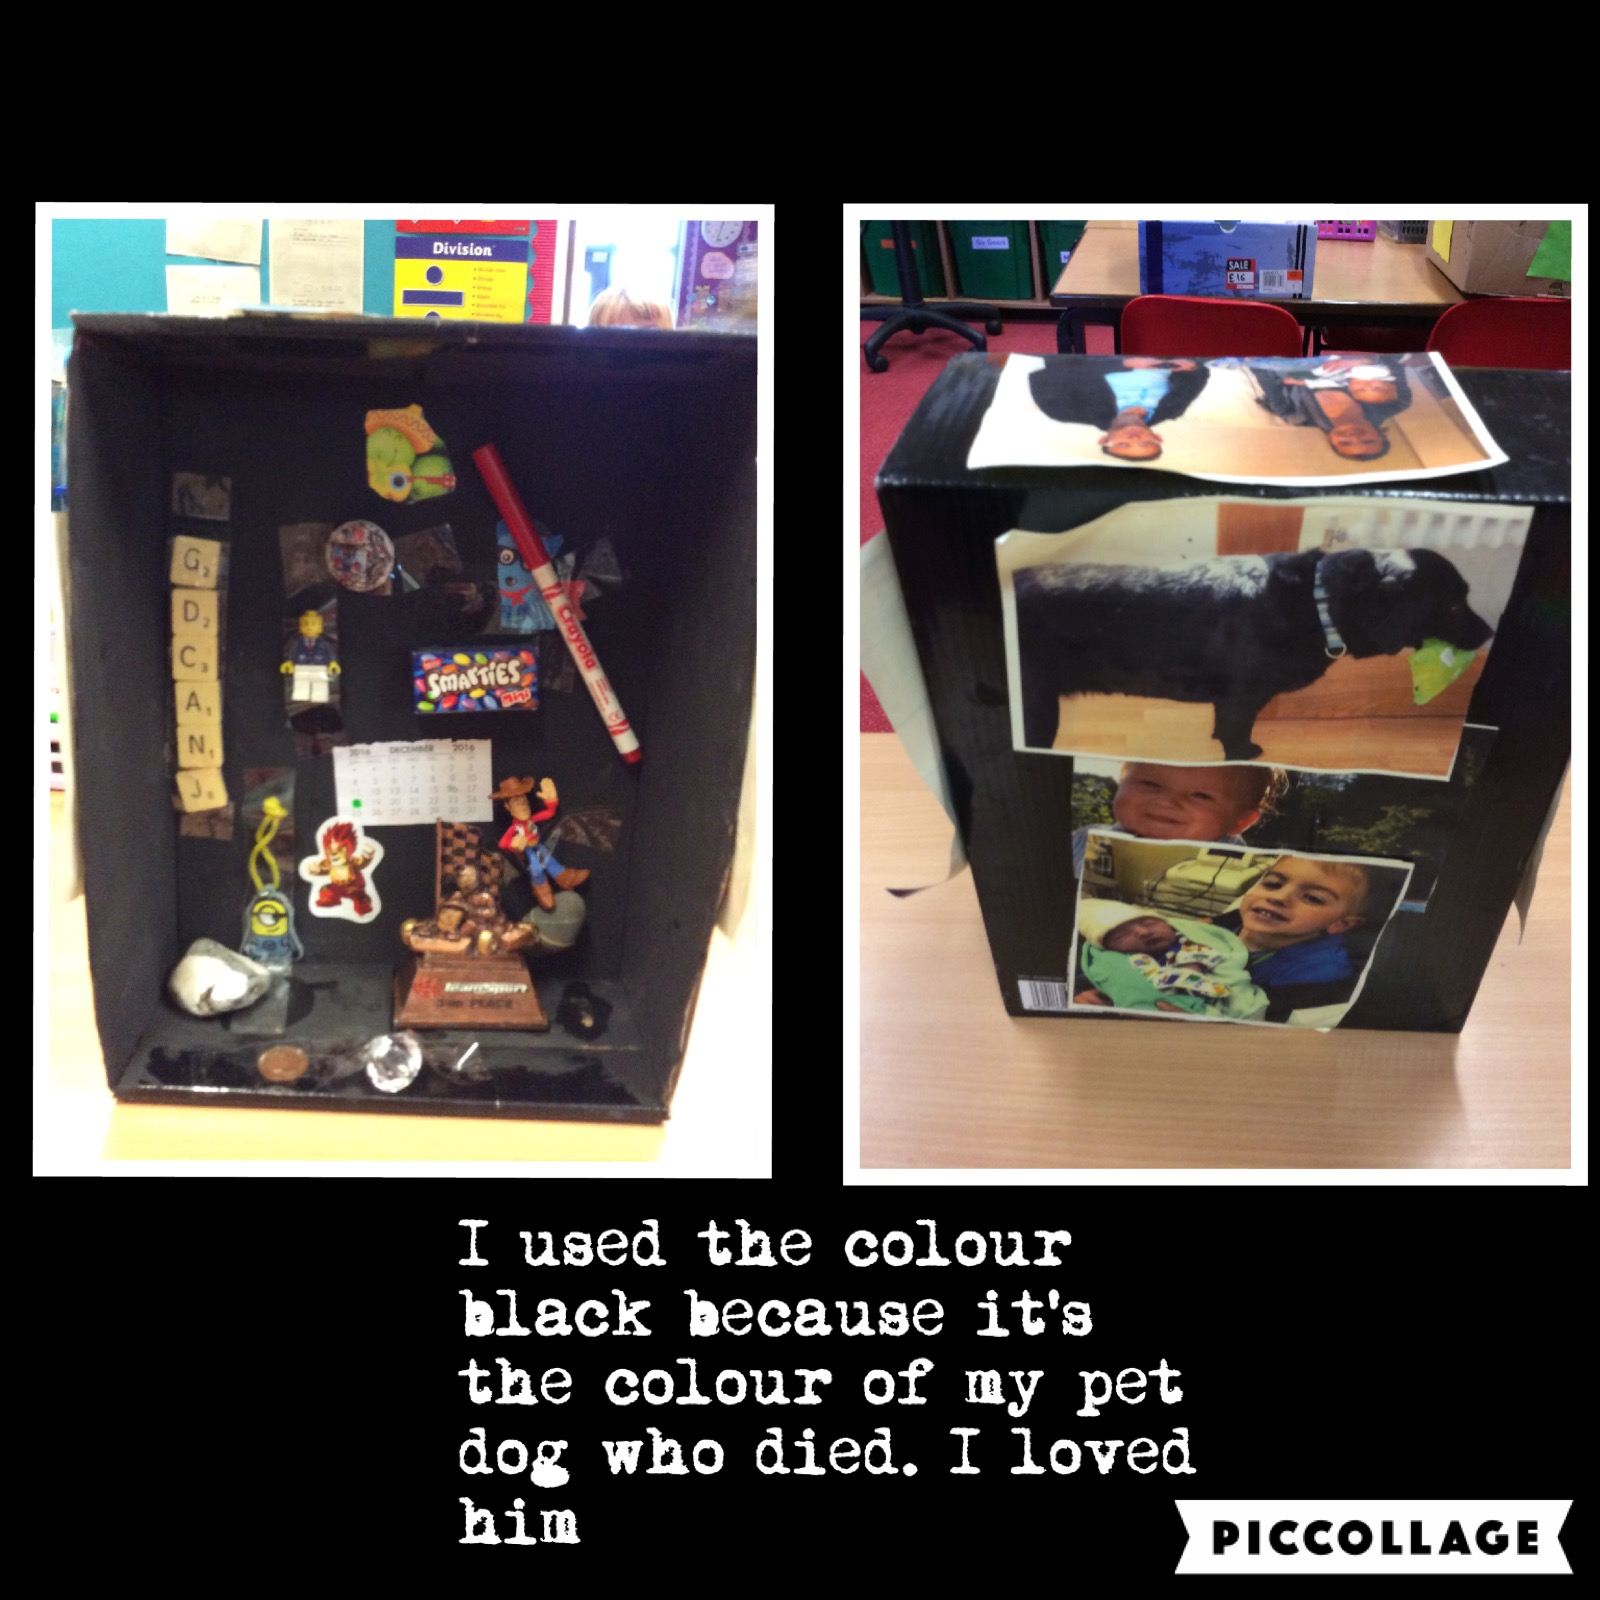
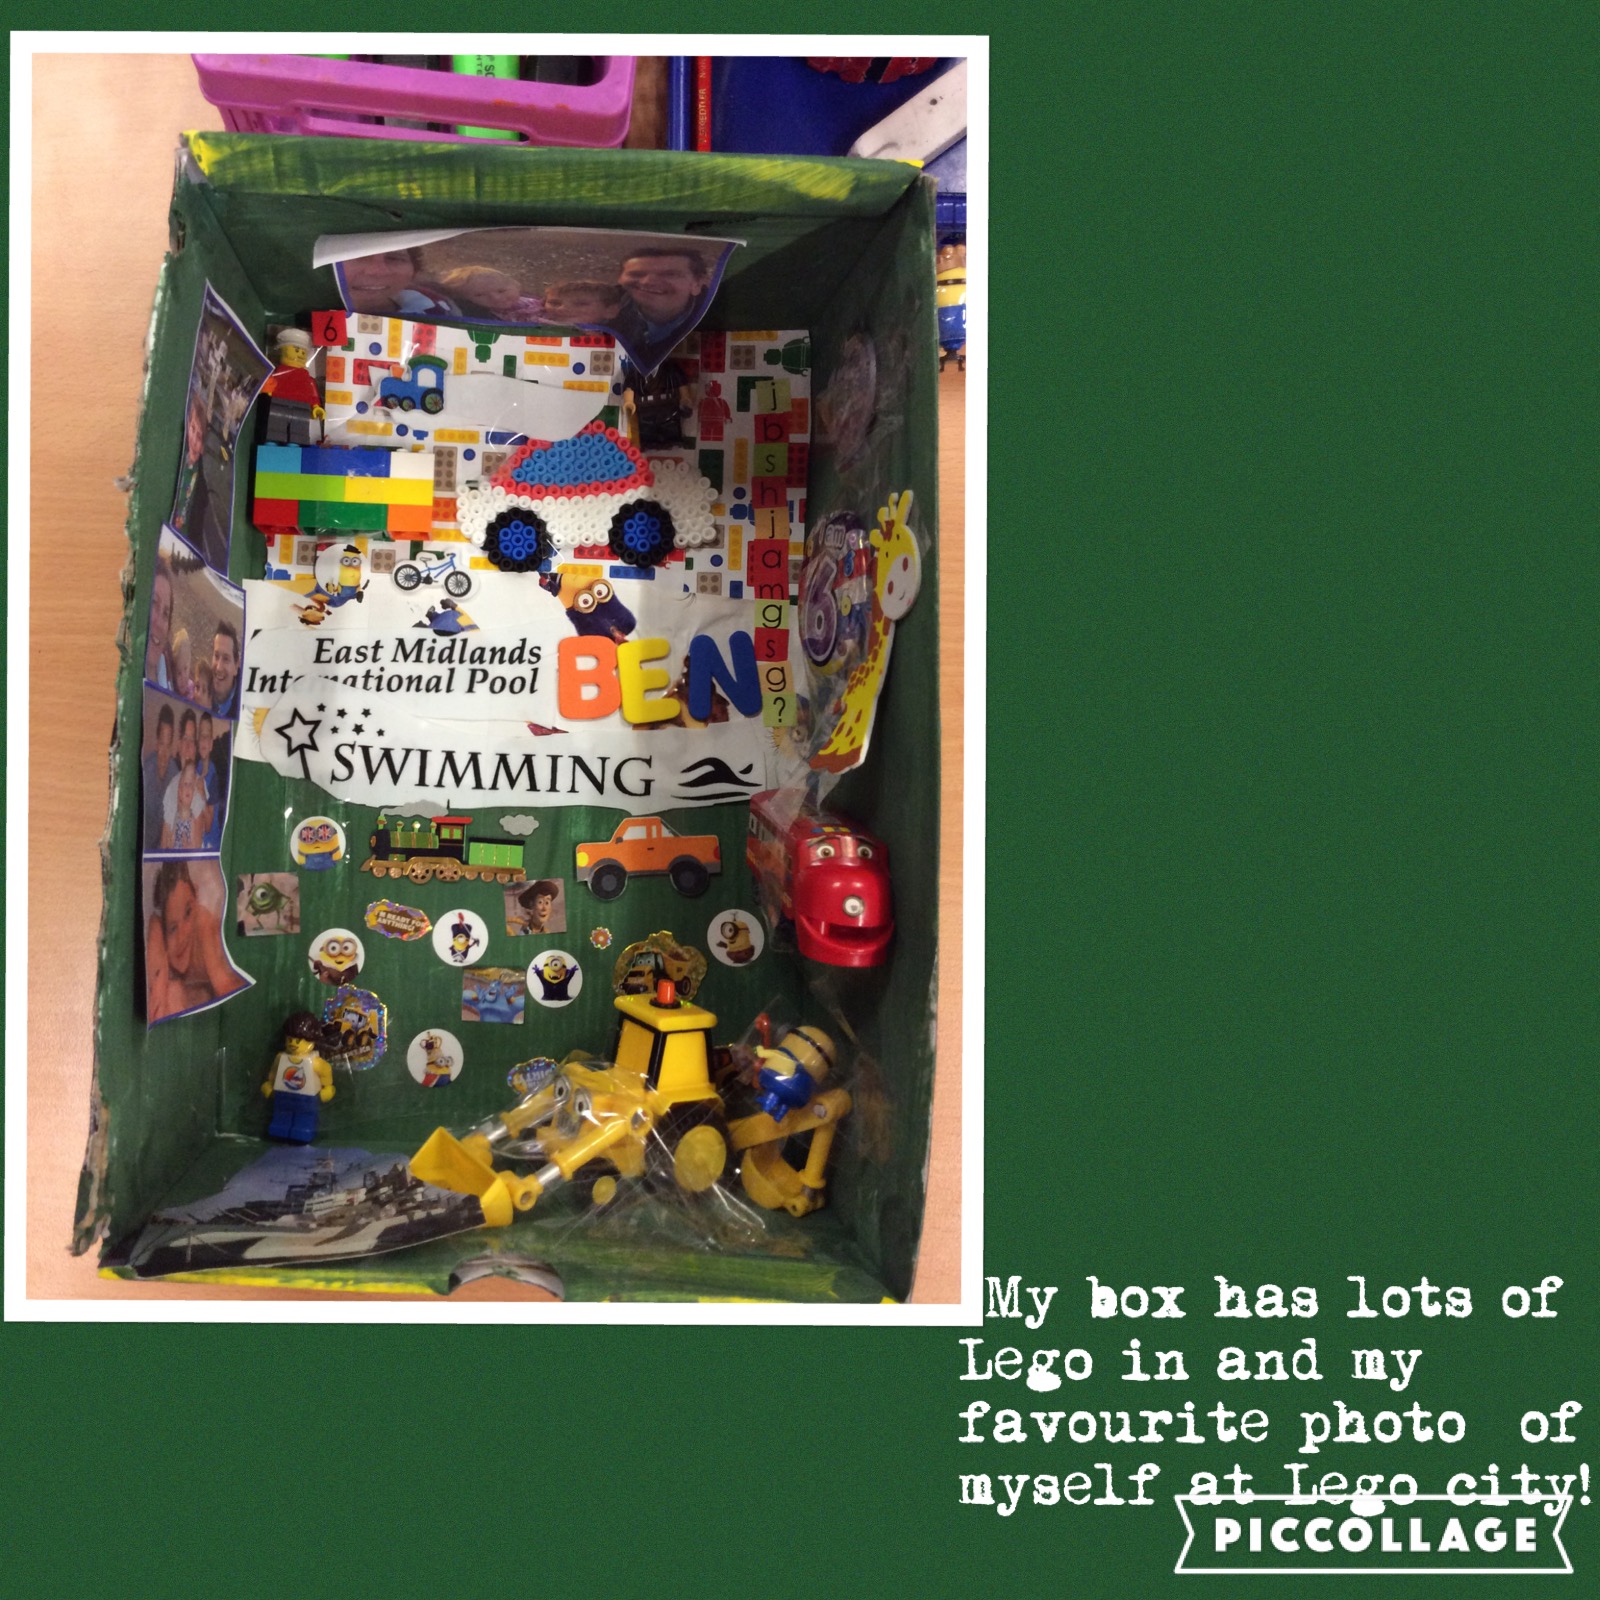
Here are some of my most recent Pic collages from when my year 1 class made sculptural self portraits inspired by the artist Joseph Cornell. These are the collages of our Joseph Cornell boxes. I  quoted some of the children’s thoughts alongside their work:

IMG_0359 IMG_0360 IMG_0361 IMG_0362 IMG_0363 IMG_0364IMG_0360IMG_0361IMG_0362IMG_0363IMG_0364

Another one I created for year 6 to use on the covers of their sketch books. All the art work was by the children:

C2DD8C18-377D-45D1-8B9A-87DB26C4D84E

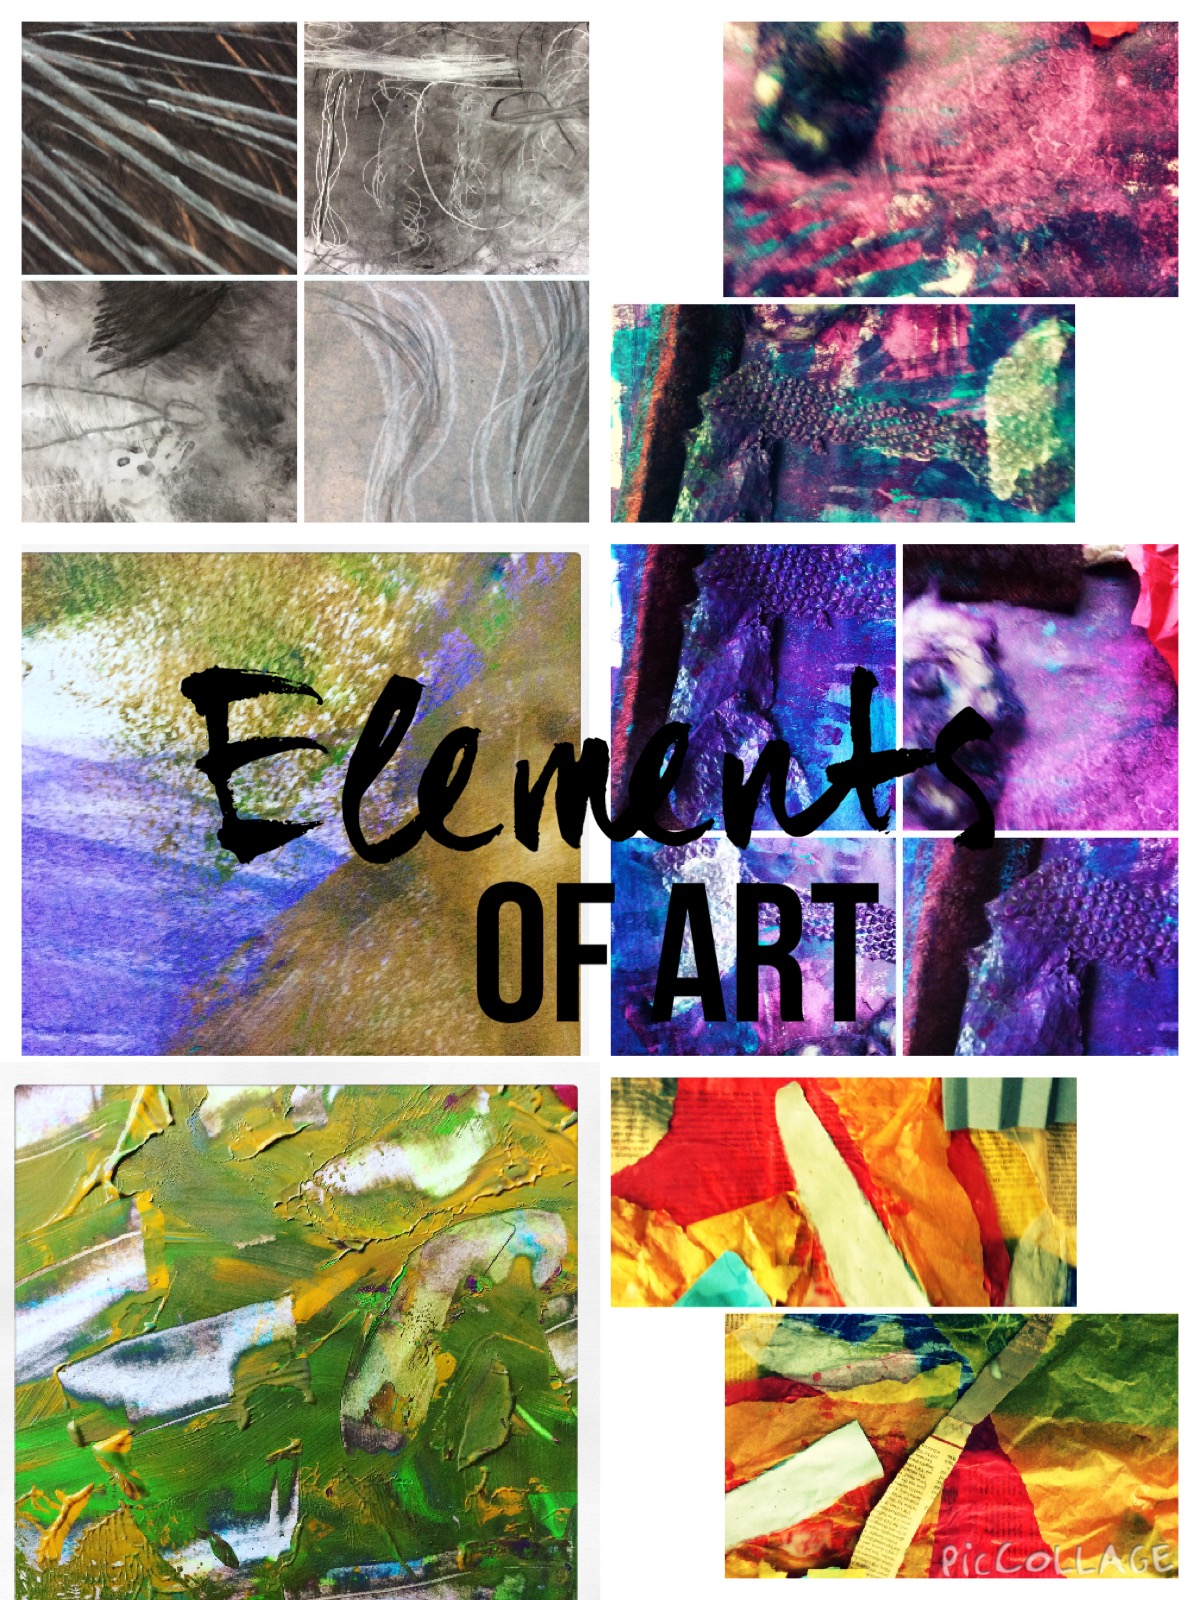
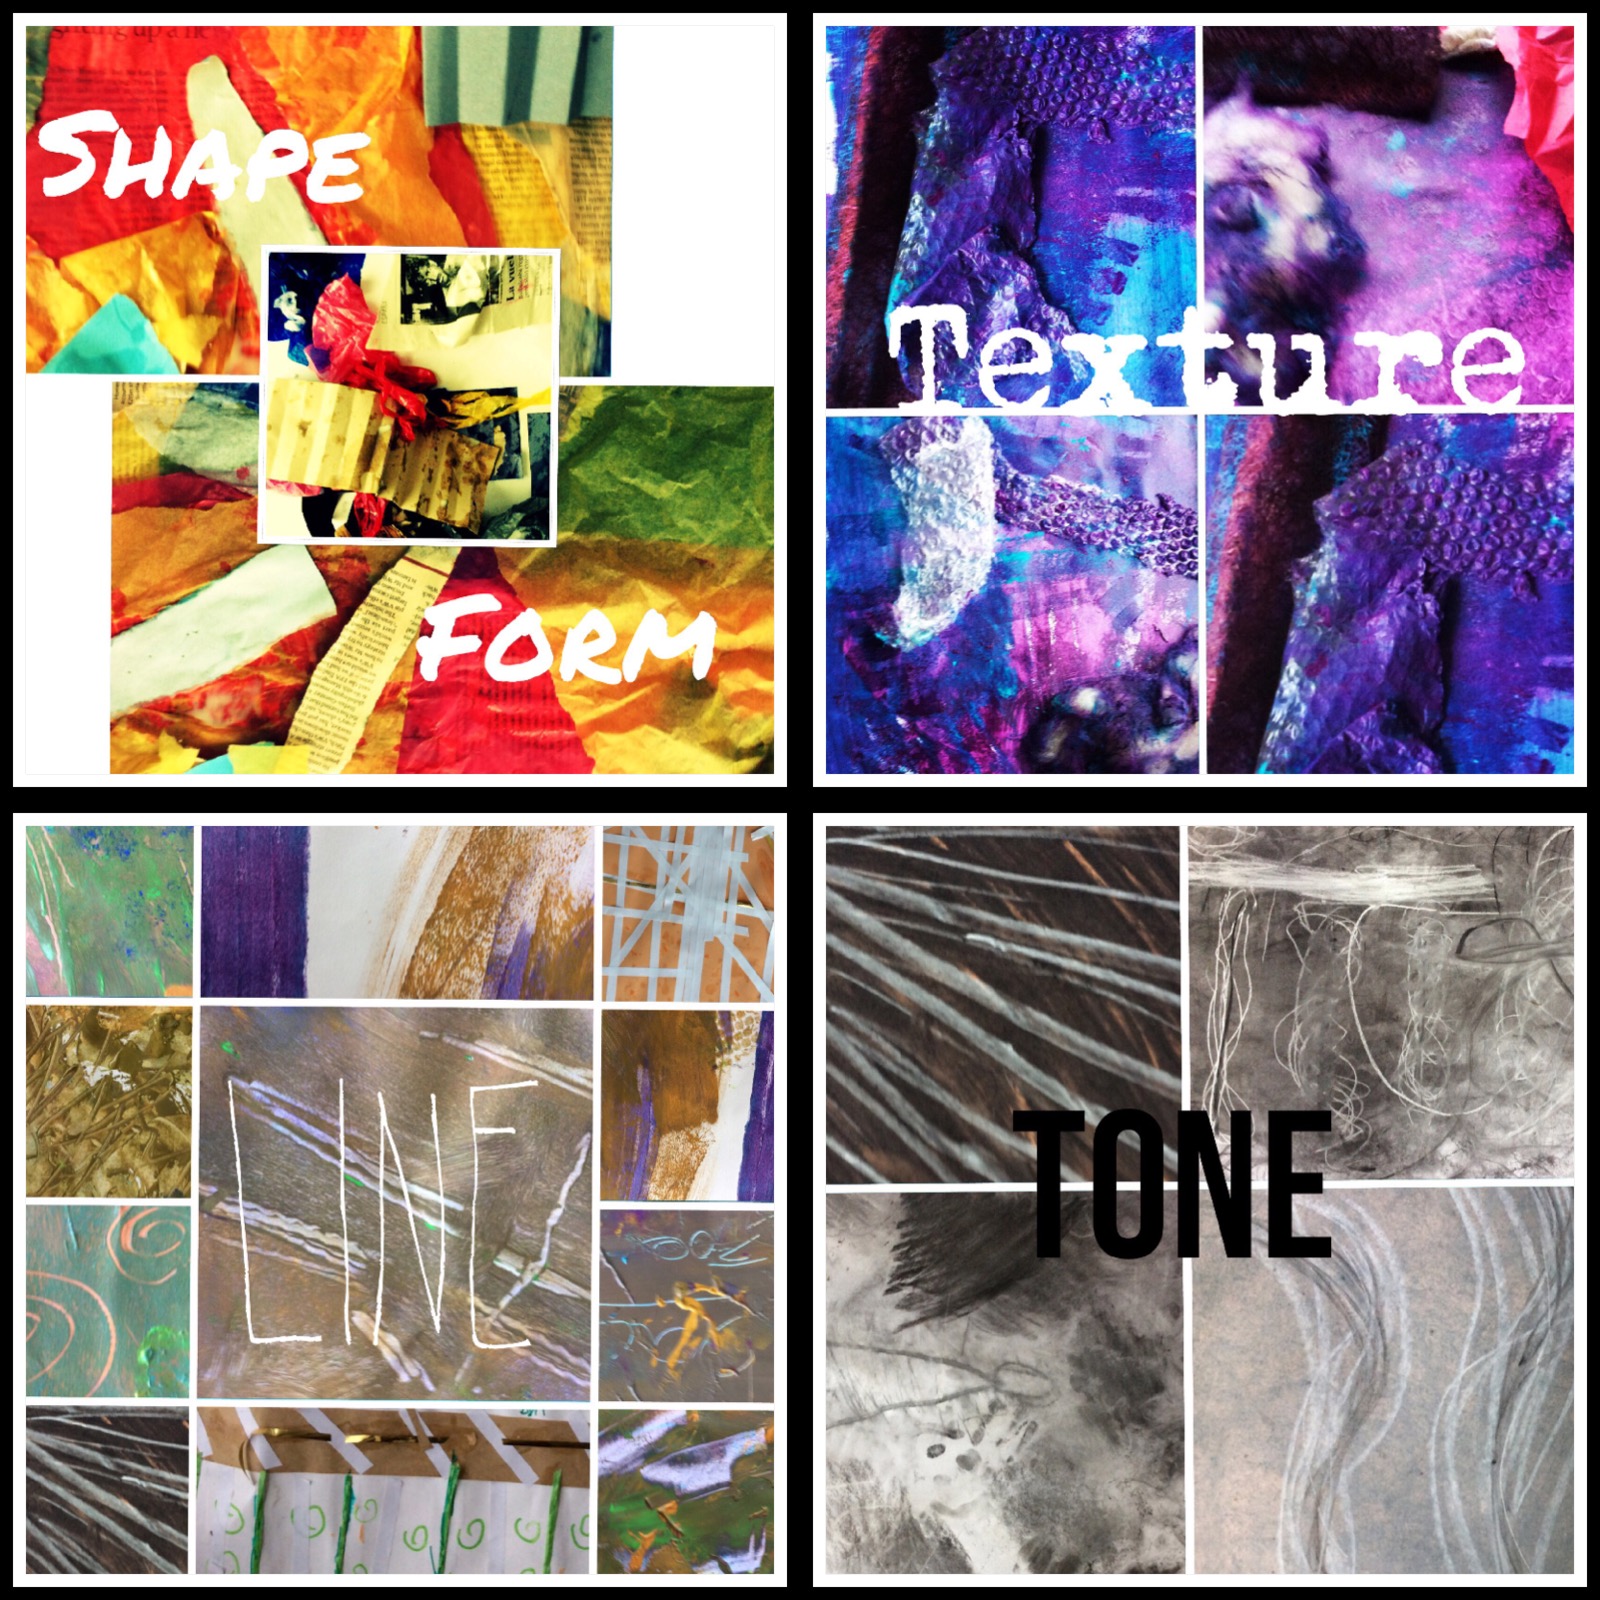
And finally  one I created to define the elements of art again a visual for the children to refer to in their sketchbooks! I

6F259298-18E6-4853-8A12-C571D8438F78

Finally, here I used PicCollage to document the process of dry point print making on my art blog at university

22471679-6B0C-44D1-97BB-49815040D27B

by Gemma Wade
BA Primary Year 2 Art Specialist