If you are creating a CampusPress site for your assessment then it’s likely you will be connecting your site to your tutor’s’ Classblog’.
This will allow your tutor to view your site, and lock it at the assessment deadline.
Add your site to your tutors ‘Classblog’ manually
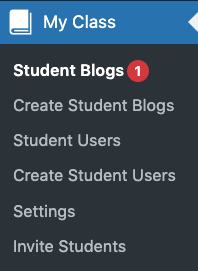
You will find the option to Join a Class in your ‘Dashboard’ under ‘My Class’.

In the following Join a Class window, there is a box for you to search for your ‘Classblog’ URL.
The text below the box explains that you do not need to enter the ‘https://mypad.northampton.ac.uk/’ part of the URL, only the subsequent part of the link.
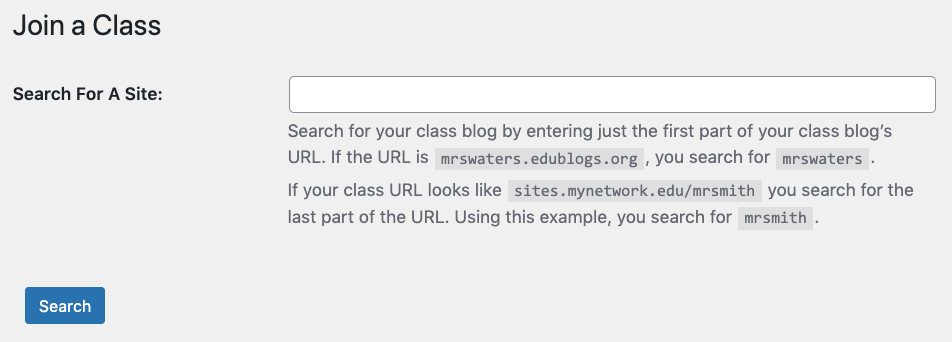
For example to join the classblog with the URL ‘https://mypad.northampton.ac.uk/democlassblog/’ you would need only to search for ‘democlassblog‘.
If the text you have entered in the search box is correct then it will show the classblog below with the option to ‘Request to join’. Click this to request to join the classblog.

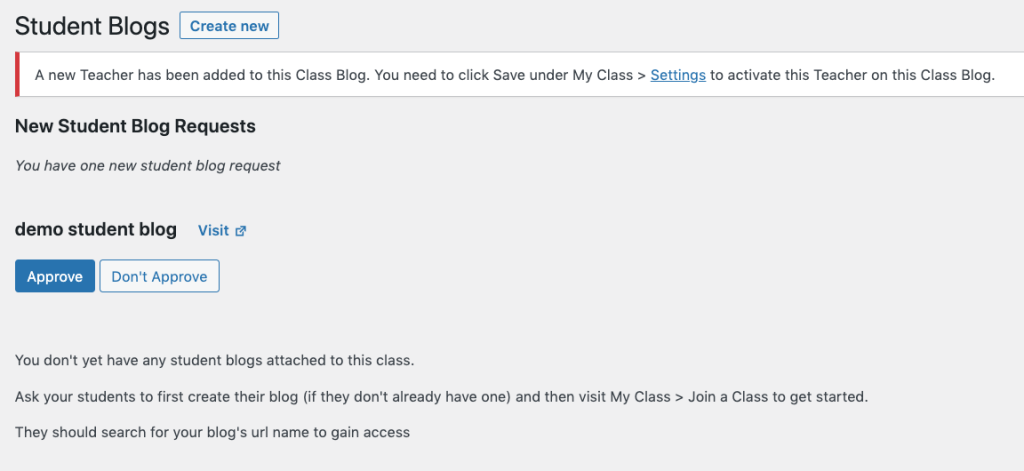
The tutor then sees the request in the dashboard of the Classblog under ‘MyClass’.
They will then need to Approve the request to add your site to the ‘Classblog’.